
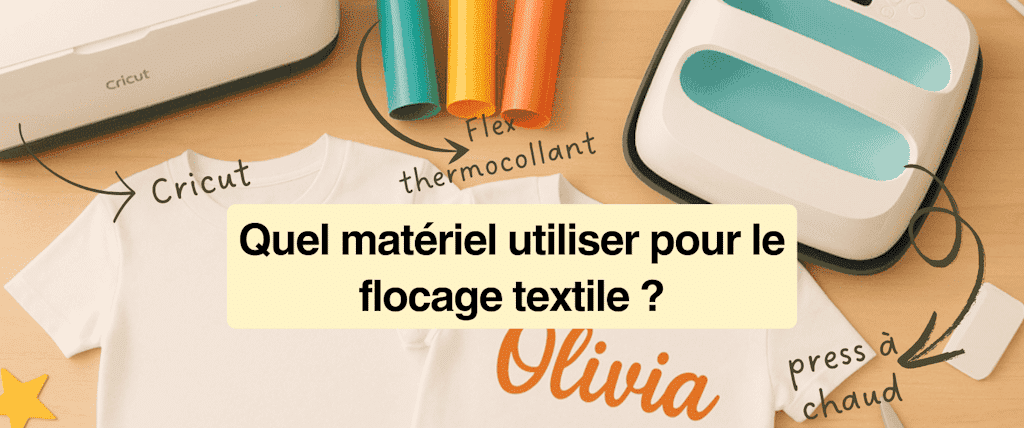
You've probably wondered at some point: what equipment do you need to customize fabric with heat transfer vinyl?
🤔
✨
I bet you've got a plain white T-shirt, a sweatshirt, or a tote bag lying around at home, and you're dreaming of giving it a personal touch: your name, an inspiring quote, or even a logo that really pops. The idea is there, but one question keeps coming back: "where do I even start?"… and above all, **what equipment do you need to customize fabric with HTV?
😅**
A lot of people think customizing fabric with heat transfer vinyl is only for professionals, or that it takes crazy-expensive equipment and complicated machines. But that's totally FALSE! With just a few basic (but quality) tools, you can already create one-of-a-kind pieces, whether for yourself, as gifts, or even to start selling your creations!
So stick with me, and I'll walk you through it step by step. Together, we'll look at what HTV customization actually is (I promise, it's super simple
😉
) and, most importantly, what equipment you need for heat transfer vinyl projects so you can get off to a great start without breaking the bank.
Whether you're a curious beginner or a passionate crafter, you'll see that heat transfer vinyl is an accessible technique with endless possibilities
✨
!
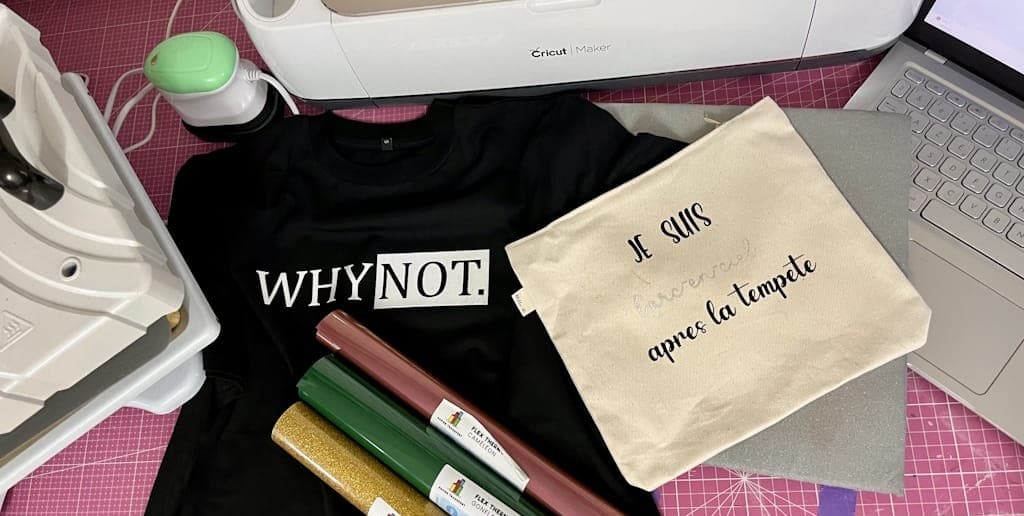
1. What Is Fabric Customization with Heat Transfer Vinyl?
Before asking yourself what equipment you need for heat transfer vinyl projects, you first need to understand exactly what the technique involves.
Customizing fabric with HTV is a personalization technique where you cut a design out of heat transfer vinyl (also called iron-on vinyl), then apply it to fabric with heat (using an iron or a heat press). The result: your design holds up (thanks to the vinyl's heat-activated adhesive) over time
⏳
, stands up to the wash, and looks professional, even if you're working from home.
It's the perfect method for personalizing:
-
T-shirts for kids or an event
-
tote bags for unique gifts
-
sweatshirts or caps with a logo
When I first discovered this technique, I thought it was only for big sportswear brands or specialized print shops.
In reality, the concept is simple and, best of all, anyone can do it. What makes the difference isn't how hard the technique is, but using the right basic equipment so you succeed from the start (and don't get discouraged).
And that's exactly what we're going to cover together: what equipment you need for HTV projects, with no stress and no waste!
3-2-1… Let's go!
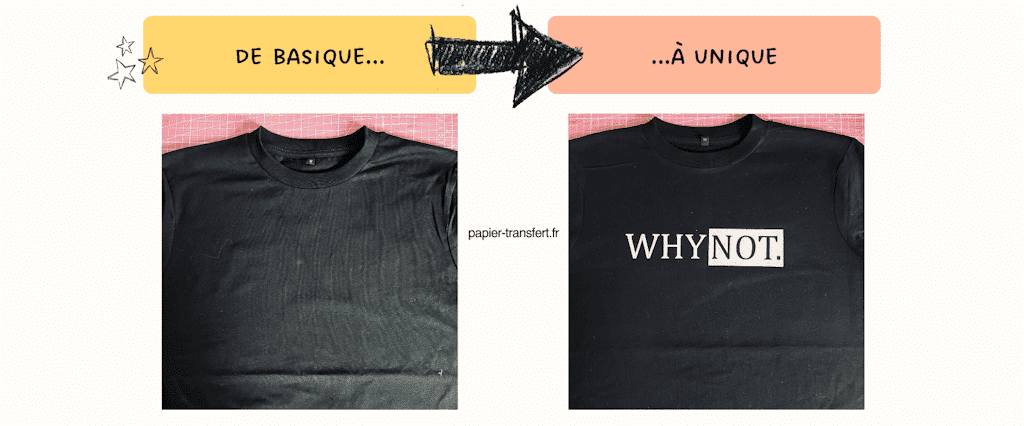
2. What Equipment Do You Need for Heat Transfer Vinyl?
✂️
Now that you know how the technique works, let's get to the big question: what equipment do you need for heat transfer vinyl when you're just starting out? Don't worry, you don't need a factory-sized workshop. A few tools are all it takes to get going (you can gradually invest in all the heat transfer vinyls you've been drooling over
🤤
) .
With just these 5 items, you can start customizing your first fabric projects and get really satisfying results. Think of it as your survival kit for getting started with heat transfer vinyl!
💪
And if you'd rather get a complete starter pack instead of buying each item separately, we've got the perfect kit for you! Check out our pack for getting started with fabric like a pro right here!
A Cutting Machine
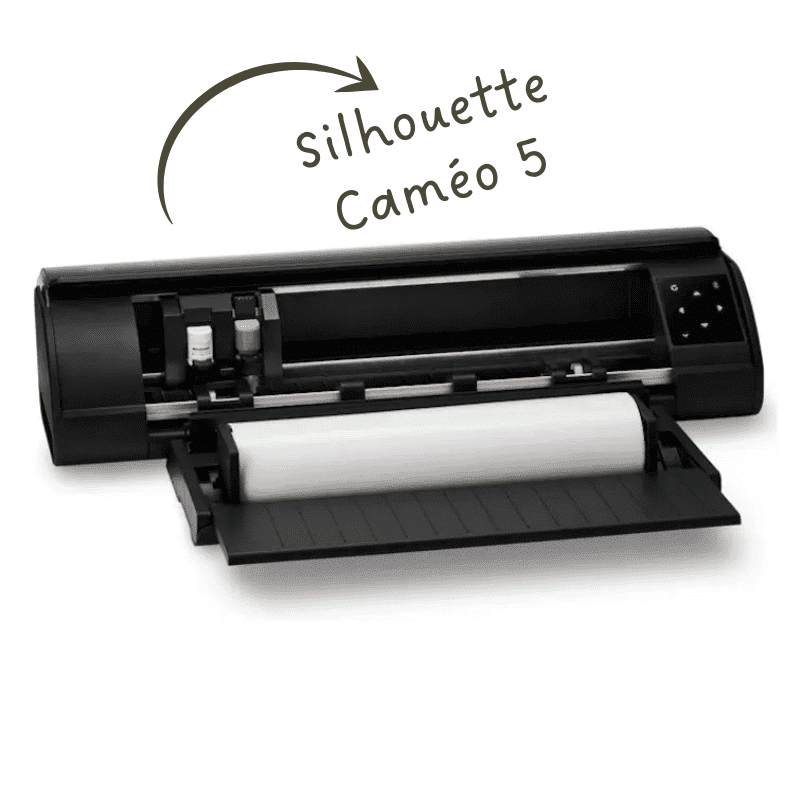
This is the heart of your setup. It lets you cut your design out of heat transfer vinyl with precision. The best-known brands are Cricut and Silhouette. There's no need to buy the most expensive model right away; a basic machine is more than enough to experiment and learn (if you can't decide between the different Cricut models, I've written an article just FOR YOU! You'll find it right here).
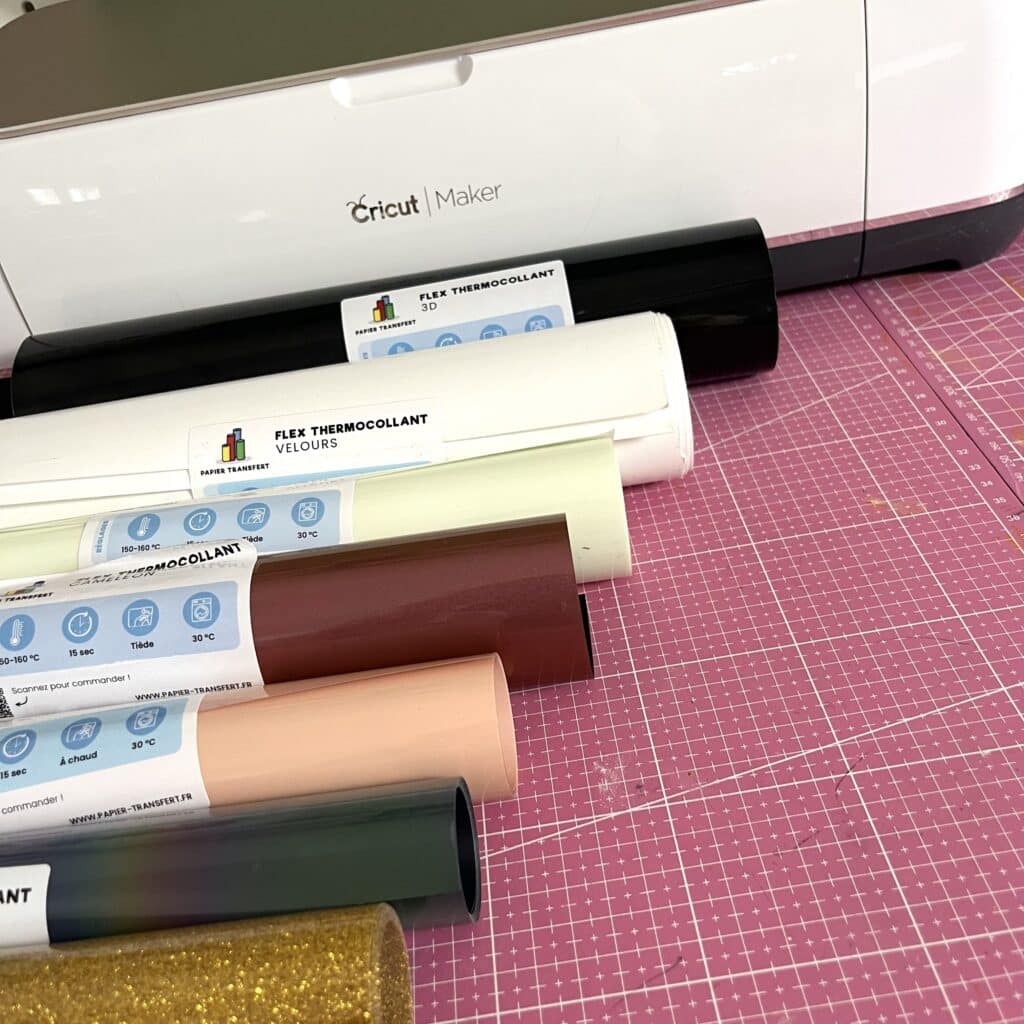
Heat Transfer Vinyl (Iron-On)
It's the star of the show! It comes in lots of styles: matte, glitter (to add a little sparkle to your life
😅
), holographic, velvet… (and so much more!) Have fun mixing up the finishes from one project to the next.
Quick tip: start with a basic Premium-quality HTV. It's easier to cut and apply (you can also use a squeegee to smooth your vinyl down properly on your mat).
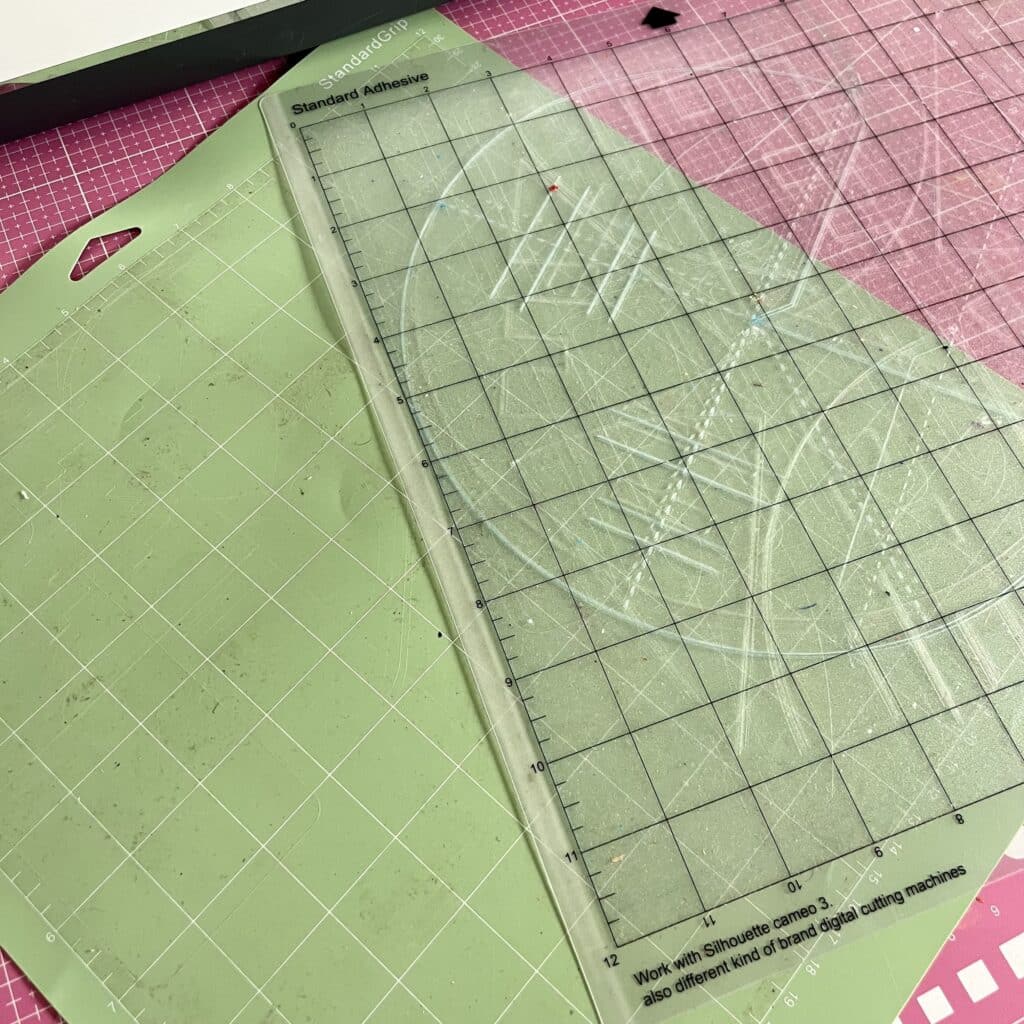
The Cutting Mat
Essential for keeping your heat transfer vinyl firmly in place in the cutting machine. Choose one that fits your machine (a Cricut cutting mat or a Silhouette Cameo cutting mat) and the size you need. For Cricut mats, you'll also want to pick the right grip level (the color of the mat tells you which one it is).
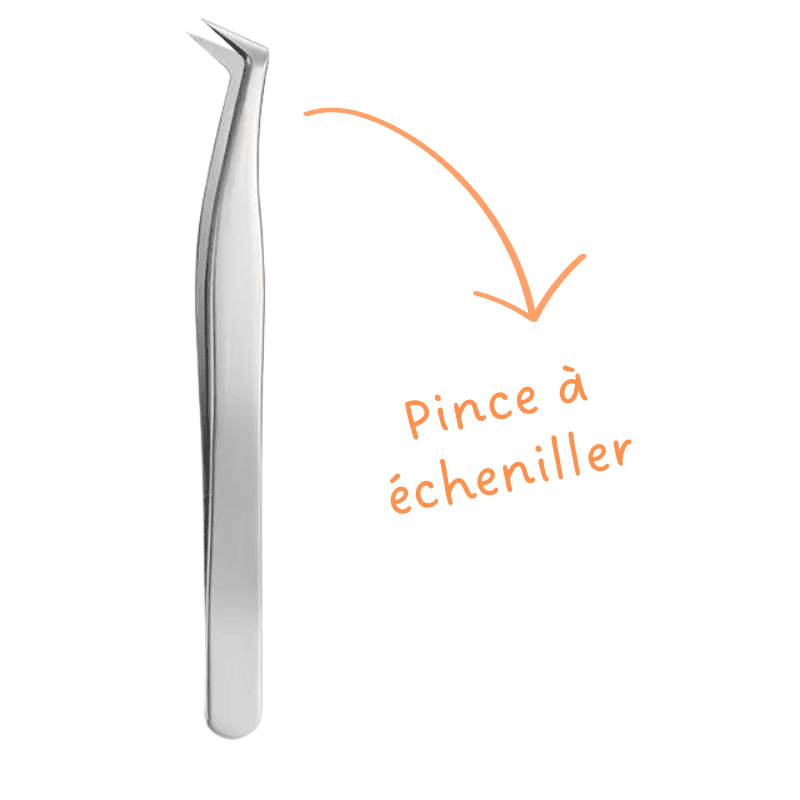
A Weeding Tool
This is the tool you use to remove the little bits of excess heat transfer vinyl after cutting. It may not look like much, but without it, you could end up pulling your hair out over some of the tiniest details!
😅
So don't skip the weeding tool!
A Heat Source: Iron or Heat Press
-
Iron: perfect for getting started on a small budget. It works, but you have to be careful with the temperature and pressure (and remember not to use steam). So yes, it's an option, but be careful not to scorch your masterpiece!
-
Heat press (the one Tim is using in the photo
😊
): the go-to tool for pros, and for DIY fans like us too. It delivers consistent and, above all, even temperature and pressure for a flawless, long-lasting finish.
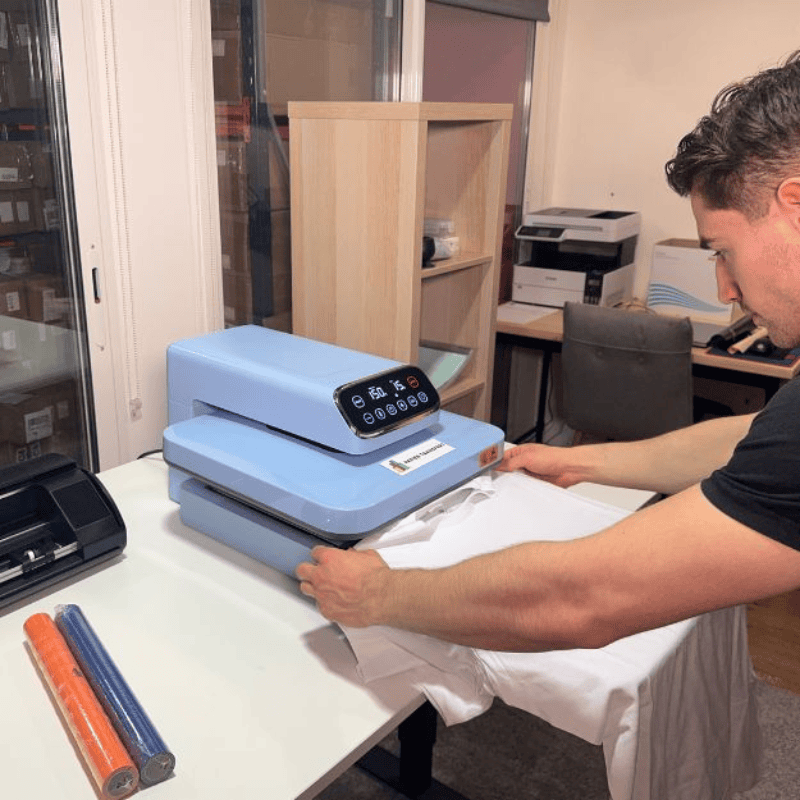
You can start with an iron, but once you want to make projects more regularly, a heat press makes life so much easier. You gain precision and speed, and most importantly, your designs hold up much better in the wash.
3. The Bonus Tools That Change Everything
We've covered what equipment you need for heat transfer vinyl when you're starting out. But let's be honest: there are also a few bonus little tools that aren't essential at first, but… let's just say they'll save you time, improve your results, and… make your life easier.
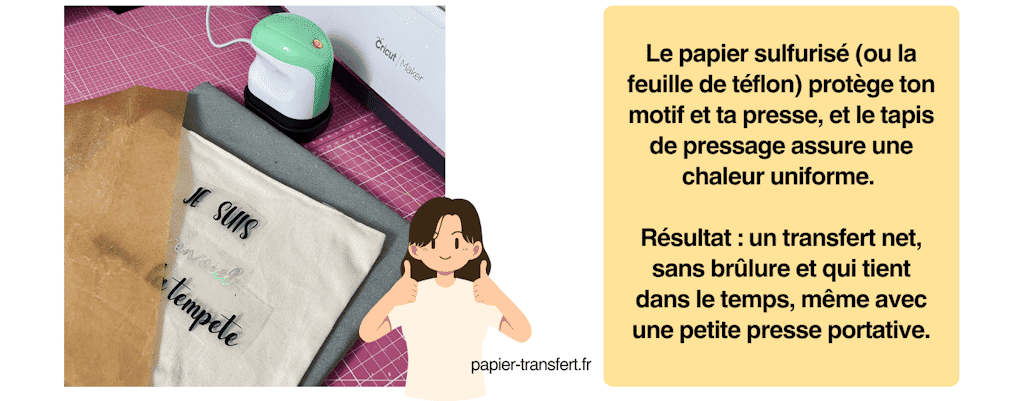
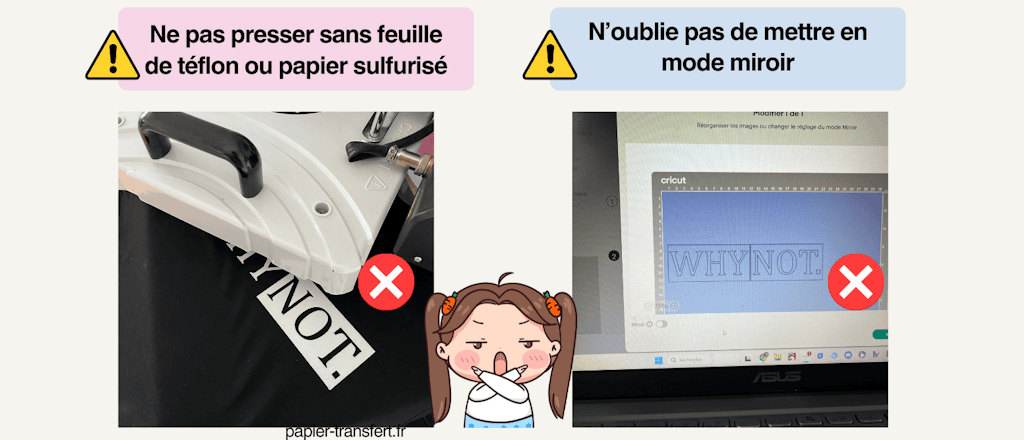
The Teflon Sheet
A Teflon sheet is a protective layer you place between your press (or iron) and your design. It keeps the vinyl from sticking or scorching, and it helps your creations last longer. The first time I forgot to use one… I ended up with a lovely blob of melted vinyl stuck to the soleplate of my iron
😅
(if it happens to you too, let it cool down completely before you try to remove it. It'll come off much more easily!).
Tip: if you don't have a Teflon sheet yet, parchment paper will do the trick!
A Centering Ruler or Alignment Guide
Because a crooked design can ruin an entire project. This centering ruler helps you place your designs in exactly the right spot every time (ideal for T-shirts, for example).
A Few "Test" Garments
Before you customize your favorite piece of clothing, it's a good idea to practice on basic T-shirts, or even your kitchen apron. It helps you build confidence and try out different settings stress-free (so you don't end up mourning your favorite sweatshirt
😭
).
Pressing Mat
The pressing mat goes between your press and your fabric to distribute heat and pressure evenly. It protects both your fabric and your vinyl, prevents unwanted marks, and ensures a clean, long-lasting transfer.
P.S. A pressing mat is only useful with a portable press. If you use the AutoMagic heat press, you won't need one!
These tools aren't a must, but trust me, they make all the difference once you're hooked on HTV. They turn what can be a bit of a hit-or-miss experience into pure creative fun.
✨
👉
Now that we've covered what equipment you need for heat transfer vinyl, let's look at the common beginner mistakes to avoid so you don't waste time (or, more importantly, money)!
4. Common Mistakes to Avoid
When you first start working with heat transfer vinyl, we all make the same little mistakes. And that's completely normal! But if you want to avoid wasting time (and sometimes money), here are the most common pitfalls to watch out for.
**❌**Forgetting to Mirror Your Design
It may sound silly, but it's a really common mistake! Heat transfer vinyl is cut printed or shiny side down, so if you forget to turn on mirror mode before cutting, your image or text will be reversed once it's transferred onto the fabric.
😬
The result: your name, logo, or quote will come out backwards… and you'll have to start all over again. To avoid this slip-up, always remember to turn on mirror mode before you start cutting, especially for text or asymmetrical designs.
**❌
Choosing Poor-Quality Garments**
You can have the best HTV in the world, but if your T-shirt is too thin or poorly cut, the results will never look great. Invest in decent-quality garments from the start: it makes a huge difference in both the finish and durability.
**❌
Getting the Temperature and Pressing Time Wrong**
Too hot? Your vinyl melts. Not hot enough? It won't stick properly. It's one of the most frustrating mistakes. The secret: carefully read the instructions that come with your HTV (each type has its own specific settings).
At Transfer Paper, you'll find all the heat settings on each vinyl's product page!
**❌
Trying to Go Too Fast**
Can't wait to see your design on fabric? I get it. But rushing the weeding or applying your design crooked will quickly make it look amateurish. Take your time: every step counts.
**❌**Ironing Over the Vinyl After Washing
A lot of people think they can just iron right over the design to get the wrinkles out. Bad idea! The heat from the iron can melt the vinyl or make it peel, even after several washes.
Even ironing the garment inside out doesn't always keep the design safe: if the temperature is too high or you leave the iron in one spot for too long, the vinyl can still come off, especially thin or glitter HTV.
👉
In short: keep it simple, choose good equipment, and stick to the basics. These mistakes are easy to avoid once you know what to watch for.
And to help you get off to a great start, I'm going to share some practical tips that will make a real difference.
5. Practical Tips for Getting Off to a Great Start
Now that you know what equipment you need for heat transfer vinyl and which mistakes to avoid, here are a few tips to help your first projects go smoothly and successfully.
✅
Start Small
There's no need to jump in with a 50 € sweatshirt on your very first try: stick with basic T-shirts, tote bags, or throw pillows, and start with small designs. That way, you'll learn to master your machine and heat transfer vinyl without wasting materials.
✅
Write Down Your Settings
Every type of vinyl and every fabric needs specific settings (temperature, pressing time, pressure). Keeping a little notebook where you jot everything down will save you a ton of time and keep you from repeating the same mistakes.
P.S. The cut settings for all our heat transfer vinyls (and adhesive vinyls) are listed on each product page. Feel free to double-check that everything's set correctly before you start cutting!
✅
Try Different Types of Vinyl
Matte, glitter, velvet, 3D… Each vinyl has its own finish, and some are easier to apply than others. Try different styles to find out what you like best and what works best with your fabrics.
✅
Be Bold: Create and Share
Don't be afraid to give it a try. Even if it's not perfect the first time, practice is how you'll improve. Give your creations to family or friends: their feedback will be valuable and motivating.
✅
Take Your Time
Working with heat transfer vinyl takes a bit of patience, especially at first. Every step counts: cutting, weeding, positioning, and transferring. The more careful you are, the better your final result will be.
These simple but effective tips will help make your first steps with HTV a fun and successful experience.
✨

6. Now It's Your Turn!
So now you know what equipment you need for heat transfer vinyl and how to avoid beginner mistakes. With a cutting machine, heat transfer vinyl, the right mat, a weeding tool, and a press, you already have everything you need to create your first one-of-a-kind pieces.
Everything else is a bonus: extra tools and tips that will make things more comfortable and improve the quality of your creations. What really matters is to get started and let your creativity shine.
Customizing fabric with heat transfer vinyl isn't complicated: it's a technique anyone can learn, and it lets you personalize clothes, accessories, and gifts however you like. So don't wait any longer: test, experiment, and have fun!
So what will your first heat transfer vinyl project be? Share it in the comments or on our social media. I can't wait to see your ideas!
💡
If you want to take things further and avoid beginner headaches, check out our article "Cricut Tutorial for Beginners: Your First Heat Transfer Vinyl Project". Trust me, it makes a huge difference and saves you a ton of time.
FAQ: Customizing Fabric with Heat Transfer Vinyl
You now have everything you need to get started with heat transfer vinyl and choose the right equipment.
💡
To answer your questions even more thoroughly and help you avoid the most common mistakes, here's a handy FAQ covering the questions beginners ask most often.
**❓
What Is Fabric Customization with Heat Transfer Vinyl?**
It's a technique that involves transferring a design cut from heat transfer vinyl onto fabric using heat, either with an iron or a heat press. It lets you personalize T-shirts, tote bags, sweatshirts, and lots of other fabric items.
**❓
What Equipment Do You Need to Get Started?**
To get started, you'll need:
-
A cutting machine (Cricut, Silhouette…)
-
Some heat transfer vinyl
-
A compatible cutting mat
-
A weeding tool
-
An iron or heat press
**❓
Can You Apply Heat Transfer Vinyl with Just an Iron?**
Yes! An iron can be enough to get started, as long as you follow the recommended temperature, time, and pressure for your heat transfer vinyl. For a more precise, longer-lasting finish, a heat press is still the best option.
**❓
What Types of Fabric Can You Use HTV On?**
Heat transfer vinyl works on most fabrics made of cotton, polyester, or a cotton/polyester blend. Avoid very thin, stretchy, or delicate fabrics, which may not hold up well to the heat.
**❓
What Mistakes Should You Avoid When Starting Out?**
-
Buying too much equipment right off the bat
-
Choosing poor-quality garments
-
Getting the temperature, pressure, and pressing time wrong
-
Trying to go too fast and rushing the weeding or application
**❓
How Do You Know Which Vinyl to Choose?**
The right heat transfer vinyl depends on the finish you want: matte, glitter, velvet, holographic… To get started, we recommend a good-quality standard vinyl. You can try other styles as you gain experience.
**❓
Can You Wash Clothes Customized with HTV?**
Yes, garments customized with HTV hold up in the wash if you follow a few rules: turn the garment inside out, wash at a moderate temperature, avoid high heat in the dryer, and don't iron directly over the vinyl, so your design lasts longer.



Comments
No comments yet. Be the first to share your experience.
Leave a comment