
For a long time I wondered how to clean a Cricut cutting mat without making it unusable...
🤔
If you use your Cricut often (or any other cutting machine for that matter), you know that your cutting mat is your best ally
✂️
. It is the mat that holds your paper, your vinyl, your fabric, your heat-transfer vinyl (and even more!) firmly in place during cutting.
But... let's be honest: it is also the tool that gets dirty the fastest
😅
. And here comes the question with a thousand and one answers: how do you clean a Cricut cutting mat?
Unfortunately, when you set out to clean a Cricut cutting mat, you quickly find yourself lost
😅
. Online, either there is hardly any clear and reliable content on the subject
📉
, or on the contrary, you run into an avalanche of completely random tips
🤯
. And naturally, when you want to do things right, you start testing pretty much everything that comes your way... until it becomes discouraging
😔
.
Because between products that are too harsh
🧴
, the so-called good ideas
💡
and contradictory advice
❌
, you no longer know who to trust. The result: you set the mat aside, you lose the desire to clean it, and sometimes even... you end up damaging it even more than it already was
😩
.
That is exactly what I no longer want you to go through
✨
, and that is why I am going to share with you the right habits to adopt to bring your mat back to life, without any hassle
😉
.
Because it has to be said, a dirty mat is a nightmare → pieces that no longer stick, ruined cuts, wasted time, wasted material... In short, everything we hate when we want perfect creations
💥
.
👉
But wait, I do have good news! You don't need to be a cleaning pro to clean your Cricut cutting mat (on the contrary, it can even become a little stress-free moment between two projects
🧽
✨
). So rather than buying a new one every time, why not learn how to clean a Cricut cutting mat together?
I know we all really love saving time, so here are my best tips, simple, quick and effective to:
✅
Clean a Cricut cutting mat without damaging it
✅
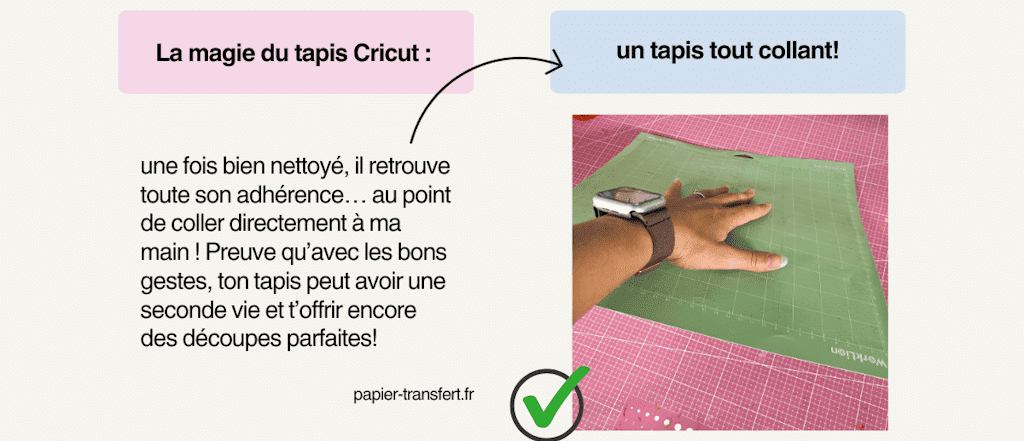
Make it super sticky again
✅
And above all, extend its lifespan as much as possible
💡
So get comfortable, pick the first Cricut cutting mat you want to clean, take some notes... and get ready to say goodbye to the grubby mat
👋
and hello to perfect cuts
🎉
.
🔎
Why clean your Cricut cutting mat regularly?
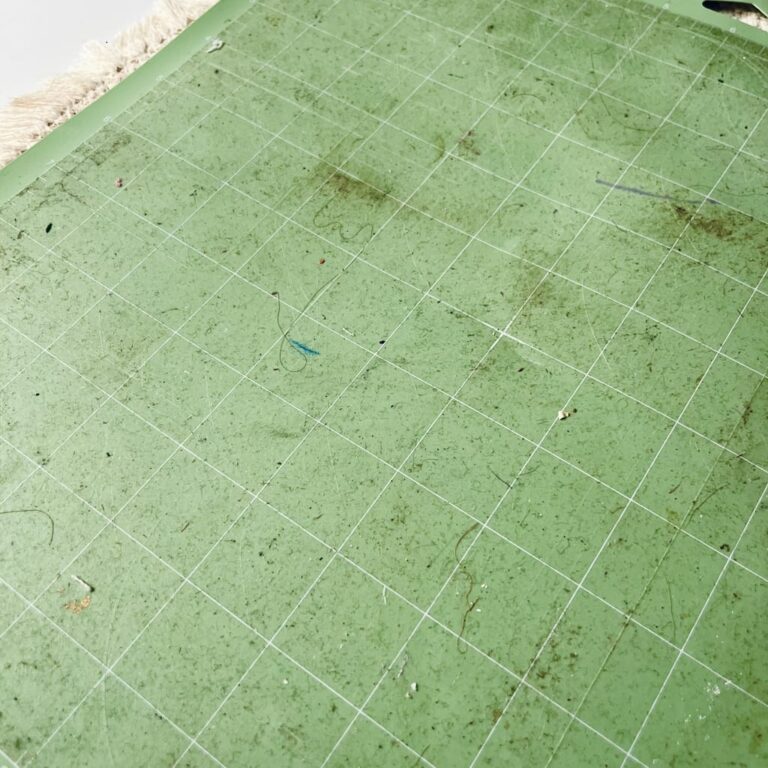
Your Cricut cutting mat is a bit like your work surface: if you don't clean it, it will quickly become unusable. After a few cuts, you will notice that it gets covered with little bits of paper, fabric fibers or even dust, or WORSE, weeded vinyl scraps (that is why I recommend having a waste collector. It will save you from spending hours peeling these tiny pieces off your mat one by one). The result: your Cricut cutting mat loses its grip and your creations no longer hold properly. And let's be honest, it is not very pleasant to work with a cutting mat in that state.
✨
A grubby mat means:
-
Ruined cuts because the sheet moves or comes loose.
-
Time wasted repositioning your project. Or sticking lots of little pieces of tape to keep it in place (yes yes, I plead guilty **
😅
**).
-
Wasted material (and when you are creative, it breaks your heart
🥲
).
-
A machine that strains more than necessary... and ends up wearing out faster.
-
A project that was supposed to be fun and quick... and turns into a real nightmare
😩
.
-
And above all: a lot of frustration, whereas with a well-maintained mat everything becomes so much simpler
✂️
✨
.
That is why you should clean your Cricut cutting mat regularly: you extend its lifespan, you avoid reaching for your wallet too often to buy a new one, and you ensure precise cuts every time. In short, it is a win all round for you and your projects
✨
.
What's more, a well-maintained mat means less stress during your creations and more enjoyment when using your machine. You save time, you save your materials, and you keep the satisfaction of seeing your project succeed on the first try. Trust me, taking 5 minutes to clean it is well worth the hours of frustration you could get from a mat that is non-sticky, dirty or ineffective!
🚫
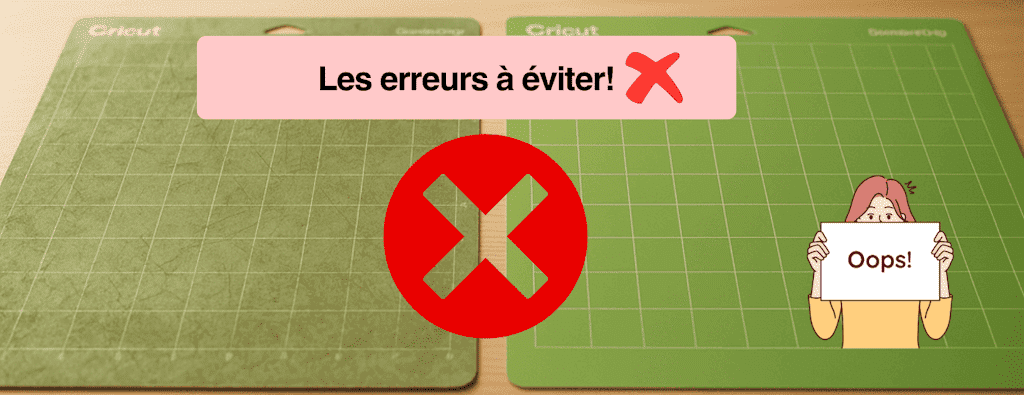
The mistakes to avoid at all costs when cleaning your Cricut cutting mat
When you want to do things right, you can quickly fall into the trap and damage your Cricut cutting mat without meaning to. Here are the most common mistakes to avoid when you clean your Cricut cutting mat:
-
Using products that are too harsh
👉
Alcohol, acetone, bleach or any other strong chemical can destroy the mat's adhesive. The result: it won't stick at all anymore. Better to stick to gentle products
😉
.
-
Scrubbing too hard
Abrasive sponges, hard brushes or the "scratchy" side of sponges are to be banned. They can scratch your mat and reduce its effectiveness. Go for a soft sponge or a microfiber cloth instead. -
**Putting it in the dishwasher (yes yes, some people do
😅
)**
Even if the idea might possibly seem handy, it is the best way to warp it, strip away all the adhesive and thereby make it completely unusable. So FORGET this idea entirely for the sake of your mat😉
.
-
Drying it with heat
Radiator, hair dryer or direct sunlight: to be avoided at all costs. The adhesive does not like heat and your mat could warp.
In short: be patient, take it slow, and your mat will thank you
🙏
.
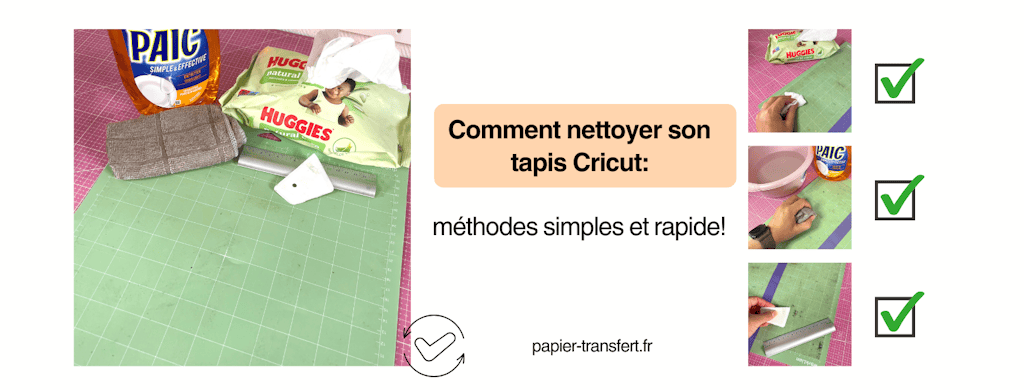
🧽
How to clean your Cricut mat: simple methods
As I told you above, you don't need to be a cleaning pro to clean your Cricut cutting mat and give it a fresh start! Depending on its condition, you can choose the method best suited to clean your Cricut cutting mat.
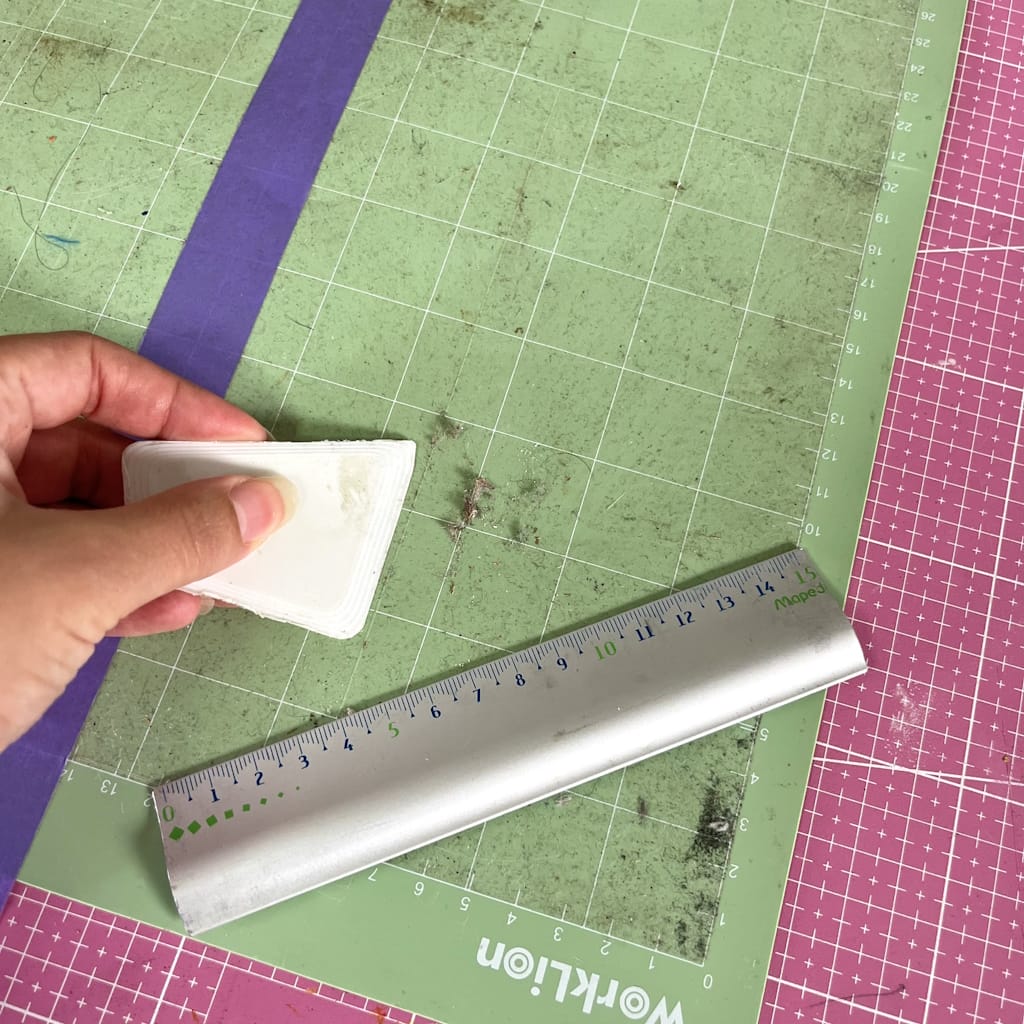
🔹
a) The gentle method, for small bits of residue
If your mat is just a little dirty (a few bits of paper, dust, hair...), there is no need to bring out the heavy artillery.
-
Use a Cricut spatula or a ruler to gently scrape off the leftovers.
-
Run a lint roller over it, it is magic for catching everything lying around.
👉
Perfect for quick upkeep after each project.
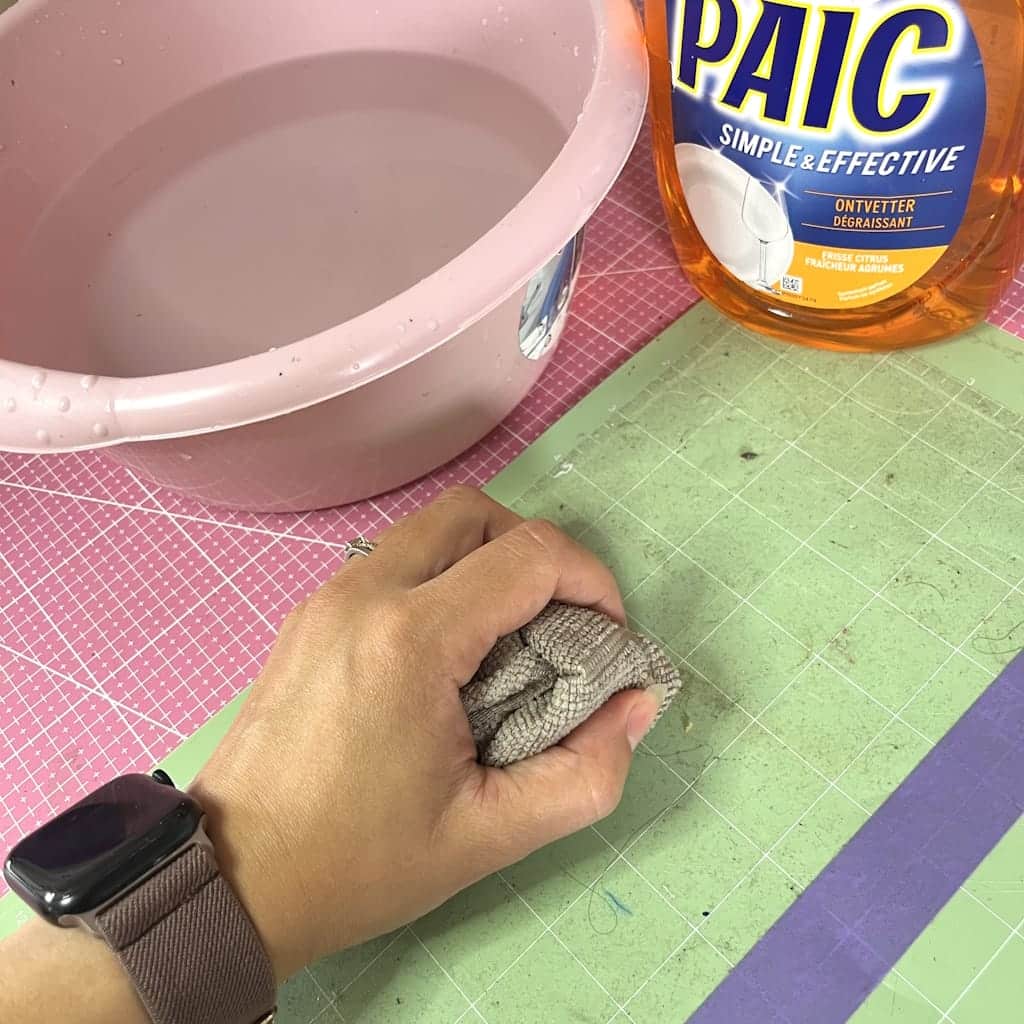
🔹
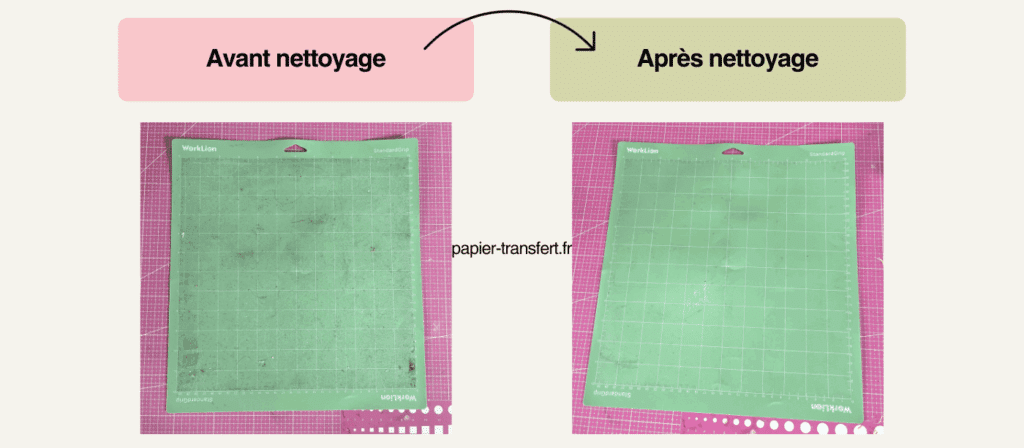
b) The soapy water method, for a really dirty mat
When your mat is truly covered in residue and nothing holds anymore:
-
Run it under a stream of lukewarm water.
-
Add a little gentle soap (dish soap does the trick).
-
Clean gently with a soft sponge or a microfiber cloth using circular motions.
-
Rinse with clean water.
-
Let it air dry, flat, until it is completely dry.
⚠️
No direct heat (hair dryer, radiator, sun), otherwise the adhesive suffers and the mat can warp.
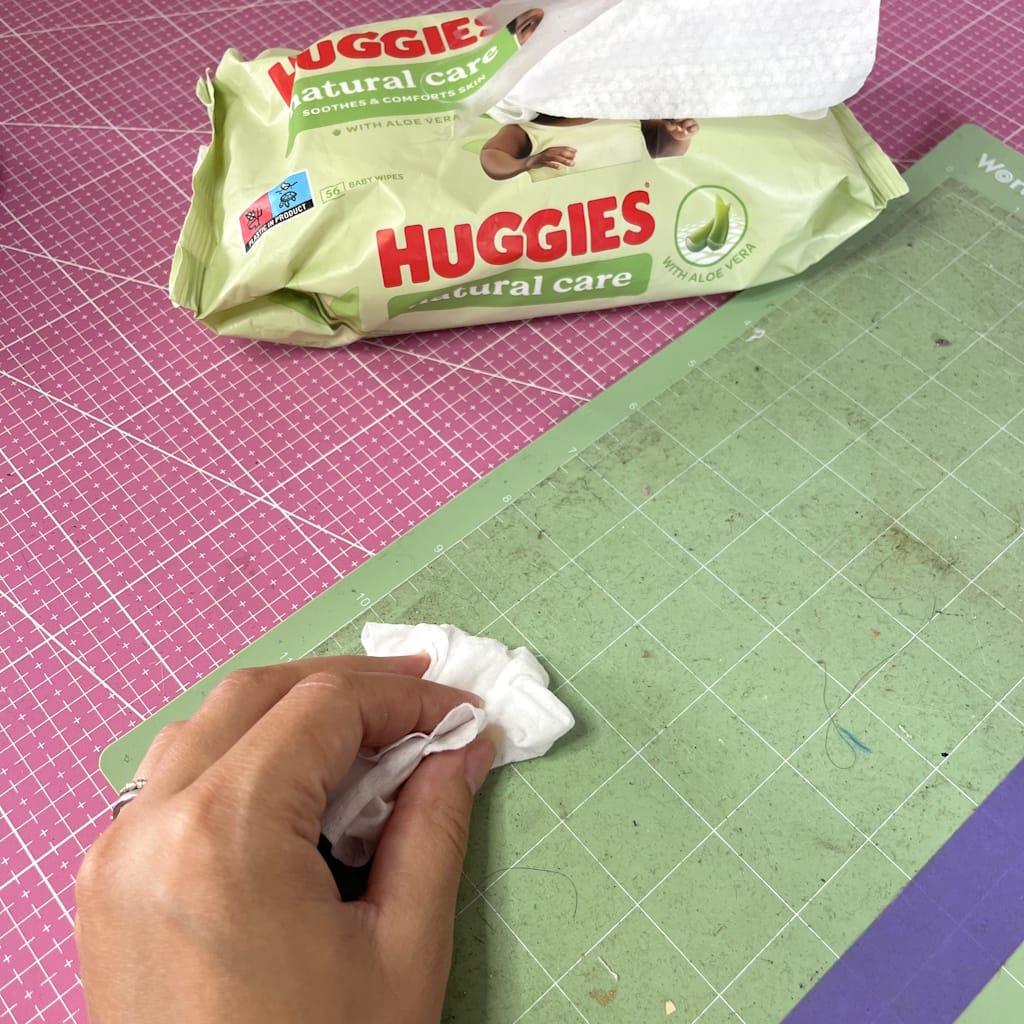
🔹
c) The wipe method, for a quick freshen-up
No time? Use an alcohol-free baby wipe. I really insist: choose an ALCOHOL-FREE wipe (forget household wipes), otherwise you can say goodbye to your mat's adhesive! Run it gently over your mat to remove the little bits of dirt. Always using circular motions. It is a quick fix, but a handy one between two big cleanings.
It is actually my favorite technique, because it saves me time while keeping my mat clean and sticky for longer.
👉
Bonus tip: clean your mat as soon as you notice it is losing a bit of grip, rather than waiting until it is completely covered. That way you will extend its lifespan.
💡
Tips to extend the lifespan of your Cricut cutting mat
A Cricut mat doesn't last forever... but with good habits, you can push back the moment when you have to buy a new one by a long way:

Here are my best tips:
-
**Always put the protective film back after use
**The plastic film that covers your mat is not there just to look nice: it protects the adhesive from dust and dirt. Remember to put it back every single time. I know it is a bit of a pain to put back on, but at the same time it is so important! -
Use the right mat for the right project
Cricut offers different mats: LightGrip (thin paper), StandardGrip (vinyl, cardstock), StrongGrip (thicker materials) and FabricGrip (fabrics). Using the wrong mat wears it out much faster. And to be set for a while, you can buy all the Cricut cutting mats at once! That way you will always have the right Cricut cutting mat to work with! -
**Never cut without material
**If your blade runs directly over the mat, it will damage it and leave deep marks (or even go right through😱
, and then it is a DISASTER!)
-
Store it properly
Keep your mat flat, in a clean and dry place. Avoid folding it or exposing it to direct sunlight. -
Clean regularly, but not too often
Good upkeep is all about the right balance. Cleaning too often can also reduce the effectiveness of the adhesive. Only do it when you feel the grip is fading. There is no point in cleaning your Cricut cutting mat after every use.
👉
With these little habits, your Cricut mat will stick with you for much longer through your creations
✨
Cleaning your Cricut cutting mat is not only a matter of saving money. It is also the key to pulling off your projects stress-free. With a few simple, regular habits, you can keep your mat clean, extend its lifespan and avoid plenty of frustration (yes yes, it is so annoying to ruin a project because of the cutting mat)!
Above all, remember that you need to:
👉
Clean gently
👉
Protect your mat after each use
👉
Accept that one day, it will need to be replaced.
Your mat is your best creative ally, so pamper it
💚
.
👉
And what about you, what is YOUR tip for keeping your Cricut mat like new? Share it in the comments, it could help other enthusiasts!
PS: Rest assured that no Cricut cutting mat was mistreated for this article!
❓
FAQ, How to clean your Cricut cutting mat?
1. Can I put my Cricut mat directly under water?
Yes, but only with lukewarm water and a little gentle soap. Avoid hot water, which can damage the adhesive. It is not cool to have to buy a new mat that is still in fairly good shape but no longer sticks.
2. How many times can a Cricut mat be cleaned?
It depends on your usage. Generally, you can clean it several times before it completely loses its grip.
3. Can I reapply adhesive if my mat no longer sticks?
Some people use repositionable adhesive sprays to extend the mat's life, but Cricut does not officially recommend it. It is a "last-resort" tip.
4. What is the best way to remove little bits of paper?
The lint roller or the plastic spatula are the most effective and fastest.
5. Do I absolutely have to buy a new mat when it is no longer sticky?
Yes, sooner or later, replacement is inevitable. But with good upkeep, you push back that moment and get the most out of your current mat.
💡
One last little secret: you don't always have to buy the official Cricut cutting mats, which often cost quite a lot. There are alternatives from other brands, much more affordable, and honestly... they work just as well!
🙌
If you want to save money without sacrificing quality, you can take a look at the models available right here.


