When we talk about a creative project, we immediately think of crafts and small creations that you can make at home, for example to decorate the inside of your house or to personalize objects and clothing.
Even though heat-transfer vinyl is a wonderful creative idea for people who are passionate about crafting, this material is not well known to the general public. 🤷♂️
So we are going to demystify what heat-transfer vinyl is and explain how to use it to make great creations. 😉
What is Heat-Transfer Vinyl?

Let's start with a simple analogy: You know the numbers and names on football jerseys? Well, they are made with heat-transfer vinyl.
More precisely, heat-transfer vinyl is the consumable that lets you apply lettering and designs onto fabric. 👕
Vinyl is generally sold in rolls of several meters and you have to cut inside the roll to get a design that you then simply apply with heat onto your garment.
Cutting the vinyl design is done with a cutting machine and applying the vinyl with heat is done with an iron or a heat press. ✅
Once the design is applied to the garment, it will hold up perfectly to machine wash cycles.
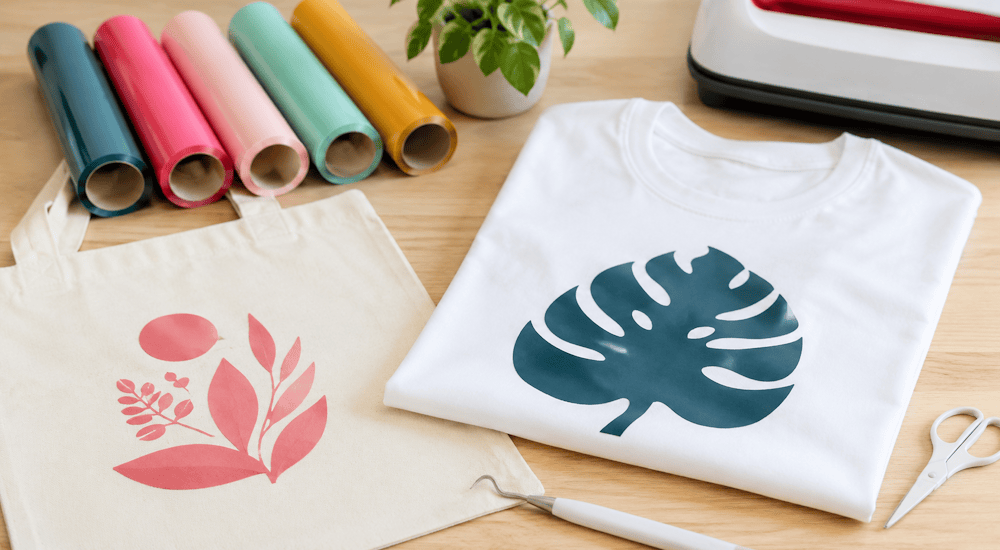
In short, heat-transfer vinyl is the material that lets you customize any type of garment. This printing method is used both by major fashion brands (such as Nike or Adidas) and by companies that specialize in textile personalization.
And the best part of all is that you can also use it for your creative projects on clothing on a small budget! 💰
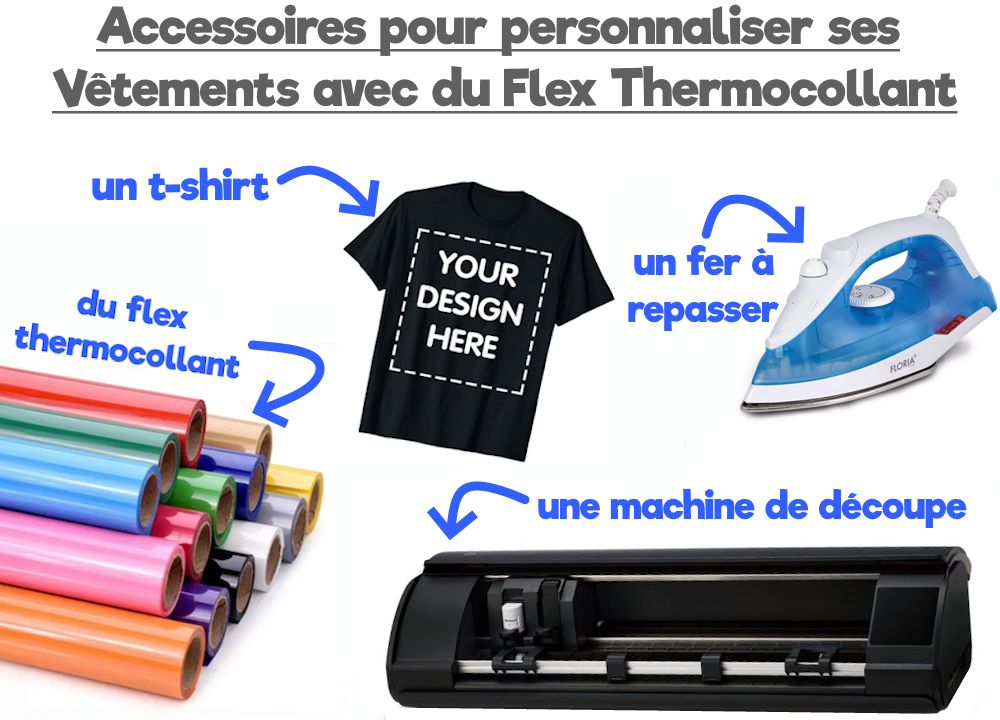
What accessories do you need to use heat-transfer vinyl?
Now that you know what heat-transfer vinyl is, we are going to introduce all the accessories you need to personalize your clothing with this technique.
To use heat-transfer vinyl, you have two methods to choose from: the first method requires almost no upfront investment, but the creative possibilities are much more limited.
Method 2 will let you freely make any creative project in heat-transfer vinyl to personalize your clothing as much as you like, but it requires an upfront investment:
Method 1: Order pre-made heat-transfer vinyl logos
For this method, you will need:
1️⃣ A heat-transfer vinyl logo
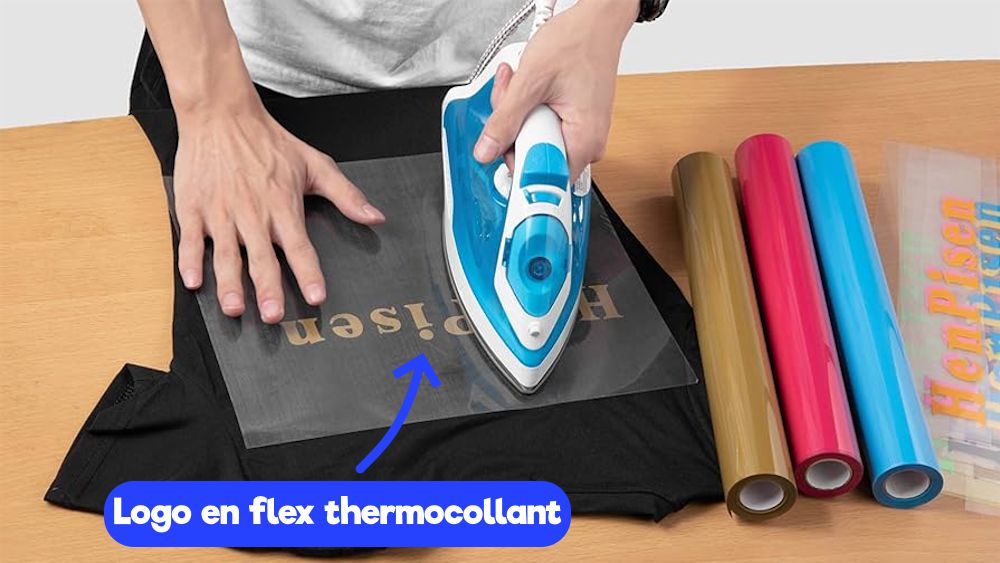
The heat-transfer vinyl logo will need to be applied to your fabric with heat.
2️⃣ A garment (a t-shirt, for example)
3️⃣ An iron
The iron lets you apply your heat-transfer vinyl logo onto the fabric using heat.
You can order ready-cut heat-transfer vinyl designs online that you then simply apply onto the garment of your choice to personalize it. 👍
The problem with this method is that it isn't really a craft project, because you didn't create your own logo yourself.
💸 Cost of the method: about 8€
Method 2: Invest in a cutting machine
For this method, you will need:
1️⃣ Rolls of heat-transfer vinyl
The rolls of heat-transfer vinyl will need to be cut by the machine to create your logo.
2️⃣ A cutting machine
To cut the heat-transfer vinyl and create your logo.
3️⃣ A garment (a t-shirt, for example)
The heat-transfer vinyl logo will be applied to the garment to personalize it.
4️⃣ An iron
The iron lets you apply your heat-transfer vinyl logo onto the fabric using heat.
If you want to make the heat-transfer vinyl creations yourself and then personalize your clothing, this method should interest you.
You will need to invest in a cutting machine that lets you cut your own heat-transfer vinyl designs.
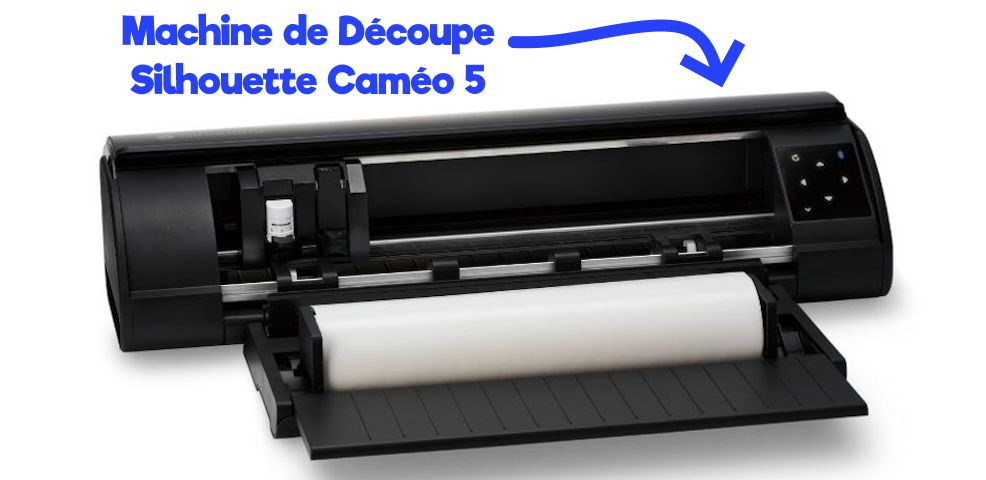
The Silhouette Cameo, the Cricut Maker and the Cricut Joy are among the highest-quality cutting machines available on the market.
You can of course also use scissors to cut the vinyl directly, but your creations will take much more time and they will be harder to make.
What's more, this method is much more cost-effective if you start personalizing a large number of garments with heat-transfer vinyl.
💸 Cost of the method: about 390€
How do you use heat-transfer vinyl for your creative project on clothing?
By now, heat-transfer vinyl should no longer be a mystery to you, and if you have read this article this far, it means you might be considering making your first creative project with it! 🤩
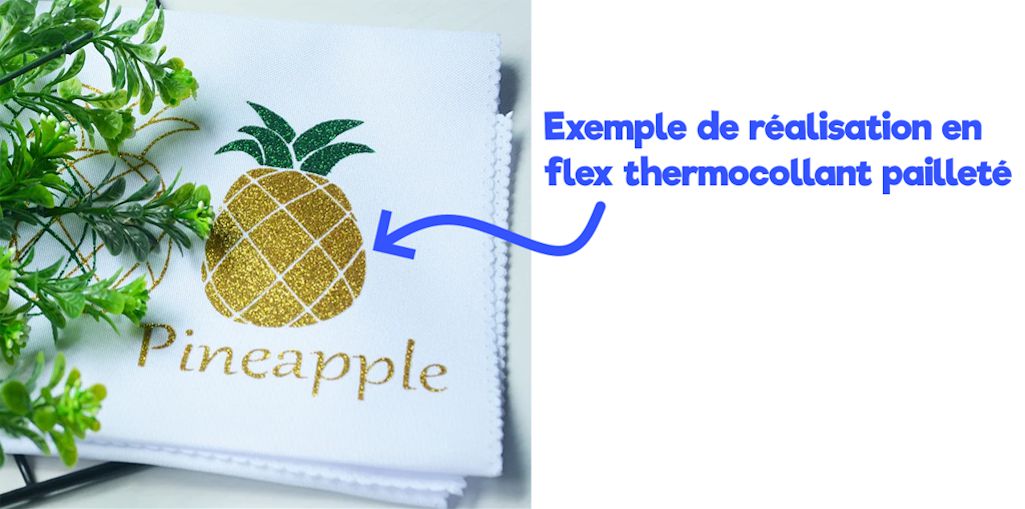
There are different types of heat-transfer vinyl on the market (glitter vinyl, velvet-look vinyl, plain vinyl, or even 3D-look vinyl). In this tutorial, we have chosen to use glitter heat-transfer vinyl as well as plain vinyl to make our logo.
Now, we are going to guide you step by step through personalizing your first garment with heat-transfer vinyl.
If you plan to use the first method (by buying pre-made heat-transfer vinyl designs) you can skip straight to step number 2.
If you want to invest in a cutting machine, follow all the steps carefully. 🧐
Step 1: Cut your heat-transfer vinyl logo with the cutting machine
➡️ Upload your logo into the cutting machine:
To start, you need to upload your logo into the cutting machine's software. (Please note that the software for the various cutting machines mentioned above is free.)
Once your logo is loaded into the software, you will need to adjust your machine's settings for cutting heat-transfer vinyl.
![]()
We won't go into this topic in depth in this article, but if you use the Silhouette Cameo cutting machine, know that we have written an article that explains in detail how to cut your heat-transfer vinyl design with the Silhouette Cameo.
➡️ Start cutting your design:
Turn on your cutting machine and insert the heat-transfer vinyl inside it. Inserting the heat-transfer vinyl into the cutting machine is generally done with a cutting mat that is included with the machine.
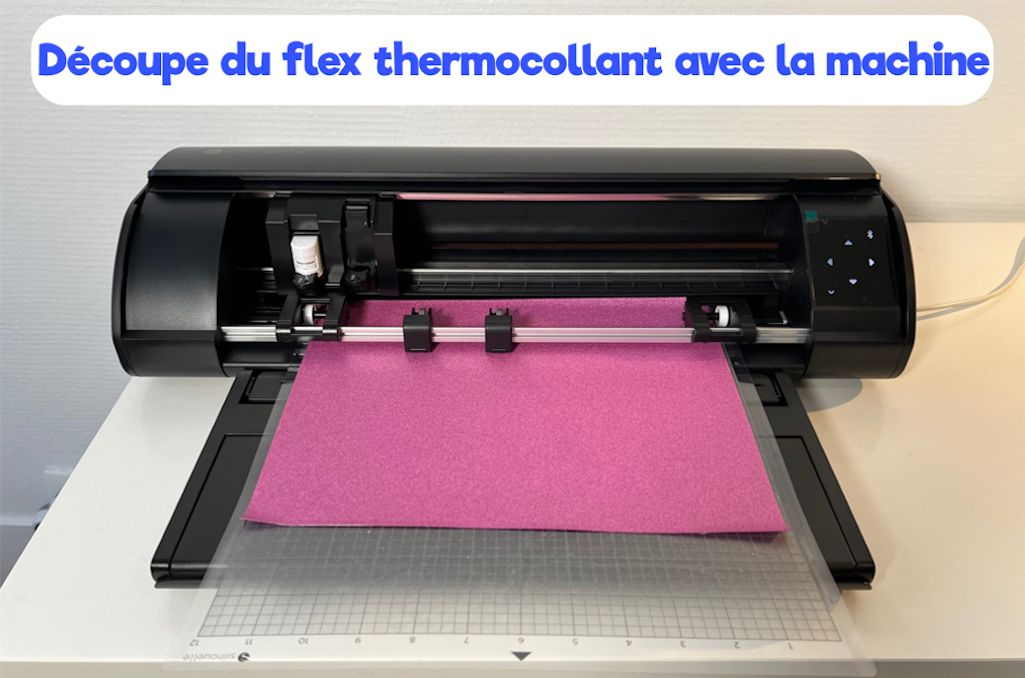
Once the vinyl is correctly inserted into the machine, start cutting the logo.
⚠️ Since the design we chose has 3 different colors (the unicorn with the stars and the lettering), in this case we have to repeat the cutting process 3 times (once for each color).
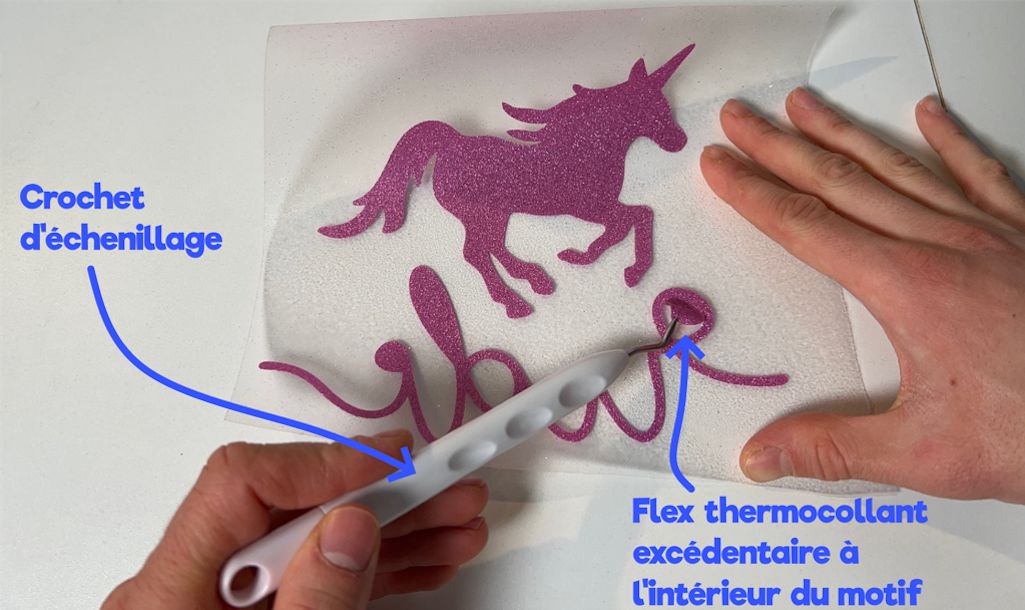
➡️ Remove the excess heat-transfer vinyl:
Once the cutting is finished, your logo will not be visible yet. In order to see your craft creation, you will need to remove the excess heat-transfer vinyl around your logo (this technique is also called "weeding").
For projects with intricate detail, you will also need to weed the small excess details inside your logo. To do this, I recommend using a weeding hook, because it will make the process much easier (you can also use tweezers). ⬇️
Your heat-transfer vinyl creative project is almost ready! Now you just have to move on to applying your logo onto the garment of your choice.
Step 2: Apply the heat-transfer vinyl logo onto your garment
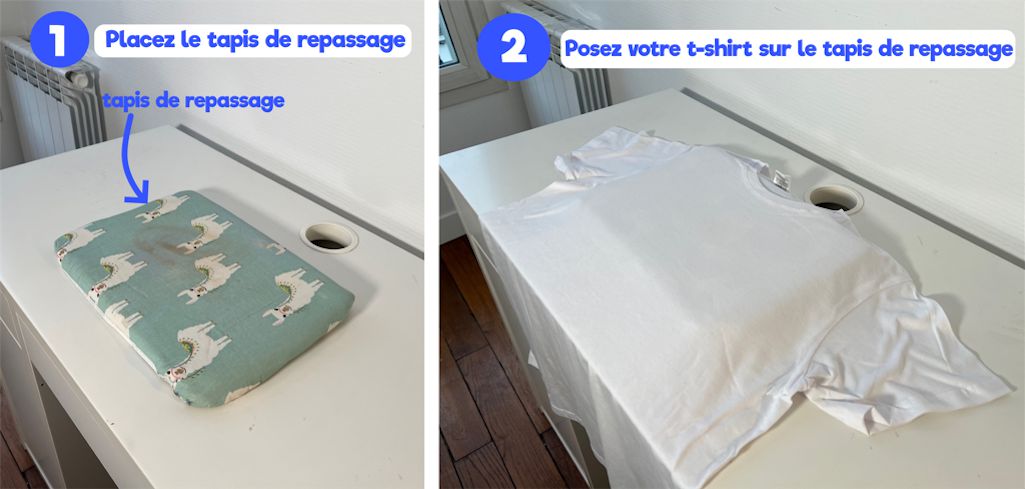
➡️ Prepare your work surface and preheat your iron:
First of all, you need to prepare the work surface. Your iron is going to heat up to over 150 degrees, so you need to remove all easily flammable objects around you.
To apply the heat-transfer vinyl onto the garment, you can for example use your ironing board or a pressing mat that will help protect your table. ✔️
Preheat your iron to 150 degrees (polyester/wool setting).
➡️ Apply the design onto the garment:
Take your vinyl design and place it on the fabric where you want to transfer it.

Once you have found the perfect spot, take a sheet of baking paper and place it over your design (this will protect your fabric against the heat of the iron). You can also use a Teflon sheet, which will be more economical in the long run because it is reusable. 🔄
Press firmly on the fabric for 20 seconds at 150°C.
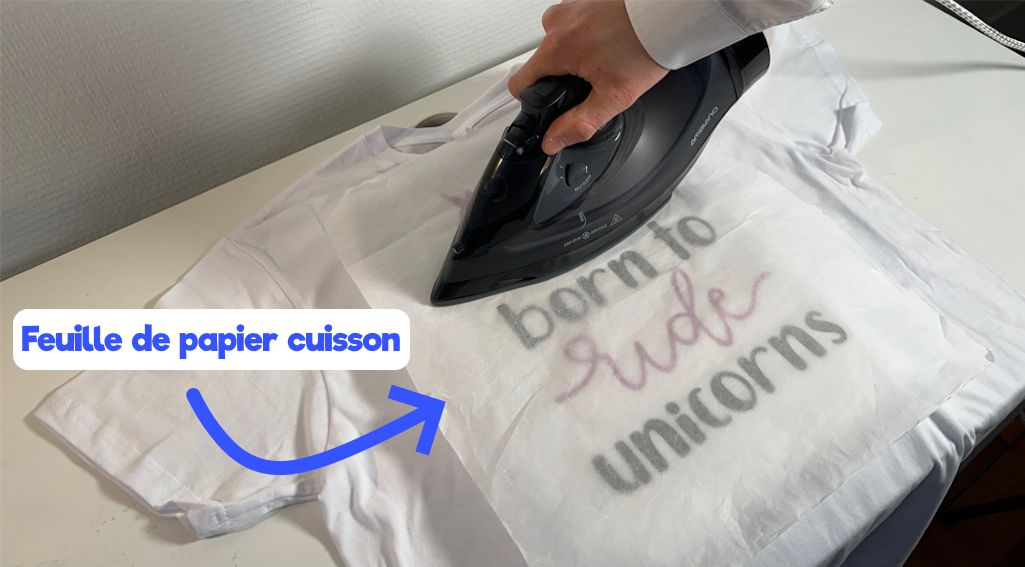
As you can see in the image above, my iron is smaller than the entire heat-transfer vinyl design. If this is also the case with your design, you will simply need to press on each part of the design at least once. (For example, start on the top part by pressing for 20 seconds, then move to the middle part, then to the bottom part.)
➡️ Enjoy the result of your creative project:
Once the operation is finished, wait 30 seconds then gently peel away the transparent carrier from the heat-transfer vinyl.
This step is called peeling the heat-transfer vinyl, and you will finally be able to admire your personalized garment creation made with heat-transfer vinyl.
To make sure the design won't come off in the wash, place the sheet of baking paper back over the design and press firmly again with your iron for 15 seconds.
Once all these steps have been completed successfully, you can be proud of yourself, because you have made your first creative project with heat-transfer vinyl! 😀
If you are interested in craft creations and you want to personalize your clothing with heat-transfer vinyl as a hobby or professionally, you can browse our entire range of heat-transfer vinyl. 😍
We are also an official reseller of the Silhouette Cameo 5 cutting machine, which is an excellent machine for cutting heat-transfer vinyl and other materials, so don't hesitate to get one!