
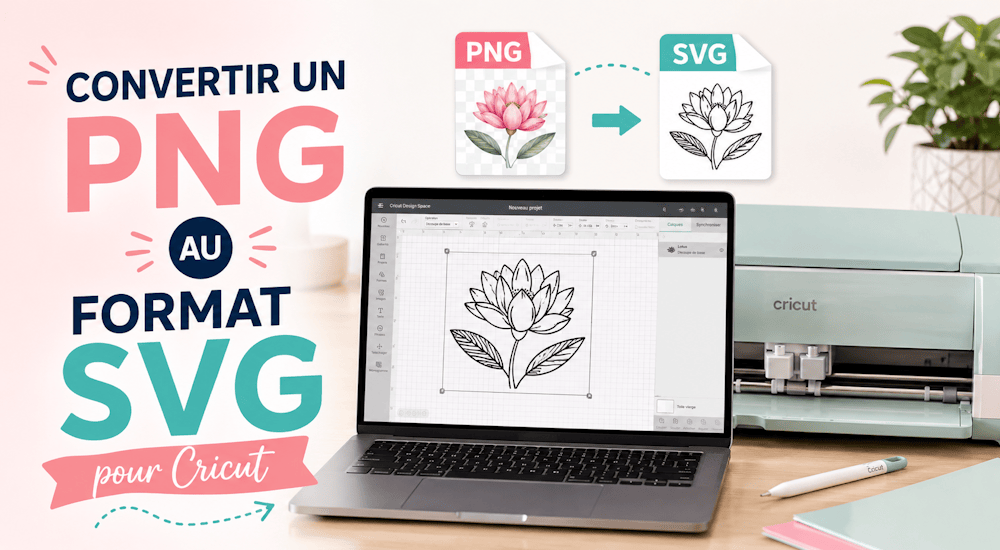
A vector graphic (SVG) is a type of image format. Unlike other formats, SVG files don't rely on individual pixels to create the images you see. Instead, they use "vector" data.
When you use the SVG format with your Cricut machine or any other cutting machine, you get images that can be scaled to any resolution without the design losing quality. In this article, we'll look at what an SVG file is and how to use it with the Cricut Design Space software! 😉
What Is an SVG File?

SVG stands for "scalable vector graphic." An SVG file is a vector graphic format that's really nothing more than a plain text file describing lines, curves, shapes, colors, and text. SVGs are extremely versatile when it comes to being read by software like Cricut Design Space and Silhouette Studio.
As we mentioned, an SVG file doesn't rely on pixels the way a photo file (JPG or PNG) does. That makes it resolution-independent and infinitely scalable. So once you've imported your design in SVG format into your software, you can resize the logo as much as you want without affecting its quality. It's like magic ✨! An SVG image stays clear and sharp at any size.
Another advantage of SVG cut files is their small file size. That makes them perfect for downloading and easy to store digitally. 👍 All of this makes SVG the perfect file format for cut files to use with your cutting machine.
Uploading SVG Files to Cricut Design Space
Here's how to upload an SVG file to the Cricut software. It's quick, easy, and fun!
You'll also see how to resize the logo to the right size for your project.
Open Cricut Design Space.
Click "New Project."
Then, on the bottom left side, click "Upload."
In the upload section, click "Upload Image."
Browse to the folder where you saved your SVG image file.
Once you've found your file, click it to open it in Design Space.
Now all you have to do is click "Add to Canvas" to use it in your future creations! 🤩
How Do You Turn a PNG Image into an SVG for Cricut?
Now you know how to upload an SVG to Cricut Design Space.
Next, let's look at how to convert a PNG image to SVG format. For this tutorial, we'll use the trace feature in Inkscape to convert the logo from PNG to SVG. You can also use other software like Illustrator or even Photoshop...
So let's see how to create SVG files for Cricut with Inkscape!
How Do You Create SVG Files for Cricut in Inkscape?
One of the great things about Inkscape is that its main file format is already SVG! That makes it an excellent choice for converting images to SVG and working with vector graphics. ✅
For this example, we'll use the Saturn logo you can see in the image below.
Of course, you can also use any project you're currently working on.
Step 1️⃣
Open the PNG file of your choice in Inkscape.
Step 2️⃣
Now you'll need to trace the logo so there are no more visible pixels in the design. To do this, click "Path" ➡ "Trace Bitmap" ➡ Left-click on your logo ➡ Finally, click "Apply"
A new logo will appear. Delete the old PNG logo and keep the new one. You'll notice it has no pixels, because it's been traced.
Step 3️⃣
Now let's save the design to the computer. Click "File" ➡ Rename the file ➡ Choose the SVG format ➡ Click "Save"
You now have an SVG file you can import into Cricut Design Space.
How Do You Convert a PNG File to SVG for Cricut Using Design Space?
The second way to convert a JPG or PNG to SVG for use with Cricut is to do it directly in the Cricut Design Space software. This software is free, and you need it to use your Cricut.
Step 1️⃣
In Design Space, click "Upload" in the left sidebar. Then upload your JPG or PNG image. Choose an image complexity level based on the descriptions Cricut provides.
Step 2️⃣
You'll then be taken to an editing screen with three editing options: the magic wand, an eraser brush, and a crop tool. As shown in the image below, use the magic wand and click the white background of your logo to remove it. 🖱️
Click each white background area of your logo that you want to remove, one at a time.
Step 3️⃣
Once you've finished removing the parts of your image you don't want, you can choose between a Print Then Cut image and a Cut image.
A Print Then Cut image keeps its colors, since you'll print it first and then cut it out. For example, if you're making stickers with your Cricut.
But for our project, we want a Cut image. Don't worry about the color disappearing: the design can be split into several parts so you can cut the right colors on your cutting machine. Click the Cut option, then Save! Your new file now appears on the Design Space canvas. ✔️
And the tracing is done!
Conclusion
As you can see, there are many ways to create SVG files for Cricut. These methods have lots of advantages, like being able to scale images freely 🖼️. They also make your files more compatible with Cricut Design Space, while helping speed up the cutting process. ✂️
Ready to work on your next Cricut project and looking for SVG images for Cricut? Then you might want to check out our Vector Designs Shop.
We offer a wide selection of vector graphics you can download at a very low price. Feel free to try as many as you like! The best part? They all come in SVG, PNG, and DXF formats (3 formats that are compatible with Cricut and Silhouette Cameo machines). 😀
Need new designs for your next DIY project, or just some inspiration? Then take a look! ⤵️



Comments
No comments yet. Be the first to share your experience.
Leave a comment