
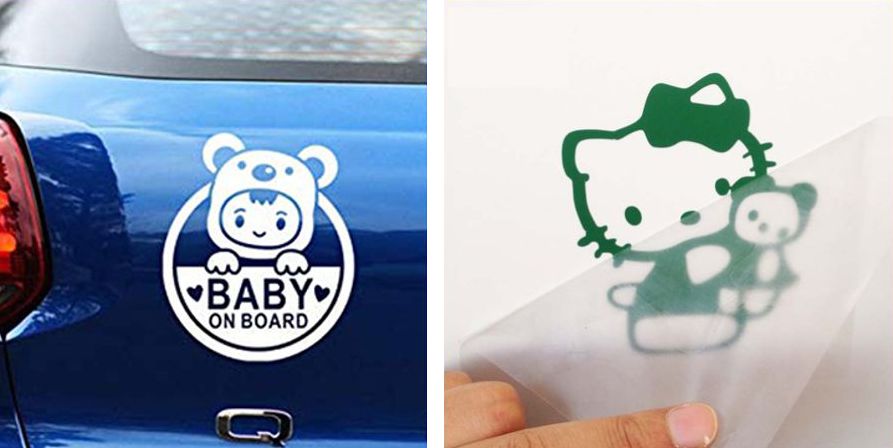
Many of us want to personalize the everyday items around us to make them look nicer.
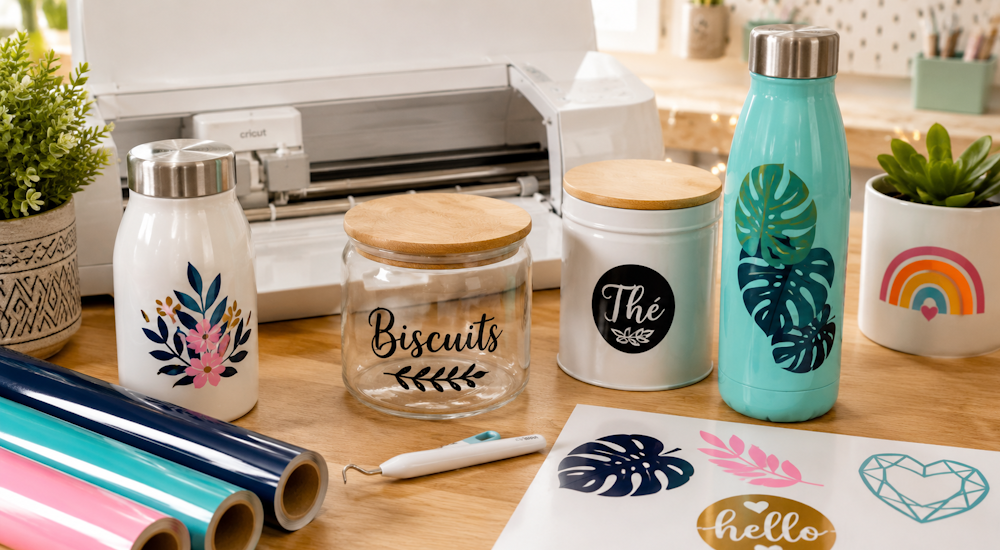
Applying vinyl stickers is a personalization method that lets you stick any design you want onto hard surfaces like windows, water bottles, frames, and more.
Today, we're going to look at how you can make your own sticker and then apply it to a surface.
1 - How to Personalize Vinyl Stickers:
There are several ways to personalize your own stickers, and here we'll look at 2 different methods:
a - Ordering Ready-Made Custom Stickers
The first method is to have a personalization company make the stickers for you. If you want to personalize small items like mugs, for example, you can ask them to apply the sticker directly to the mug.
Companies like flocage Express or Le bureau des goodies can easily handle this kind of request.
If you want to apply custom stickers to the walls or windows of your living room, you can order ready-made custom stickers from a company and apply them to the wall yourself.
For custom stickers, sites like Hello Print or Sticker en Ligne can meet your needs.
b - Making Your Own Sticker
Ordering custom stickers is nice, but making your own stickers is even more fun!
To make stickers, you'll need the following tools and machines:
1️⃣ - Adhesive Vinyl
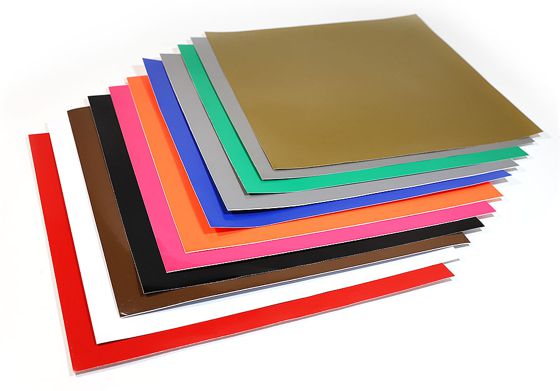
The first essential supply you'll need to create your own designs is adhesive vinyl. This is the consumable your design will be made from: it's the material that gets cut to create your logo.
Adhesive vinyl isn't very expensive, but like any consumable, you'll need to buy it regularly.
There are two main types of adhesive vinyl: glossy vinyl and matte vinyl.
2️⃣ - A Cutting Machine
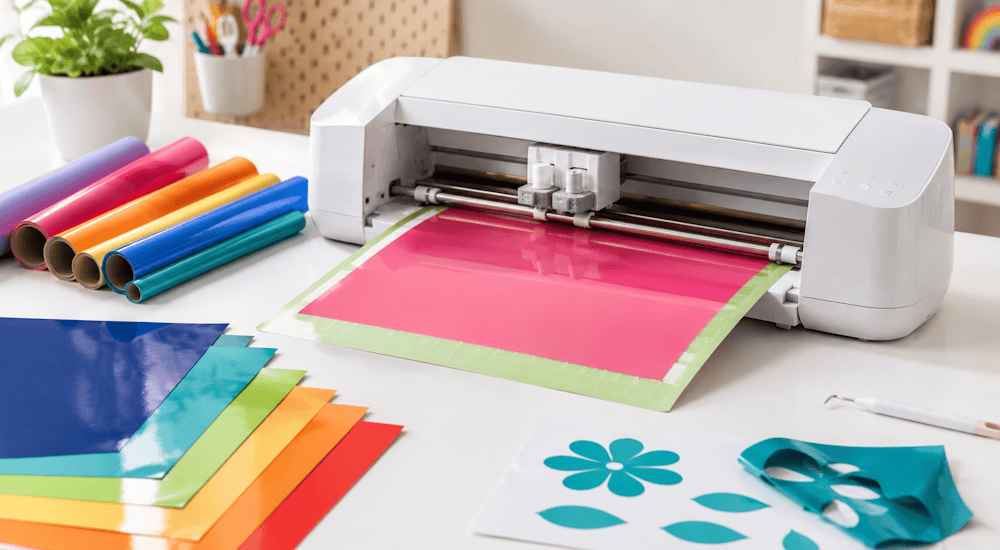
As the name suggests, a cutting machine is used to cut the adhesive vinyl so you end up with the design you've been waiting for.
A quality cutting machine starts at around 350 euros. We generally recommend the Silhouette Cameo 5, a professional machine that's excellent for anyone who wants to start a sticker personalization business.
3️⃣ - Transfer Tape
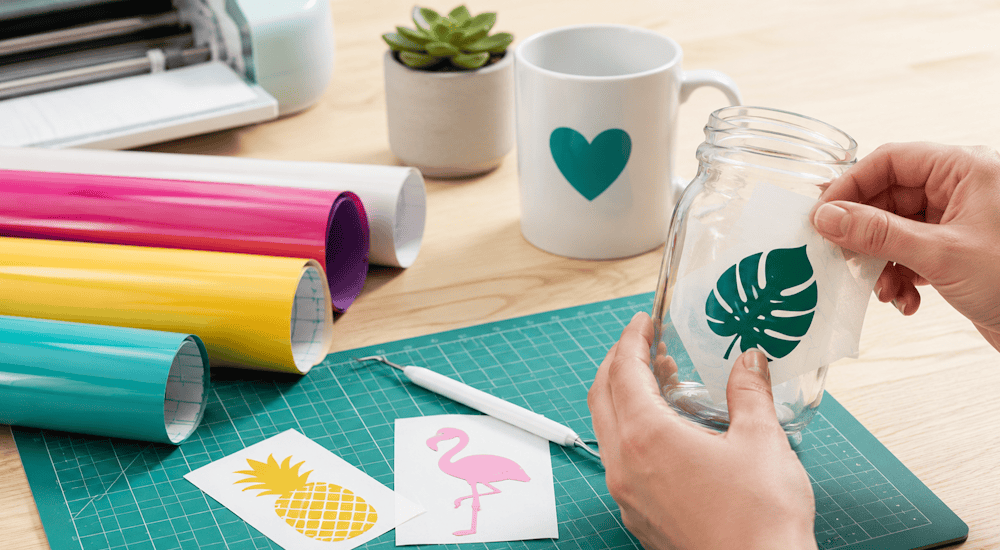
Transfer tape is used to transfer the logo you cut earlier so you can then stick it onto the item of your choice. Since the adhesive side of the vinyl is on the back, you first need to flip it by transferring it onto the tape before applying the sticker.
4️⃣ - Application Squeegee
An application squeegee is a simple plastic squeegee with a felt edge that helps you apply the sticker and press it onto walls so it lies perfectly flat. This tool costs about 3 to 5 euros.
It's important to note that these accessories and machines will let you make single-color vinyl designs. If you want to create a design with a color gradient, you'll need a vinyl printer and printable adhesive vinyl instead of standard adhesive vinyl.
Now that you know which tools you need, let's look at how to make a sticker from adhesive vinyl:
Choosing Your Design and Cutting
First, choose the file for the sticker you want to make and upload it to your cutting machine's software. If you're using the Silhouette Cameo 4, its software is Silhouette Studio.
Then load the adhesive vinyl into the cutting machine and start the cut from your software.
The machine will start cutting the logo into the vinyl.
Weeding
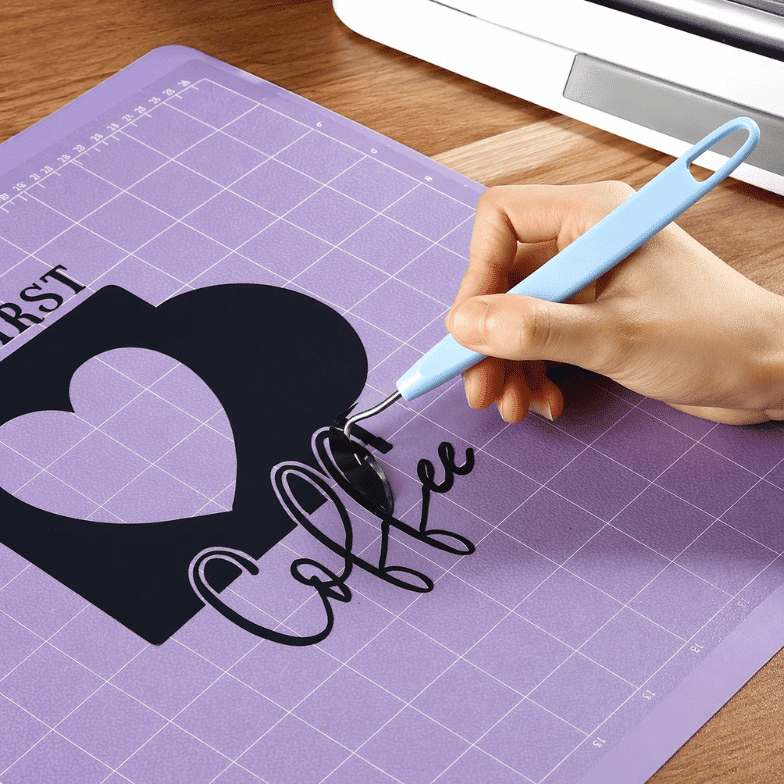
Once the cut is done, you need to weed away the pieces of adhesive vinyl that the machine cut but that aren't part of your design.
Weeding simply means removing the excess vinyl.
Once this step is done, your sticker design will be fully visible. You've now made your own sticker design!
But that's not all: now you need to apply the sticker to a surface. So let's look at how to do the sticker application on the surface of your choice.
2 - Sticker Application: How to Apply Your Vinyl Sticker:
a - Transferring the Design onto Tape
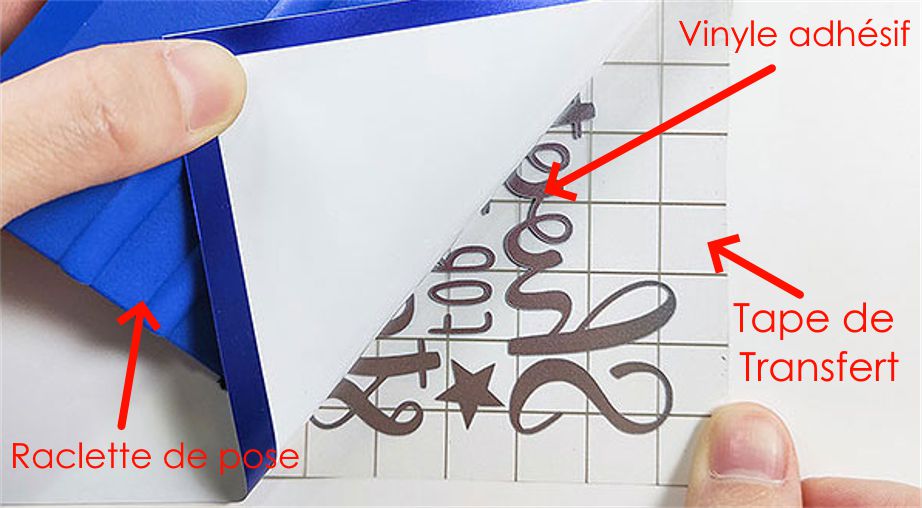
Cut a piece of tape slightly larger than your design (if your design measures 30cm x 30cm, use a 35cm x 35cm piece).
Apply the tape evenly over the logo and use the application squeegee to push out any air bubbles. Your design must be perfectly stuck to the tape so you can then transfer it.
b - Applying and Positioning the Sticker
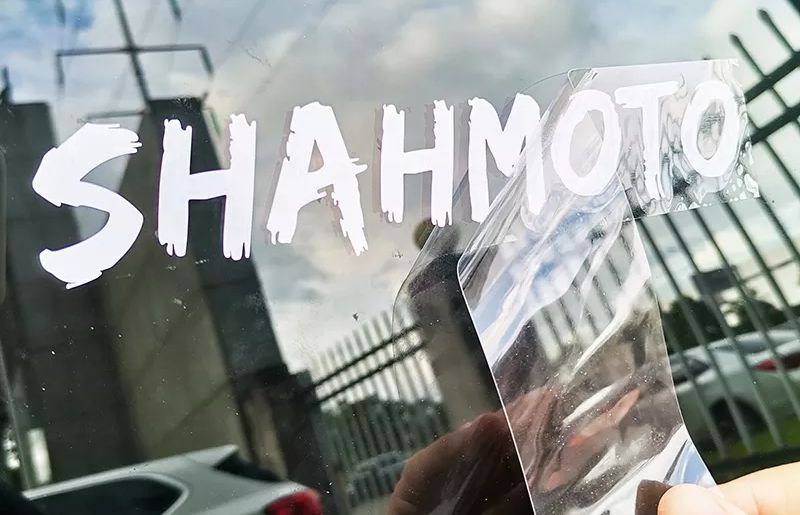
The application step is similar to transferring the design onto the tape. Let's say you want to apply your design to your living room window: take your design, now on the tape, and gently apply it to the window. Use the application squeegee and go over your logo so it sticks firmly to the window. Keep doing this for about fifteen seconds.
When you're done, slowly peel off the transfer tape, and your design will stay perfectly stuck to your window!
Your sticker application is now complete. 😉
To make your own vinyl stickers and personalize all your everyday items, you'll need quality adhesive vinyl that lasts, so feel free to check out the Adhesive Vinyl we offer in our shop!
Comments
No comments yet. Be the first to share your experience.
Leave a comment