
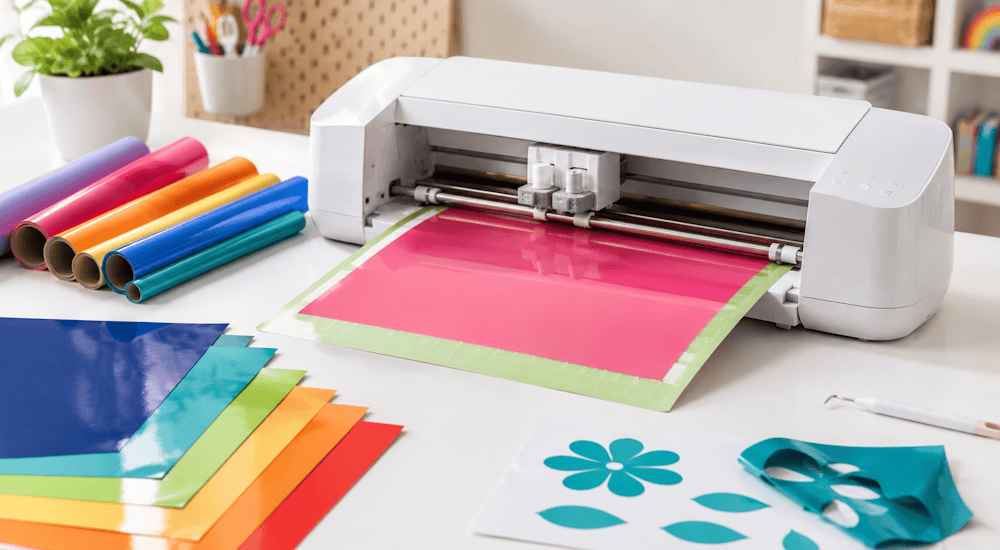
Want to cut adhesive vinyl with a Cricut machine but not sure where to start 🤔? The good news is that it's actually really easy! This article will teach you the simple steps for cutting vinyl on your Cricut and show you how to get beautiful results every time.
Cricut machines are amazing creative tools for all kinds of projects, from home decor to personalized gifts and more. But cutting vinyl with a Cricut can be tricky when you're just starting out.
Whether you're new to Cricut or a more experienced crafter, it's worth taking a minute to learn how to cut and apply adhesive craft vinyl so you get the best results on all your surfaces!
What Is Adhesive Vinyl?
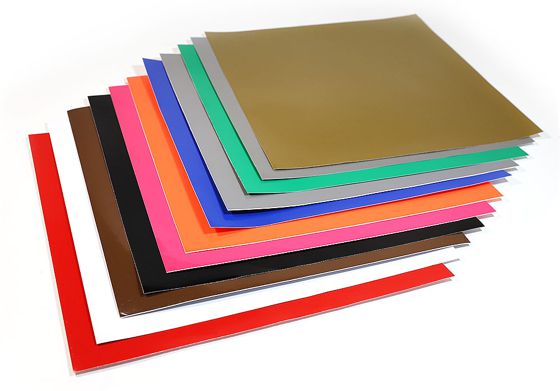
First of all, adhesive vinyl (also called sticker vinyl) is made up of two layers. The top layer is the vinyl itself, which has an adhesive side. This is the material you'll cut and apply to create your project. The second layer is a cardstock paper backing.
You can think of vinyl a bit like a sticker. On top, you have the sticker, and on the back, you have a paper liner that keeps it from accidentally sticking to things.
Vinyl can be applied to most flat surfaces. It works best on smooth, nonporous surfaces like walls, glass, and plastic. ✔️
❗ IMPORTANT: Don't confuse adhesive vinyl with heat transfer vinyl. Heat transfer vinyl is mainly used on clothing, and you need an iron or a heat press to apply the design to the surface.
Adhesive vinyl, on the other hand, transfers onto surfaces thanks to its sticky side, so it isn't applied with heat. An easy way to tell the two apart is to look at the back of the product. Heat transfer vinyl is covered with a clear plastic layer, while adhesive vinyl has a paper backing with a grid.
Cutting Vinyl with a Cricut
To cut vinyl on a Cricut machine, you'll need a few supplies and tools before you start your craft project.
Here they are!
1️⃣ - The Supplies You Need:
- A Cricut machine. In this case, we'll be using the Cricut Maker.
- A Cricut mat (you'll need a Cricut mat when working with your vinyl).
- Transfer tape (whether you're using glossy or matte vinyl, transfer tape is essential for moving your cut design onto a smooth surface).
- A weeding hook (it's used to remove the excess bits of vinyl that aren't part of your design; if you don't like using a weeding tool, you can use tweezers instead).
- Adhesive vinyl (it's the star of the project: without adhesive vinyl, you won't have a design to transfer).
Now let's go ahead and create a project with vinyl and the Cricut! 😀 We'll walk you through every step and explain the whole process.
2️⃣ - Prepare Your Design in the Cricut Software
If you're using an image from the Cricut Design Space image library, your project is probably ready to cut. You don't need to do anything extra, and you should be ready to send the image to the machine.
If you don't have any ready-made projects or images, you may need to take a few extra steps to get your project ready to cut. Users often upload SVG or JPEG files, which require you to adjust the image's colors, groups, and layers to get a clean cut.
Once your logo is uploaded into the software, you'll land in the background removal tool, where you'll need to remove the background from your design to make cutting easier. (If you've already done this outside the software, click "Apply & Continue".)
To check that your image is ready to cut, click the green "Make It" button 🟢 in the top right corner once you've uploaded the image to the virtual mat.
If the software tells you the image is "incompatible", you need to make the image smaller.
When your image is ready to cut, the Cricut software will take you to a new prep screen:
After clicking "Make It", you'll notice that the software splits your image into separate parts by color. These separate parts let you cut multicolor projects with your machine.
Once the design is split, you can set how many copies of your project you want to make.
Check that your design is positioned correctly on the software's virtual mat. You don't need to mirror your design to cut adhesive vinyl.
At this point, you're ready to send the image on to the next step.
3️⃣ - Send the Finished Image to Your Cricut for Cutting
You're now almost ready to cut your design. All you have to do is follow the on-screen instructions. Make sure your Cricut is turned on. Once you've confirmed it's on and connected, set your machine's material to "Vinyl".
You can also use glitter vinyl in your projects. To do so, set your Cricut machine to "Glitter Vinyl" ✨
Now that everything is ready in the software, you need to know how to put vinyl on a mat for cutting with a Cricut. Start by placing your piece of vinyl on your cutting mat. Make sure the paper backing is against the mat and the vinyl is facing up. ✅
Take the cutting mat and the adhesive vinyl and load them into the Cricut machine. To load it properly, press the arrow button on the Cricut machine. ⏫
Once the mat is loaded correctly, the software should let you start cutting by pressing the Cricut logo button.
While the machine is cutting, you can follow along with a progress bar on your screen. When the machine has finished cutting, press the arrow button to unload the cutting mat. ⏬
If your project only uses one color, you're done.
For multicolor projects, peel the vinyl off the cutting mat. Then place a new sheet of vinyl in the next color you need on the mat. Repeat the previous steps for as many colors as it takes to complete the project.
Once all your vinyl sheets are cut, unload the cutting mat and click the "Finish" button. You've now finished cutting your vinyl with your Cricut!
To finally get the design you've been waiting for, you need to move on to weeding. This step lets you remove the excess vinyl the machine cut that isn't part of your design. It's practically impossible to weed vinyl by hand, which is why a weeding hook is strongly recommended.
Once that's done, your vinyl design should look perfect. 😊
Transferring Your Adhesive Vinyl Design
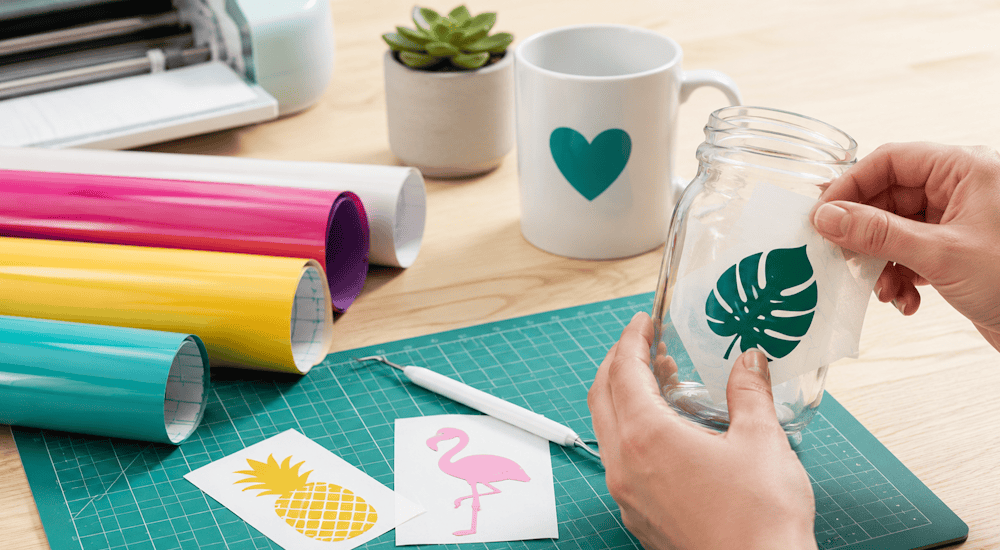
You'll need transfer tape to move the vinyl onto the surface where you want to apply it. To transfer the adhesive vinyl correctly, first attach the vinyl design to the transfer tape by following these steps:
-
Cut a piece of transfer tape to the size of your design and peel off the tape's backing.
-
Once the backing is off, place the tape over the vinyl design you plan to transfer. The transfer tape should go on top of the design. To help the tape stick lightly to the design, press it down, starting in the center and working outward to avoid bubbles. You can use a squeegee to properly adhere the vinyl to the tape.
-
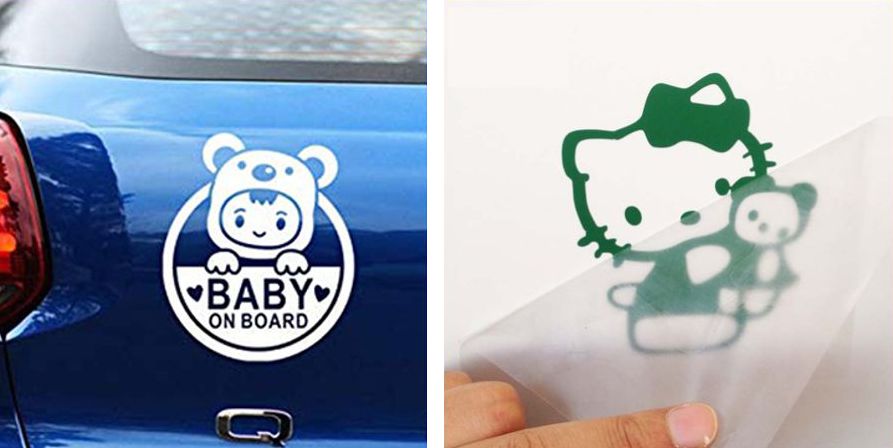
Finally, lift the tape. The vinyl design should stick to the tape and come away from its cardstock backing.
You're now ready to apply the design to your surface and finish your project. 😎
To apply the vinyl properly, follow these steps:
-
Make sure the project surface has been cleaned and there's no dust that could affect the vinyl's durability or spoil its look. Also make sure the surface is dry. Once the surface is clean and dry, you can place the transfer tape holding your design onto the surface you want.
-
After placing the tape and the vinyl on the surface and positioning them correctly, go over the tape several times with a squeegee so the design sticks to the surface. Start rubbing in the center and work your way outward to avoid wrinkles or bubbles in the vinyl.
-
Once the adhesive vinyl design is firmly in place, peel off the transfer tape.
If the transfer tape won't separate from the vinyl, go over the vinyl a bit more with the squeegee so the design can stick to the surface.
Once you've completed all these steps, your vinyl should be properly applied to your project surface! You've now successfully cut and applied adhesive vinyl with your Cricut machine. 😉
To order quality adhesive vinyl, feel free to check out our Adhesive Vinyl Shop, compatible with all Cricut machines and tools!
Comments
No comments yet. Be the first to share your experience.
Leave a comment