Vuoi tagliare il vinile adesivo con una macchina Cricut, ma non sai come fare 🤔 ? La buona notizia è che in realtà è molto facile ! Questo articolo ti insegnerà i semplici passaggi per tagliare il vinile sul tuo dispositivo Cricut e ti mostrerà come ottenere bei risultati ogni volta.
Le macchine Cricut sono strumenti creativi straordinari per ogni tipo di progetto, dalla decorazione d'interni ai regali personalizzati e molto altro. Ma tagliare il vinile con la Cricut può rivelarsi un po' complicato quando si è alle prime armi.
Che tu sia un principiante con la Cricut o un artigiano più esperto, vale la pena prenderti un minuto per imparare come tagliare e applicare il vinile adesivo da creazione così da ottenere i risultati migliori sui tuoi supporti !
Cos'è il Vinile Adesivo ?
Prima di tutto, il vinile adesivo (o vinile autoadesivo) si compone di due parti diverse. Lo strato superiore corrisponde al vinile vero e proprio, che ha un lato adesivo. È il materiale che andrai a tagliare e applicare per creare il tuo progetto. Il secondo strato è un supporto in cartoncino.
Puoi considerare il vinile un po' come un adesivo. Sul davanti hai l'adesivo e sul retro hai una pellicola di carta che gli impedisce di attaccarsi accidentalmente agli oggetti.
Il vinile può essere applicato sulla maggior parte delle superfici piane. Funziona meglio sugli elementi lisci e non porosi come i muri, il vetro e la plastica. ✔️
❗ IMPORTANTE : Non confondere il vinile con il flex termoadesivo. Il flex termoadesivo si usa principalmente sui capi d'abbigliamento. Bisogna usare un ferro da stiro o una pressa a caldo per applicare il motivo sul supporto.
Mentre il vinile adesivo si trasferisce sui supporti grazie alla sua parte adesiva, e quindi non si trasferisce con il calore. Un modo semplice per distinguere i due è guardare il retro del prodotto. Il flex termoadesivo è ricoperto da uno strato trasparente in plastica, mentre il vinile ha un supporto in carta con delle griglie.
Il Taglio del Vinile con Cricut
Per tagliare il vinile con una macchina Cricut, ti serviranno alcuni materiali e strumenti prima di iniziare il tuo progetto creativo.
Eccoli !
1️⃣ - Il materiale necessario :
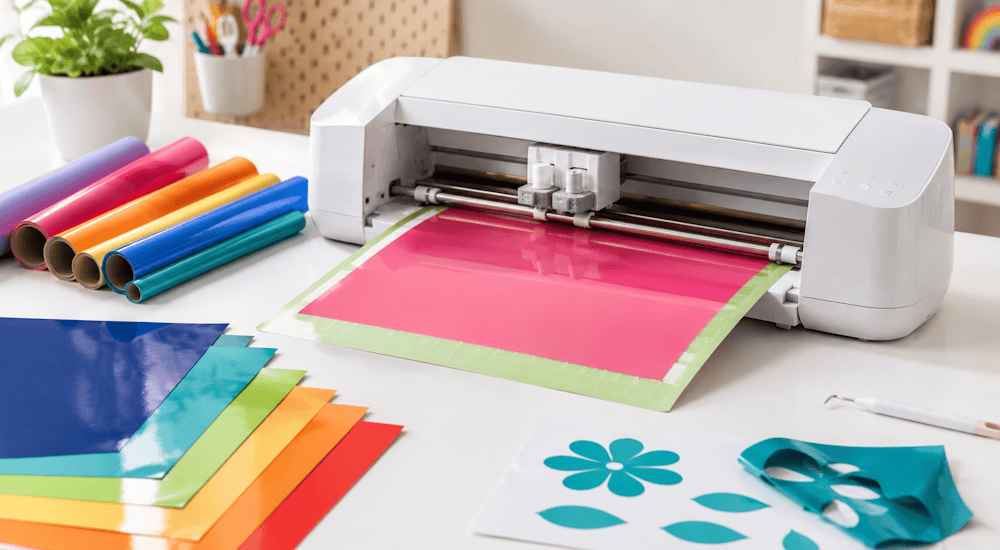
- Una Macchina Cricut, in questo caso useremo la Cricut Maker.
- Un Tappetino per Cricut (è necessario usare un tappetino per cricut quando utilizzi il tuo vinile).
- Del Nastro di Trasferimento (Che si tratti di vinili lucidi o opachi, il nastro è indispensabile per trasferire su una superficie liscia il motivo che hai tagliato.)
- Un Uncino per scarto (serve a togliere il vinile in eccesso che non fa parte del tuo motivo. Se non ti piace usare uno strumento di scarto, puoi anche usare una pinzetta.)
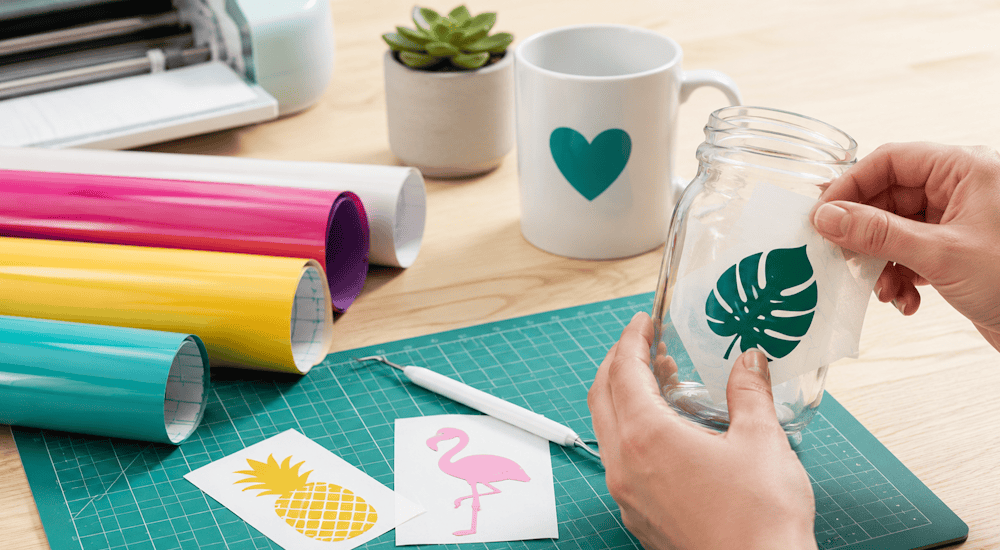
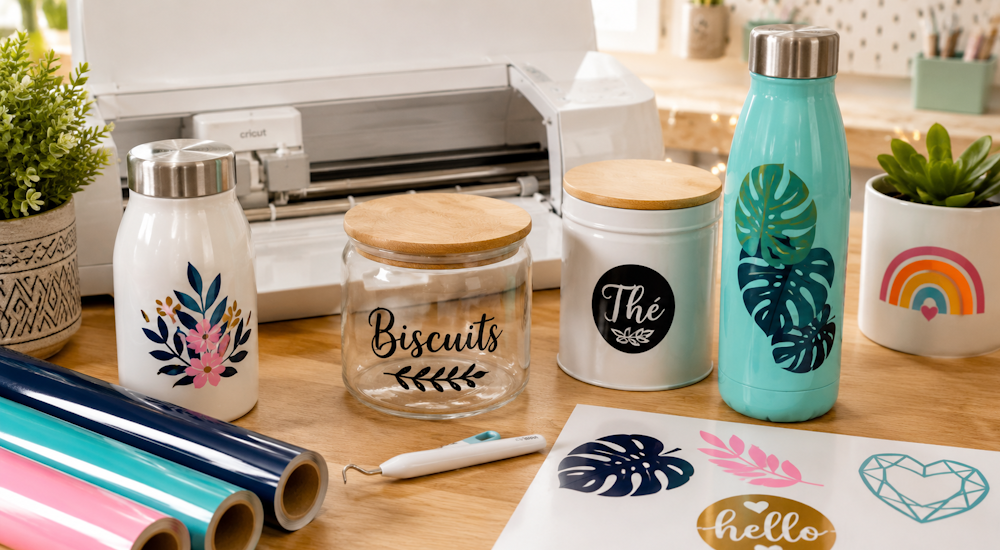
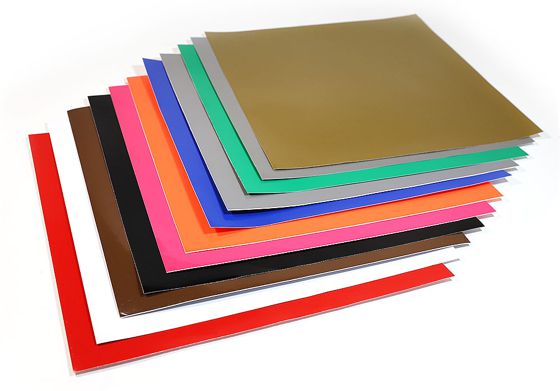
- Del Vinile adesivo (È l'elemento centrale del progetto, senza vinile adesivo non potrai avere alcun motivo da trasferire.)
Adesso, mettiamoci all'opera e creiamo un progetto in vinile con la Cricut ! 😀 Ti accompagneremo in ogni passaggio e ti spiegheremo tutto il processo.
2️⃣ - Prepara il tuo Visual sul Software Cricut
Per chi usa un'immagine dalla libreria di immagini Cricut Design Space, il progetto è probabilmente già pronto per essere tagliato. Non hai bisogno di eseguire passaggi aggiuntivi e dovresti essere pronto a inviare l'immagine alla macchina.
Se non hai progetti o immagini preimpostati, potresti dover seguire qualche passaggio diverso per preparare il progetto al taglio. Gli utenti caricano spesso i loro file in formato SVG o JPEG, che richiedono di fare delle modifiche ai colori, ai gruppi e ai livelli dell'immagine per ottenere un buon taglio.
Una volta caricato il tuo logo nel software, atterrerai nello strumento di rimozione dello sfondo dove dovrai togliere lo sfondo del tuo motivo per rendere il taglio più semplice. (Se hai già effettuato questo passaggio al di fuori del software, clicca su « applica e continua“)
Per verificare che la tua immagine sia pronta per essere tagliata, puoi cliccare sul pulsante verde « Crea » 🟢 situato nell'angolo in alto a destra una volta caricata l'immagine sul tappetino virtuale.
Se il software ti informa che l'immagine è « incompatibile » significa che devi ridurre le dimensioni dell'immagine.
Quando la tua immagine è pronta per essere tagliata, il software Cricut ti porterà su una nuova pagina di preparazione :
Dopo aver premuto su “crea”, noterai che la tua immagine verrà suddivisa per colore in diverse parti sul software. Queste diverse parti ti permettono di tagliare progetti con più colori grazie alla tua macchina.
Una volta suddiviso il motivo, potrai definire il numero di copie che desideri ottenere del tuo progetto.
Verifica che il tuo visual sia posizionato correttamente sul tappetino virtuale del software. Non hai bisogno di tagliare il tuo motivo in modalità « specchio » per tagliare il vinile adesivo.
A questo punto sei pronto a inviare l'immagine al passaggio successivo.
3️⃣ - Inviare l'immagine terminata al dispositivo Cricut per il taglio
Ora sei quasi pronto/a a tagliare il tuo visual. Non ti resta che seguire le istruzioni che appaiono. Verifica che il tuo dispositivo Cricut sia acceso. Dopo aver controllato che il dispositivo sia ben acceso e collegato, devi impostare la tua macchina sul materiale “vinyl”.
Puoi anche usare del vinile glitter nei tuoi progetti, per farlo dovrai impostare la tua macchina Cricut su “Glitter Vinyl” ✨
Adesso che tutto è pronto nel programma, devi sapere come mettere il vinile su un tappetino per il taglio Cricut. Inizia prendendo il tuo pezzo di vinile e posizionalo sul tuo tappetino di taglio. Fai attenzione che il cartoncino sia posizionato sul tappetino e che il materiale in vinile sia in alto. ✅
Prendi il tappetino di taglio e il vinile autoadesivo e caricali nella macchina Cricut. Per caricarlo correttamente, premi il pulsante con la freccia sulla macchina Cricut. ⏫
Una volta caricato correttamente il tappetino, il programma dovrebbe dare all'utente la possibilità di avviare il processo di taglio premendo il pulsante con il logo Cricut.
Mentre la macchina effettua il taglio, potrai seguirne l'avanzamento grazie a una barra di progresso sul tuo schermo. Una volta che la macchina ha terminato il processo di taglio, premi il pulsante con la freccia per scaricare il tappetino di taglio. ⏬
Se il tuo progetto richiede un solo colore, avrai finito.
Per i progetti con più colori, stacca il vinile dal tappetino di taglio. Poi posiziona un nuovo foglio di vinile del colore richiesto sul tappetino. Ripeti i passaggi precedenti per ottenere tutti i colori necessari a realizzare il progetto.
Una volta tagliati tutti i fogli di vinile, scarica il tappetino di taglio e clicca sul pulsante « Finish ». A quel punto hai finito di tagliare il tuo vinile con il dispositivo Cricut !
Per ottenere finalmente il visual che tanto aspetti, devi procedere con il passaggio di scarto. Questo passaggio permette di togliere il vinile in eccesso tagliato dalla macchina e che non fa parte del tuo motivo. È praticamente impossibile fare lo scarto del vinile a mano, per questo è fortemente consigliato usare un uncino per scarto.
Quando questo passaggio sarà terminato, il tuo motivo in vinile dovrebbe apparire in perfetto stato. 😊
Il Trasferimento del motivo in Vinile Adesivo
Il trasferimento del vinile deve essere realizzato con del nastro di trasferimento così da spostarlo sulla superficie dove desideri applicarlo. Per trasferire correttamente il vinile adesivo, devi prima fissare il visual in vinile sul nastro di trasferimento seguendo questo procedimento :
-
Taglia un pezzo di nastro della dimensione del tuo motivo e rimuovi la pellicola del nastro.
-
Una volta rimossa la pellicola, posiziona il tuo nastro sull'immagine in vinile che prevedi di trasferire. Il nastro di trasferimento deve essere posizionato sul motivo. Per far aderire leggermente il nastro al motivo, premi sopra, partendo dal centro e poi andando verso l'esterno per evitare le bolle. Puoi usare una spatola di posa per applicare correttamente il vinile sul nastro.
-
Rimuovi infine il nastro e il motivo in vinile dovrebbe aderire al nastro separandosi dal suo supporto in cartoncino.
Ora sei pronto ad applicare l'immagine sul tuo supporto e a finalizzare il tuo progetto. 😎
Per applicare il vinile in modo appropriato, devi seguire questi passaggi :
-
Assicurati che la superficie del progetto sia stata pulita e che non ci sia un po' di polvere che potrebbe compromettere la durata del vinile o disturbarne l'aspetto. Assicurati anche che la superficie sia asciutta. Una volta che la superficie è pulita e asciutta, puoi posizionare la carta del nastro che tiene il motivo sulla superficie desiderata.
-
Dopo aver posizionato il nastro e il vinile sulla superficie e averli posizionati correttamente, devi passare più volte la spatola di posa sul nastro affinché il motivo aderisca al supporto. Inizia strofinando al centro e poi verso l'esterno per evitare pieghe o bolle nel vinile.
-
Una volta fissata l'immagine in vinile adesivo, stacca il tuo nastro di trasferimento.
Se la carta del nastro non si separa dal vinile, devi passare ancora di più la spatola di posa sul vinile per permettere al visual di aderire al supporto.
Una volta superati tutti questi passaggi, il tuo vinile dovrebbe essere applicato correttamente sulla superficie del tuo progetto ! Sei così riuscito a tagliare e posare il vinile adesivo con la macchina Cricut. 😉
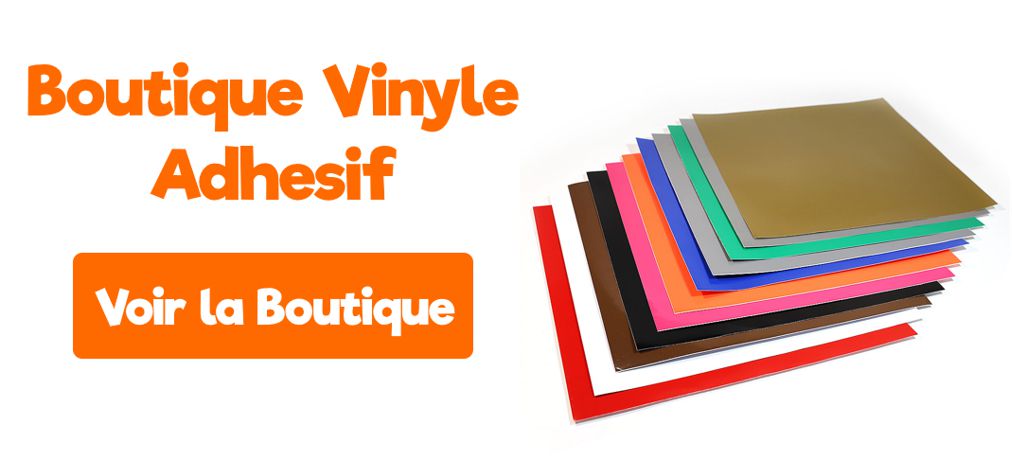
Per ordinare del vinile adesivo di qualità, non esitare a dare un'occhiata al nostro Negozio di vinili adesivi compatibili con tutte le macchine e gli strumenti Cricut !