
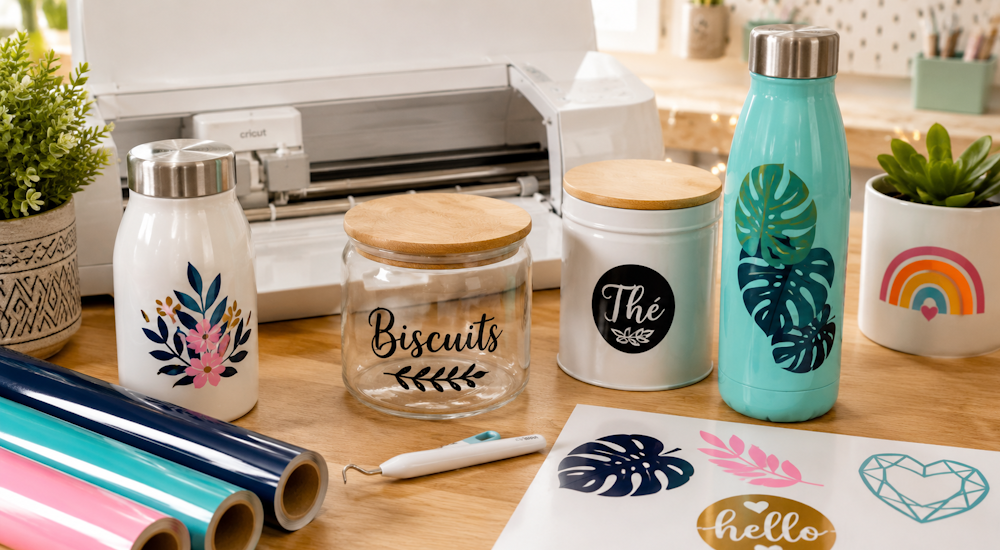
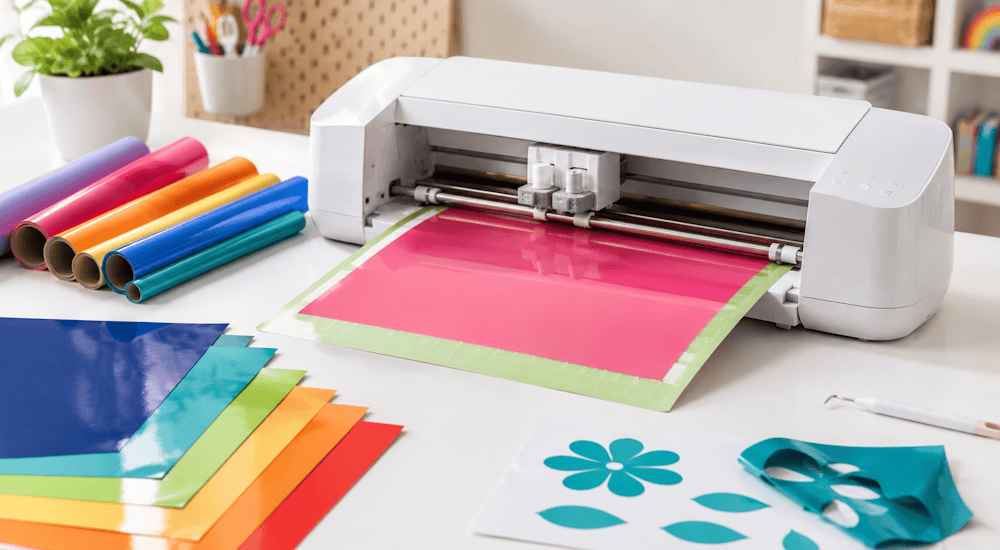
When you're cutting adhesive vinyl with a cutting machine, it's important to get your settings right from the start so the cut goes as smoothly as possible. 👍
So let's look at how to cut your adhesive vinyl in the Silhouette Studio software to get a stunning logo! ✨
For this tutorial, you can use any Silhouette machine (Cameo or Portrait), since they all work with the Silhouette Studio software.
1 - Import Your Design into the Software
We'll start by importing the design we want to cut into the software. If you don't have a design in mind to cut from your vinyl, you can download our set of 50 free files for Silhouette Cameo. 😉
In Silhouette Studio, click "File," then "Open," and find your design. Once you've found it, double-click it and wait a moment, since the software will take a few seconds to load your image.
a - Vectorization
Once the image has loaded, we'll need to "vectorize" it. This technique gives your design perfectly crisp lines so the vinyl cut is precise. 🧐
You have 2 ways to do this:
1️⃣ The first and easiest option: click the butterfly-shaped icon on the right side of your screen. Then click "Select Trace Area," hold down the left mouse button, and drag a box around your entire design.
The software will highlight your logo in yellow. Now click "Trace."
Delete the original logo, and you'll see that a second design with red outlines has appeared: that's your vectorized logo.
2️⃣ The second vectorization method uses the free software Inkscape.
Once you've downloaded the software, import the logo you want to vectorize.
Click on it, then click "Path" ➡️ "Trace Bitmap" ➡️ "OK"
You've just created a vectorized logo in Inkscape! Now you need to bring it into Silhouette Studio:
Delete the original, non-vectorized logo, click "File," then "Save As," and choose the DXF file type.
Click "Save," then "OK" to finish.
Go back to Silhouette Studio, go to "File" ➡️ "Open" again, and double-click the DXF file.
And that's it! 🏆
You can resize the image by clicking and dragging its edges.
Note: When you're cutting adhesive vinyl, you don't need to mirror your design. You do, however, need to mirror designs made with heat transfer vinyl.
b - Cut Settings for Adhesive Vinyl
Now let's move on to the cut settings. To do this, click the blue "SEND" button in the top right corner of the screen.
In the small panel at the top right with red icons, click the "Cut" option.
On the right side, you'll see 3 rectangular boxes with 3 small arrows.
In the first box, choose the material "Glossy Vinyl" or "Matte Vinyl."
In the second box, choose "Cut," and in the third, "Auto Blade."
The settings for your vinyl cut can vary depending on the vinyl you're using. However, we recommend always keeping your blade depth at 1. To do this, click the black wheel until you reach 1. ☝️
Set the force to 14 and the speed to 5.
If your adhesive vinyl cut didn't turn out right, here are the two possible scenarios:
The blade on your cutting machine didn't cut deep enough into the vinyl. ➡️ Increase the blade force.
The blade on your cutting machine cut through the vinyl's paper backing. ➡️ Decrease the blade force.
Once all your settings are dialed in, it's time to load the adhesive vinyl into the machine for a perfect cut:
2 - Prepare the Vinyl for Cutting
Grab your cutting mat and place the adhesive vinyl on top. The paper backing of the adhesive vinyl should be stuck to the mat, with the colored side of the vinyl facing up.
If your cutting mat isn't very sticky, we recommend adding masking tape along the edges.
Head to your cutting machine and lower the wheel to open the metal bar.
Place the mat between the two white plastic rings (one on the left side of the machine and one on the right).
Lock the gray wheel back in place.
The cutting mat should now stay in place on its own.
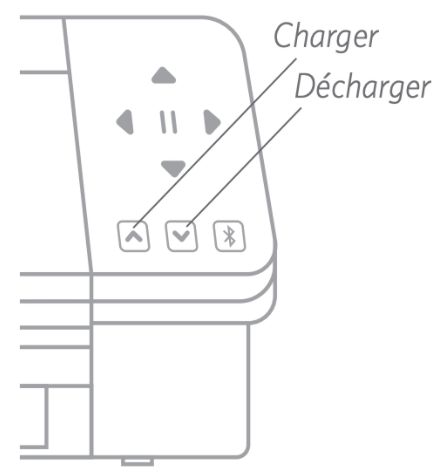
Now press the up arrow (load) on your machine and click the "Send" button in Silhouette Studio (if your machine is connected to the software, the cut will start!)
Once the machine starts, wait a few seconds or minutes depending on the size of the logo you're cutting (the bigger the logo, the longer it takes to cut).
Once the adhesive vinyl cut is done, unload the machine by clicking "Unload."
The machine will push the cutting mat back out.
Now we'll move on to weeding, which means removing the excess adhesive vinyl from around your logo.
3 - Weeding
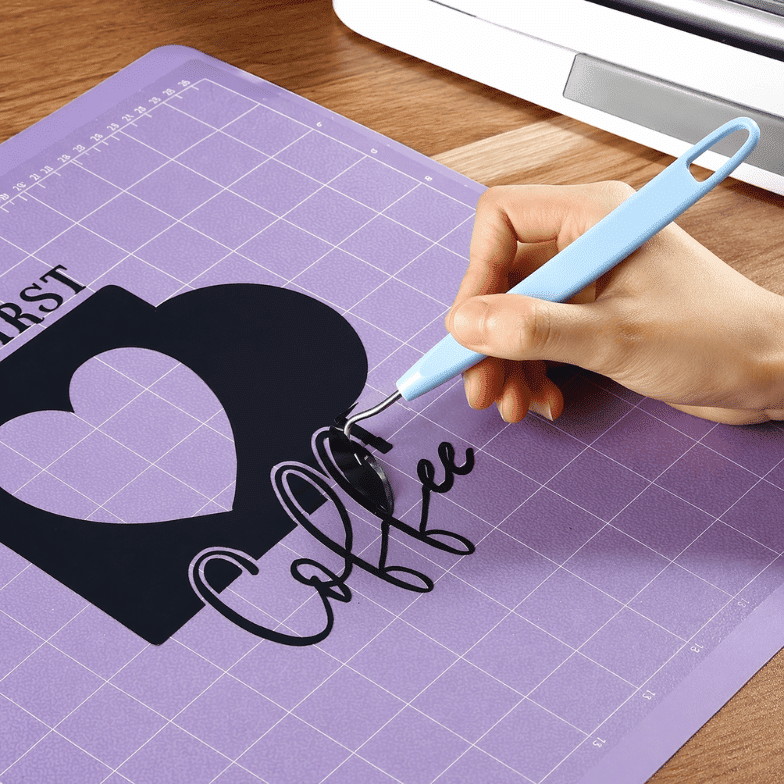
For this step, a weeding hook is a must for removing all the excess vinyl after the vinyl cut. The pieces outside your design should come away easily, without any forcing.
Be gentle while weeding so you don't accidentally pull off part of your logo.
When you're done, you should see your logo in all its glory on its paper backing.
4 - Application
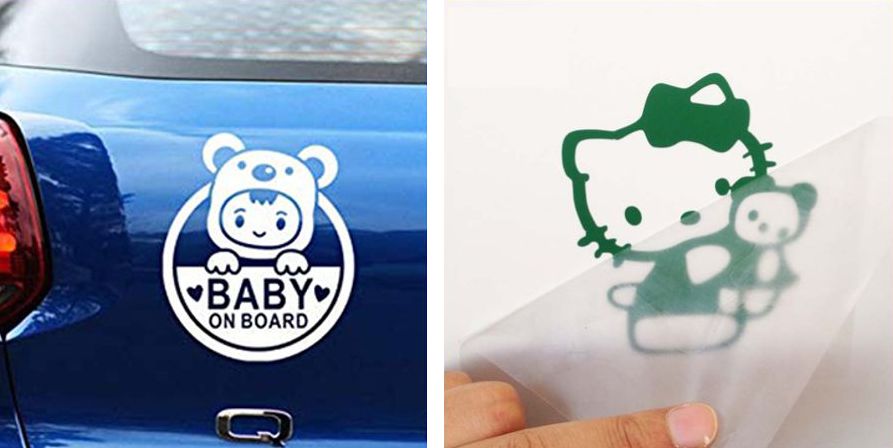
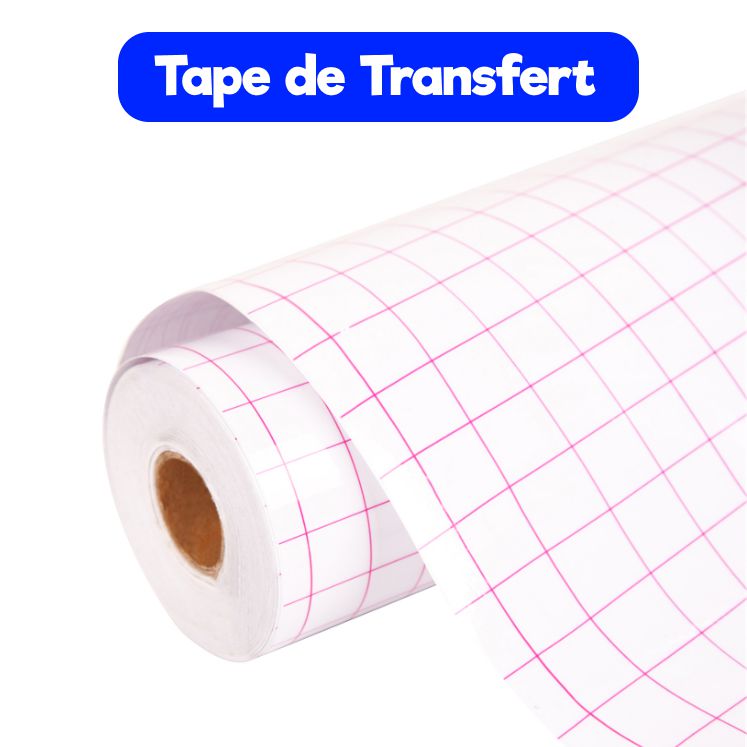
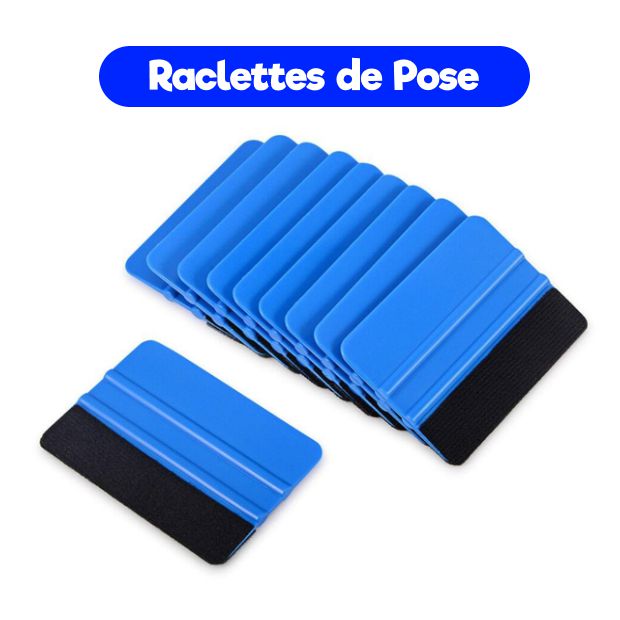
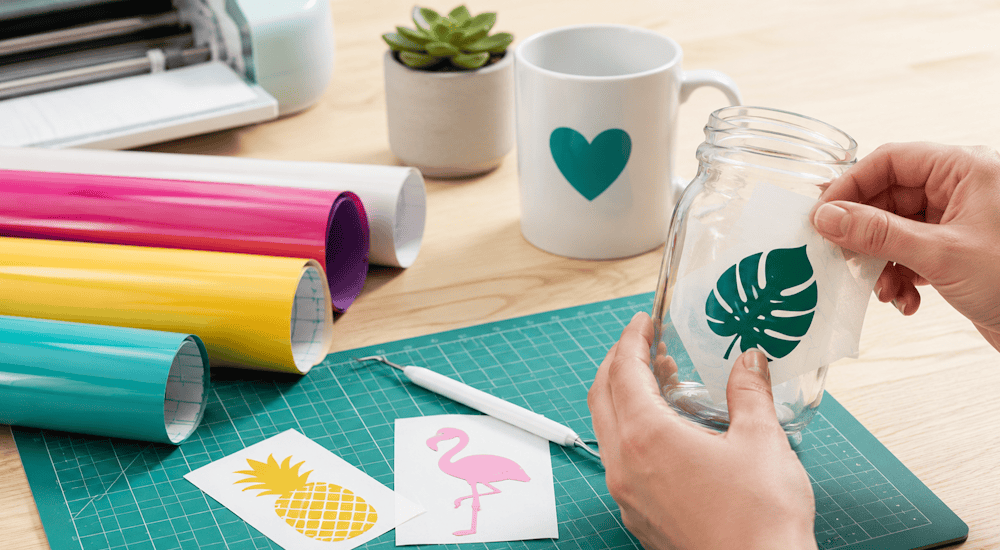
To apply your adhesive vinyl to a surface, you'll need transfer tape and a squeegee.
Transfer tape is essential for moving your logo onto the surface of your choice.
The squeegee helps you apply your adhesive vinyl logo properly to the surface so it sticks perfectly.
How to apply your vinyl design:
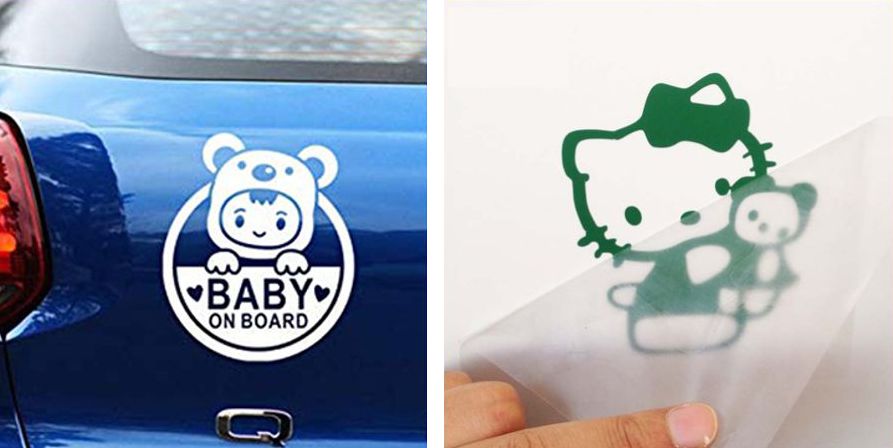
1️⃣ Cut a piece of tape the size of your logo, peel the sticky plastic film off the tape, and apply the tape over your logo. The tape should completely cover your vinyl design.
Here's a video showing how to apply your tape to your vinyl correctly.
2️⃣ Smooth out any bubbles with your squeegee.
3️⃣ Slowly peel the tape away from the backing. Your logo should come along with it and transfer completely.
4️⃣ Apply the logo to the surface of your choice (for example, a window, a wall, a frame...) and go over it one last time with your squeegee for 10 seconds.
5️⃣ Gently remove the tape, and the logo will stay perfectly stuck to the surface. And you're done! ✔️
That's how you make and apply your vinyl design. The process can feel a bit tedious at first, but with practice, you'll see it becomes child's play! 🤩
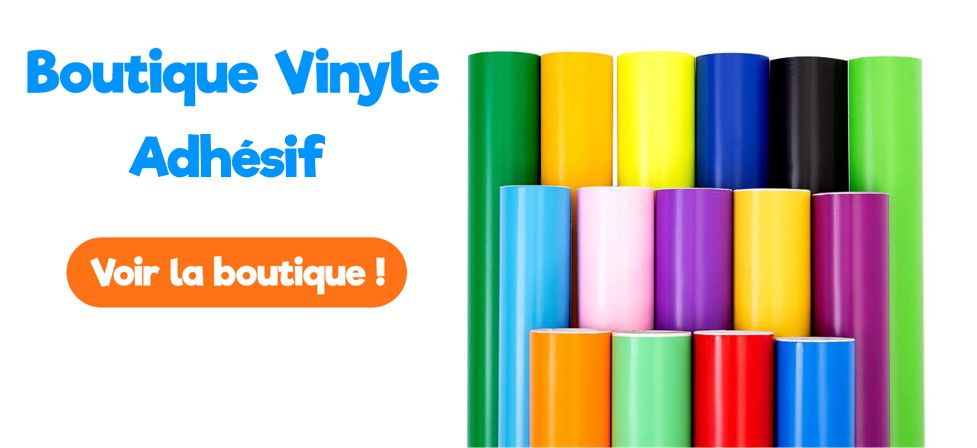
To order our adhesive vinyl and create quality designs, dive into our adhesive vinyl shop 🏊♂️. We offer 3 different types of vinyl: Matte, Glossy, and Glitter, for one-of-a-kind creations!
We also offer gridded transfer tape and squeegees so you can personalize and transfer your designs onto any surface you want. 😉
Now that you have all the tools and tips you need to make a vinyl cut, all that's left is to get started! 💪
Comments
No comments yet. Be the first to share your experience.
Leave a comment