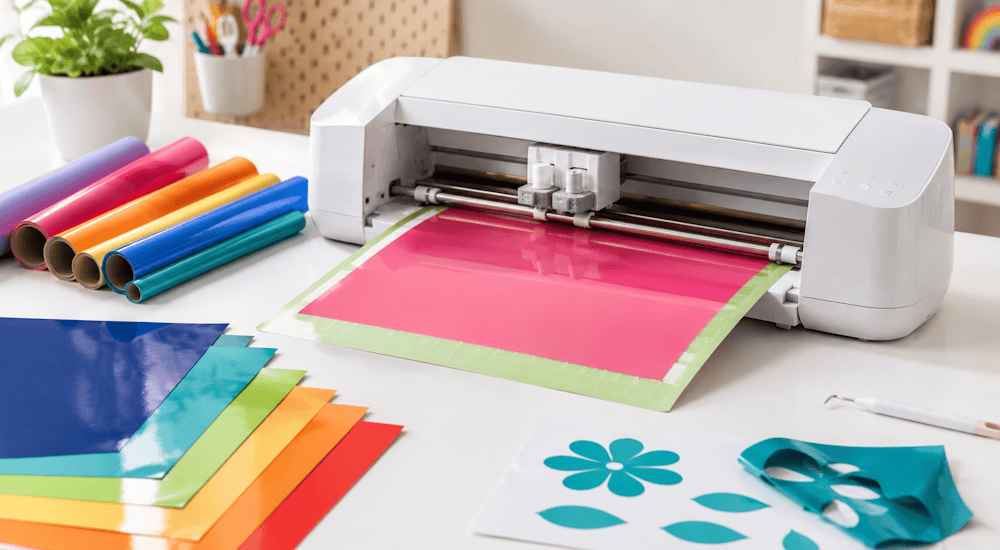
Wenn du Klebevinyl mit einer Schneidemaschine schneidest, ist es wichtig, von Anfang an die richtigen Einstellungen zu haben, damit der Vinylschnitt bestmöglich gelingt. 👍
Wir schauen uns also an, wie du dein Klebevinyl mit der Software Silhouette Studio schneidest, um ein strahlendes Logo zu bekommen! ✨
Für dieses Tutorial kannst du jede beliebige Silhouette-Maschine (Cameo oder Portrait) verwenden, da sie alle mit der Software Silhouette Studio funktionieren.
1 - Lade dein Motiv in die Software
Wir fangen damit an, das Motiv, das wir schneiden möchten, in die Software zu laden. Wenn du keine Idee für ein Motiv hast, das du mit deinem Vinyl schneiden möchtest, kannst du unser Set mit 50 kostenlosen Dateien für Silhouette Cameo herunterladen. 😉
Klicke in Silhouette Studio auf "Datei" und dann auf "Öffnen" und suche nach deinem Motiv. Sobald du es gefunden hast, doppelklicke darauf und warte einen Moment, denn die Software braucht ein paar Sekunden, um dein Bild zu laden.
a - Die Vektorisierung
Sobald das Bild geladen ist, müssen wir es "vektorisieren". Mit dieser Technik bekommt dein Motiv eine perfekte Auflösung, damit der Vinylschnitt präzise wird. 🧐
Dafür hast du 2 Möglichkeiten:
1️⃣ Die erste und einfachste: Klicke auf das schmetterlingsförmige Bild rechts auf deinem Bildschirm. Klicke dann auf "Vektorisierungsbereich auswählen", halte die linke Maustaste gedrückt und umfasse das gesamte Motiv, das du ausgewählt hast.
Die Software markiert dein Logo gelb, klicke jetzt auf "Vektorisieren".
Lösche das erste Logo, und du siehst dann ein zweites Motiv mit roten Linien, das erschienen ist, was dem vektorisierten Logo entspricht.
2️⃣ Die zweite Methode der Vektorisierung wird mit der kostenlosen Software Inkscape durchgeführt.
Sobald du die Software heruntergeladen hast, füge dort das zu vektorisierende Logo ein.
Klicke darauf und dann auf "Pfad" ➡️ "Bitmap nachzeichnen" ➡️ "Bestätigen"
So hast du mit der Software Inkscape ein vektorisiertes Logo erstellt! Aber jetzt musst du es noch in Silhouette Studio laden:
Lösche das ursprüngliche Logo, das nicht vektorisiert ist, und klicke auf "Datei" und dann "Speichern unter" und wähle den Dateityp DXF.
Klicke auf "Speichern" und auf "Bestätigen", um den Vorgang abzuschließen.
Geh zurück in Silhouette Studio, geh erneut auf "Datei" ➡️ "Öffnen" und doppelklicke auf die Datei im DXF-Format.
Und schon ist es geschafft! 🏆
Du kannst die Größe des Bildes ändern, indem du die linke Maustaste an seinen Ecken gedrückt hältst.
Hinweis: Wenn du Klebevinyl schneiden möchtest, musst du dein Motiv nicht gespiegelt schneiden, diese Methode gilt jedoch für Motive aus thermoaktivem Flex.
b - die Schnitteinstellungen für Klebevinyl
Wir kommen jetzt zu den Schnitteinstellungen. Klicke dafür auf den blauen Button "SENDEN" oben rechts auf dem Bildschirm.
Klicke in dem kleinen Kasten oben rechts mit den roten Motiven auf die Option "Schneiden".
Auf der rechten Seite siehst du 3 rechteckige Felder mit 3 kleinen Pfeilen.
Im ersten Feld musst du das Material "Glanzvinyl" oder "Mattvinyl" auswählen.
Im zweiten Feld wähle "Schneiden" und im dritten "Auto-Messer".
Was die Einstellungen für den Vinylschnitt betrifft, so können sie je nach den verschiedenen Vinylen, die du verwendest, variieren. Wir empfehlen dir jedoch, deine Messereinstellung immer auf Stufe 1 zu lassen. Klicke dafür auf das schwarze Rädchen, um auf Stufe 1 zu gelangen. ☝️
Stelle die Kraft auf 14 und die Geschwindigkeit auf 5.
Wenn der Schnitt deines Klebevinyls nicht überzeugend war, hier die beiden Optionen:
Die Klinge deiner Schneidemaschine hat das Vinyl nicht tief genug geschnitten. ➡️ Du musst die Kraft deiner Klinge erhöhen.
Die Klinge deiner Schneidemaschine hat das Trägerpapier des Vinyls durchstochen. ➡️ Du musst die Kraft deiner Klinge verringern.
Sobald all diese Einstellungen stimmen, legen wir das Klebevinyl in die Maschine ein, um einen perfekten Vinylschnitt zu machen:
2 - Bereite das Vinyl für den Vinylschnitt vor
Nimm deine Transportmatte zur Hand und lege das Klebevinyl darüber, der Trägerteil des Klebevinyls muss auf der Matte kleben und der farbige Teil des Vinyls muss nach außen zeigen.
Wenn deine Transportmatte nicht sehr klebrig ist, empfehlen wir dir, Abdeckband an den Rändern hinzuzufügen.
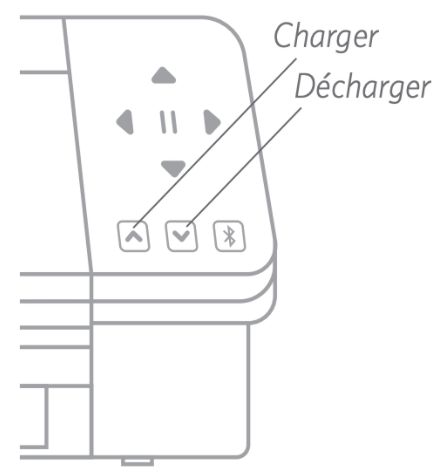
Geh zu deiner Schneidemaschine und senke das Rädchen, um die Metallleiste zu öffnen.
Lege die Matte zwischen die beiden weißen Kunststoffringe (einer links und einer rechts an der Maschine).
Schließe das graue Rädchen wieder.
Die Schneidematte sollte von selbst in der Maschine halten.
Drücke jetzt den Pfeil, der nach oben zeigt (Laden) an deiner Maschine, und klicke auf den Button "Senden" in der Software Silhouette Studio (wenn deine Maschine mit der Software verbunden ist, startet der Schnitt!)
Sobald die Maschine gestartet ist, warte ein paar Minuten oder Sekunden, je nach Größe des Logos, das du schneidest (je größer das Logo, desto länger dauert der Schnitt).
Sobald der Klebevinyl-Schnitt fertig ist, entlade bitte die Maschine, indem du auf "Entladen" klickst.
Die Maschine wird die Schneidematte ausgeben.
Wir kommen jetzt zum Entgittern, bei dem das überschüssige Klebevinyl rund um dein Logo entfernt wird.
3 - Das Entgittern
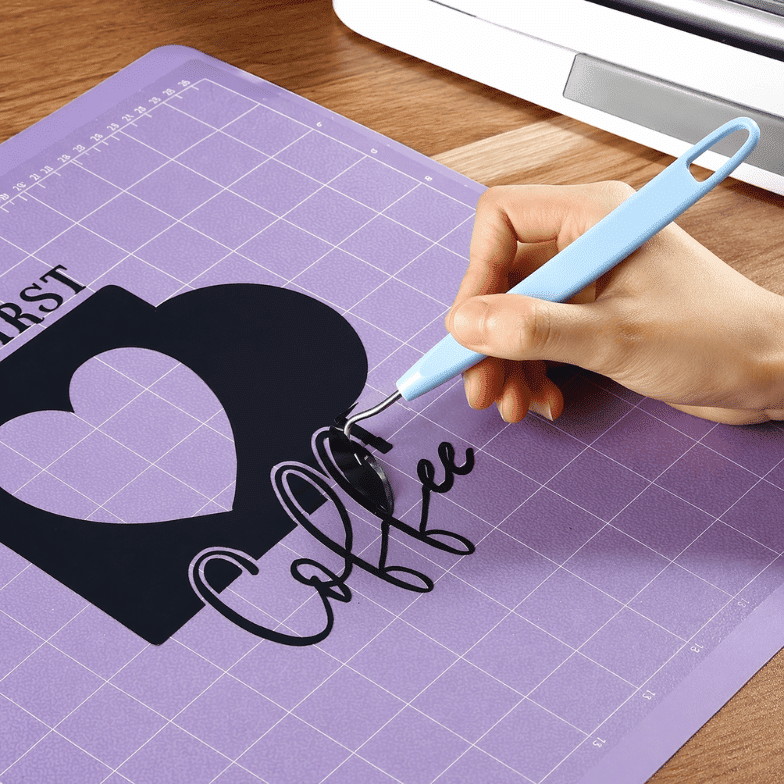
Für diesen Schritt ist es unerlässlich, einen Entgitterhaken zu verwenden, um nach dem Vinylschnitt den ganzen Überschuss zu entfernen. Die Elemente außerhalb deines Motivs sollten sich sehr leicht entfernen lassen, ohne dass du Kraft aufwenden musst.
Bleib beim Entgittern vorsichtig, um zu vermeiden, dass du ein Element deines Logos abziehst.
Sobald der Schritt abgeschlossen ist, solltest du dein Logo in voller Pracht auf seinem Trägerpapier sehen.
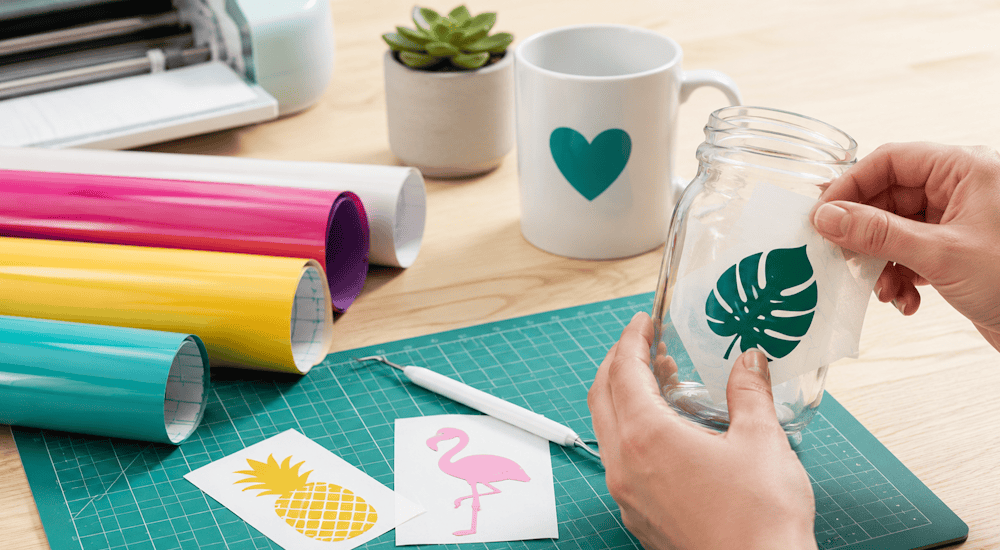
4 - Das Aufbringen

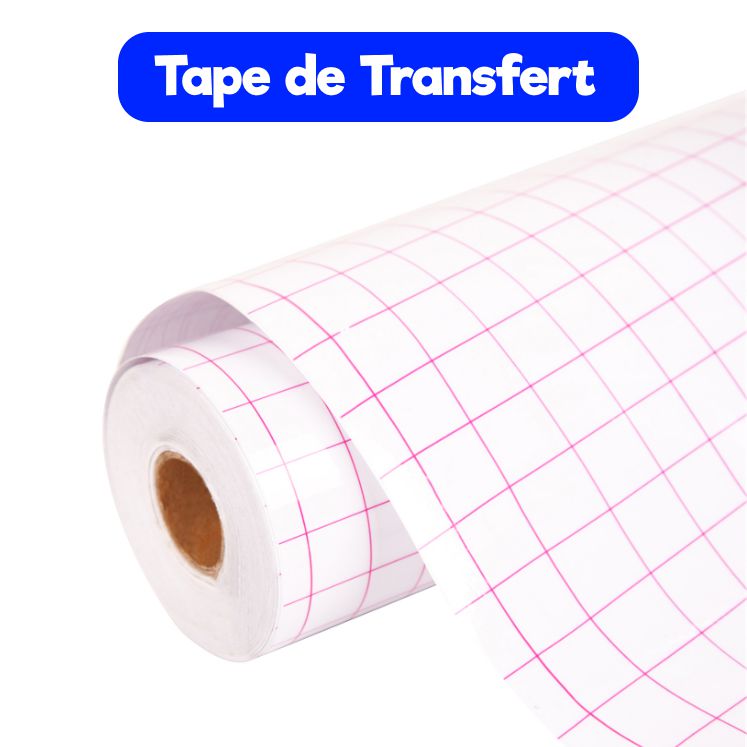
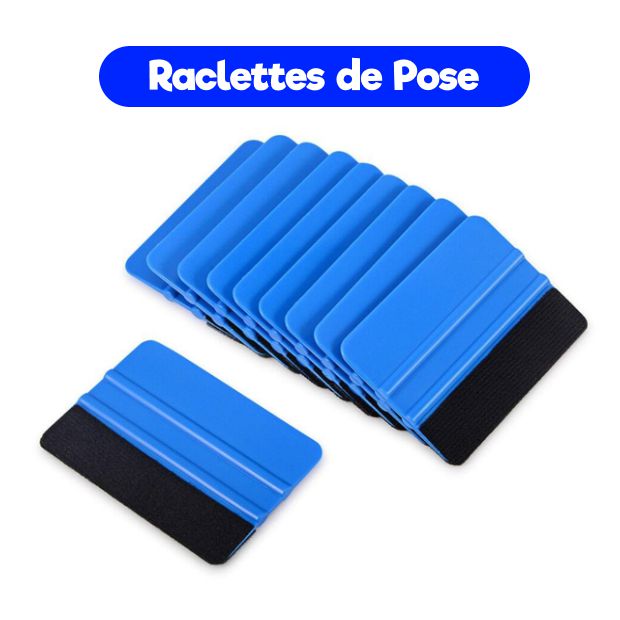
Um dein Klebevinyl auf eine Oberfläche aufzubringen, müssen wir Transferfolie sowie einen Andrückrakel verwenden.
Die Transferfolie ist unverzichtbar, um dein Logo auf eine gewünschte Oberfläche zu übertragen.
Der Andrückrakel ermöglicht es, dein Logo aus Klebevinylpapier korrekt auf der gewünschten Oberfläche anzubringen, damit es perfekt haftet.
Anwendung Vinylschnitt:
1️⃣ Schneide ein Stück Transferfolie in der Größe deines Logos zu, ziehe die klebende Schutzfolie der Transferfolie ab und bringe sie auf deinem Logo an. Die Transferfolie muss dein Vinylmotiv vollständig umfassen.
Hier ist ein Erklärvideo, wie du deine Transferfolie korrekt auf deinem Vinyl anbringst.
2️⃣ Treibe die vorhandenen Blasen mit deinem Andrückrakel aus.
3️⃣ Ziehe die Transferfolie langsam von der Oberfläche ab, dein Logo sollte mitkommen und vollständig übertragen werden.
4️⃣ Bringe das Logo auf der Oberfläche an, die du möchtest (Beispiel: ein Fenster, eine Wand, ein Rahmen ...) und gehe ein letztes Mal 10 Sekunden lang mit deinem Andrückrakel darüber.
5️⃣ Ziehe die Transferfolie vorsichtig ab, das Logo bleibt perfekt an der Oberfläche kleben. Und schon ist es geschafft! ✔️
So endet die Anfertigung und das Aufbringen deines Vinyls. Am Anfang ist der Prozess ziemlich mühsam, aber du wirst sehen, dass es mit etwas Übung für dich nur noch ein Kinderspiel sein wird! 🤩
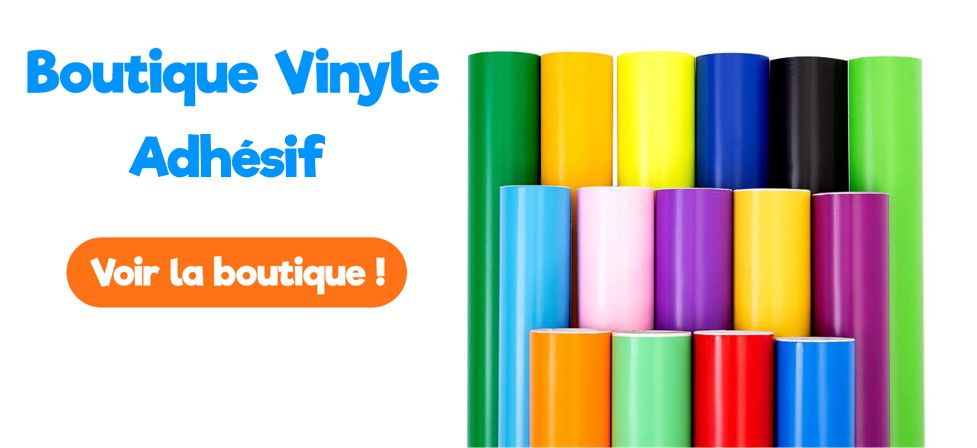
Um unsere Klebevinyle zu bestellen und qualitativ hochwertige Motive zu gestalten, kannst du in unseren Shop für Klebevinyl eintauchen 🏊♂️, wir bieten 3 verschiedene Vinylarten an: Mattvinyl, Glanzvinyl und Glitzervinyl für einzigartige Kreationen!
Wir bieten außerdem karierte Transferfolie sowie Andrückrakel an, damit du deine Motive personalisieren und auf die Untergründe übertragen kannst, die du möchtest. 😉
Jetzt, wo du alle Werkzeuge und Tipps hast, die du für die Anfertigung eines Vinylschnitts brauchst, musst du nur noch loslegen! 💪