
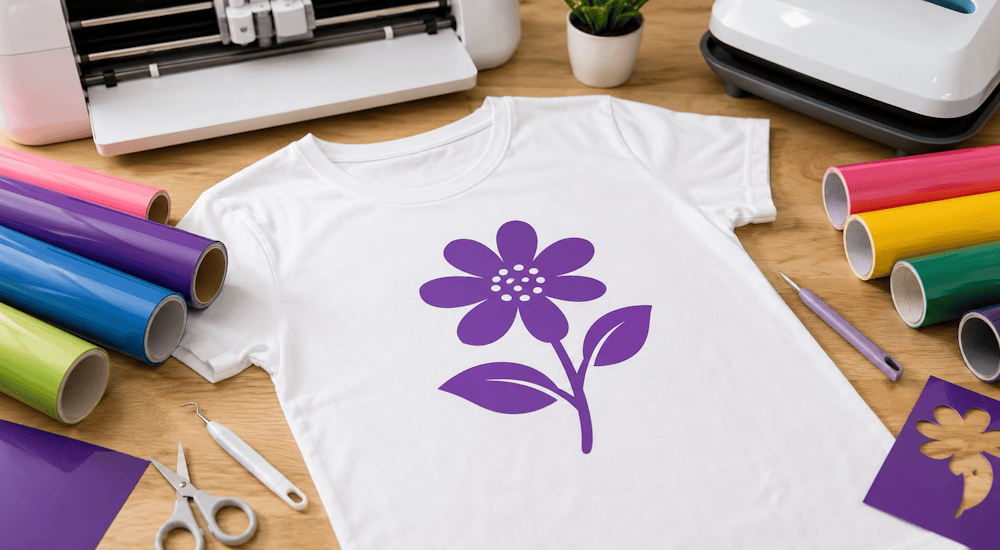
When you want to personalize your clothes, you have two main options. You can hire a custom apparel company that will charge you a small fortune. Or you can decide to learn on your own and start customizing your own T-shirts. 👕
In this tutorial, we'll explain how to personalize your own T-shirt with heat transfer vinyl. (This method is ideal for anyone who wants to customize clothes professionally or just as a hobby.)
Supplies for Customizing Your Own T-Shirts:
To customize your clothes with heat transfer vinyl, you'll need the right supplies and tools. Here they are:
1️⃣ - Heat Transfer Vinyl
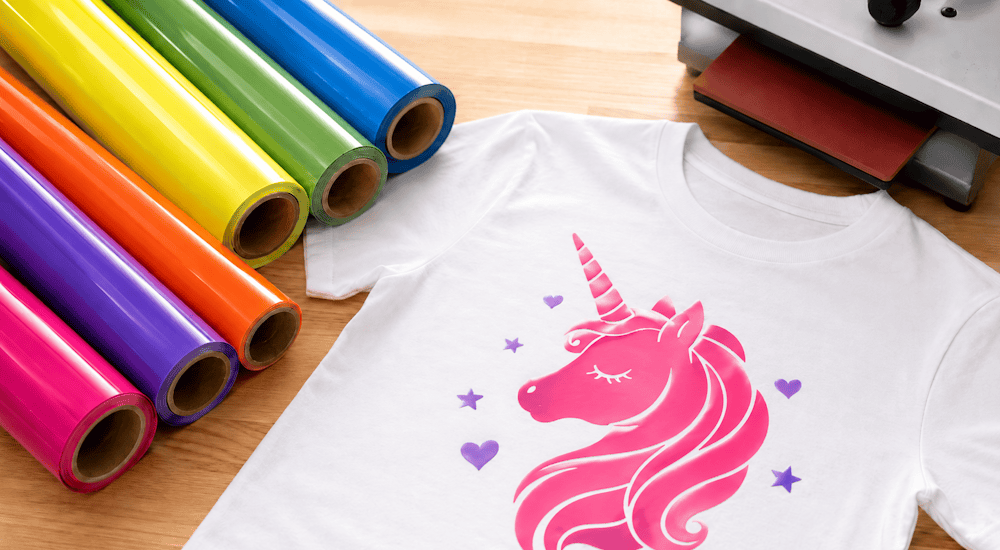
Heat transfer vinyl (or HTV) is the material used to apply designs to fabric with heat, and it's usually sold by the roll.
HTV has two layers: the first one is clear (this is the carrier sheet), and the second one is the part that gets transferred onto the garment to create your design.
In this guide, we'll be using heat transfer vinyl with a velvet finish to give our project a subtle, distinctive touch. ✨
2️⃣ - The Cutting Machine
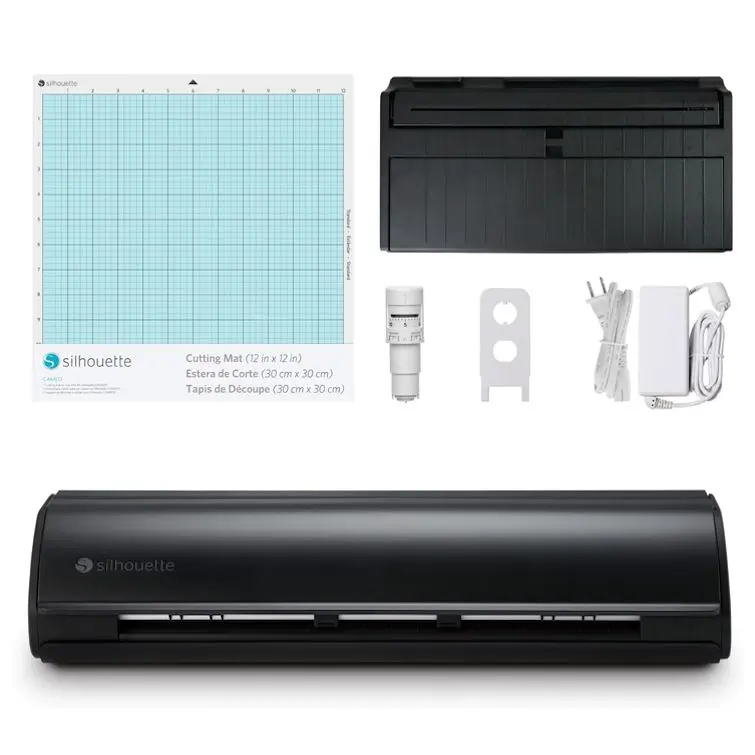
The cutting machine lets you create the logo you want by cutting it out of the heat transfer vinyl.
Some of the best-known machines include the Cricut Maker, the Silhouette Cameo, VEVOR, and SECABO.
Since we're a Silhouette Cameo 5 distributor, that's the machine we'll use in this tutorial.
That said, we encourage you to look into all the cutting machines mentioned above so you can choose the one that best fits your needs. ✅
3️⃣ - A Heat Press (or an Iron)
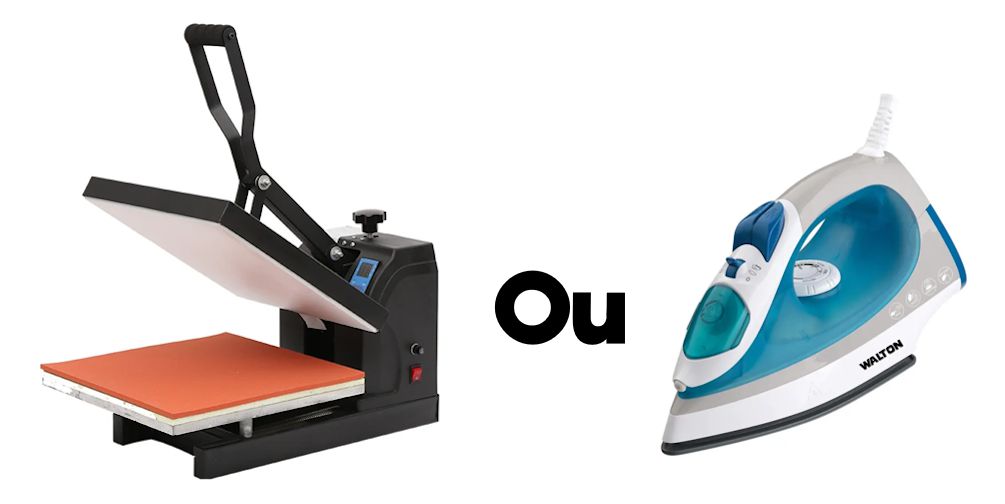
Once you've created your logo, it needs to be transferred and pressed onto the garment with heat. ♨️
To do that, you can use a heat press or an iron!
A question that comes up a lot when people want to customize their own T-shirts is: "Should I use an iron or a heat press?" 🤔
Here are a few tips that I think will help:
◾If you're a beginner and want to customize clothes as a hobby, I recommend starting with an iron. It'll do the job perfectly.
◾If your goal is to launch your own clothing brand or your own custom apparel business, and you're truly passionate about clothing, investing in a heat press is definitely what you need. 🫵
◾Avoid portable presses that you lift up by hand (like in the image below), because they don't apply any pressure to the fabric. Go for genuine high-quality heat presses that will help your designs hold up really well in the wash.
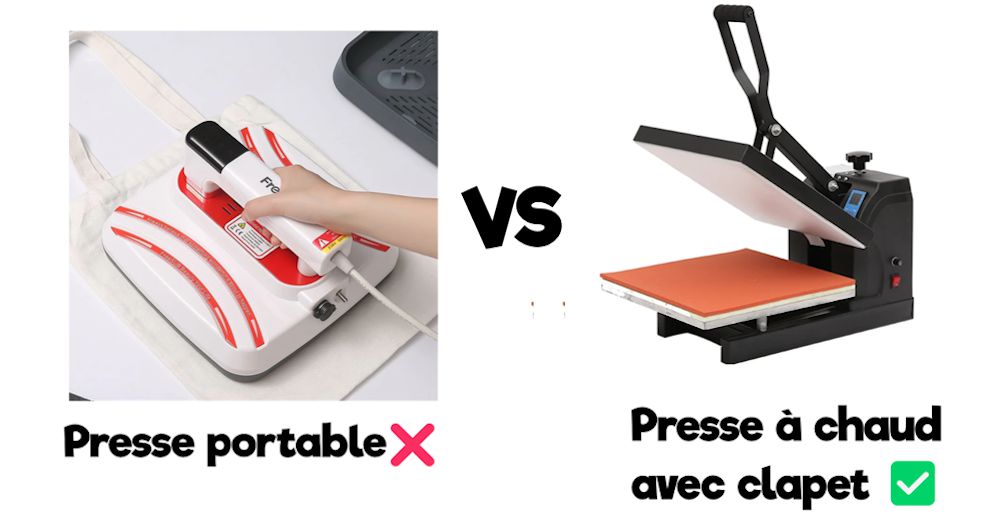
Finally, a quality heat press costs anywhere from 200 to 2000€. So don't rush into it headfirst, and make sure you choose a machine that fits your needs and your experience level.
4️⃣ - A T-Shirt (or Other Garment)
To personalize your own clothes, you'll obviously need a garment to work on (ideally a good-quality one). 👚
When you're just starting out, you can do a few practice runs on old fabric or on T-shirts from your closet.
Then you can move on to the real deal by ordering blank T-shirts.
Here are a few tips for ordering good-quality blank T-shirts online:
◾Some of the best-known blank apparel wholesalers include Ralawise, Toptex, and Wordans.
◾ The thickness of the T-shirt (its fabric weight) isn't the only sign of quality, but it does help it hold up over time. So look for T-shirts with a weight of at least 160g/m2.
For sweatshirts, the recommended minimum weight is 280g/m2.
◾Here are a few garments that stood out to me for their great value for money:
- Gildan 12500 (Sweatshirt)
- Gildan 2000 (T-shirt)
- SC276 (Zip-neck sweatshirt)
- Fruit of the Loom 62-216-0 (Pullover, no hood)
- B&C CGSET (Pullover, no hood).
Try out the different options from suppliers on the market for yourself so you can make your own choices. 😉
5️⃣ - A Weeding Hook (Optional)
We'll come back to this in the second part of this post, but the weeding hook is essential for weeding out the excess heat transfer vinyl.
If you don't have a weeding hook, you can use tweezers instead.
Do you dream of customizing clothes like a pro, right from home?
With our Magic Starter Pack, you'll have everything you need to get started: machines, supplies, heat transfer vinyl, and even step-by-step training to help you nail your creations on the very first try.
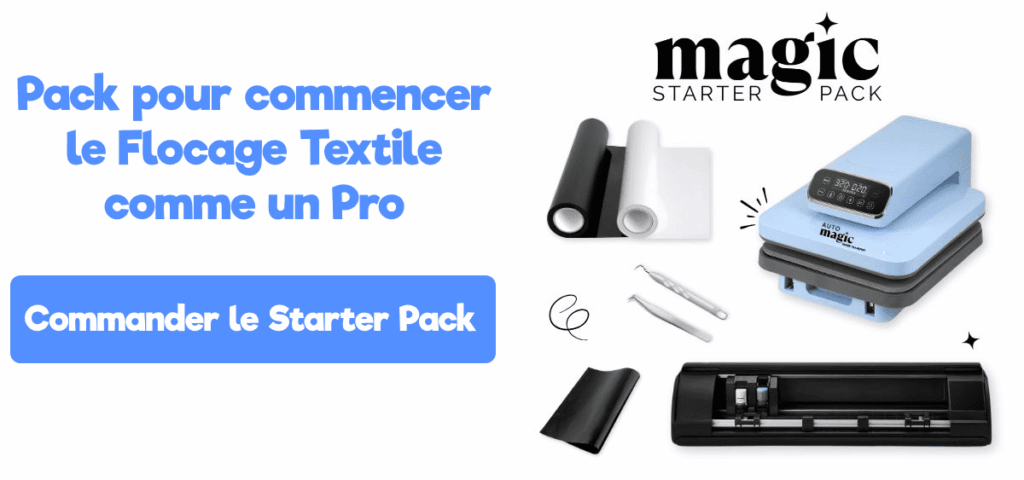
A 7-Step Guide to Personalizing Your Own T-Shirt
Now that you know all the essential supplies for customizing your own T-shirts, we'll walk you step by step through making your very first design! ⬇️
Import Your Logo into the Machine's Software
Once you've chosen the logo you want to cut, you'll need to import it into your cutting machine's software.
For the Silhouette Cameo 5, the software is Silhouette Studio (free).
If you have a different cutting machine, we recommend following a YouTube tutorial to learn how to import your logo into your machine's software.
Here's a short video that shows you how to import your logo into Silhouette Studio so you can start cutting with your Silhouette Cameo (this tutorial works with the Silhouette Cameo 1, 2, 3, 4, and 5):
Next, enter the right cut settings for the type of heat transfer vinyl you're using.
Every vinyl has a different thickness, so you need to enter the correct settings on the machine.
For our heat transfer vinyl, the cut settings are listed in each product description to make things easier for you. 😎
Now let's load the roll of heat transfer vinyl into the cutting machine.
Load the Heat Transfer Vinyl into the Cutting Machine
Unroll some of your heat transfer vinyl roll and feed it into the machine.
Some machines also use a cutting mat, so you'll need to stick your heat transfer vinyl onto the mat before loading it.
Cut the Heat Transfer Vinyl with Your Cutting Machine
Once the roll of heat transfer vinyl is properly loaded into the cutting machine, switch over to the machine's software to start the cut.
⚠️ Important: before you start cutting, make sure your logo is set to cut in "mirror mode".
If you cut your logo the right way around, it'll come out backward once it's transferred onto your T-shirt. That's why you need to flip your logo horizontally (which is easy to do in the software).
Weed the Excess Heat Transfer Vinyl with the Hook
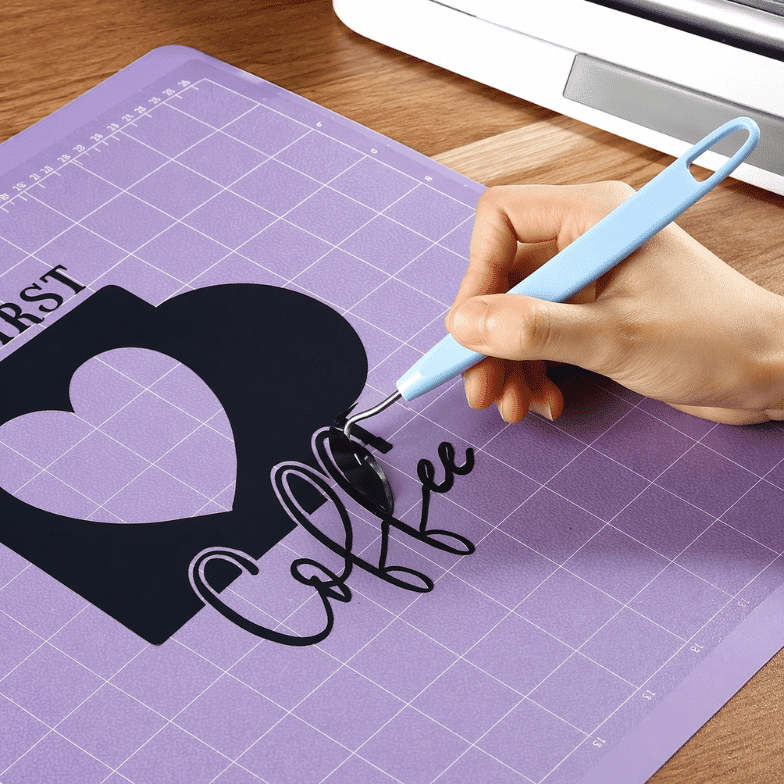
When the machine has finished cutting, remove the heat transfer vinyl from the machine.
Take the section of vinyl that was cut and set the rest of the roll aside.
Now you're at the "weeding" step. This means removing the excess heat transfer vinyl from the clear carrier sheet so only your logo is left on the carrier.
In figure 1, I'm removing the excess vinyl around my logo (you can do this with your fingers).
In figure 2, I need to remove the excess vinyl inside my logo. This is delicate work, so it should be done with a weeding hook (or tweezers if you don't have one).
Here's the result after weeding. ⬆️🤩
Place the Logo on the T-Shirt
Now that your logo is clearly visible, we need to place it in the right spot on the T-shirt.
First, make sure the room where you'll personalize your own T-shirt is "safe." Your iron or heat press will need to heat up to 150°C, so move any flammable items away from you.
If you're using an iron, protect your table during pressing with an ironing mat, or place your T-shirt directly on your ironing board. 👍
Lay your T-shirt on the mat (or on your heat press), then take your logo and position it correctly on the T-shirt.
Here's a video in English that does a great job of explaining how to place your logo on a T-shirt:
Press the Logo with Your Iron or Heat Press
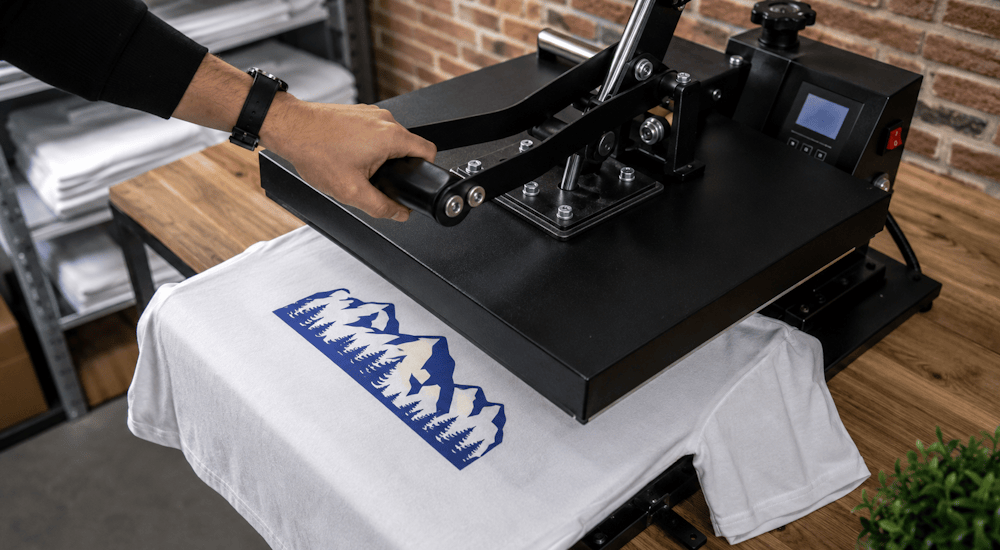
Preheat your iron or heat press to 150°C, and grab a sheet of parchment paper.
Once the iron reaches the right temperature, place the parchment paper over the logo (the sheet should cover the entire design).
Parchment paper helps protect the fabric from the high heat. You can also use a Teflon sheet, which is more professional and more cost-effective in the long run. 💰
Press with your heat press or iron at 150°C for 20 seconds, applying firm pressure to the fabric.
Remove the Clear Carrier Sheet from the Vinyl
This is probably the most satisfying step of all: revealing the logo, also known as "the peel" 🤤
Peeling means removing the clear carrier sheet from the vinyl (photo above). Some heat transfer vinyl is a hot peel (you remove the carrier sheet right after pressing), while other types are a cold peel (you wait 30 seconds before removing the carrier sheet).
Gently peel back the clear carrier sheet. If your logo hasn't stuck to the T-shirt at all, press again with more pressure.
If your logo has stuck well, go ahead and remove the clear carrier sheet completely.
To make sure your custom T-shirt holds up perfectly in the wash, grab your sheet of parchment paper again, place it over your logo, and press for another 10 seconds at 150°C. ✔️
Admire Your Work!
That's it! You've personalized your own T-shirt with heat transfer vinyl. 😀
Interested in custom apparel and want to personalize your own clothes professionally?
Order our Magic Starter Pack, which includes all the supplies you need to start your own custom apparel business!
As you can see in the images above, velvet HTV gives a great result. (And rest assured, it'll hold up through all your machine washes!)
Of course, we have plenty of other styles of heat transfer vinyl in our shop (like glitter HTV, 3D HTV, and puff HTV).
So explore our entire heat transfer vinyl collection and pick your favorites to personalize your own clothes!



Comments
No comments yet. Be the first to share your experience.
Leave a comment