
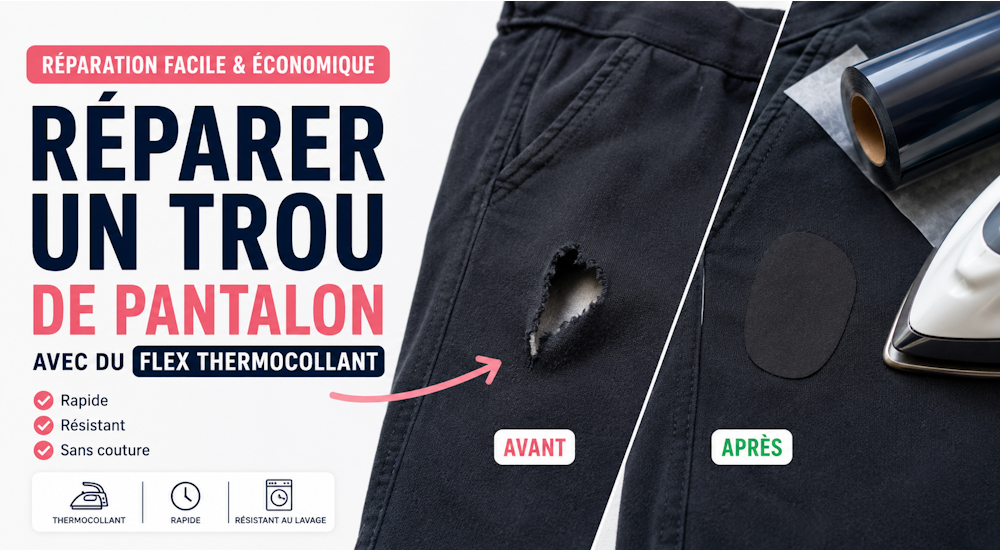
Kids, teens, or adults, we've all ripped a hole in our pants more than once. 😞
Whether you're playing sports or just walking around town, you're never safe from tripping and landing on your knees. That can (1) hurt and (2) rip a hole in your pants or joggers (a double whammy 😧).
We can't heal your scrapes, but in this tutorial, we'll show you how to patch a hole in any garment on a small budget with heat transfer vinyl!
First, we'll explain what heat transfer vinyl is, and then we'll show you how to patch a hole in your pants with it. ✅
An Introduction to Heat Transfer Vinyl
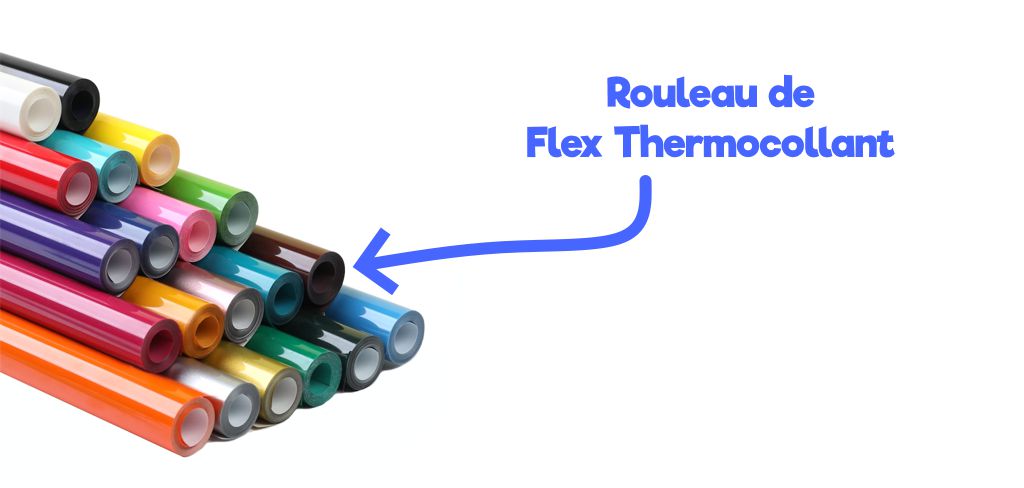
Simply put, heat transfer vinyl is the material used to add custom designs and lettering to fabric. 👕
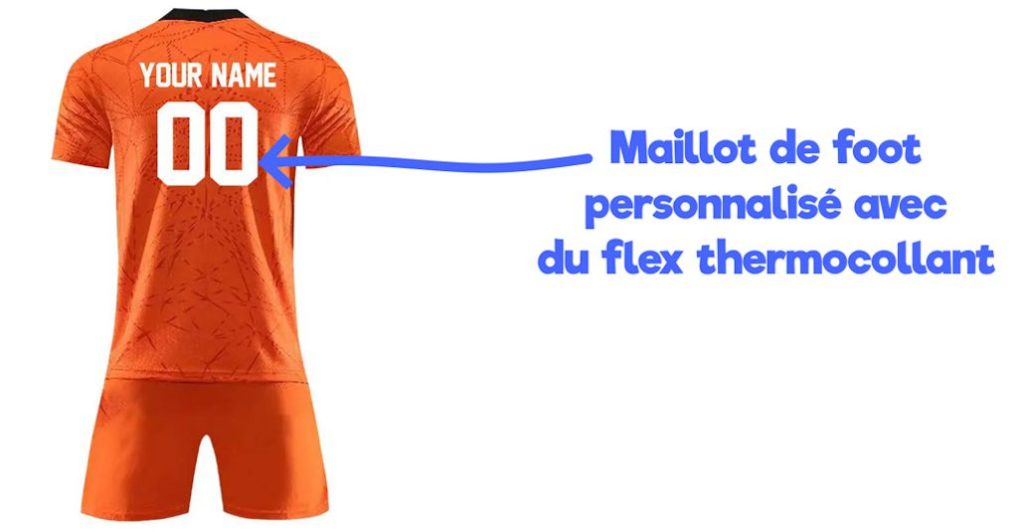
Here's an example you'll definitely recognize:
When pro soccer players take the field, each of them wears a jersey with their name and number on the back so they're easy to recognize.
Well, the names and numbers on the back of soccer jerseys are made from a roll of heat transfer vinyl that's been cut beforehand.
For example, the Aix-en-Provence Soccer Club customizes its team's jerseys with our heat transfer vinyl!
As the name suggests, heat transfer vinyl is activated by heat, which means it sticks to any type of fabric when you apply heat (around 150°C).
Heat transfer vinyl is sold by the roll and comes in different types, such as glitter HTV, velvet HTV, and even 3D HTV. All of them can be used to customize clothing.
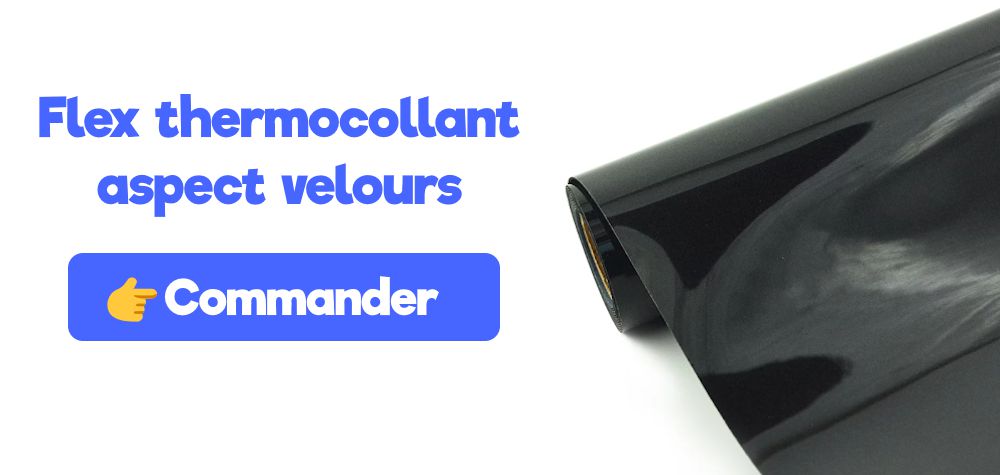
Since we want to repair a hole in a pair of pants, we'll be using velvet HTV, which is nice and thick, so it's perfect for patching the hole. 👍
Repairing Ripped Pants with Heat Transfer Vinyl
What You Need to Repair Your Ripped Pants 👖:
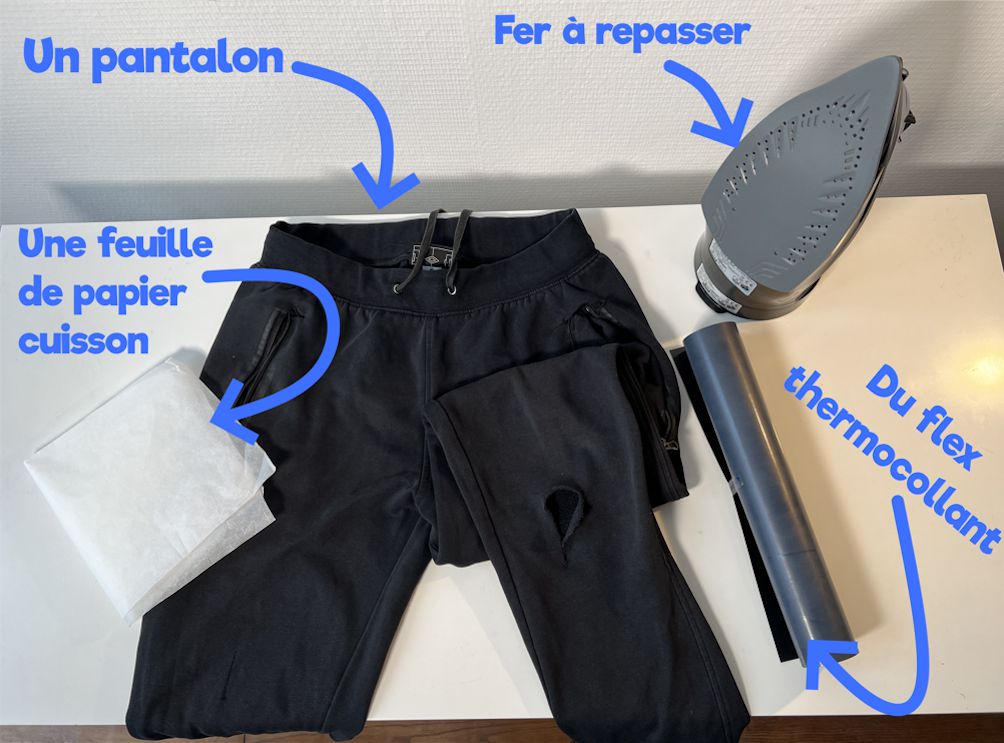
To repair your pants, you'll need:
- A pair of ripped pants (in our case, we're using joggers.)
- Velvet HTV (to patch the hole in the pants)
- An iron (to apply the heat transfer vinyl to the pants)
- A sheet of parchment paper (to protect the pants from the heat)
5 Steps to Patch Your Pants with Heat Transfer Vinyl
Follow these 5 simple steps to repair the hole in your pants:
1️⃣ - Prepare Your Workspace:
When it's time to apply the heat transfer vinyl to the pants, your iron will need to heat up to 150°C. 🌡️
So make sure your ripped pants are in a safe spot, with anything flammable kept well out of the way.
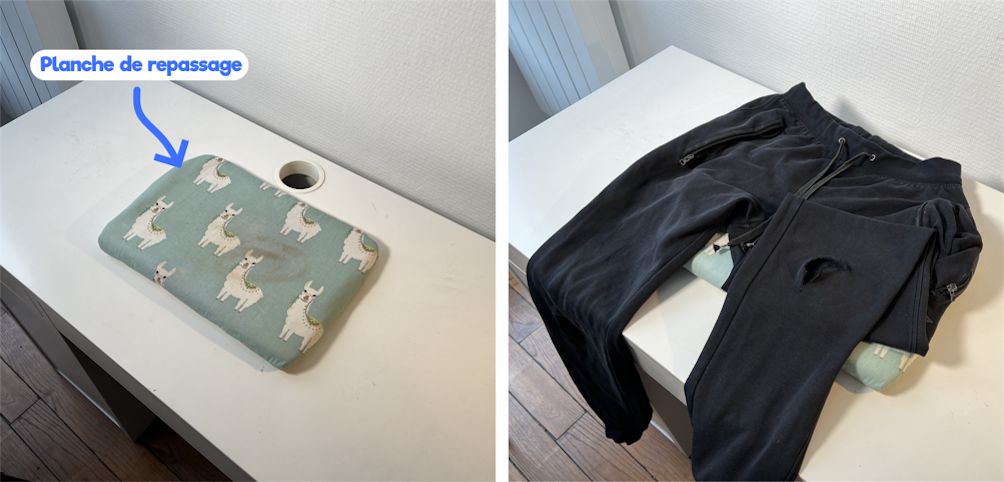
For example, you can lay the pants on an ironing board, which is perfect for this kind of job.
If you're using a regular table, put something down to protect it from the heat (in our case, we're using an ironing board).
2️⃣ - Slip the Parchment Paper Inside Your Pants:
Take your sheet of parchment paper and slide it inside your pants, placing it right under the hole.
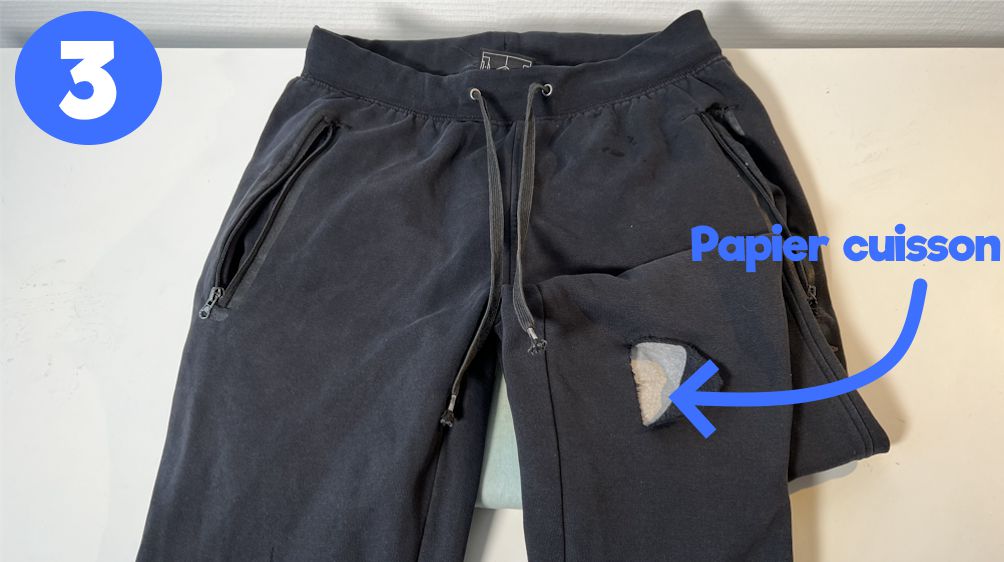
The parchment paper is essential because it keeps the heat transfer vinyl from sticking to the inside of the pants, which could make them unwearable.
3️⃣ - Cut a Piece of Heat Transfer Vinyl:
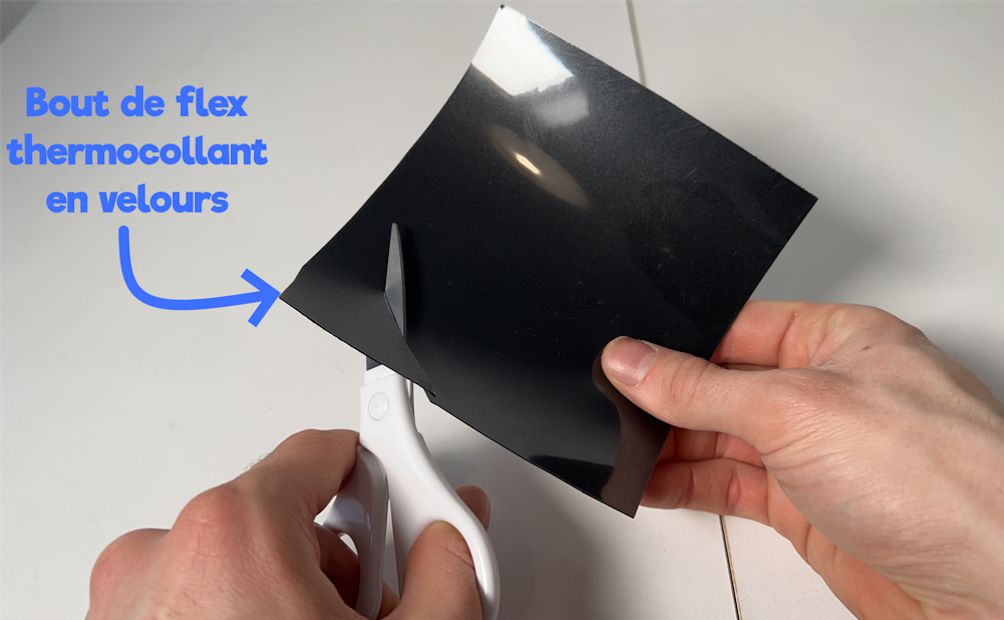
Grab your scissors and cut the velvet HTV into any shape you like.
⚠️ Important: The shape you cut absolutely has to be bigger than the hole in the pants. (about 3cm extra on each side)
Since the hole is on the knee, we'll cut an oval shape so the result looks like a knee patch.
To cut the velvet HTV into the perfect shape, you can also use a cutting machine like the Silhouette Cameo 5, which is ideal for cutting heat transfer vinyl to customize your clothes.
Once your velvet HTV is cut, position the shape over the hole. As we mentioned earlier, it's important to make sure the heat transfer vinyl completely covers the hole.
Then take a second sheet of parchment paper and place it over the vinyl. This sheet will help protect your pants from the heat. ♨️
4️⃣ - Preheat Your Iron:
Preheat your iron to 150°C. This is the ideal temperature for the heat transfer vinyl to bond to the fabric and hold up in the washing machine.
If your iron doesn't show the exact temperature in degrees, set the dial to polyester or wool.
5️⃣ - Press the Iron Firmly onto the Fabric:
Once your iron is hot and your velvet HTV completely covers the hole in the pants, press the iron firmly onto the pants for 20 seconds so the heat transfer vinyl bonds with the fibers of the fabric.
6️⃣ - Remove the Clear Carrier Sheet:
After applying the vinyl, wait 30 seconds to let the heat dissipate, then gently peel off the clear carrier sheet. You'll reveal your beautifully restored pants, looking as good as new. ✨
7️⃣ - Press the Design One Last Time:
Last step! To make sure your velvet heat transfer vinyl holds up wash after wash, put the parchment paper back over it and press again for 15 seconds.
8️⃣ - Your Pants Are Repaired:
You can be proud of yourself, because you've managed to repair the hole in your pants just by using heat transfer vinyl! 😀
The color difference between the velvet HTV and the pants is still noticeable, but you can absolutely add a matching knee patch on the other leg for a better look when you wear them.
If you have ripped pants you'd like to repair with heat transfer vinyl, feel free to order our velvet HTV, available in a wide range of 12 different colors.
Our heat transfer vinyl has been tested and proven to hold up through more than 60 machine washes. 💪
To repair a hole in a garment, you'll need the 30cm x 50cm roll, which costs just 4.5 euros.
Besides learning how to repair a hole in your pants, you've also gotten familiar with how to customize fabric with heat transfer vinyl!
In fact, you now know how to apply heat transfer vinyl to a garment. 😏
Heat transfer vinyl is used to customize soccer jerseys, and it's also used by well-known clothing brands like Nike, Fila, Under Armour, and many more.
If you'd like to learn how to customize your own clothes with HTV and maybe even launch your own clothing brand someday, we highly recommend reading our guide on how to personalize your own clothes with heat transfer vinyl.




Comments
No comments yet. Be the first to share your experience.
Leave a comment