
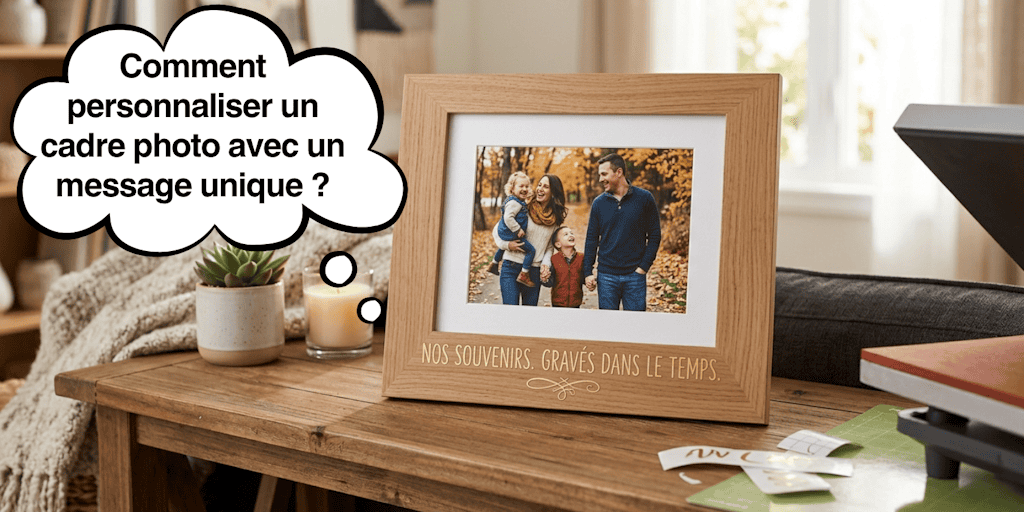
Some photos are extra special. They capture a specific moment, an important memory, or a feeling you want to hold on to. A photo frame lets you display them, but a standard frame is usually pretty plain.
Personalizing a photo frame takes things a step further. When you add a message, you're not just displaying a picture anymore; you're giving it context and meaning. The frame becomes a true form of self-expression that can tell a story or celebrate an important moment.
This kind of personalization doesn't necessarily require advanced technical skills. With heat transfer vinyl, you can get a clean, precise, long-lasting result while still having plenty of freedom to choose your message and style.
In this article, we'll look at how to personalize a photo frame with a unique message using a simple, beginner-friendly method, with results polished enough to give as a gift or even sell!
1. Why Personalizing a Photo Frame Changes Everything
A standard photo frame does its job: it shows off a picture and fits easily into your decor. But it often feels impersonal. You set it out, glance at it now and then, and eventually it just fades into the background.
Personalizing a photo frame completely changes that. Adding a message, even a simple one, gives the frame an extra dimension. It's no longer just a framed picture, but a memory that speaks for itself and tells a specific story.
A name, a date, or a short phrase is all it takes to turn an ordinary frame into something meaningful. Your eye is drawn not only to the photo, but also to the message that goes with it. The whole piece feels stronger, more cohesive, and more memorable.
That's also what makes all the difference if you create or sell handmade items. These days, mass-produced products are available everywhere. What really draws people in is something unique. When you personalize a photo frame, you add value you won't find in a standard product: intention, a story, and emotion.
Heat transfer vinyl is a perfect fit for this approach. It gives you a clean, precise, long-lasting result without any technical hassle. It's an easy-to-use material that makes personalization both simple and effective.
2. The Essential Supplies for a Clean, Professional Result
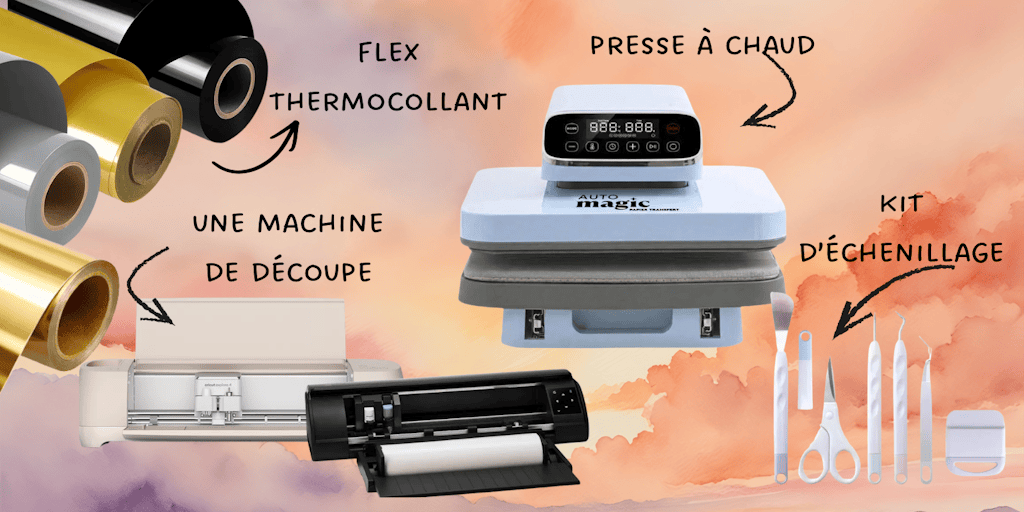
The quality of your project depends directly on the supplies you use. You don't need professional equipment, but a few items are essential for a crisp, durable finish.
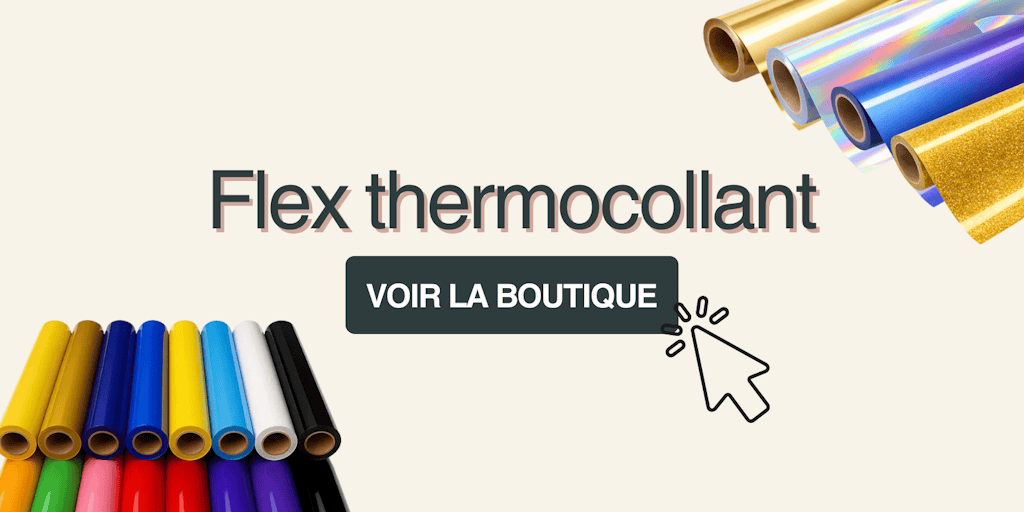
Heat transfer vinyl is the star of the project. It's what lets you add your message to the frame. It comes in several finishes, but matte is my favorite for a more understated, elegant look. Good-quality heat transfer vinyl is essential for long-lasting results and a flawless look.
A cutting machine, like a Cricut or a Silhouette Cameo 5 (or any other brand, for that matter), gives you precise, consistent letters. It makes the job much easier, especially with thin fonts. That said, you can still cut simple designs by hand, as long as you take your time and cut carefully.
To make it all stick, a heat press is your best friend. Unlike a regular iron, it distributes heat perfectly evenly and applies consistent pressure across the entire design. That's the secret to getting the vinyl to truly bond with the wood fibers of the frame, so your creation won't budge an inch for years to come. If you're just starting out, an iron can do the job, but be careful with the temperature and how much pressure you apply!
Finally, the photo frame you choose matters too. Simple frames in neutral colors let your message shine without pulling attention away from it. Then all that's left is to apply your cut heat transfer vinyl to the wood!
Enough about supplies. Now it's time for the tutorial by Alyah!
3. How to Personalize a Photo Frame with Heat Transfer Vinyl, Step by Step
Personalizing a photo frame comes down to a series of simple steps that still require precision. Each stage plays a role in the quality of the final result.
The first step is deciding on your message. It should be short, easy to read, and a good match for the photo. Messages that are too long make the frame look cluttered and lose their impact. Your font choice matters too, since it directly affects readability and the overall style. To set this up, use your cutting software, like Design Space for Cricut machines or Silhouette Studio for Silhouette Cameo machines.
Once your design is ready, it's time to cut the heat transfer vinyl. If you're using a machine, just start the cut with the right settings. The nice thing about Transfer Paper is that the cut settings are listed for every heat transfer vinyl (which really helps you avoid wasting material!). If you're cutting by hand, it's best to stick to simple shapes, unless you're a total pro with scissors and craft knives!
Personally, I decided not to apply the design directly to the wood. Instead, I put a piece of fabric in place of the photo and personalized that.
Next, weeding lets you remove the parts you don't need so only the message is left. During this step, be really careful not to pull off pieces of your design (trust me, it's so easy to make a mistake!).
Before you move on to the heat press, make sure your design is centered and placed exactly where you want it. Once it's pressed on, it's hard to remove, and any leftover adhesive residue will make the result look messy if you have to start over!
Once you're happy with the placement, you can press your design with the heat press. An iron will do in a pinch, but it's really a backup option. Set the right temperature, pressure, and pressing time... and just like that, the plastic carrier sheet is ready to come off (careful: some vinyls are cold peel and others are hot peel, which means you need to remove the carrier sheet at the right temperature).
Finally, gently peel off the carrier sheet. If any parts of the heat transfer vinyl don't stay put, just press lightly over them again before trying once more.
4. Unique Message Ideas for Personalizing a Photo Frame
Choosing your message is key to the project's success. A message that's too generic can make the frame feel ordinary, even if it's technically well done.
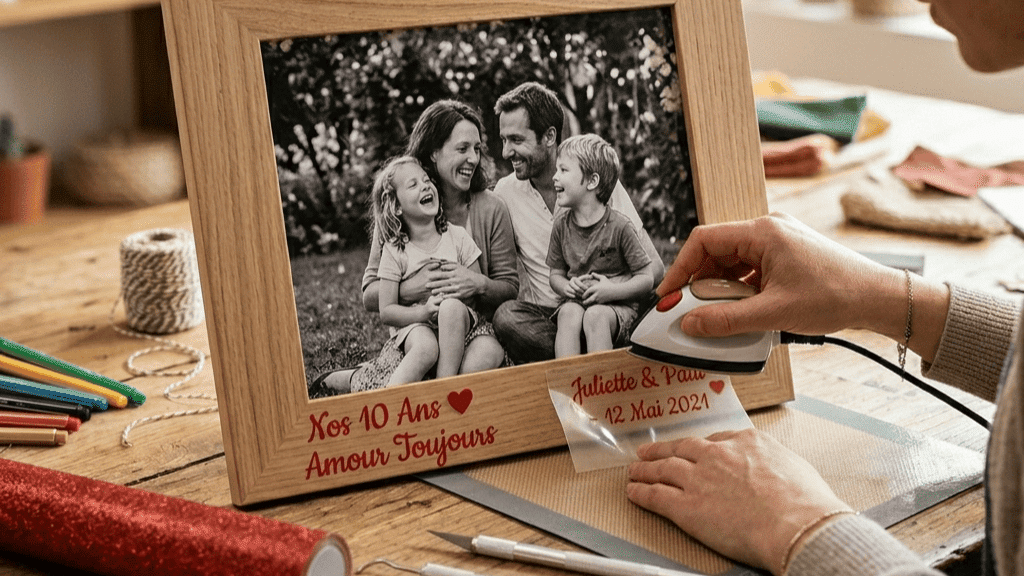
The most effective messages are often the most personal. A name with a date, a nod to an important moment, or a phrase tied to a special story can all help you create a truly unique piece.
Short, emotional messages also work really well. They boost the impact of the photo without overwhelming it. The goal isn't to write a lot, but to write the right thing.
You can also add a touch of originality, as long as it fits the context. A slightly quirky message can add personality, especially for a family photo or a gift.
Finally, your message should always suit the occasion. A new baby, a couple, or a family memory each call for a different tone. Keeping the context in mind helps you create a piece that feels harmonious and just right.
5. Mistakes to Avoid for a Clean, Durable Result
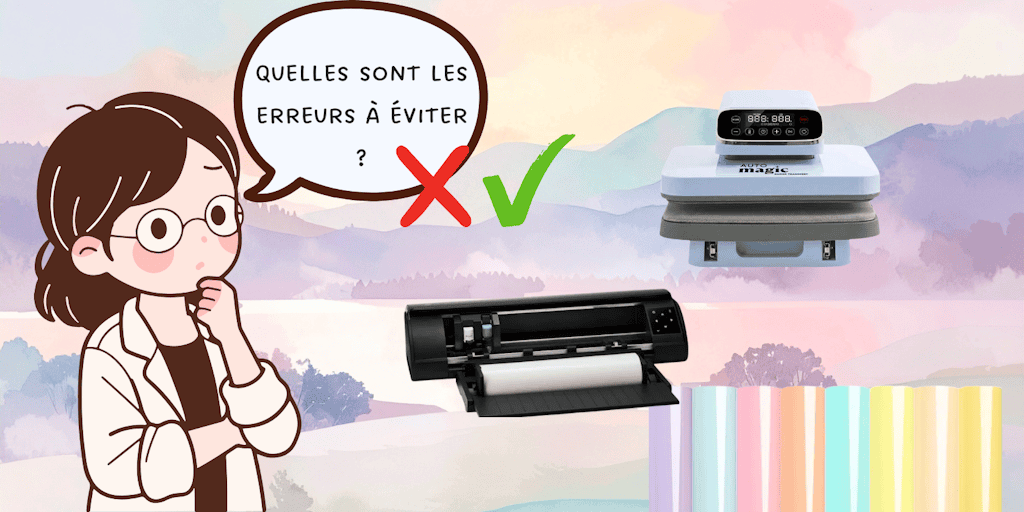
Some mistakes come up often and can spoil the final result, even when the rest of the project is done well.
A message that's too long often leads to a cluttered look. It's harder to read and throws the whole design off balance. It's better to keep it short and simple.
Your font choice can also cause problems. A font that's too intricate or too thin can be hard to cut and apply correctly. That can lead to visible flaws or a design that doesn't hold up over time.
Positioning the heat transfer vinyl is another tricky point. A crooked design instantly makes the piece look unfinished. Take the time to check the visual balance before you apply it.
Surface prep is sometimes overlooked, even though it's essential. If you're using adhesive vinyl, a frame that hasn't been cleaned properly won't let the vinyl stick well and makes bubbles more likely.
Finally, rushing the application is a common mistake. Going too fast increases the risk of wrinkles and flaws. Applying the vinyl gradually gives you a cleaner, more durable result.
Conclusion
Personalizing a photo frame lets you turn a simple item into something meaningful. Adding a message strengthens the impact of the photo and creates a cohesive, one-of-a-kind piece.
Thanks to heat transfer vinyl, this kind of personalization is easy to take on and doesn't require advanced technical skills. With the right supplies, a well-chosen message, and careful application, you can get a clean, durable result.
Whether you're making a gift or creating a product to sell, the real value lies in offering something different. A personalized frame isn't just decorative; it reflects a more personal, more intentional approach.
FAQ: Personalizing a Photo Frame
How Do You Personalize a Photo Frame Easily?
Using heat transfer vinyl is the easiest method. It lets you add a clean, precise message to the glass or the frame without any complicated equipment.
Can You Personalize a Photo Frame Without a Cutting Machine?
Yes, for simple designs. You can cut by hand, but a machine will give you more precise results.
Which Heat Transfer Vinyl Should You Choose?
We recommend a good-quality heat transfer vinyl. Go for a metallic finish for a more elegant look, or glitter, holographic, or even glossy, depending on your project!
How Do You Avoid Bubbles During Application?
Clean the surface, then apply the heat transfer vinyl gradually, smoothing it out as you go.
Does Heat Transfer Vinyl Last Over Time?
Yes, as long as you use quality heat transfer vinyl and follow the application steps.



Comments
No comments yet. Be the first to share your experience.
Leave a comment