
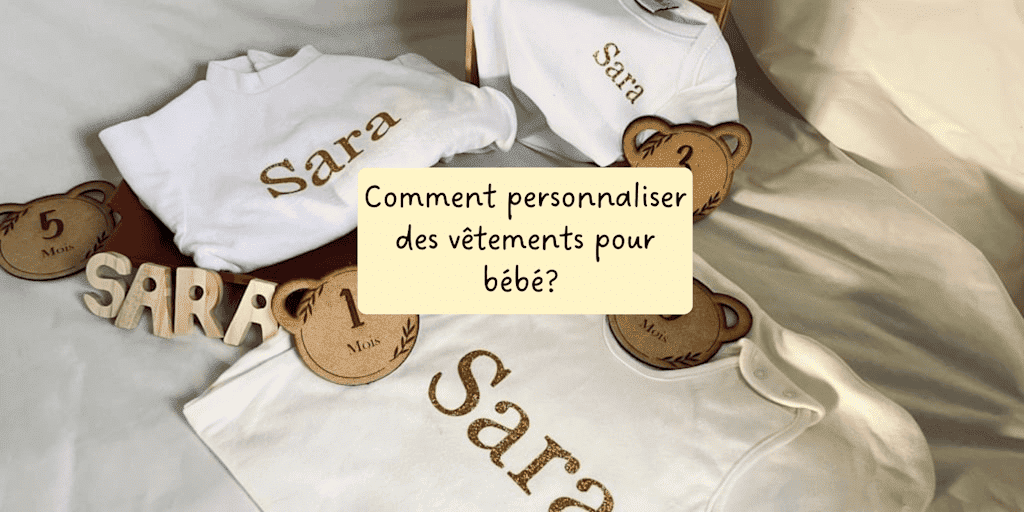
There's something magical about a baby's first few months. Every little bodysuit and every pair of pajamas becomes a precious keepsake, something you hold on to and carefully fold away in a treasure box.
And then one day, an idea starts to take shape: "What if I made a one-of-a-kind outfit myself, just for them?"
That's often how it all starts. You want to add a personal touch, a feeling, a name, or a sweet little phrase. Because personalizing baby clothes is so much more than a simple creative project: it's a way to press a little love into every fiber and tell a story with fabric and heart.
And the good news? You don't need to be a fashion designer to do it! With heat transfer vinyl, you can turn a plain bodysuit into an unforgettable new baby gift, or a basic pair of pajamas into a piece full of charm, all in just a few minutes, right at home.
In this article, I'll show you step by step how to personalize baby clothes easily, with ideas, tips, and inspiration to make every creation as soft as a cuddle.
🌙
1. Why Personalize Baby Clothes?
💕
Even before the baby is born, we're already picturing their little world: soft colors, cozy blankets, snuggly clothes. And once baby arrives, every detail counts. Personalizing their clothes becomes a way to add a little bit of you to their world.
🎁
Give meaning, not just an outfit. A name in gold heat transfer vinyl, a birth date delicately applied, a phrase that makes you smile... These aren't just designs: they're memories in the making. Personalizing baby clothes means creating one-of-a-kind pieces that tell a story, the story of endless love and heartfelt care.
💡
Stand out from mass-produced clothes. In stores, everything tends to look the same: the same pastel colors, the same prints. When you personalize a bodysuit or a pair of pajamas yourself, you give your baby a style that's all their own. Unique, sweet, and authentic. And if you want to spoil someone close to you, it's also a heartfelt new baby gift idea that makes all the difference.
🌱
A gentler, more responsible approach. Making instead of buying is also an ethical choice. You give simple clothes a longer life by making them unique, instead of consuming mindlessly. Thoughtful personalization is beautiful, long-lasting, and respectful all at once.
Because at the end of the day, personalizing baby clothes is so much more than decorating fabric: it's about adding a little of your story and a little of your heart.
💖
(and just between you and me, it's also just TOO CUTE)!
And if you'd like to give a personalized gift without making it yourself, check out Mlle K. Boutique, which offers gorgeous decor pieces and personalized creations for babies, all handmade in France. 😊
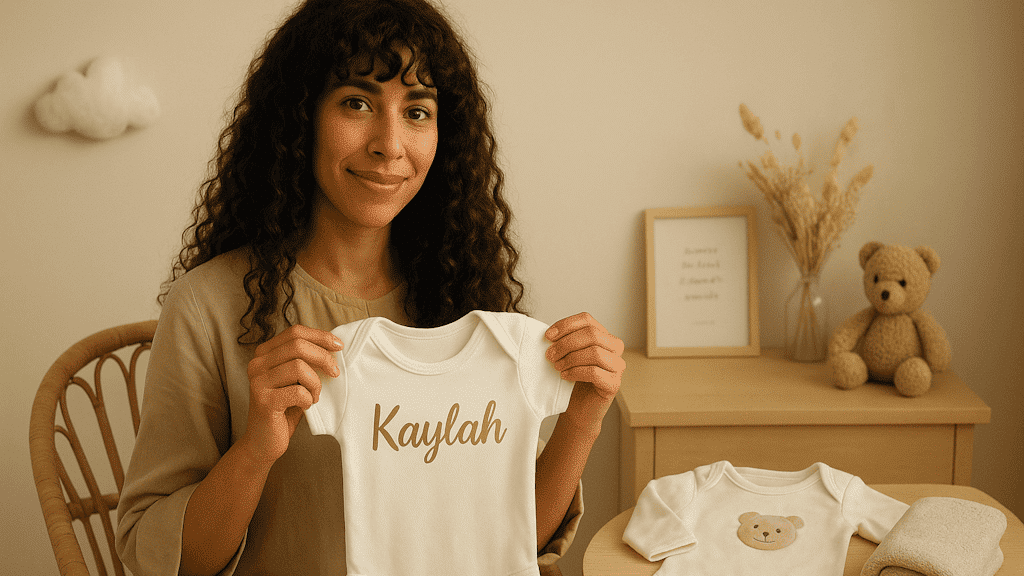
2. Heat Transfer Vinyl, the Perfect Partner for Soft, Long-Lasting Creations
🌈
If you love things that are simple, clean, and pretty, heat transfer vinyl will quickly become your creative best friend. It's a bit like a magic wand for crafty moms (and dads too!): a thin, colorful material that you apply to fabric with a heat press to create flawless designs, with no sewing or complicated embroidery.
Just imagine: you cut your baby's name out of gold or pastel heat transfer vinyl, press it for a few seconds... and your white bodysuit turns into a little personalized wonder.
✨
🌸
What Is Heat Transfer Vinyl?
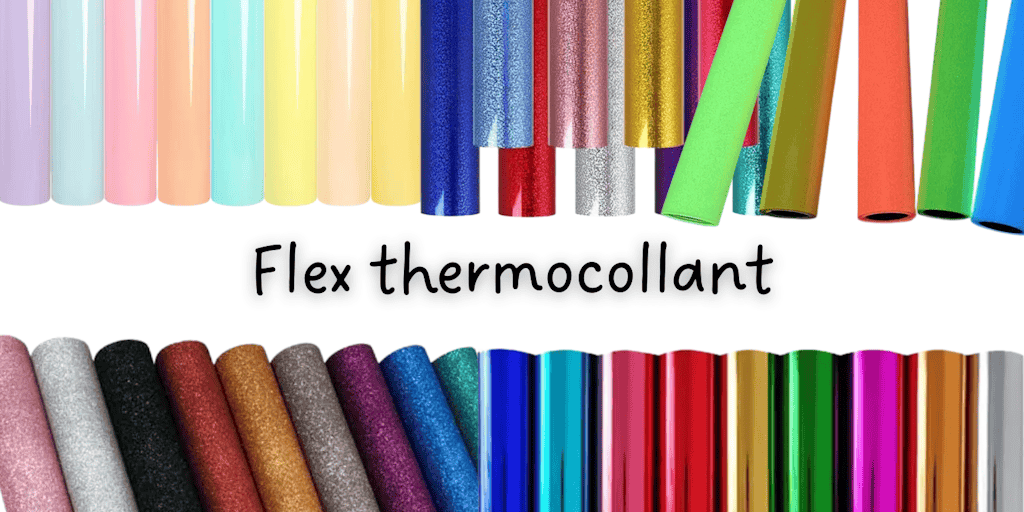
It's a flexible material that you apply to fabric with heat, using an iron or, for more professional results, a heat press. It comes in countless finishes, velvet, glitter, metallic, sun-reactive, and even glow-in-the-dark for the most creative crafters!
Each type of heat transfer vinyl gives a different look: from subtle to bright, from the softest to the most original.
🌼
Why Is It Perfect for Baby Clothes?
Because it's soft to the touch and holds up well in the wash. On top of that, it gives you a clean, precise, and very professional finish, even if you're new to personalization (trust me, once you've tried it, you won't want to stop!)
🧡
A Professional Finish, Even at Home
Heat transfer vinyl is the perfect way to make clothes at home that look like they came straight from a boutique. With a little patience and the right technique, you'll get designer-worthy results without any complicated equipment.
At Transfer Paper, our heat transfer vinyl is specially designed to adhere perfectly to soft fabrics like the cotton used in bodysuits, pajamas, and sleep sacks. All you have to do is pick your favorite color, prepare your design, and let your creativity do the rest.
🌙
3. Step by Step: How to Personalize Baby Clothes with Heat Transfer Vinyl
🧷
Got the perfect bodysuit, your favorite design, your cutting machine, and your heat transfer vinyl all ready to go? This is the magical moment when your idea comes to life
💫
You don't need to be an expert. Just follow these simple steps and let your creativity carry you away. Ready? Let's start personalizing your very first baby clothes!
🧺
Step 1: Choose the Clothing Item to Personalize
Go for natural fabrics like cotton.
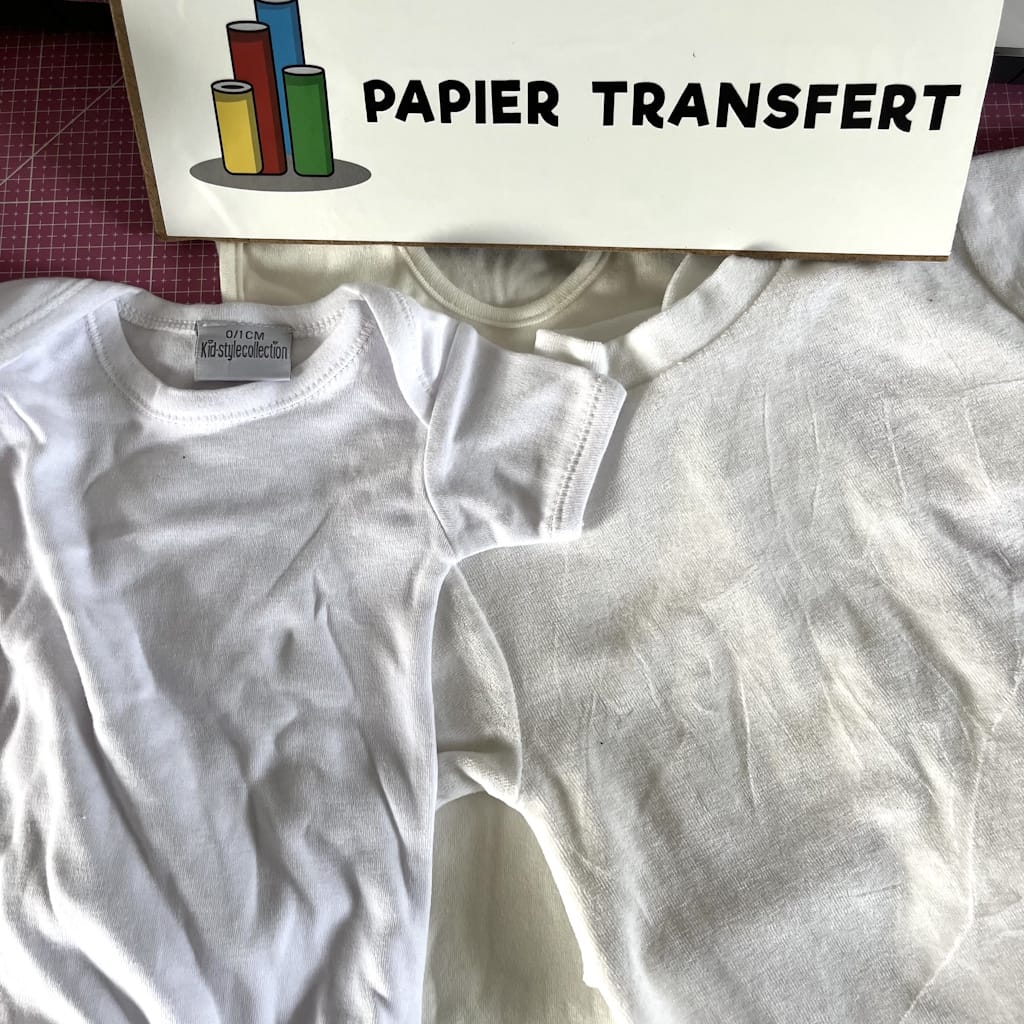
Bodysuits, pajamas, and little T-shirts are perfect for getting started. Just make sure the surface is smooth and clean, with no raised details or seams getting in the way.
In my opinion, a solid-color garment is the best choice for personalizing, because if the fabric has a busy print, your text or design may not stand out enough.
🔥
Step 2: Measure Your Design on the Fabric
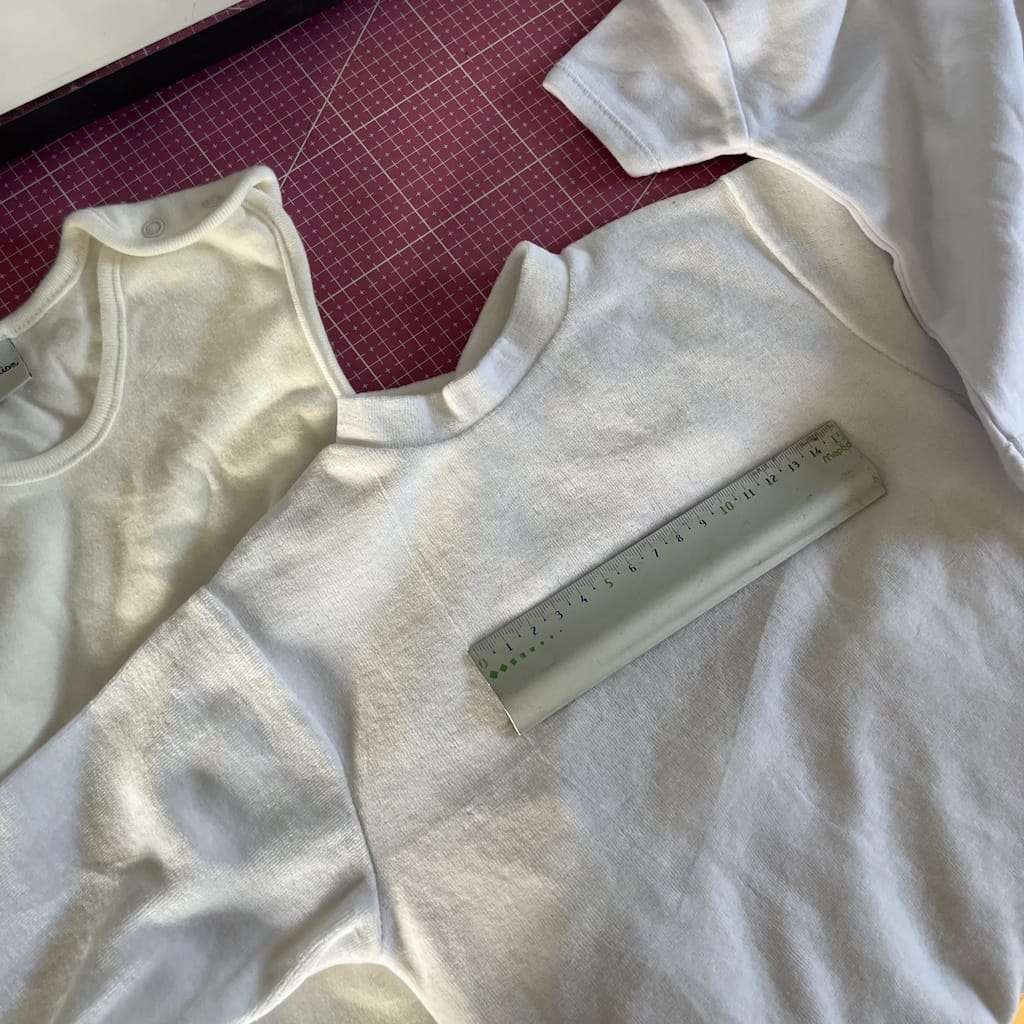
Before cutting anything, take the time to measure with a ruler or a tape measure to find the ideal spot on the garment for your design.
Every garment is different: a bodysuit, a pair of pajamas, and a sleep sack don't have the same proportions!
This is the key step to avoid ending up with a design that's too small or too big!
💫
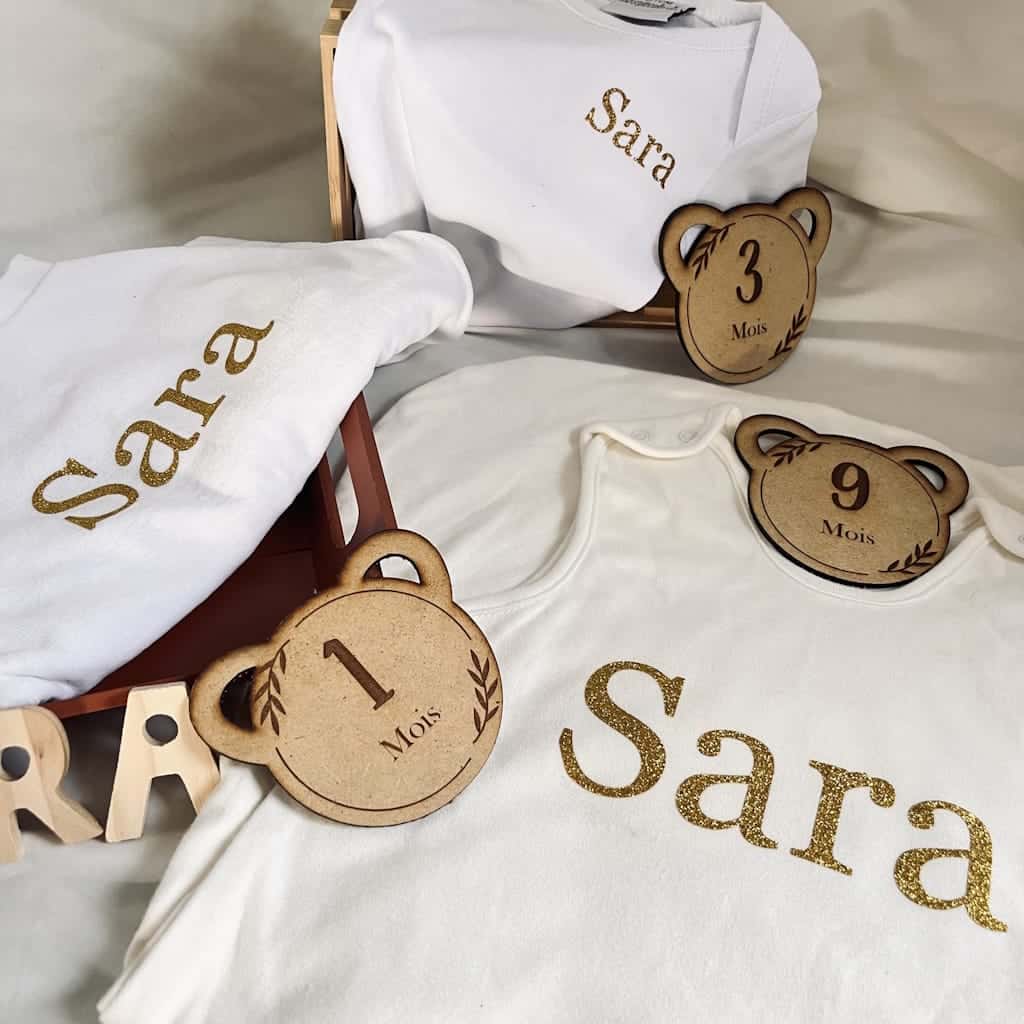
For the dimensions, I went with 5 cm wide for the bodysuit, 12 cm for the pajamas, and 15 cm wide for the sleep sack. Of course, feel free to choose your own sizes (for the height, I just kept everything to the same scale)!
**🎨
Step 3: Create or Choose Your Design**
A name, a birth date, a sweet little word, or a minimalist drawing (or not)... anything goes
💕
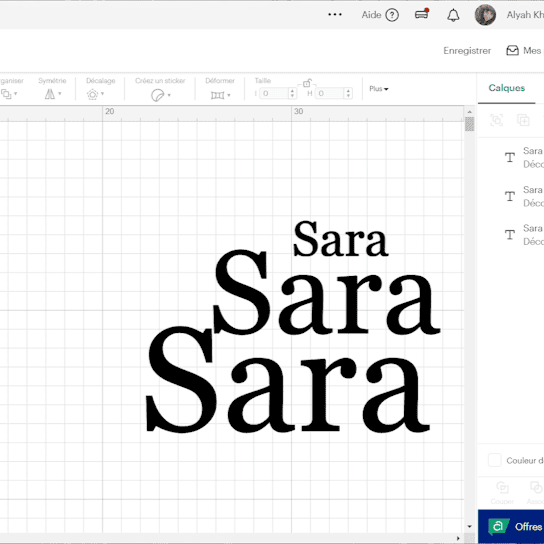
You can create your design in cutting software like Cricut Design Space or Silhouette Studio, or download a ready-made design from the Transfer Paper website (click here to download free designs!).
(Quick tip: stick to simple lines for your first projects. You'll get a cleaner result, and they're easier to weed and apply.)
Personally, I decided to keep it simple and just write the name of the baby on the way!
✂️
Step 4: Cut the Heat Transfer Vinyl
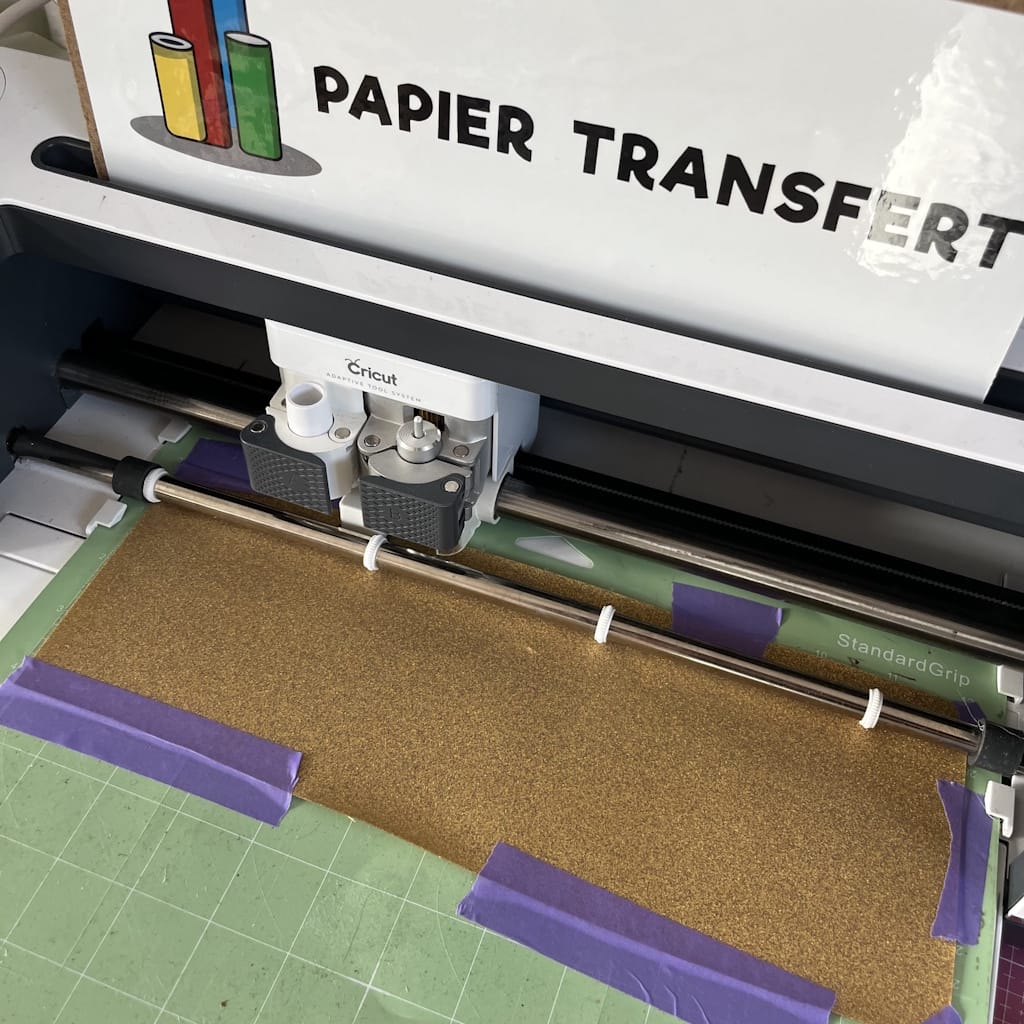
Load your heat transfer vinyl into your cutting machine (you'll find our Silhouette Cameo 5 right here), or cut it by hand if the design is simple and you don't have a cutting machine handy.
Remember: heat transfer vinyl is cut face down (shiny side against the cutting mat), and don't forget to turn on mirror mode before you start cutting!
Once the design is cut, gently remove the excess vinyl with a weeding tool.
For this set, I went with gold glitter heat transfer vinyl (which is just GOR-GEOUS). By the way, let me know in the comments what you think of this color!
💧
Step 5: Press the Design
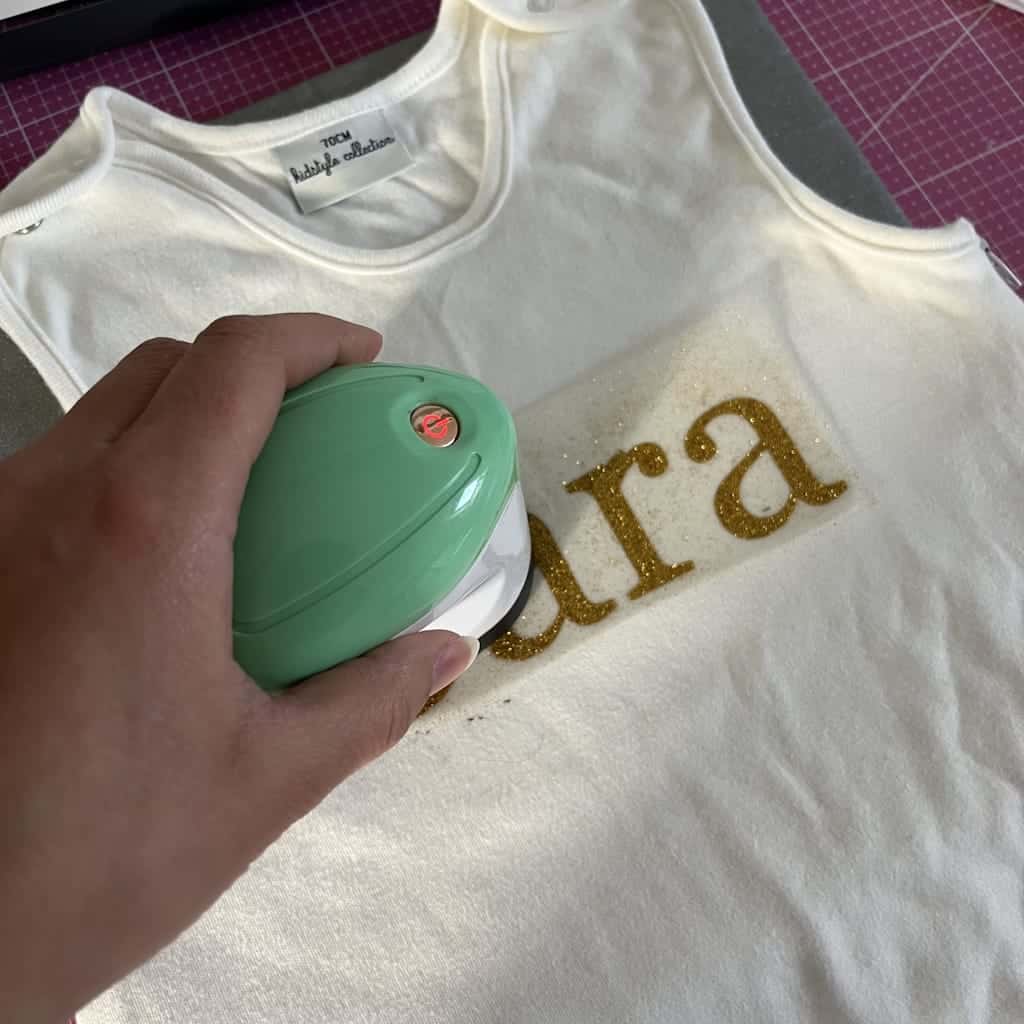
Place your design on the garment, clear side facing up. Once everything is nicely centered, you'll see: you'll already start picturing the finished piece, and it's super motivating!
Put a pressing mat underneath, cover your heat transfer vinyl with parchment paper or a Teflon sheet, then press at 150 to 160°C for 15 to 20 seconds (it depends on the type of heat transfer vinyl; you'll find the details on each product page).
If you're using an iron, set it to "cotton" with no steam and press down firmly without moving it.
Let it cool for a few seconds before peeling off the carrier sheet: this is the magical moment when your design appears!
✨
🌟
Step 6: Admire Your Work
Your garment is ready!
Unique, soft, and full of charm, it's ready to be gifted, worn, or saved as a keepsake!
And the best part? You made it yourself, with love. So, loving your DIY?
❤️
👉
And if you'd like to take things further and sell your personalized baby clothes, it's essential to know how to price them correctly.
Atelier By B created a handy little booklet to help you accurately calculate the production cost and selling price of your products.
When you click the link, you'll get 15% off the booklet with the code PAPIERTRANSFERT, which is already applied.
4. Personalization Ideas for Baby 🌼
You now have all the basics to personalize your first baby clothes... but you might be wondering, "Where do I start?"
You don't need to be a graphic designer or a professional maker. All you need is a little imagination (and a whole lot of tenderness 💛).
Here are a few adorable, easy ideas to turn a bodysuit or a little T-shirt into a one-of-a-kind piece full of love.
🌙 The Timeless Classic: Baby's Name
Simple, sweet, and always touching.
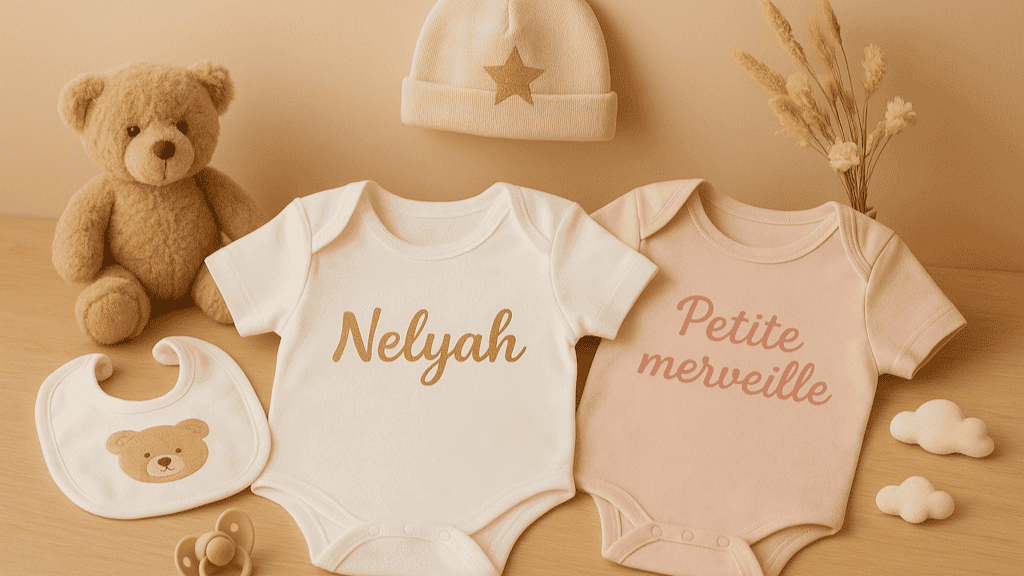
A white bodysuit with baby's name in gold, silver, or dusty pink vinyl is THE safe bet.
You can play with fonts (soft script, thin capital letters, or a handwritten style) for an elegant, delicate look.
🐻 Sweet Little Designs
Babies love simple shapes and cute animals:
a little teddy bear, a cloud, a star, a rainbow, or even a tiny heart on the chest.
You can also combine several designs to create a coordinated mini collection:
👉 Bodysuit + bib + matching hat = the perfect new baby gift.
🌸 Adorable Sayings
Sometimes a few words are all it takes to melt hearts 💕
-
"Mini-me"
-
"Little wonder"
-
"My little sunshine"
-
"100% love"
-
"Made with love (and a little coffee ☕)"
These little sayings add a touch of humor or sweetness while keeping things light and poetic.
🎨 Themed Designs
Have fun creating collections around a theme:
-
Nature & boho: leaves, dried flowers, woodland animals.
-
Nautical & vacation: whales, seashells, little boats.
-
Celestial & dreamy: moon, stars, clouds, constellations.
Each design tells a little story and makes your garment even more unique.
💕 Bonus Idea: Coordinated Sets
Why not take it even further?
Personalize not just a bodysuit, but also the bib, hat, or sleep sack in the same graphic style.
The result is cohesive, elegant, and perfect for a newborn photo shoot or as a lovely gift idea.
Because every baby deserves to wear one-of-a-kind creations made with love, let your heart lead the way: that's the real secret to beautiful personalization. 🌈
5. Mistakes to Avoid When Personalizing Baby Clothes
🚫
Personalizing baby clothes is a gentle, creative activity full of love.
But as with any craft, there are a few little mistakes people often make... especially at the beginning. Don't panic, we've all made them (even the pros
😉
).
So here are the pitfalls to avoid so your project turns out great on the very first try.
❌
Mistake #1: Not Testing Before You Apply
You can't wait to see the result, we totally get it
😍
But before pressing your vinyl onto the final garment, always do a test on a scrap of similar fabric.
It lets you check the temperature, the heating time, and the overall look.
Trust me, this quick test can save you a lot of disappointment (and a few tears over a brand-new bodysuit).
❌
Mistake #2: Overlooking the Right Temperature
Each type of vinyl has its own temperature and pressing time.
Too hot, and your design melts or warps.
Not hot enough, and it won't stick properly and will peel off in the wash.
Always read the manufacturer's instructions before using your iron or heat press. *(And if you're using Transfer Paper vinyl, you'll find everything on the product page
🩵
).*
❌
Mistake #3: Choosing an Incompatible Fabric
Vinyl loves cotton, linen, polyester, and cotton-poly blends.
But it hates stretchy or textured fabrics, or ones with a water-repellent finish.
Before you start, always check the garment's fabric content and choose a smooth, flat surface.
❌
Mistake #4: Pressing Without Protecting Your Design
Heat transfer vinyl doesn't like direct contact with the iron's soleplate!
Always use parchment paper or a Teflon sheet to protect your design while pressing.
It's a super simple trick, but an essential one for a flawless, mark-free finish.
❌
Mistake #5: Ironing Directly Over the Design Afterward
Once your heat transfer vinyl is applied, never iron directly over it again!
The heat could damage the finish or even make the design peel off.
If you need to smooth out wrinkles, iron the garment inside out or slip a thin towel between the fabric and your iron.

In short: take your time, do a test, and above all, have fun.
Perfection will come naturally with practice, and each project will turn out a little better than the last.
🌟
6. Create, Love, and Share Your Little Wonders ✨
By now, you've probably realized that personalizing baby clothes is so much more than a simple craft project.
It's a sweet moment, a creative bubble, a way to add tenderness to every stitch.
Behind every vinyl name and every little design, there's a story of love, patience, and pride.
And the best part? You don't need to be a seamstress or a graphic designer. All you need is a little time, an iron, and your imagination.
A few seconds of pressing, a steady hand, a carrier sheet slowly peeling away... and the magic happens. 🌙
So go for it. Whether it's for your baby, a friend's baby, or just for the simple joy of creating, follow your heart.
Make unique, soft, meaningful pieces: clothes that bring a smile today and that will be treasured tomorrow.
At Transfer Paper, we believe every creation tells a story.
Now it's your turn to write yours, one piece of vinyl at a time. 💕
7. FAQ: Everything You Need to Know About Personalizing Baby Clothes with Heat Transfer Vinyl
❓
Q1: How Do You Wash Baby Clothes with Heat Transfer Vinyl?
Always wash them inside out at 30 to 40°C on a delicate cycle. Skip the dryer to extend the life of the design and keep your vinyl looking new for longer.
Q2: What Type of Fabric Should You Choose for Personalizing?
Go for cotton, linen, or cotton-polyester blends. Avoid stretchy, textured, or water-repellent fabrics, since they don't let heat transfer vinyl adhere properly.
Q3: Can You Personalize Clothes That Have Already Been Washed?
Yes! Just make sure the fabric is clean, dry, and free of detergent residue. Then you can apply your heat transfer vinyl just like you would on a new garment.
Q4: Does Heat Transfer Vinyl Hold Up to Repeated Washing?
Yes. Quality heat transfer vinyl (like Transfer Paper's) that's been applied correctly stays intact even after many washes. Just remember to wash the clothes inside out and skip the dryer to extend the life of the design.
Q5: Can You Personalize Every Type of Baby Clothing?
No. Some fabrics, like stretchy jersey, velvet, or waterproof materials, aren't suited to vinyl. For the best results, choose smooth, natural fabrics.
Q6: Which Cutting Machine Should You Use for Your Designs?
For precise cuts, you can use a Cricut, a Silhouette Cameo, or a ScanNCut, or cut simple designs by hand. The best choice depends on how complex the design is and what you're comfortable with.
Q7: Can You Combine Several Colors or Designs on the Same Garment?
Yes! You can layer different vinyls, play with textures (glitter, matte, velvet), and create unique, original designs. Just be sure to use the right temperature for each vinyl so they don't warp.
Q8: Do You Need a Special Iron to Apply Vinyl?
A regular iron works great, as long as you control the temperature and apply even pressure. For professional results, a heat press is still the most reliable option.



Comments
No comments yet. Be the first to share your experience.
Leave a comment