
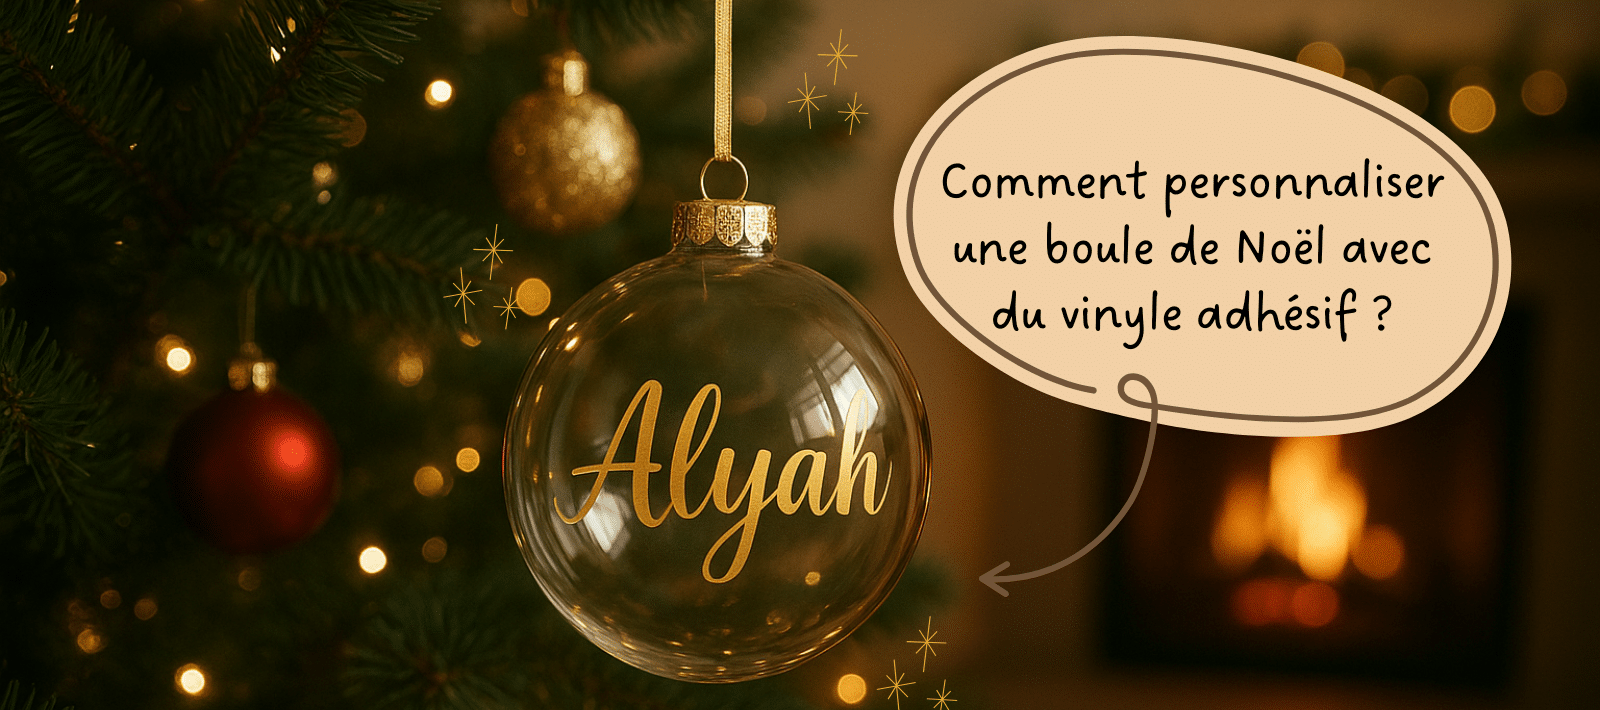
Every year, it's the same ritual: you haul the boxes down from the attic, unpack the garlands, and rediscover the Christmas ornaments that have lost a little of their shine over the years.
But this time, I wanted something different. A tree that tells a story: mine. Not just decorations grabbed in a rush at the supermarket, but something more personal and more authentic.
That's when I discovered how to personalize a Christmas ornament with adhesive vinyl. And honestly, it changed everything.
Not only did I have fun making them, but I also breathed new life into my tree. Every ornament now features a name, a date, a design, or a sweet little message. It's a true blend of emotion and creativity.
If you want a tree that reflects your own world too, you're going to love this quick, simple tutorial!
So stick around: I'm going to show you how to personalize a Christmas ornament step by step, using easy-to-find supplies, for a result worthy of the most magical holiday window displays.
🎁
Grab your adhesive vinyl, your Silhouette Cameo 5 (or your Cricut), and a nice cup of hot chocolate (yes, it's a must!), and let's dive into how to personalize a Christmas ornament together to create a one-of-a-kind decoration that's 100% you!
🌟
- Why Personalize Your Christmas Ornaments?
Before I show you how to personalize a Christmas ornament, let me ask you something:
what makes Christmas so special for you?
For some people, it's the scent of a freshly set-up tree. For others, it's the moment the lights come on and the house becomes a warm, cozy haven (I'll admit, that's one of my FAVORITE moments!).
But deep down, what makes Christmas magical is the little things. Those small touches that turn a simple decoration into a memory full of meaning.
And that's exactly what personalization lets you do.
When you learn how to personalize a Christmas ornament, you're not just adding a name or a date to an object: you're capturing a moment, a feeling, a story. YOUR story...
That very first "Baby Kaylah, 2022" ornament, the one with your partner's name, or the one you give to your godmother... each one becomes a symbol of sharing.
And let's be honest: seeing your tree decorated with your own creations makes you just a little bit proud, doesn't it?
Learning how to personalize a Christmas ornament is also a way to rediscover the joy of making things by hand, something we sometimes lose sight of after years of buying ready-made ornaments.
It's about slowing down, taking the time to create, and putting a little of yourself into every detail.
And finally, there's that special satisfaction of being able to say, "I made this myself."
Trust me, when your loved ones see your personalized ornaments, they'll all be asking you how to personalize a Christmas ornament just like you did!
🎨
- The Must-Have Supplies for Personalizing a Christmas Ornament
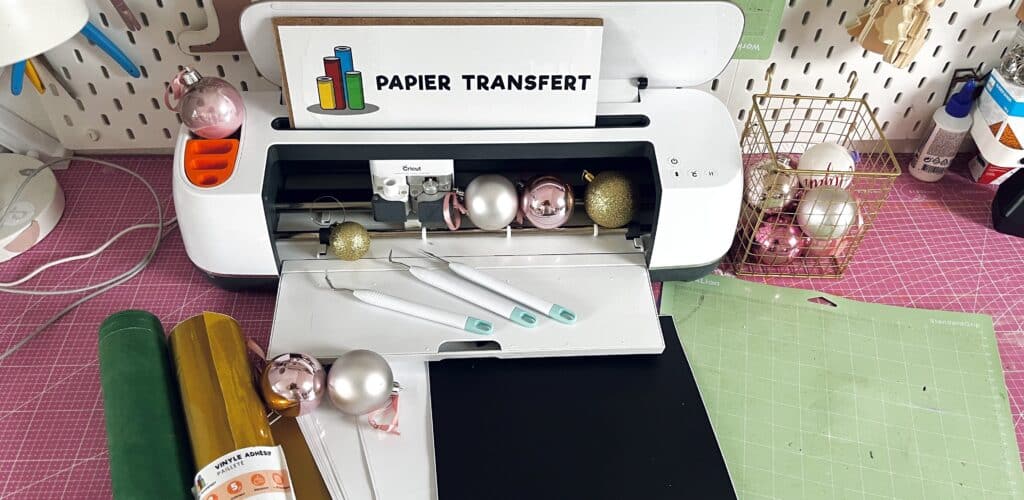
Before you dive in and learn how to personalize a Christmas ornament, you'll need the right supplies. You don't need an artist's studio, just a few carefully chosen essentials so your creation is as beautiful as it is long-lasting.
When I first started learning how to personalize a Christmas ornament, I thought it would be complicated and that I'd need a ton of tools... In reality, you need very little to get an amazing result. Here's what I recommend
👇
🪄
The Basic Supplies:
-
Christmas ornaments: clear plastic, glass, or even acrylic. Smooth ones work best so the vinyl sticks perfectly.
-
Permanent adhesive vinyl: this is the key ingredient. You can choose glossy, matte, glitter, or chrome vinyl to suit your style (or even mix several different vinyls for an even more FUN look!).
-
Transfer tape: it lets you apply your design without distorting it.
-
A Cricut or a Silhouette Cameo 5: perfect for precise cuts, especially if you want to personalize several ornaments.
-
Weeding kit: to remove the leftover scraps after cutting and to press your vinyl down firmly without bubbles.
-
Soft cloth: to clean the surface of your ornament before applying the vinyl (a crucial step if you want it to stay put).
-
Ribbons, bows, glitter: to add a festive finishing touch
🎀
All of these supplies are easy to find, and if you want a professional-looking result, I highly recommend the quality adhesive vinyl from Transfer Paper. It cuts beautifully, doesn't peel, and looks absolutely GORGEOUS under the tree lights!
✨
What I love about learning how to personalize a Christmas ornament is that there's no "right" or "wrong" way to do it: it's YOUR style, YOUR imagination, YOUR Christmas.
Whether you go for chic gold, traditional red, or a modern design, what matters most is the joy of creating something that reflects who you are.
✂️
- How to Personalize a Christmas Ornament with Adhesive Vinyl, Step by Step
Now that you have all your supplies, it's time to get crafting
✨
I'm going to walk you through how to personalize a Christmas ornament step by step, even if it's your very first time. You'll see, it's a lot easier than you might think, and the result is magical.
🎁
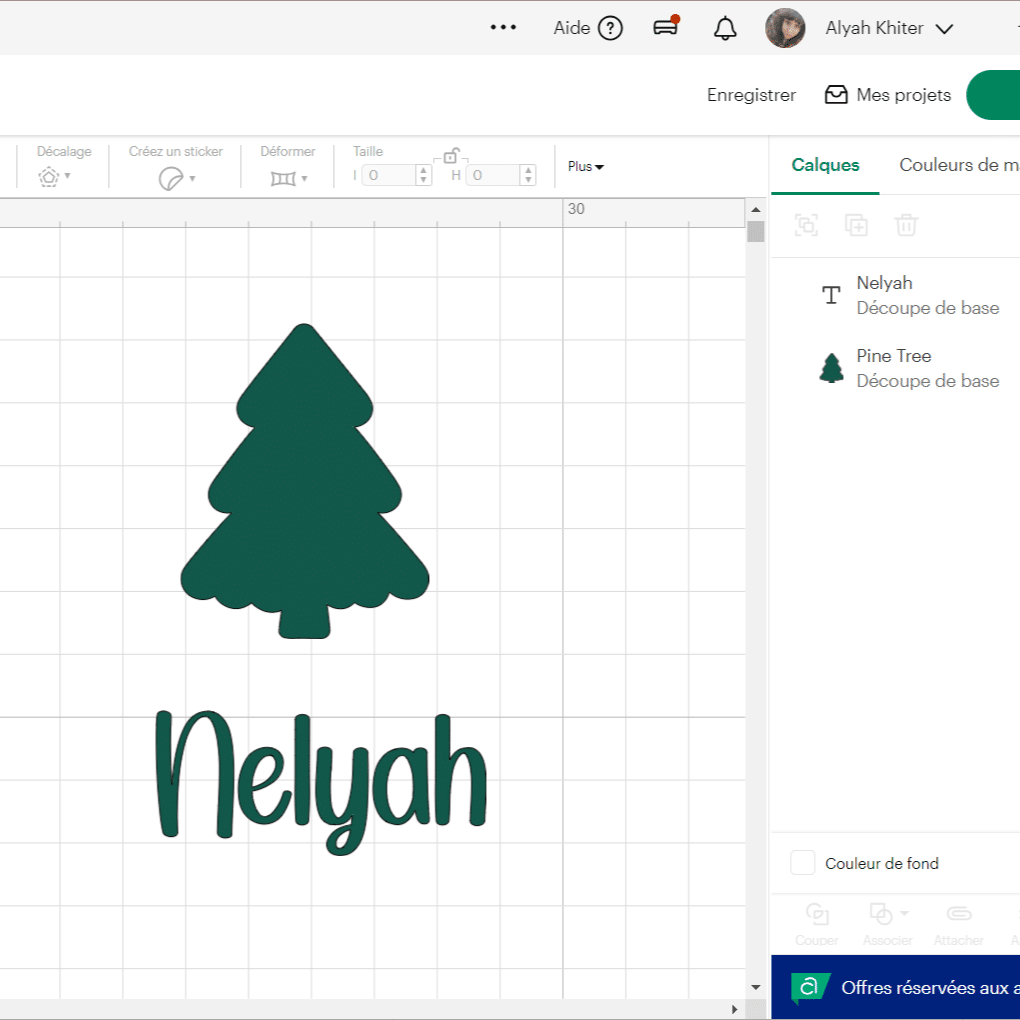
Step 1: Prepare Your Design
First, picture the finished result. Do you want a simple, understated ornament with just a name? An inspiring quote? Or a more whimsical design with stars, snowflakes, or even a small illustration?
This is where it all starts: with creativity.
When I learned how to personalize a Christmas ornament, I quickly realized that the design you choose makes all the difference.
For a balanced look, keep the size of your ornament in mind: the smaller it is, the finer and more legible your design needs to be.
Use your software (like Cricut Design Space or Silhouette Studio) to create your design, or choose a ready-made template if you want to save time (and make life a little easier while you're at it!).
Quick tip: keep it consistent with the rest of your tree decor. For example, a gold ornament with glossy white lettering can create a real wow effect with a woodland or natural theme
🌲
✨
Step 2: Cut the Vinyl
This is the most satisfying part!
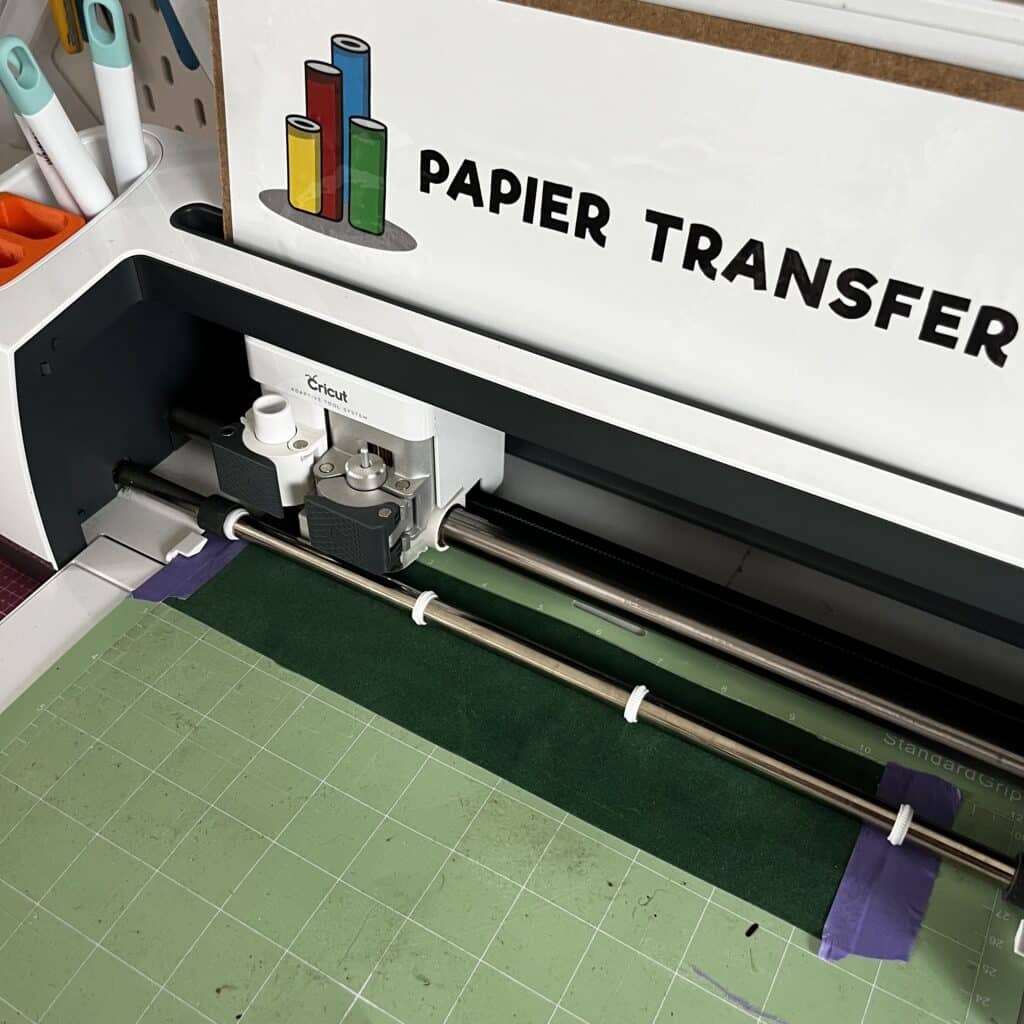
Place your adhesive vinyl on your cutting mat and start cutting.
No machine? Don't panic, just be patient. You can cut out your design by hand, slowly and carefully, with a precision craft knife.
When I first started learning how to personalize a Christmas ornament, I often forgot one crucial detail: the blade settings.
Too much pressure, and the vinyl tears. Not enough, and it doesn't cut all the way through.
Always do a quick test cut in a corner before cutting your actual design. It'll save you a lot of frustration (at Transfer Paper, all the settings are listed!).
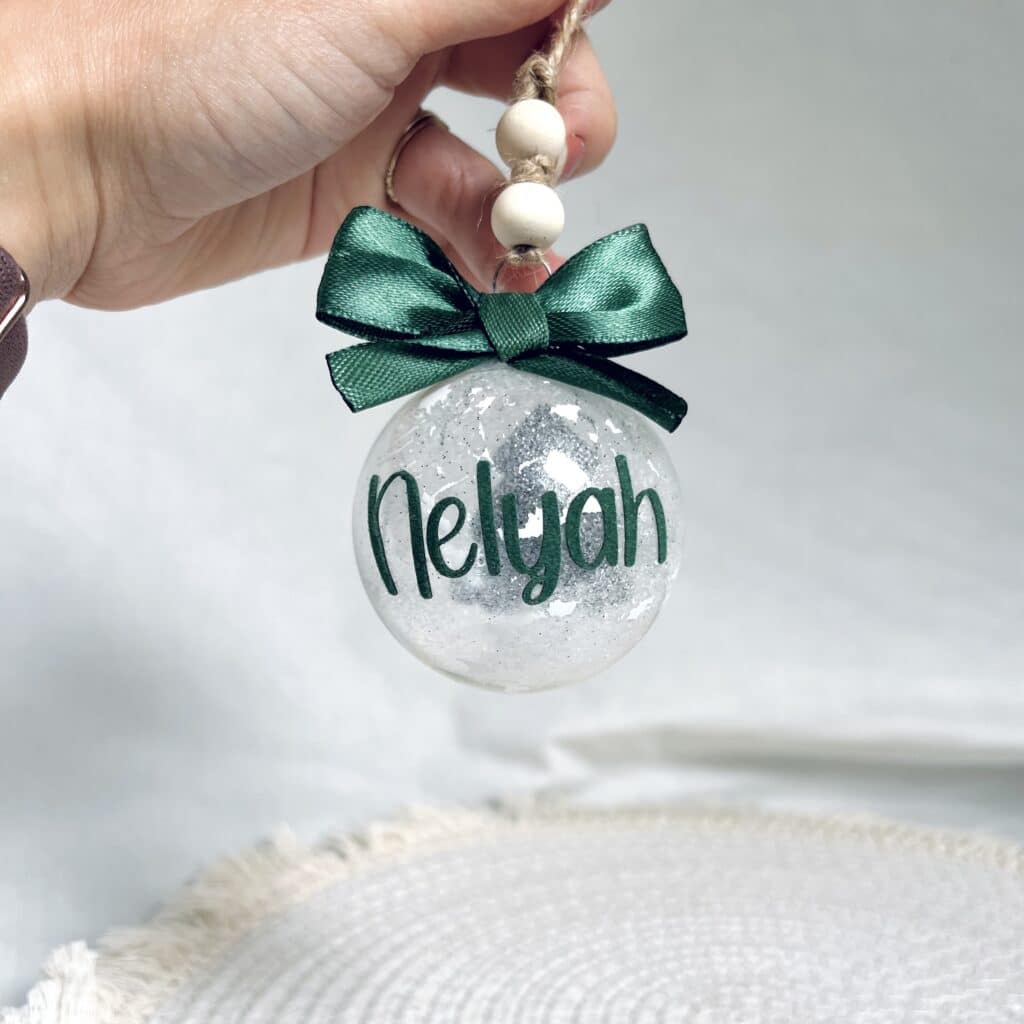
To stick with that traditional Christmas look, I chose a dark green velvet vinyl (just between us, it's SU-PER GORGEOUS, don't you think?)
Once the cut is done, weed your vinyl: remove the small unwanted pieces with tweezers or a weeding tool. Now your design is starting to come to life!
🌟
Step 3: Apply the Vinyl to the Christmas Ornament
This is where the magic happens
💫
First, clean your ornament with a soft cloth.
Then place the transfer tape (also called transfer film) over your cut design and gently press it onto your ornament.
Use your squeegee or your finger to make sure the vinyl sticks well, with no bubbles.
The first time I learned how to personalize a Christmas ornament, I was a bit nervous at this step: "What if I put it on crooked?"
😅
But honestly, even if your lettering isn't perfectly straight, it's no big deal.
That's the charm of handmade: every ornament is one of a kind, just like you.
Once the vinyl is firmly in place, gently peel off the transfer tape... and admire your work!
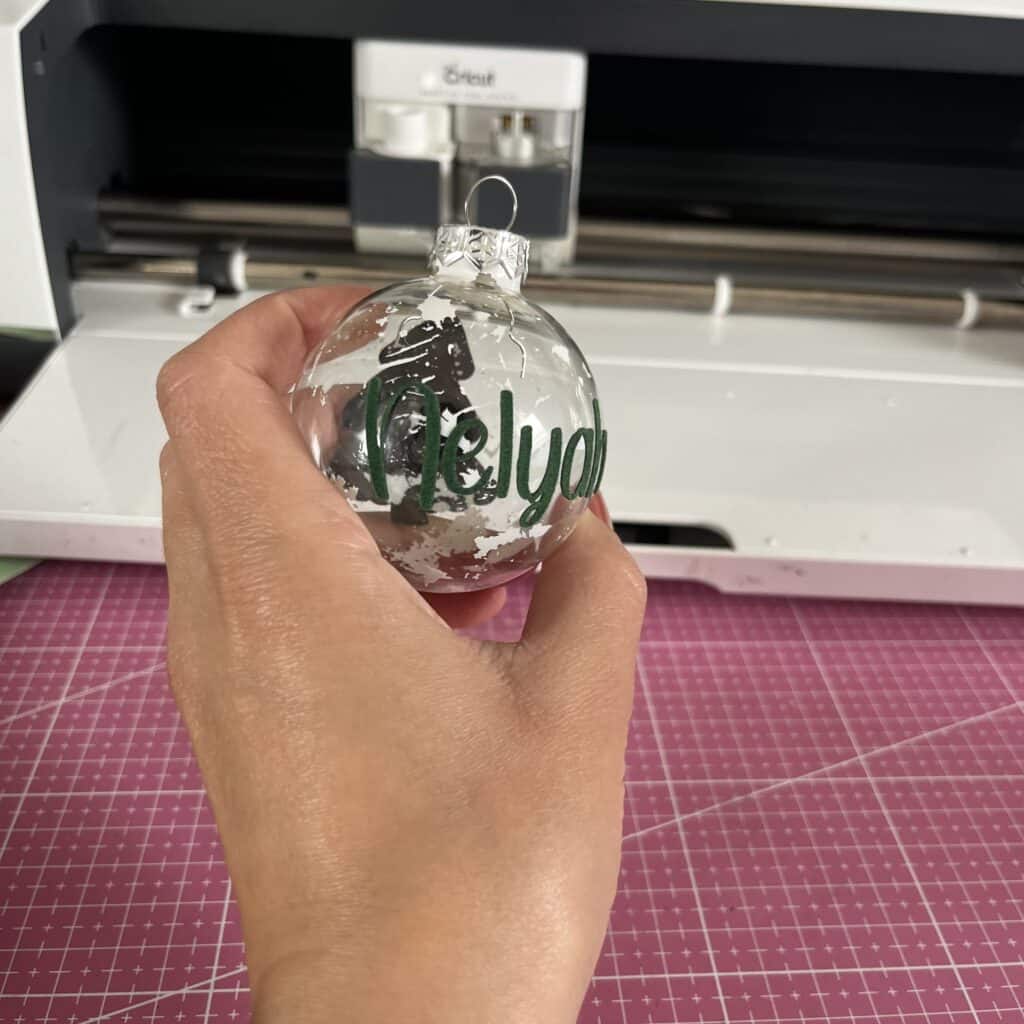
Your design shines and the vinyl hugs the curved surface perfectly: you've just made your first personalized ornament
🎉
I went with a clear ornament with white spots. I think they're really original and totally different from what you usually see!
🎀
Step 4: Add the Finishing Touch
Now you can add a pretty matching ribbon, a little glitter, or even a small tag with the name or date (perfect if you plan to give some to your loved ones!).
It's details like these that make your tree unique and have everyone asking you how to personalize a Christmas ornament so beautifully.
And there you have it: you've just learned how to personalize a Christmas ornament with adhesive vinyl, easily and stress-free, with a result worthy of a store window.
Trust me, you'll never look at Christmas decorations the same way again
🎄
For mine, I added a bow in the same color as the vinyl and filled the ornament with white glitter for an even more festive touch (I love adding glitter to my life!)
💡
- Design Ideas to Personalize Your Christmas Ornament
Now that you know how to personalize a Christmas ornament, let's get to the most fun part: the design!
🎨
This is where you let your imagination run wild. Whether your style is minimalist, traditional, or totally magical, there are a million ways to make each ornament unique.
When I started exploring how to personalize a Christmas ornament, I quickly realized that every style tells a different story. Some people love sweet family messages, while others prefer elegant or truly original designs.
Here are a few ideas to get you inspired
👇
🎁
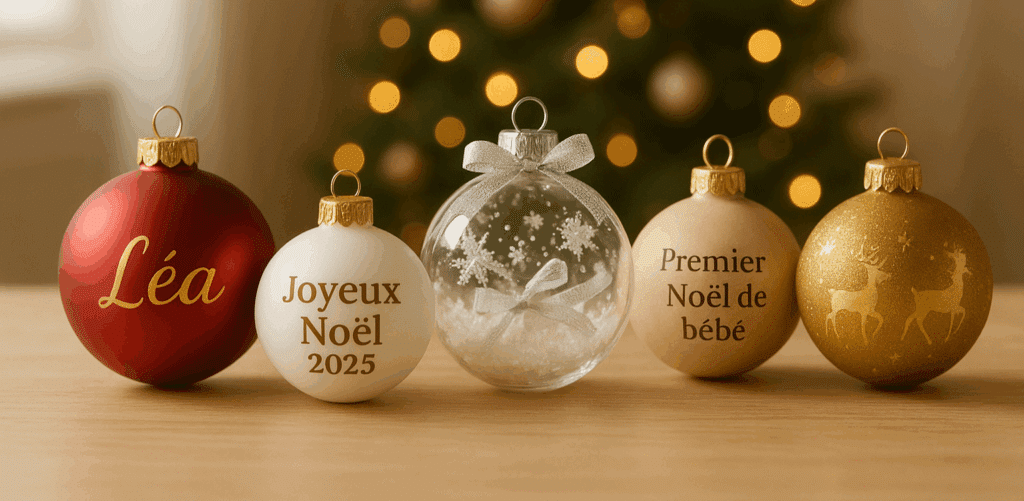
1. Names: A Timeless Classic
Ornaments with each family member's name are always a safe bet.
Picture your tree filled with "Dad," "Mom," "Lea," and "Adam" ornaments... everyone looks for their own and smiles when they find it.
It's also a great idea if you want to give a handmade gift to your loved ones.
✨
2. Quotes and Sweet Little Messages
A simple phrase like "Merry Christmas", "Winter Magic", or "My First Christmas" instantly adds charm to your decor.
As you learn how to personalize a Christmas ornament, you'll discover that just a few words can turn a plain sphere into a message full of emotion.
🌲
3. Illustrated Designs
Snowflakes, reindeer, Christmas trees, stars, or snowmen: vinyl-cut designs give an incredibly professional look.
You can pair them with a name or a date for an even more personal result.
And if you're ready to go beyond the basics of how to personalize a Christmas ornament, consider gold or silver designs that sparkle in the glow of the Christmas lights.
🎀
4. Color Themes
Pick a color palette: red and gold for a traditional style, white and silver for an elegant Christmas, or beige and wood tones for a natural feel.
When you learn how to personalize a Christmas ornament, you quickly see that a cohesive color scheme changes the whole look of your tree.
🌟
5. Keepsake Ornaments
Why not turn each ornament into a little keepsake?
A "Baby's First Christmas" ornament, an "Our First Christmas Together" one...
It's little details like these that turn each decoration into a treasure to bring out year after year.
What I love most about exploring how to personalize a Christmas ornament is that there are no limits.
You can start with a simple name and end up with a true miniature work of art.
The key is to create from the heart
❤️
⚠️
- Mistakes to Avoid When Personalizing a Christmas Ornament
Even though learning how to personalize a Christmas ornament seems simple, there are a few classic pitfalls that are easy to fall into (yes, I've been there too
😅
).
And often, it's the little details that make all the difference between a perfect ornament and one that's... well, let's just say a little wonky.
So, to spare you these little mishaps, here are the mistakes you should definitely avoid
👇
❌
- Forgetting to Clean the Surface
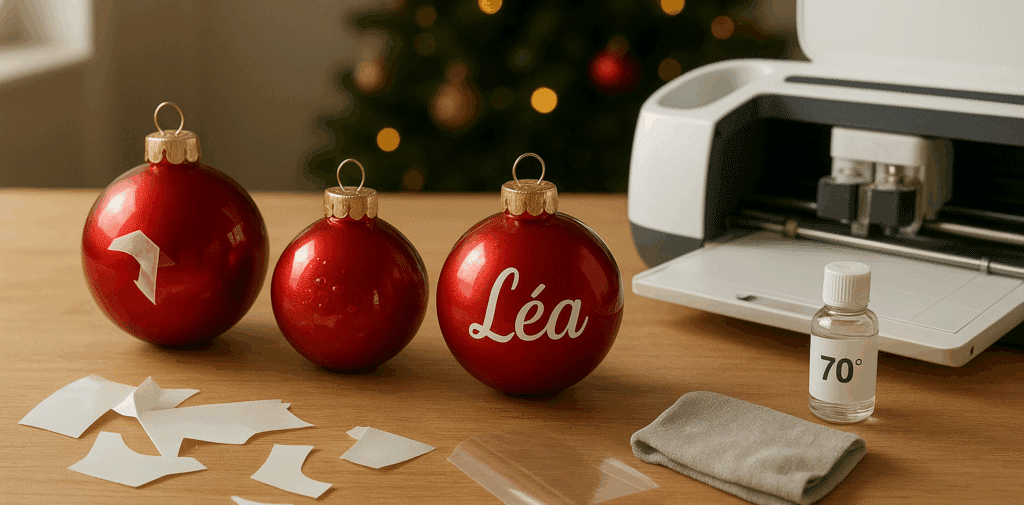
This is mistake number one. Before applying your vinyl, clean your ornament thoroughly with a soft cloth and a little rubbing alcohol.
If the surface isn't properly degreased, your vinyl will start peeling off within a few days.
When you learn how to personalize a Christmas ornament, you quickly realize that prep work is just as important as the creative part.
⚙️
- Using the Wrong Vinyl
Not all vinyl is created equal!
To personalize a Christmas ornament, you need permanent adhesive vinyl, especially if your ornament will be handled or stored from one year to the next.
Removable vinyl is better suited to short-term projects (like windows or walls).
So always choose a quality vinyl, like the ones available at Transfer Paper, made to last and resist humidity.
💨
- Rushing the Application
Ah... that classic "I want to see the result right now" impatience
😅
I get it! But when you learn how to personalize a Christmas ornament, you find out that precision is key.
Take your time and apply your vinyl gently, with no bubbles or wrinkles. Use your transfer tape and press down firmly on every letter.
✂️
- Forgetting to Test the Cut
Before starting your actual cut, always do a quick test on a scrap of vinyl.
Every machine has its own settings, and a single millimeter can change everything.
When I was learning how to personalize a Christmas ornament, I wasted several sheets because of one wrong blade setting. Now I test every single time (and it saves me a ton of time).
5. Trying to Do Too Much
Sometimes you want it to be so perfect that you overload the design: too much text, too many graphics, too much glitter.
But the beauty of a personalized ornament often lies in its simplicity.
Once you've mastered how to personalize a Christmas ornament, you understand that less is more. A nicely centered name, a well-matched color, and you're all set.
Every mistake is a lesson, and that's part of what makes DIY so rewarding.
So don't get discouraged if your first ornament isn't perfect! You'll see: by the second one, you'll know exactly how to personalize a Christmas ornament with confidence and style
🎨
🎁
- Why Choose a Quality Adhesive Vinyl?
When you learn how to personalize a Christmas ornament, you soon realize that the secret to a flawless result isn't just technique... it's also the quality of the vinyl you use.
I learned that the hard way the first year I tried personalizing my ornaments:
I'd bought a cheap vinyl that started peeling off after a few days. The result? Hours of work down the drain and half-peeled ornaments hanging on the tree.
😅
Since then, I've changed my approach (and, more importantly, my supplier!).
When I discovered Transfer Paper vinyl, I finally understood what professional quality within reach really means.
💎
A Clean Cut, Even for Small Designs
Once you know how to personalize a Christmas ornament, you'll notice the difference right away:
Transfer Paper vinyl cuts without snagging, even on thin letters or intricate shapes.
The result is clean and precise, and best of all, it goes on without bubbles.
✨
Perfect Adhesion on Every Surface
Whether your ornament is glass, plastic, or acrylic, the vinyl sticks without any trouble.
And most importantly, it stays put.
No more decorations peeling off after two days. You can bring your ornament out every Christmas, and it'll look just as beautiful as ever.
🎨
Colors That Elevate Your Decor
Shiny gold, deep red, pearly white, silver glitter... every vinyl shade is designed to make your ornament stand out in the glow of the tree.
And once you've mastered how to personalize a Christmas ornament, these details make all the difference: your tree becomes a work of art.
A Vinyl That's Easy to Apply, Even for Beginners
You don't have to be a DIY pro to get amazing results.
Transfer Paper vinyls are easy to handle, go on smoothly, and are forgiving of small mistakes.
That's exactly what you need when you're learning how to personalize a Christmas ornament for the first time.
Choosing Transfer Paper means choosing quality, durability, and the satisfaction of that final "wow."
And honestly, seeing your tree sparkle with your own creations is the best gift you can give yourself this year
🎄
🎁 Your Turn: Make It a 100% Personalized Christmas!
And there you have it! You now know how to personalize a Christmas ornament easily, with adhesive vinyl and a little creativity 🎨. Whether you chose a name, a sweet quote, or a simple gold star, you've just turned an ordinary decoration into a unique, handmade keepsake.
The magic of this technique is that it lets you leave a little bit of yourself in every corner of your tree. Each ornament becomes a small nod to your world, your family, and your style. And honestly, that's what the Christmas spirit is all about: sharing, creativity, and the little details that make eyes light up ✨
So now that you know how to personalize a Christmas ornament, it's your turn to get started!
👉 Grab your vinyl, your squeegee, and your imagination, and show us your most beautiful tree!
Don't forget to share your creation on social media and tag @papiertransfert.fr. We love seeing your ideas and your own personalized versions 💫
And if you want to take things even further, check out our other Christmas DIY tutorials on Transfer Paper 🎄




Comments
No comments yet. Be the first to share your experience.
Leave a comment