
Back to school means school supplies. And what could be more fun than kicking off the year with a personalized backpack for an unforgettable back-to-school season! 🎒
A backpack is a true essential that may stay with your child for several years, so you might as well make one that's fully personalized and timeless so it stays on trend year after year.
In this article, you'll find two ways to personalize your child's backpack: one with their first name, and another with custom patches for a WOW effect on the playground!
Choosing the Right Backpack to Personalize
To get started, it's essential to choose the right backpack to personalize. Of course, it should look good and be comfortable and sturdy, but when it comes to texture, ideally you want one with a nice smooth surface.
Avoid anything too textured, like faux fur and velvet, which wear out easily over the years, and go for denim, polyester, or even leather. That way, you'll have a high-quality personalized backpack that can go along on all your child's everyday adventures.
And if you're really creative, you can even upcycle one of your old bags for a 100% personalized result. On the Transfer Paper website, you'll find different patterned heat transfer vinyl options (carbon fiber, floral, checkered) to cover up the old designs printed on your bags. Practical and budget-friendly! 💸
And of course, if your child's backpack has a few boo-boos, you can also use this tutorial to make repair patches with heat transfer vinyl.
What You Need to Make Your Personalized Backpack
To bring your idea to life and create the personalized backpack of your dreams for an unforgettable back-to-school season, you'll need:
- A backpack with a smooth texture (no faux fur, corduroy, or other textures that might not take heat transfer vinyl well)
- The heat transfer vinyl of your choice. Personally, I fell for premium HTV to make sure the design stands up to time and the elements.
- Your trusty cutting machine: Silhouette Cameo, Cricut... Or your favorite pair of scissors.
- A heat press, a mini press, or even a good iron.
And that's it. This DIY is so easy, right? 😋
Personalized Backpack with a First Name
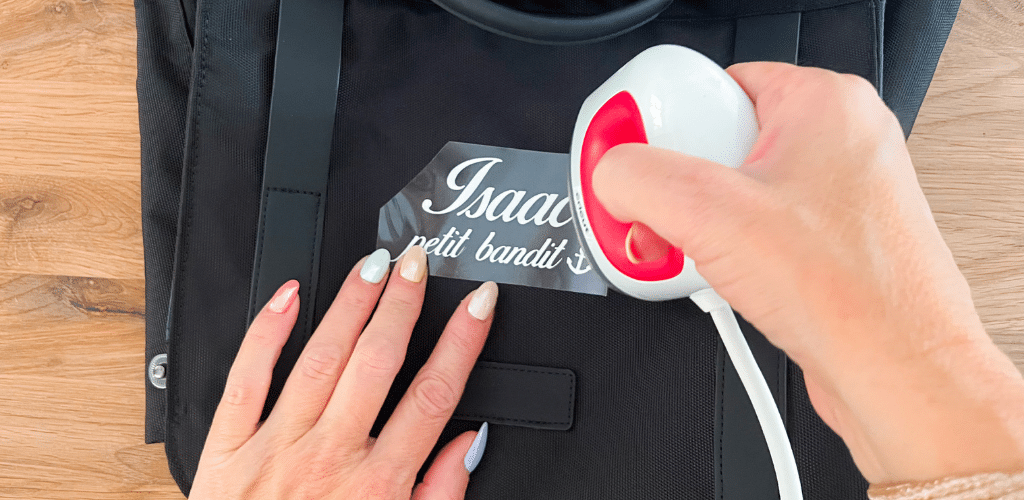
If you don't have a cutting machine, I recommend using slightly curved scissors so you can create nice curves and neatly remove the small inside pieces of heat transfer vinyl. All you have to do is write your child's first name on the heat transfer vinyl of your choice, then cut it out carefully.
For the best result, be sure to double-check the size and the exact spot where you want to apply it on the personalized backpack before you start cutting. Patience pays off!
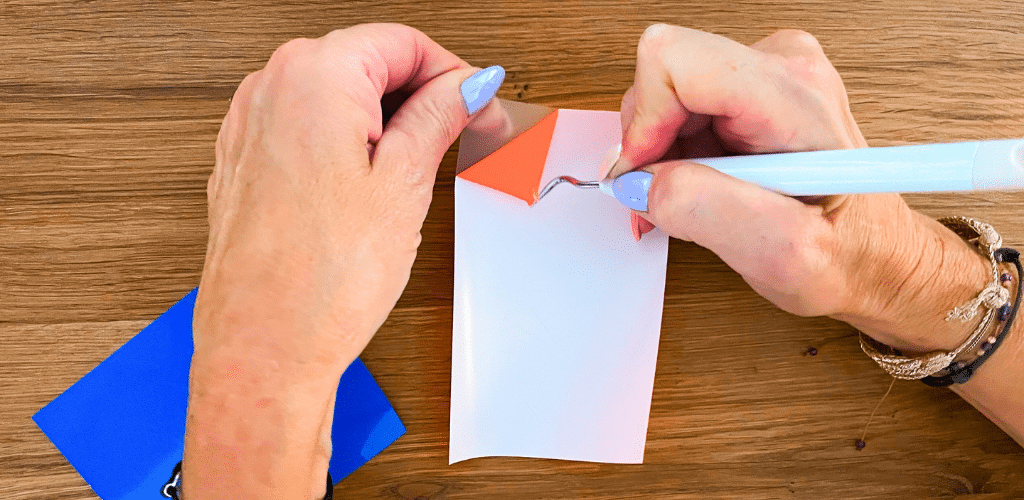
If you have a cutting machine, it'll only take about fifteen minutes to create your design. Choose the font you want for your child's first name: a connected cursive like the one taught in school for a retro look, or an easy-to-read print font for a modern touch. Then type the first name into your software and, most importantly, don't forget to mirror it before starting the cut. All that's left is to weed it with your weeding hook.
Once your custom design is cut, you can move on to pressing:
- Lay your backpack flat on your table, and feel free to use a ruler to make sure your design is positioned correctly.
- Carefully place your design on the spot where you want the first name to appear.
- Gently lay a Teflon sheet on top to protect it from the heat of your heat press or iron.
- Now it's time to press! If you have a heat press like the one from Transfer Paper, just turn it on, place your backpack with the design on it, and in a few seconds you're done. Just follow the instructions written on the vinyl. If your backpack is on the bulky side, a mini heat press can make things easier. And if you have neither, a good iron works just as well. Hold it over your Teflon sheet at a constant heat for about twenty seconds. Don't use steam, since the extra moisture can damage your heat transfer vinyl.
- Let your gorgeous personalized backpack rest for a few seconds before using it.
- And don't forget to be proud of yourself! You just made a super stylish personalized backpack in record time. Way to go!
If you're already an expert and want a bit more of a challenge, let's move right on to the next tutorial:
Personalized Backpack with Custom Patches
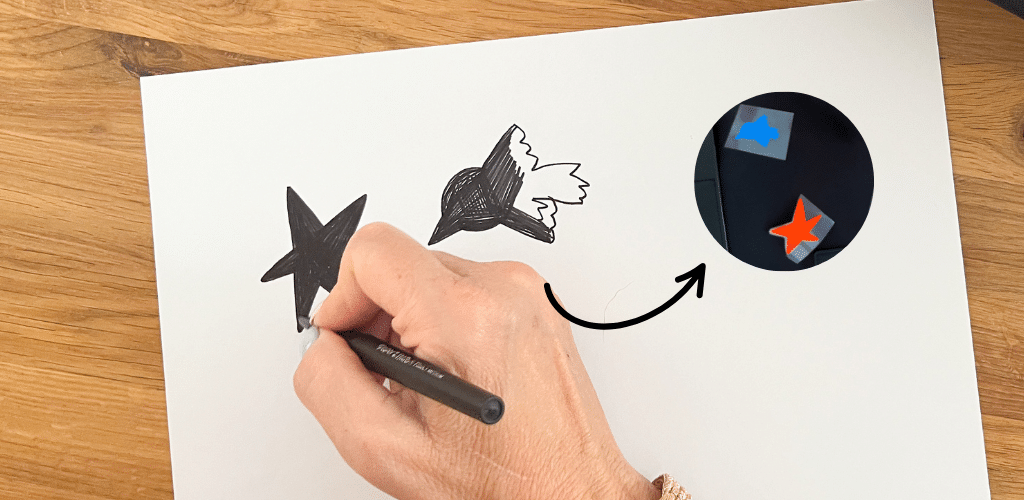
For this DIY, I decided to create my own custom designs. It couldn't be easier: if you don't have a cutting machine, just draw your designs directly on the heat transfer vinyl and cut them out.
If you have a cutting machine, you can draw the shapes and designs you want on a plain white sheet of paper, scan it and send it to yourself, then open it in your cutting software. I recommend sticking to simple, solid designs and shapes to make sure your software can handle your design properly. Once your design is ready, mirror it and send it to cut. Then all you have to do is weed it to reveal your beautiful creations for your personalized backpack. Nicely done!
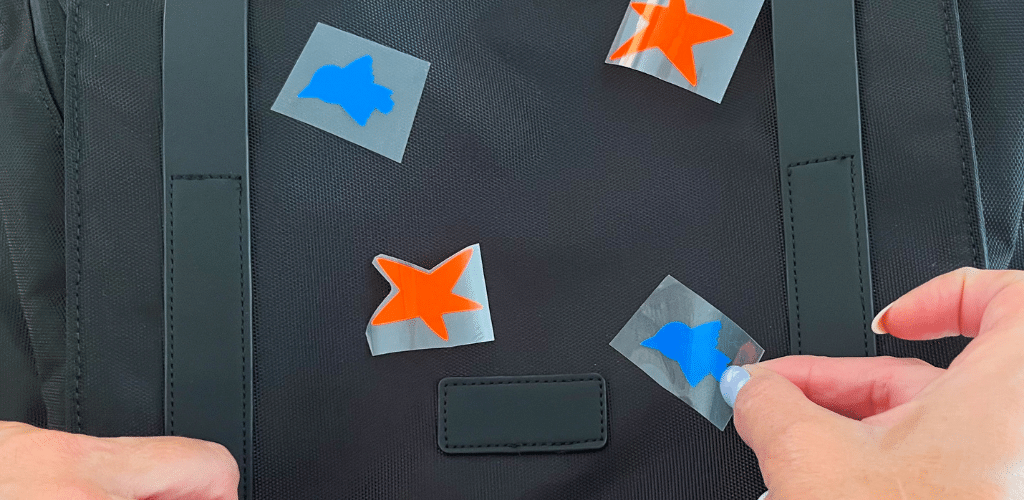
From here, you can follow the same steps as the first-name backpack tutorial: just place your custom patches where you want them and give them a good press with the iron (no steam, we're saying it again just in case you were tempted) or the heat press. To make sure your patches don't shift while you're applying heat, you can pick up a roll of heat-resistant tape from the online shop. And whatever you do, don't forget the Teflon sheet!
Once all your patches have had their little burst of heat, let them rest for a few seconds so the heat transfer vinyl can set, then just admire the result. Your 100% personalized backpack is going to make everyone jealous, no doubt about it.
A Few Extra Ideas for an Irresistible Personalized Bag
Now that your head is full of ideas for personalized backpacks, all that's left is to post your gorgeous creations on your favorite social media, and don't forget to tag us @papier-transfert!
And if you can't decide what to press on it, here are a few funny phrase ideas that are sure to make an impression: "brat," "cool kid," "quiet as a thunderstorm," "little bandit," "on my mom's advice."
And for the patch designs on your personalized bag, you could go with:
- A jungle theme with animal print HTV: zebra, leopard, tiger, snake...
- A space theme using holographic or galaxy HTV
- A sweet theme for little princesses using watercolor HTV
Feel free to layer heat transfer vinyl for a super original result.
Let your creativity run wild, artists! 🧑🎨



Comments
No comments yet. Be the first to share your experience.
Leave a comment