
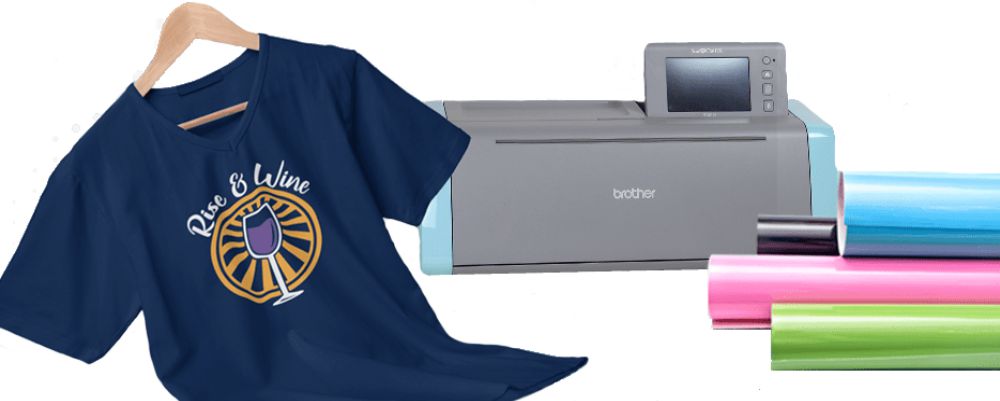
More and more people want to customize sweatshirts, T-shirts, towels, and all kinds of other fabric items. But textile printing methods aren't well known to the general public, and it can be hard to get started when you don't know where to begin.
That's why we've decided to show you, step by step, how to customize fabric with heat transfer vinyl (HTV)!
To guide you through this tutorial, we'll start by introducing the tools and accessories you need to get off to a great start in the world of HTV!
What Do You Need to Apply Heat Transfer Vinyl to Fabric?
You'll need:
- A fabric item to work on. For this tutorial, we'll use a T-shirt.
- A standard cutting machine. The best-known models include the Silhouette Cameo, the Cricut Maker, and the ScanNCut...
- Heat transfer vinyl for customizing fabric. This is the material your logo will be made of.
- An iron or a heat press to apply the logo to the fabric.
- Parchment paper (optional).
- Weeding tools (optional).
Steps for the Best HTV Results
Step 1: Import Your Logo
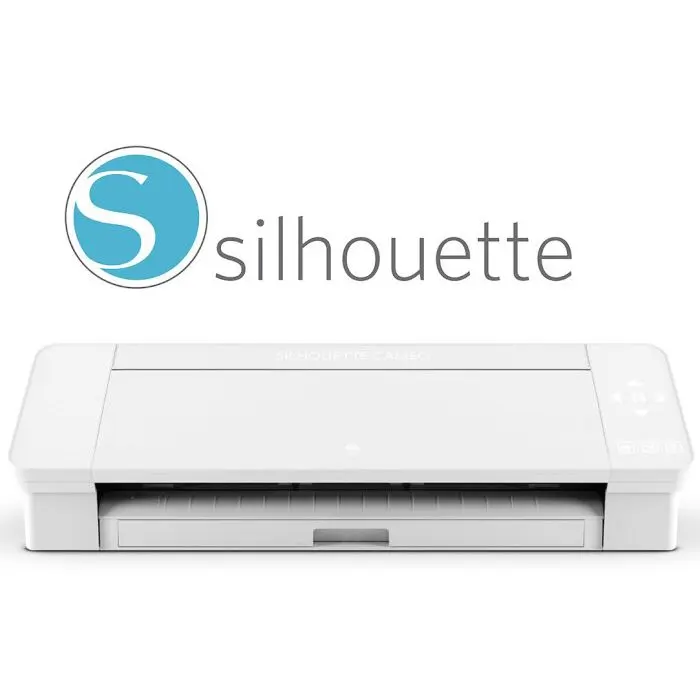
Now that you have all your tools within reach, start by importing your logo into your cutting machine's software. (The software for Cricut, Silhouette, and ScanNCut cutting machines is free.)
This step loads your logo into the machine so it can cut it out and give you the design you've been waiting for!
Once your logo is in the software, you'll need to adjust a few settings (they're different for each cutting machine) before you can cut your design.
Don't forget to mirror your logo before cutting so it reads the right way once it's transferred onto the fabric!
Step 2: Prepare the Vinyl
Once your machine is set up, grab your roll of vinyl (preferably from Transfer Paper 😉) and cut a square a few centimeters larger than your logo.
Now all you have to do is load your heat transfer vinyl into the machine and secure it at both ends so the HTV sheet stays in place.
Step 3: Cut Your Design
IMPORTANT TIP: Before you cut your heat transfer vinyl, make sure the blade depth and blade pressure are set correctly, or you could end up with a poorly cut design. That's why we always recommend keeping the blade depth as low as possible and adjusting only the pressure when working with vinyl. That way, you won't damage the vinyl or your poor machine.
Once you start the cut, the machine should do the rest automatically.
Step 4: Weed Your Design
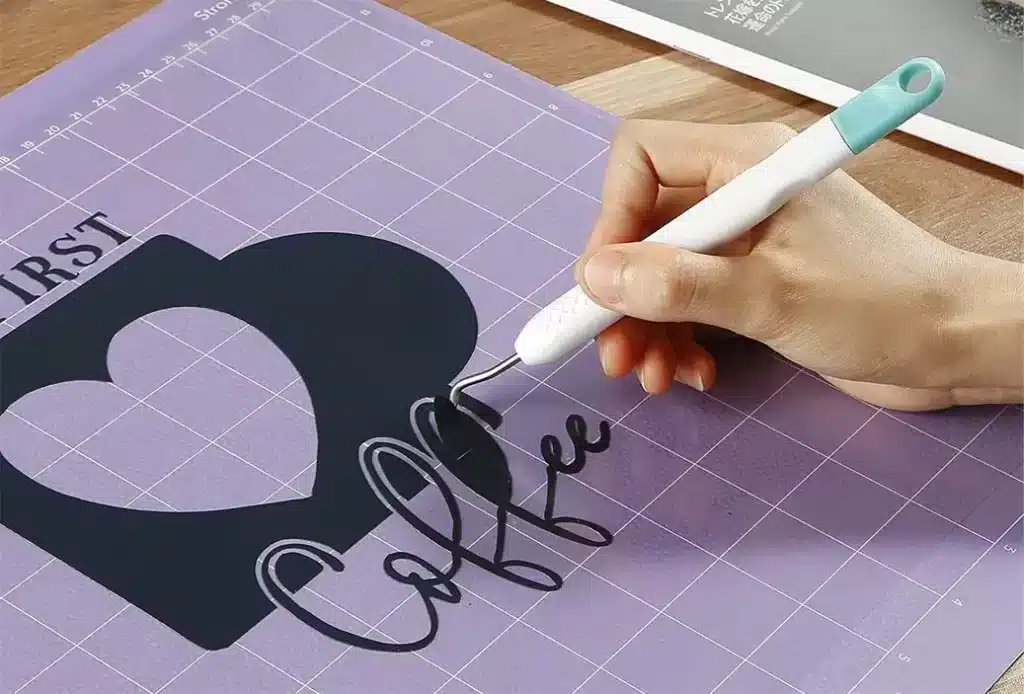
Now you can move on to the famous weeding step of any heat transfer vinyl project! Some people love this step, while others find it a total nightmare!
You'll need to remove the excess vinyl from around and inside your logo. You can use tweezers or a weeding tool, especially for small details.
It's important to weed out all the excess vinyl, even in the smallest details. Work carefully during this step so you don't damage the logo.
Step 5: Press Your Design
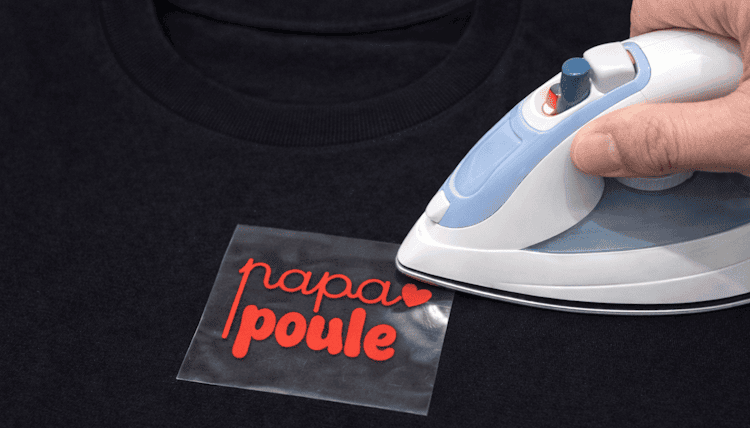
After a long journey, you've finally reached the most crucial step, the one that will decide whether your creation is a huge success or a sad flop...
This is the pressing step!
Place your weeded design on the fabric of your choice (in this example, we're using a T-shirt).
Be precise and careful when positioning the logo, because once the vinyl has been pressed onto your fabric, it's very hard to remove.
Once the logo is in the right spot, press the vinyl with an iron or a heat press.
Every vinyl has its own temperature and pressing time. For Transfer Paper's Premium HTV, press at 160°C for 15 to 20 seconds. Then do a warm peel, which means removing the plastic carrier sheet from the top of the vinyl about 30 seconds after pressing.
Final Step
Your T-shirt now has a beautiful custom logo, but you're not quite done yet!
For a perfect heat transfer vinyl finish, place your parchment paper over the logo and press the vinyl again for 10 seconds. Then let your beautiful creation rest for a few hours, and be proud of yourself!
You're now officially a creator!
We hope this post has given you a clearer picture of how to customize fabric with heat transfer vinyl!
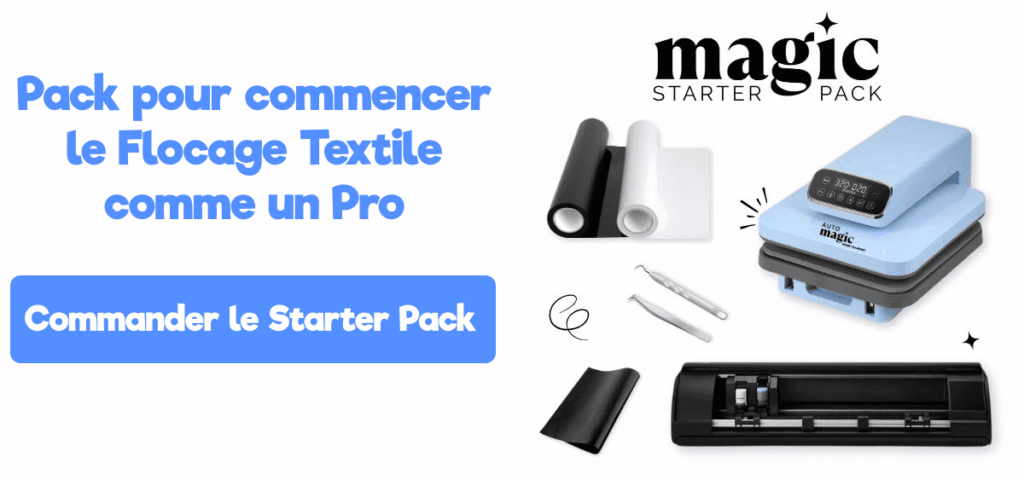
If you dream of launching your own custom apparel business or even your own clothing brand, our Magic Starter Pack is the ideal solution.
It includes all the professional equipment you need to start customizing clothes from day one...
And best of all, it comes with our step-by-step training, so you'll be guided from start to finish, even if you're starting from scratch.
Order yours today and start creating clothes that truly reflect who you are!
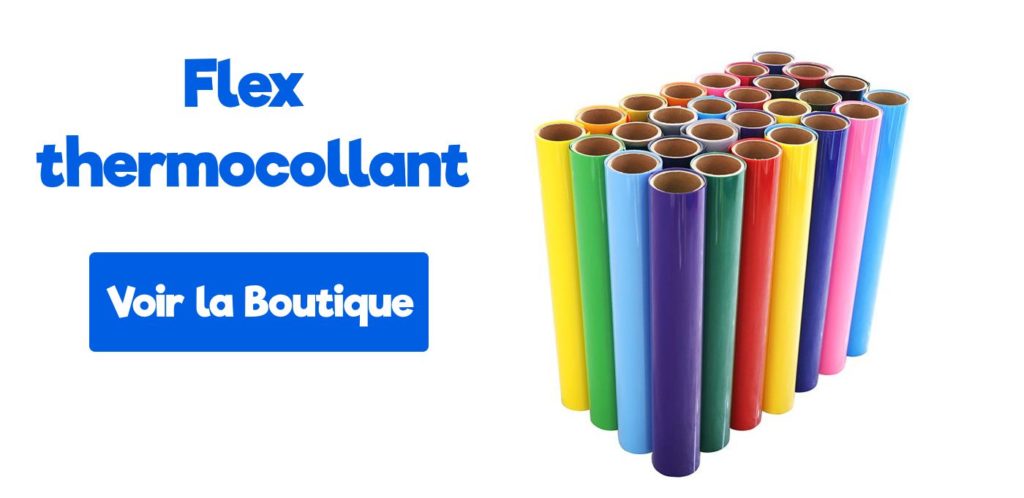
If you already have all the accessories you need to customize your clothes, check out our ever-growing heat transfer vinyl collection!



Comments
No comments yet. Be the first to share your experience.
Leave a comment