Immer mehr Menschen möchten Sweatshirts, T-Shirts, Handtücher und andere Textilien aller Art personalisieren. Allerdings sind die Druckmethoden der breiten Öffentlichkeit kaum bekannt, und es fällt diesen Menschen schwer, loszulegen, ohne zu wissen, wo sie anfangen sollen.
Deshalb haben wir uns entschieden, dir Schritt für Schritt zu zeigen, wie man Textilflock macht!
Um dieses Tutorial umzusetzen, stellen wir dir zunächst die Werkzeuge und das Zubehör vor, die du brauchst, um gut in die Welt des Flockens einzutauchen!
Was brauchen wir, um Textilflock zu machen?
Du brauchst:
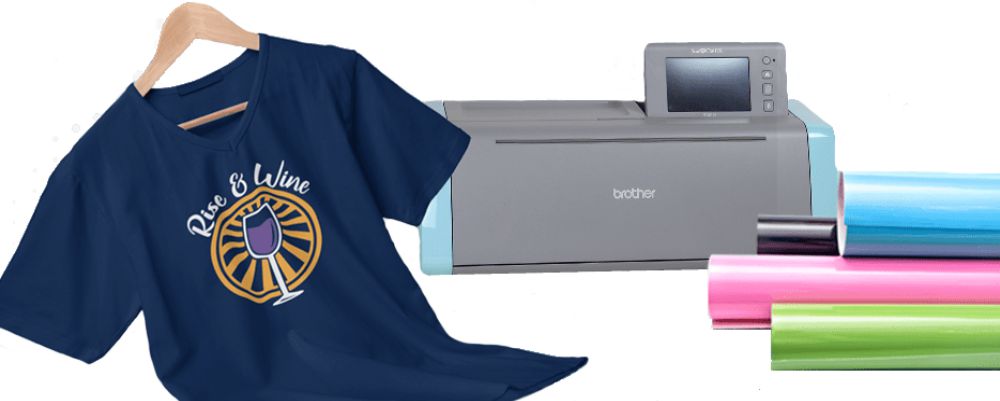
- Ein Textil als Untergrund, in diesem Tutorial nehmen wir ein T-Shirt
- Eine klassische Schneidemaschine, die bekanntesten sind unter anderem: der Silhouette Cameo, der Cricut Maker, der ScanNCut…
- Aufbügelbares Flexfolie für Textilflock, das Flex ist das Material, das als Logo aufgedruckt wird.
- Ein Bügeleisen oder eine Transferpresse, um das Logo auf den Untergrund aufzubügeln
- Backpapier (optional)
- Verschiedene Entgitterwerkzeuge (optional)
Die Schritte für den besten Druck mit Flock
Schritt 1: Das Einfügen des Logos
Jetzt, wo du alle Werkzeuge griffbereit hast, musst du zunächst dein Logo in die Software deiner Schneidemaschine einfügen. (Die Software der Schneidemaschinen von Cricut, Silhouette und ScanNCut ist kostenlos)
Dieser Schritt ermöglicht es, dein Logo in die Maschine einzufügen, damit sie es ausschneiden und dir das lang ersehnte Design liefern kann!
Sobald das Logo in die Software eingefügt ist, musst du eine Reihe von Einstellungen vornehmen (die bei jeder Schneidemaschine unterschiedlich sind), um anschließend dein Motiv ausschneiden zu können.
Vergiss nicht, dein Logo spiegelverkehrt auszuschneiden, damit es beim Transfer auf das Textil richtig herum erscheint!
Schritt 2: Das Flex vorbereiten
Nachdem du die Einstellungen an der Maschine vorgenommen hast, nimm deine Rolle Flex (am besten von der Marke Paper Transfer 😉) und schneide ein Quadrat aus, das ein paar Zentimeter größer ist als dein Logo.
Jetzt musst du nur noch dein aufbügelbares Flex in die Maschine einlegen und an beiden Enden festklemmen, damit die Flock-Folie nicht verrutscht.
Schritt 3: Das Ausschneiden
WICHTIGER TIPP: Du gehst jetzt zum Ausschneiden des aufbügelbaren Flex über, aber vorher ist es wichtig, eine gute Höhe sowie einen guten Messerdruck zu haben, damit du nicht mit einem schlecht ausgeschnittenen Flex endest. Wir empfehlen dir daher immer, deine Messerhöhe auf dem Minimum zu halten und beim Arbeiten mit Flex nur den Druck einzustellen, damit du weder das Flex noch deine arme Maschine, die dazugehört, beschädigst.
Nachdem du den Schnitt gestartet hast, sollte dieser automatisch erfolgen.
Schritt 4: Das Entgittern
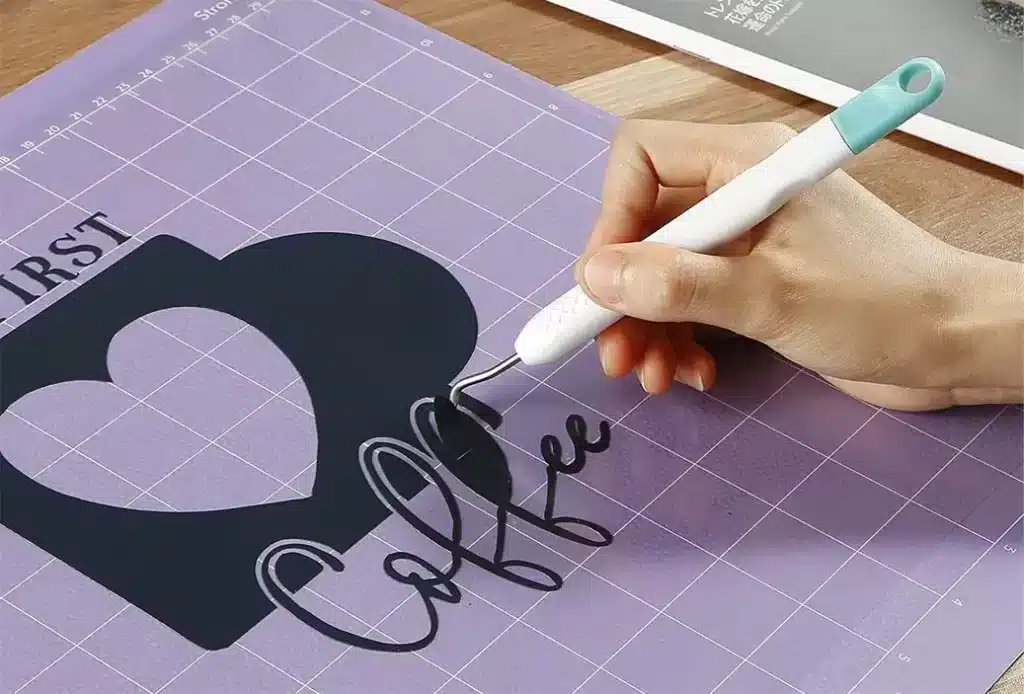
Jetzt kannst du zum berühmten Schritt des Entgitterns beim Textilflock übergehen! Dieser Schritt ist für die einen eine Freude und für die anderen eine Qual!
Du musst den überschüssigen Teil des Flex entfernen, der sich außerhalb und innerhalb deines Logos befindet. Du kannst dir eine Pinzette oder ein spezielles Entgitterwerkzeug nehmen, besonders für kleine Details.
Es ist wichtig, das gesamte überschüssige Flex zu entgittern, auch die kleinen Details. Dieser Schritt sollte ebenfalls mit Vorsicht durchgeführt werden, um das Logo nicht zu beschädigen.
Schritt 5: Das Aufpressen
Nach einer langen Reise kommst du endlich zum entscheidendsten Schritt, dem, der bestimmt, ob deine Kreation ein voller Erfolg oder ein trauriger Flop wird…
Er heißt der Schritt des Aufpressens!
Lege das zuvor entgitterte Motiv auf das gewünschte Textil (wir nehmen in diesem Beispiel ein T-Shirt)
Sei genau und behutsam, wenn du das Logo platzierst, denn nachdem du das Flock auf dein Textil gepresst hast, kannst du es nur sehr schwer wieder entfernen.
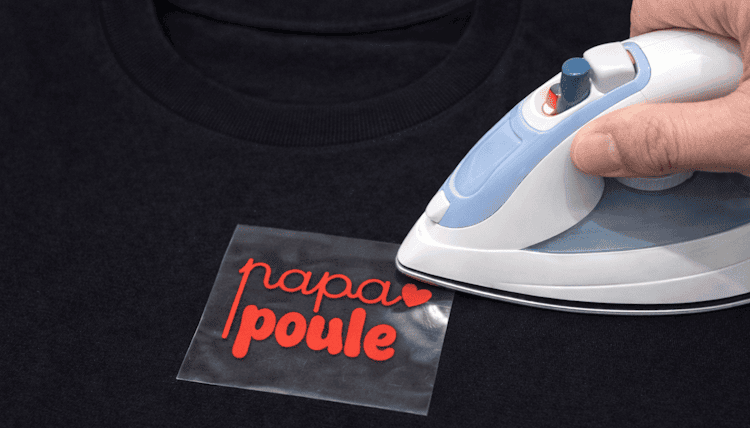
Sobald das Logo gut positioniert ist, presse das Flex mit einem Bügeleisen oder einer Transferpresse.
Alle Flexfolien haben eine unterschiedliche Temperatur sowie eine unterschiedliche Aufheizzeit. Was das Premium-Flex von Paper Transfer betrifft, presse es bei 160 Grad für eine Dauer von 15 bis 20 Sekunden. Anschließend musst du eine lauwarme Abziehung vornehmen, also das Plastik über dem Flex etwa 30 Sekunden nach Ablauf der Aufheizzeit entfernen.
Letzter Schritt
Dein T-Shirt hat jetzt ein wunderschönes personalisiertes Logo, aber das ist noch nicht ganz fertig!
Um einen perfekten Textilflock zu erhalten, nimm dein Backpapier, lege es über das Logo und presse das Flex erneut für eine Dauer von 10 Sekunden. Lass deine schöne Kreation anschließend einige Stunden ruhen und sei stolz auf dich!
Du bist jetzt ein(e) Gestalter(in)!
Wir hoffen, dass dir dieser Blog geholfen hat, diese Druckmethode namens Flock besser zu verstehen!
Wenn du davon träumst, dein eigenes Business für Textilpersonalisierung oder sogar deine eigene Kleidungsmarke zu starten, ist unser Magic Starter Pack die ideale Lösung.
Es vereint das gesamte professionelle Material, das du brauchst, um vom ersten Tag an deine Kleidung zu personalisieren…
Und vor allem: Es enthält unsere Schritt-für-Schritt-Schulungen, damit du von A bis Z begleitet wirst, selbst wenn du bei null anfängst.
Bestelle es noch heute und fang an, Kleidung zu kreieren, die zu dir passt!
Du kannst auch einen Blick auf unsere Kollektion aufbügelbarer Flexfolien werfen, die stetig wächst, falls du bereits das ganze Zubehör hast, um deine Kleidung mit Flock zu personalisieren!