
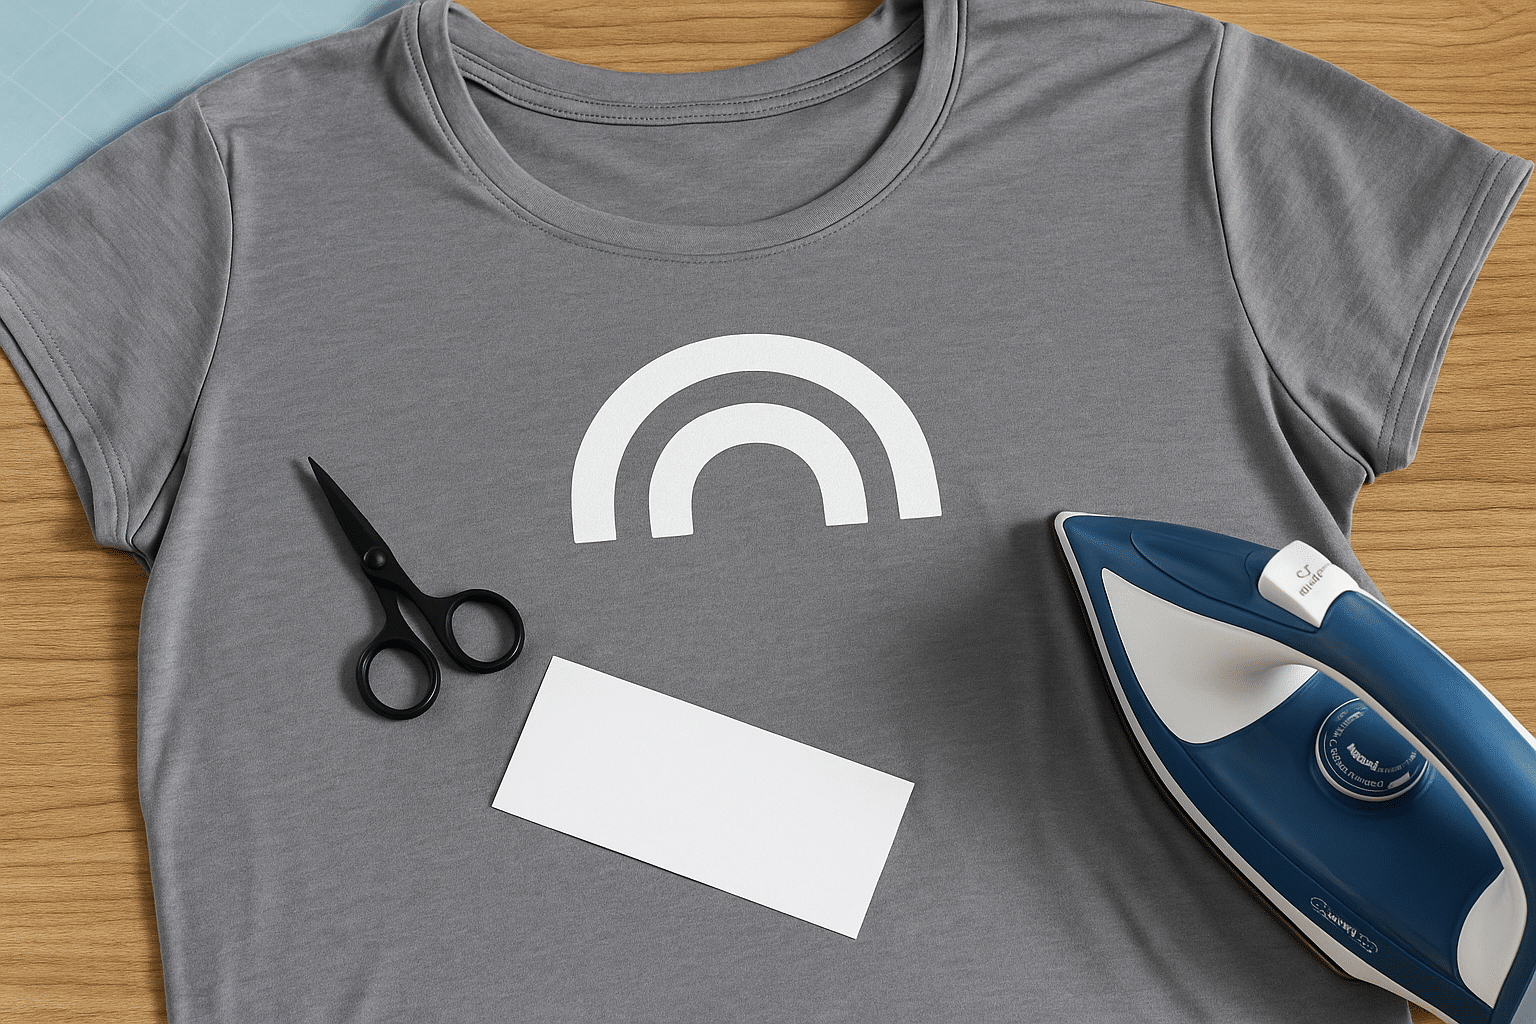
One thing we hear all the time is that you absolutely need a heat press to use heat transfer vinyl. But that's not true! You can get by without one, even though heat presses are excellent tools for fast, precise work.
Instead of buying an expensive press, you can absolutely use an iron to personalize your clothes with heat transfer vinyl! So here are a few tips to help your heat transfer vinyl stick properly to fabric using an iron:
How Do You Apply Heat Transfer Vinyl with an Iron?
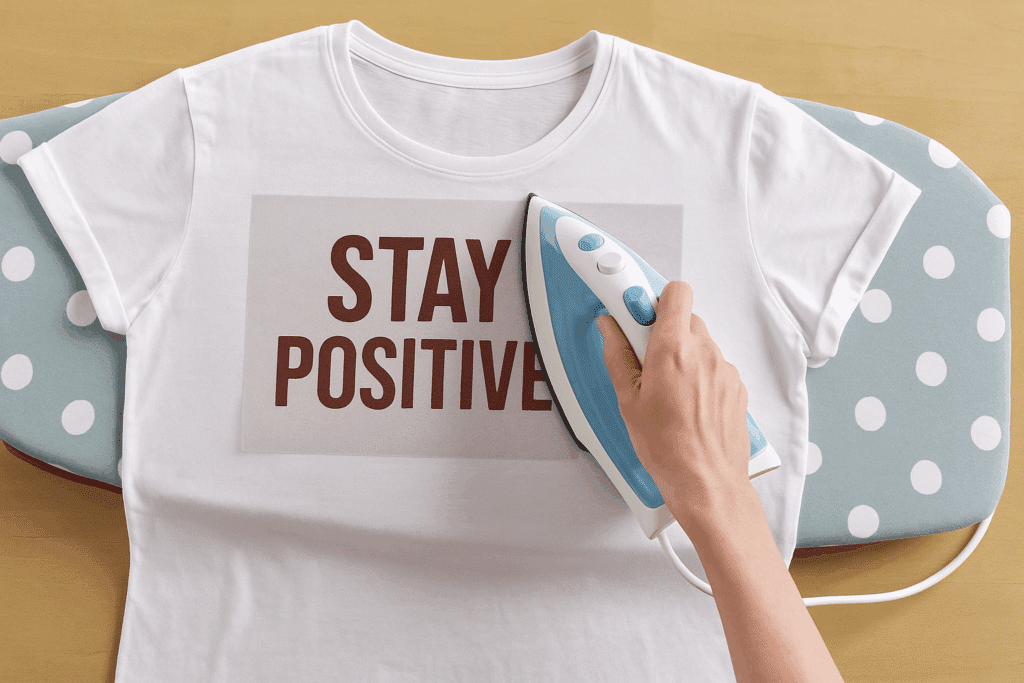
Let's be clear: you can use just about any iron you have at home for applying heat transfer vinyl.
An iron is a great tool for beginners and can work almost the same way as a heat press. It's a handy tool we all have at home, and it's easy to use, compact, and inexpensive. ✅
Most irons (even regular household ones) heat up quickly and can reach 200°C, which is hot enough to transfer vinyl onto fabric. Check!
Keep in mind that different heat transfer vinyls have different settings depending on how they absorb heat. Standard HTV is usually applied with a manual iron set to "polyester," which is about 150°C. 🌡️
For better results, use an iron with the smoothest, heaviest soleplate you can find, and no steam function (if possible). If your iron has holes on the bottom, keep moving it while you press to make sure every part of your design gets the same heat and pressure.
Now let's go over the steps to apply your heat transfer vinyl correctly with an iron:
Step 1: Prepare Your Work Surface
Always make sure your workspace is clear and ready for crafting. Choose a flat, heat-resistant work surface so everything is safe and secure. Keep any unnecessary materials away so they don't accidentally come into contact with your iron or your project.
Step 2: Cut Out Your Design
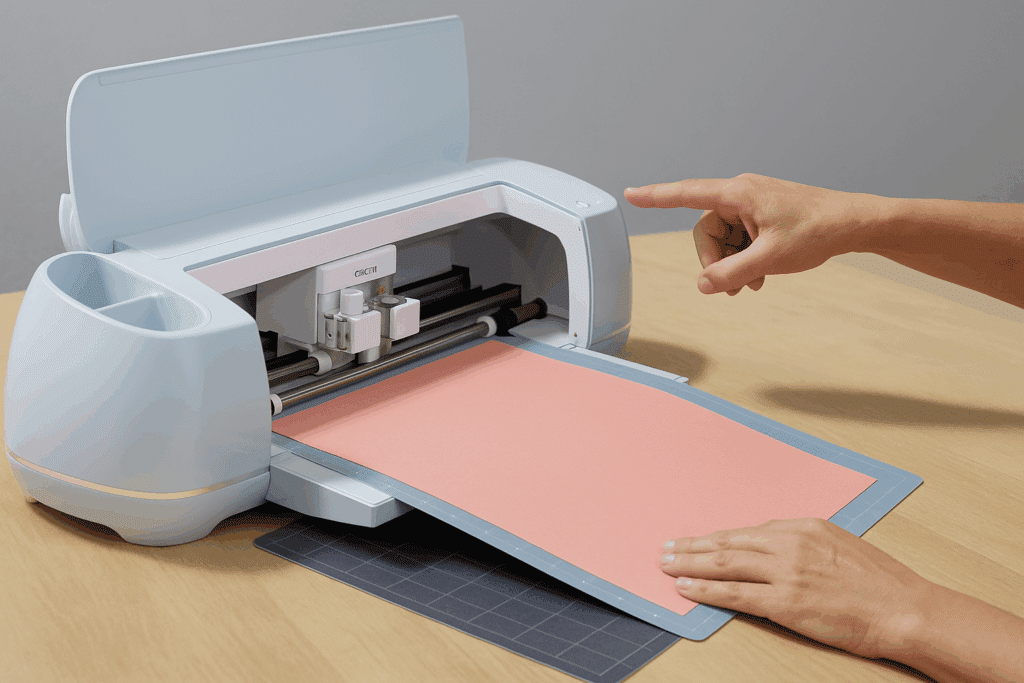
For this step, you can either cut out your design by hand (which is really tricky) or use a cutting machine to make it quick and easy.
The best-known cutting machines are the Silhouette Cameo 5 and the Cricut Maker 3. If you want to learn how to cut your design with either one, check out our blog posts on cutting vinyl with each machine:
Step 3: Weed Your Design
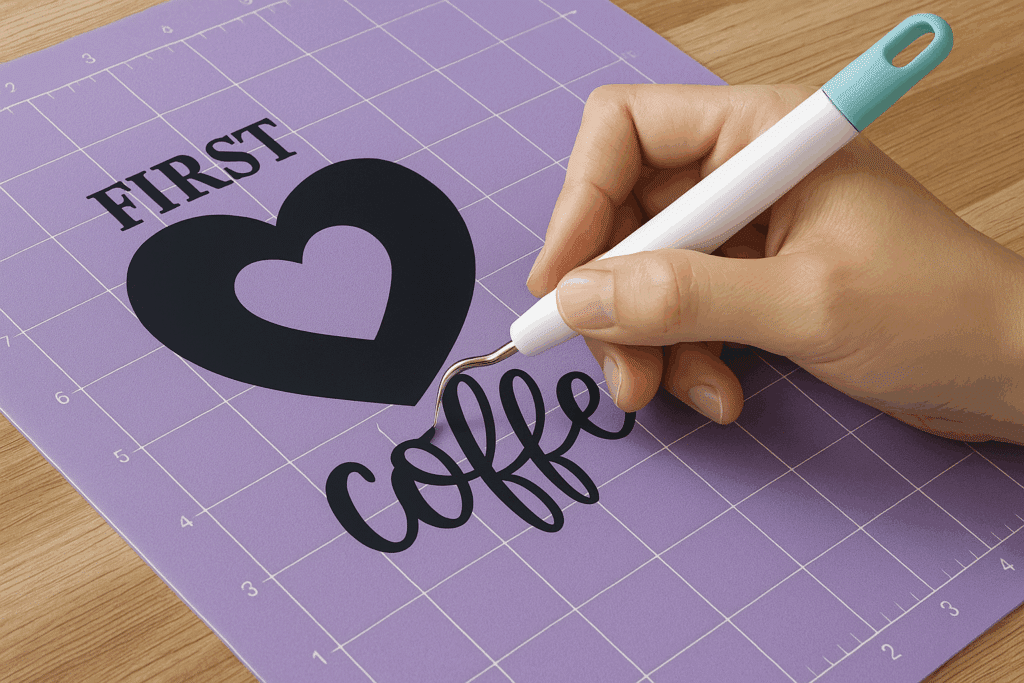
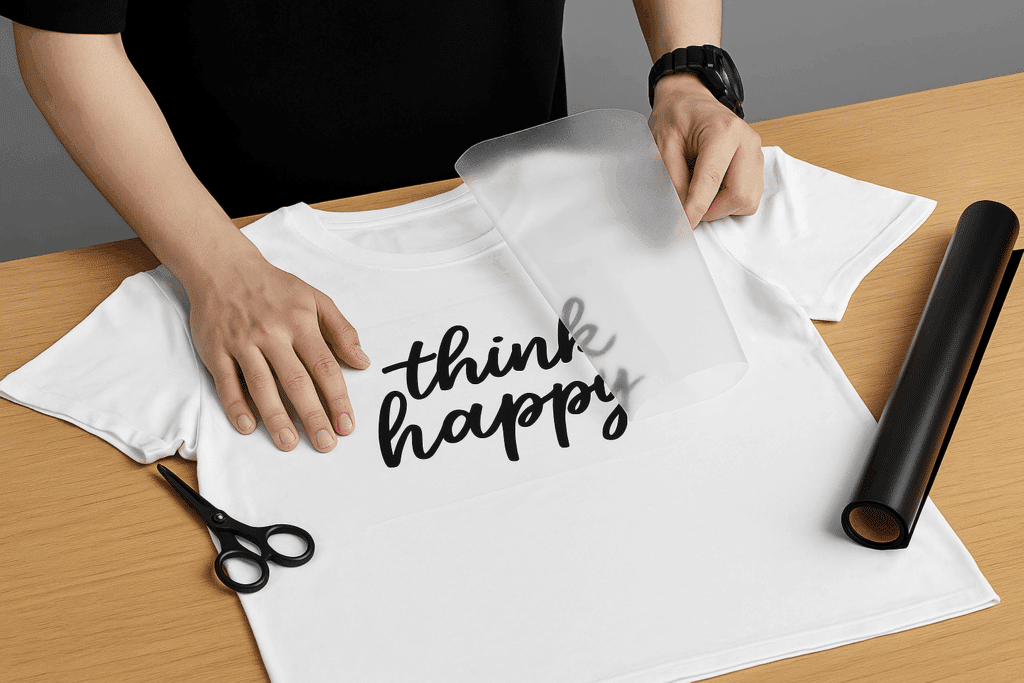
The weeding step is where you remove the excess heat transfer vinyl around your design so you don't transfer any unwanted pieces onto your fabric.
It's important to work carefully and gently while weeding so you don't damage your design.
Step 4: Transfer the Design onto the Fabric
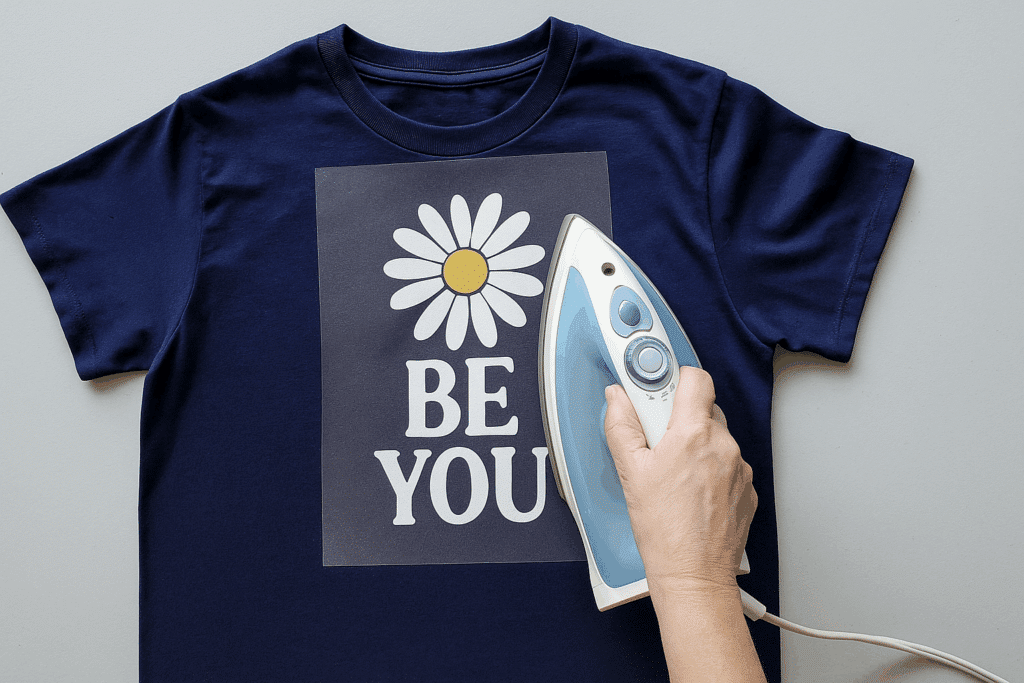
First, plug in your iron and set it to "polyester." Most heat transfer vinyls transfer onto fabric at 150°C. If you use too much heat, you could melt the vinyl! 😬
Wait a few minutes for your iron to heat up, then place your weeded design on the fabric of your choice. 👕
Now it's time to press! Take your iron and place it on the design you want to apply.
It's important to apply some pressure when you transfer the design onto the fabric. If you have an iron without steam (one with no holes in the soleplate), just lean your body weight onto the iron to apply pressure. If you're using a steam iron, press down firmly while moving the iron in a circular motion so the little steam holes don't leave marks on the transfer.
Press the design onto the fabric for 15 to 20 seconds, and once you're done, peel the clear plastic carrier sheet off the vinyl.
You can now admire your beautiful project, but you're not quite done! To make sure your design is fully bonded to the garment and holds up in the wash, cover it completely with a sheet of parchment paper and press it again the same way with your iron for 15 seconds. (For a more economical option, you can also use a Teflon sheet.)
Now you have a heat transfer vinyl design that will last a long, long time on your fabric! 🤩
Pros and Cons of Using an Iron
To wrap up this post, here are the pros and cons of using an iron instead of a heat press:
Pros of Using an Iron:
✔️ An iron is lightweight and easy to put away when you're not using it.
✔️ You probably already have one at home, so if you have a cutting machine and heat transfer vinyl, you can start your projects right away.
✔️ Irons are inexpensive (around 25€)
✔️ Ideal for applying small designs.
✔️ Irons heat up fast, so there's no need to wait 10 minutes for them to reach the right temperature.
Cons of Using an Iron:
❌ Small pressing surface, which isn't very practical for larger designs.
❌ No precise temperature control, so it's hard to know the actual temperature of each setting.
❌ No built-in digital timer, so you have to watch the clock or count in your head while you transfer the design.
❌ The heat across the soleplate isn't even. Because the temperature varies across the plate, your heat transfer vinyl design won't bond evenly everywhere.
❌ The steam holes in the soleplate of steam irons create uneven pressure.
In short, irons are perfect for beginners and anyone who uses heat transfer vinyl only occasionally. If you want to get started customizing fabric with HTV, we highly recommend starting with the iron you already have at home.
On the other hand, once you start going pro and customizing garments every day, you'll definitely need a quality heat press!
To start personalizing your fabric with heat transfer vinyl today, take a look at our heat transfer vinyl shop, which offers a wide variety! You'll find standard HTV, velvet HTV, and even glitter HTV! 😉



Comments
No comments yet. Be the first to share your experience.
Leave a comment