
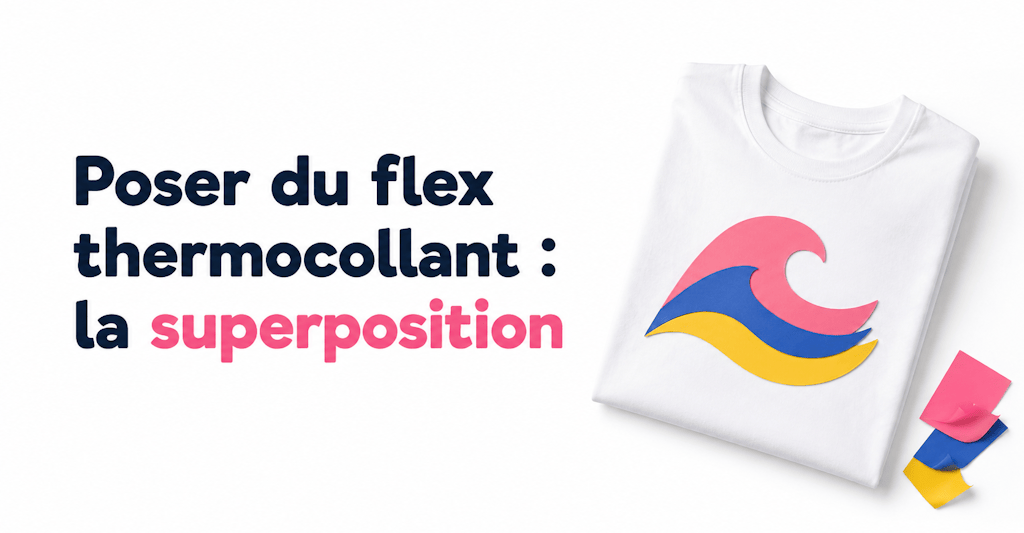
In this tutorial, we're not going to show you how to apply a simple one-color logo to your clothes. Instead, we'll look at how to layer several sheets of HTV to create a multicolor logo!
Learning how to apply heat transfer vinyl isn't easy when you're just starting out, but once you get the hang of it, it gets easier and more fun every time.
If you've landed on this article, you probably already know how to apply heat transfer vinyl and press it onto fabric. (If not, we recommend checking out our tutorial on customizing fabric with HTV "like a pro").
The Tools You Need for Layering HTV
To follow this tutorial, you'll need:
1 - A multicolor design or logo
2 - A cutting machine (usually a Cricut, Silhouette Cameo, or ScanNCut)
3 - Heat transfer vinyl in different colors
4 - Weeding tools like a spatula, a hook, and tweezers (optional)
5 - An iron or a heat press
1 - Choose Your Logo
First, choose the logo you want to make. For this example, we're using this pretty wave (with a black rectangle in the background so we can layer the colors).
2 - Trace and Separate the Colors
Most importantly, make sure you trace your logo properly. Tracing means "removing" the pixels from your logo so your machine can cut it. If you don't know how to do it, check out our blog post on tracing.
Then, separate the different colors in the design so you can cut each part of the logo one at a time with your cutting machine.
Here's our logo separated into 3 parts (1 part per color) in Silhouette Studio:
3 - Cut
Cut out the different parts of your logo with your cutting machine.
You'll usually need to make one cut for each color in your logo.
For example, if your logo has 5 colors, you'll need to make 5 separate cuts, one per color, since each sheet of HTV is a single color.
4 - Apply and Layer the Heat Transfer Vinyl
Now all you have to do is apply the heat transfer vinyl and press each piece onto the fabric one at a time.
Start with the part of your logo that makes up the background of the design. In our case, we'll apply the black background first.
Then add the second layer, and so on!
Tips and Tricks for Applying Multicolor HTV
If your logo has more than 3 colors, we recommend not pressing the HTV for too long when you apply it, because it could melt and lose its original color.
For example, if your logo has 4 colors, we recommend pressing the first 3 layers one at a time at 140 to 150°C for 10 seconds. The last color should be pressed at 150 to 160°C for 15 to 20 seconds with firm pressure.
Let each layer of HTV cool for about thirty seconds before adding the next.
With these tips, you should now be able to easily layer your heat transfer vinyl and create logos that are more colorful than ever! 🙂
Not So Fast! We Still Have a Few Things to Tell You:
Want to layer heat transfer vinyl to add colorful logos to your clothes and your family's?
Perfect timing! Our shop offers a wide variety of heat transfer vinyls you can layer 😉, like glitter HTV, premium HTV, neon, and even velvet HTV!
⚠️ One Thing You Do Need to Watch Out for When Layering:
Avoid layering thick vinyls on top of each other, since it can give your design a poor finish.
For example, we don't recommend layering 2 velvet vinyls on top of each other, because the result would be too thick. You can, however, place them side by side, and the result will be perfect! You can also apply velvet HTV on top of premium HTV. 😉
Finally, after lots of testing, we've concluded that premium HTV is the best choice for layering. Because it's so thin, you can't see the individual layers.
We hope these tips and tricks help you in your never-ending quest for the perfect HTV project!
See you soon for our next post!



Comments
No comments yet. Be the first to share your experience.
Leave a comment