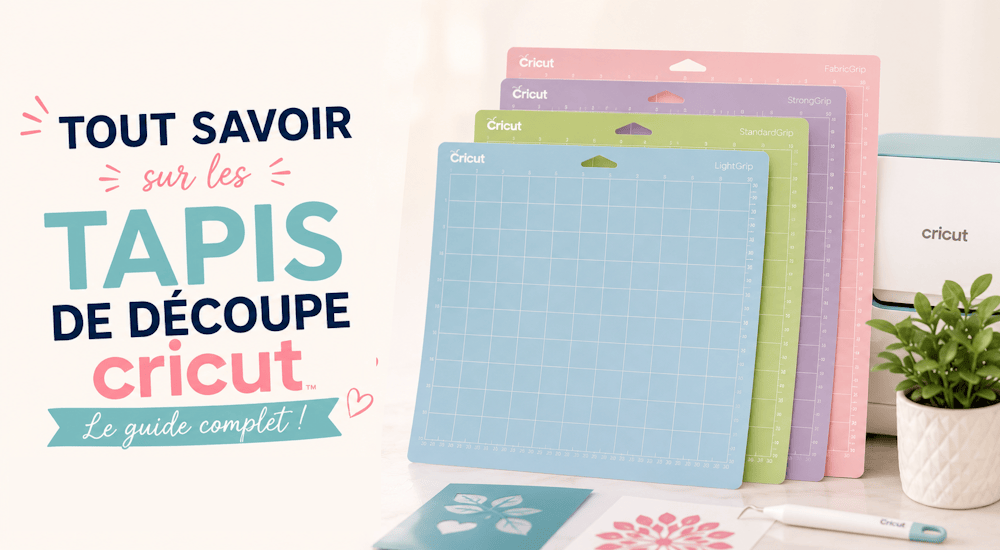
Whether you are a beginner or a Cricut pro, you know how important it is to have the right cutting mat for your project. But what are the different types of mats, and which mat do you need for specific materials?
If you are ready to learn more about Cricut cutting mats, you are in the right place. This beginner's guide to Cricut cutting mats will teach you everything you need to know about Cricut mats:
How they work, what the different types of mats are, and which ones are right for you. Plus other helpful tips and tricks, like caring for your mats so they last and don't wear out over time. 😉
What are the differences between Cricut mats?
Depending on the materials you want to work with, you will need a different type of cutting mat.
You need to memorize, or at least have an idea of, which mat to use, because Cricut Design Space won't tell you which mat you should use for different types of materials (it will, however, tell you which blade to use).
It is always important to have your Cricut cutting mats within reach, so you can cut anything you want!
Ready to learn the differences?
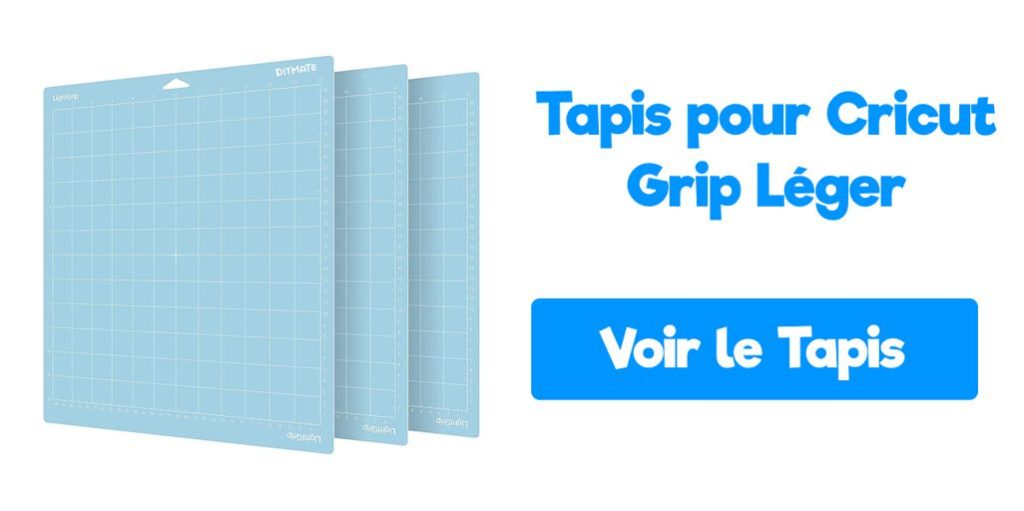
🔵 LightGrip - blue mat
This mat was designed to cut lightweight materials.
The two available sizes are 30.5cm x 30.5cm and 30.5cm x 61cm
If you place a thin material on a high-tack mat, it will be almost impossible to remove it from the mat, which is why the blue mat is essential for certain materials.
The most common materials you can cut with the blue LightGrip mat are the following:
- regular paper
- Thin cardstock
- Construction paper
- Adhesive vinyl
- Heat-transfer flex
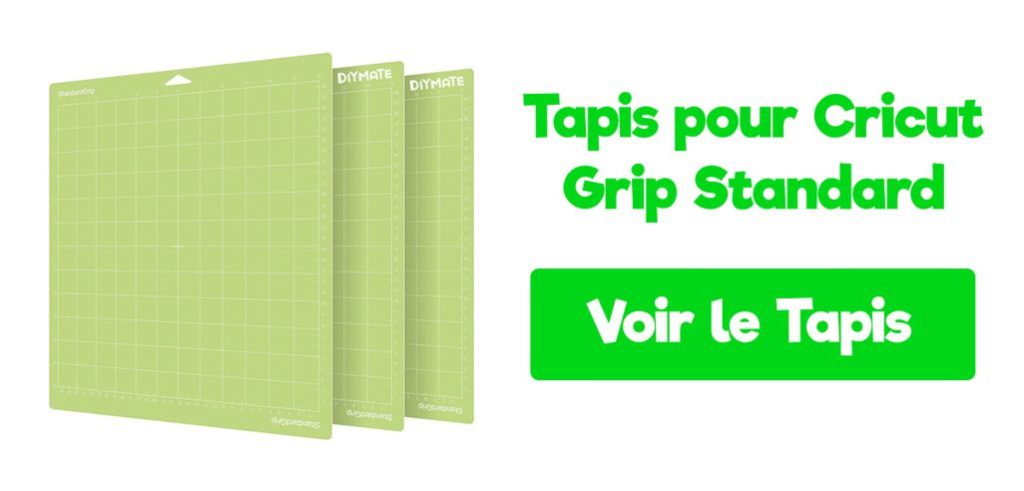
🟢 StandardGrip - green mat
The standard grip mat is the most common. It is designed for medium-weight materials.
It usually comes with the purchase of a Cricut machine (be sure to check the product description to see the included items), and it is green.
The available sizes are 30.5cm x 30.5cm and 30.5cm x 61cm
This mat has the advantage of sitting between the low-tack grip (blue) and the high-tack grip (purple). This lets you cut many types of materials that are relatively light or relatively heavy.
The most common materials you can cut with the standard grip mat are the following:
- Cardstock
- Plain heat-transfer flex and glitter flex
- Plain adhesive vinyl and glitter adhesive vinyl
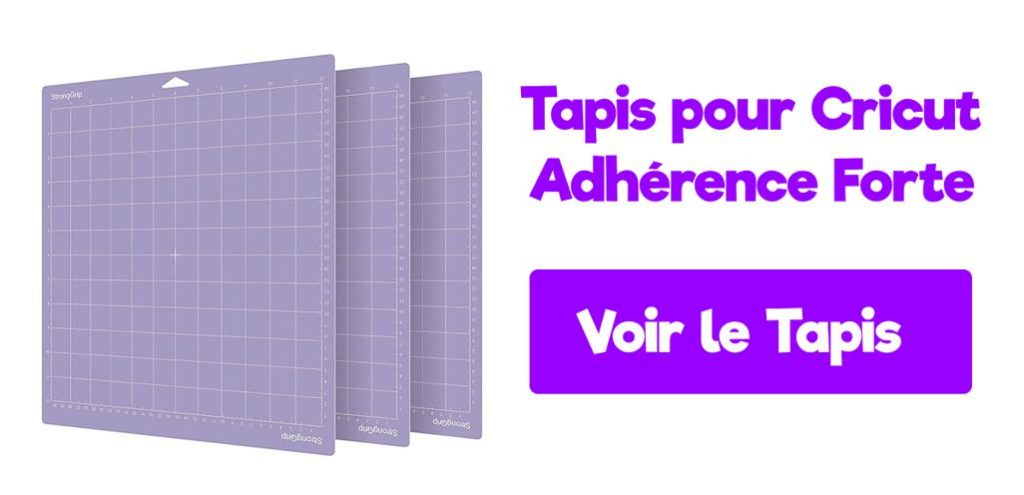
🟣 StrongGrip - purple mat
This mat was designed to hold heavy materials in place.
The available sizes are 30.5cm x 30.5cm and 30.5cm x 61cm
When you use a heavy material like balsa wood, the adhesive force is not enough. In that case, use masking tape to secure the material to the mat.
The most common materials you can cut with the purple mat are the following:
- Thick and glitter cardstock
- Balsa wood
- Chipboard
- Poster board
- Leather
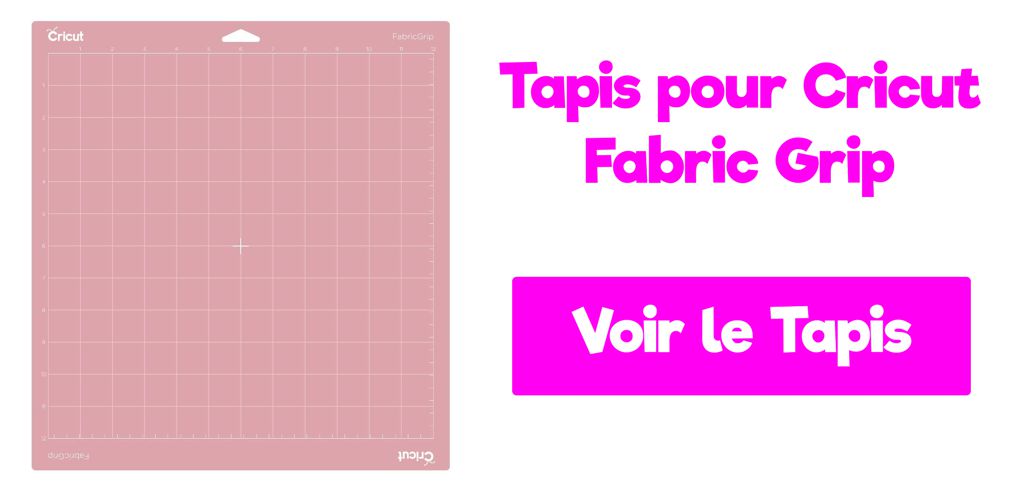
🌹 FabricGrip - pink mat
The pink mat is a new mat from the Cricut brand.
The two available sizes are 30.5cm x 30.5cm and 30.5cm x 61cm
The FabricGrip mat is specially designed to cut fabric. It can be used with any machine in the Cricut Explore family, or simply on its own with the rotary blade and the Cricut Maker.
The most common materials you can cut with the FabricGrip mat are the following:
- Bonded fabric (Explore family machine)
- Any type of fabric with the rotary blade and the Cricut Maker
Tips for using your Cricut cutting mat
1️⃣ - Keep your mats covered
Every cutting mat comes with a clear plastic sheet. KEEP IT!
After each use, simply place the sheet back over the mat. That way your mat will stay clean and nothing you store with it will stick.
If you use your Cricut cutting mats regularly and you don't put the clear plastic back over them after each use, your mat will lose all of its adhesive force in just 1 month.
2️⃣ - Secure heavy materials with masking tape
We mentioned above that heavy materials need to be secured with masking tape, like woods and leathers.
This helps prevent the project from moving during the cutting process. 👍 Especially if your mat is no longer as sticky. This method is great, and it even works once your mats have no adhesive force left.
This way, you avoid having to buy a new Cricut mat.
3️⃣ - Remove your project from the mat properly
Another way to make sure your project stays intact and your mat stays clean is to always peel the project off gently by turning the mat over.
So place your mat on a flat surface, flipping it over so your project faces down, and peel it off carefully.
This will keep your project flat and keep your Cricut cutting mat from catching extra materials, which could get it dirty.
4️⃣ - Always calibrate the blade for a better cut
Before every project, make sure you have the right blade for the cut and that your machine is calibrated for that blade.
This gives you a faster and cleaner cut. 😀
Cleaning your Cricut cutting mat
Over time, your mat loses its grip; sometimes there are bits of material that have built up on it, and sometimes it is simply time to replace it.
But before buying a new mat, try cleaning it. Here are three different ways to clean your Cricut cutting mat.
Cleaning the Blue, Green, and Purple mats
The scraper:
After each use, use the Cricut scraper to remove the bits of material on the mat.
The scraper works very well, and it will not damage your mat in any way. This way you can help it regain a bit of its grip.
The lint roller:
Use a lint roller to remove the small bits of material left on the mat. This trick is very effective when you need to remove fabric! 😋
Alcohol-free baby wipes:
For a quick clean, you can always use baby wipes; this works like magic if your mat just has a bit of dirt. But be careful, this may cause it to lose some of its grip.
If you clean the mat with water, be sure to let it air dry. I know you are going to be tempted to use it. But moisture can not only damage your materials, it can also damage your machine. 😕
Cleaning the pink FabricGrip mat
The pink mat is very particular, and it requires a different type of care than the other mats!
Here are some of the do's and don'ts for cleaning and caring for the Cricut FabricGrip
❌ Don't use the scraper:
Don't use the scraper, because the adhesive on this mat is just barely enough to hold fabrics, and it is fairly light; as a result, the scraper will lift off the grip.
❌ Don't use soap or water:
When you handle your mat to place fabrics on it, be careful not to put your fingers on the adhesive part, and don't use soap and water, or the mat may end up with no adhesive force at all.
✔️ Lint roller
Use the lint roller to get rid of some of the fabric left on your mat.
✔️ Masking tape
Masking tape is ideal for making materials stick, especially when your pink mat has lost some of its adhesive force.
We hope this blog has helped you see more clearly about the different types of Cricut mats!
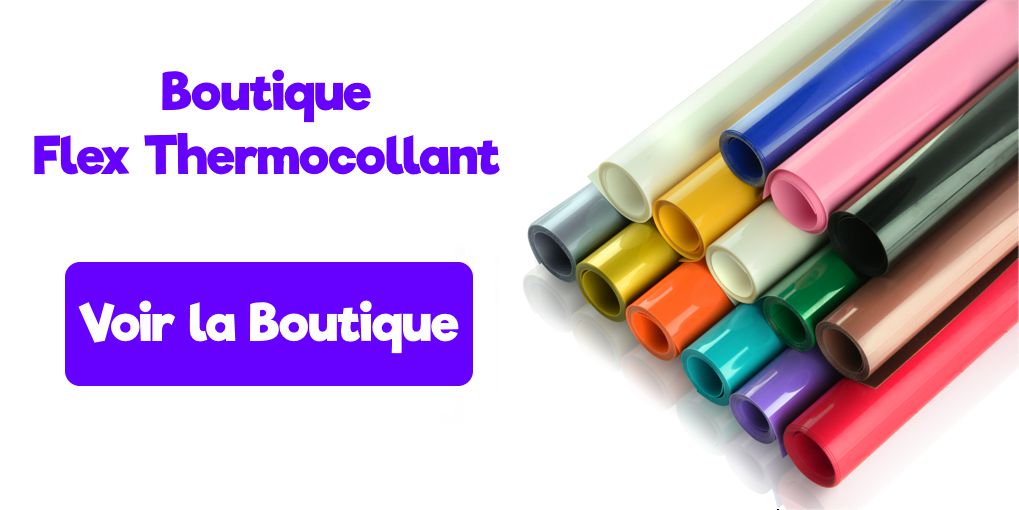
If you feel like creating textile flocking projects with your Cricut, you can take a look at the heat-transfer flex we offer in our Shop!