
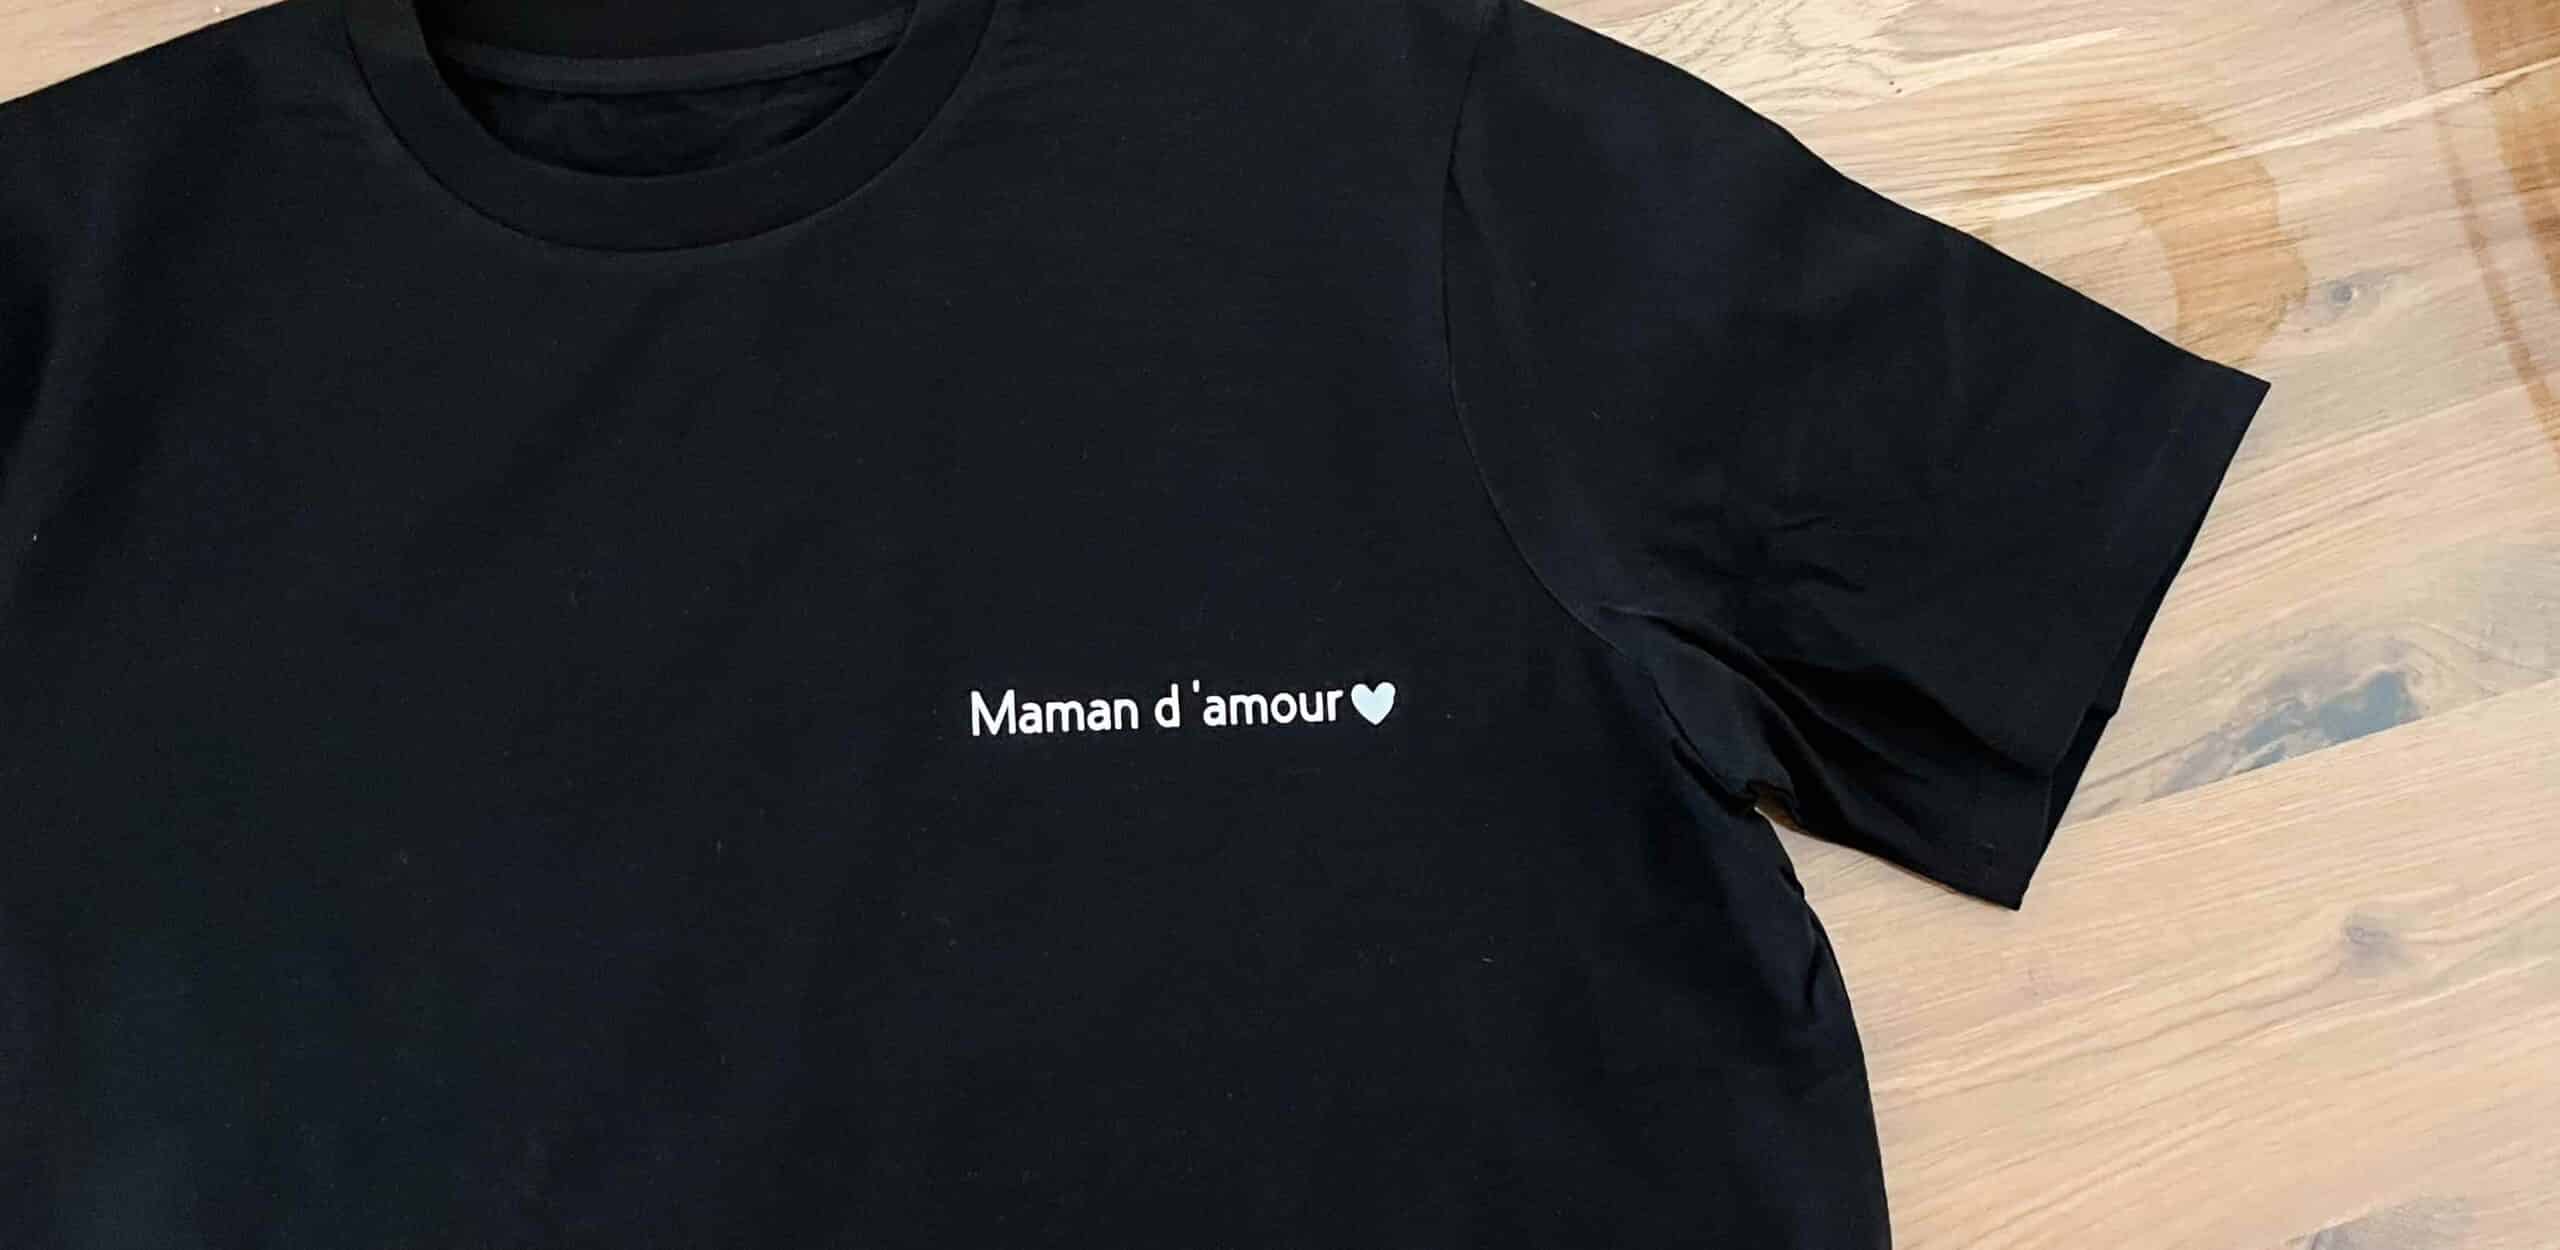
Does Cricut ring a bell? If you're the creative type and spend your time watching homemade tutorials and DIY projects, you've definitely heard of it. Cricut is the go-to brand for cutting, drawing, engraving, marking, and personalizing all kinds of textures and materials, whether it's cardboard, fabric, leather, wood, paper, or even mugs.
🌟
In short, Cricut products aren't just stylish, they're also incredibly versatile: from the small portable model to the big machine that can cut even more materials, their products are famous around the world.
Let's go step by step through how to make your very first heat transfer vinyl project using a Cricut cutting machine and heat press.
#Cricut Tutorial: What Is Heat Transfer Vinyl on Fabric?
Applying heat transfer vinyl to fabric is a personalization technique that lets you add the design, text, or artwork of your choice to any fabric using heat. Heat transfer vinyl is super easy to use, and best of all, it comes in a huge variety: velvet, 3D, puff, pastel... there's something for everyone! Plus, it holds up really well to washing and UV rays, so your gorgeous custom piece will be with you for a long time!
#Cricut Tutorial: What You'll Need for This Cricut Tutorial
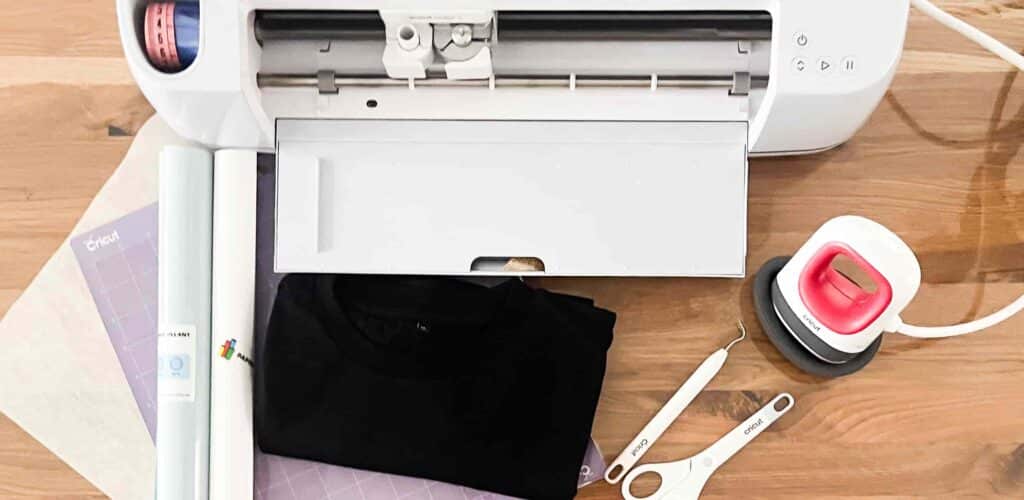
To follow this beginner tutorial, you'll need:
- The fabric item of your choice: a T-shirt, a pillowcase, or even a cloth napkin.
- A Cricut cutting machine, such as the Explore or Maker
- A cutting mat: it holds your HTV firmly in place for a smooth, snag-free cut
- The heat transfer vinyl of your choice
- Graphic design software: Cricut Design Space comes with the machine
- Weeding tweezers or a weeding hook
- A Teflon sheet or, if you don't have one, parchment paper
- The Cricut heat press or mini press
And that's it: easy, quick, and effective. All that's left is to bring your first HTV project to life.
#Cricut Tutorial: Create Your Design in Cricut Design Space
Once you've downloaded Cricut Design Space and followed the steps to sign in, you can start creating your very first custom design. To do this, click the "New Project" button to open your workspace (a canvas).
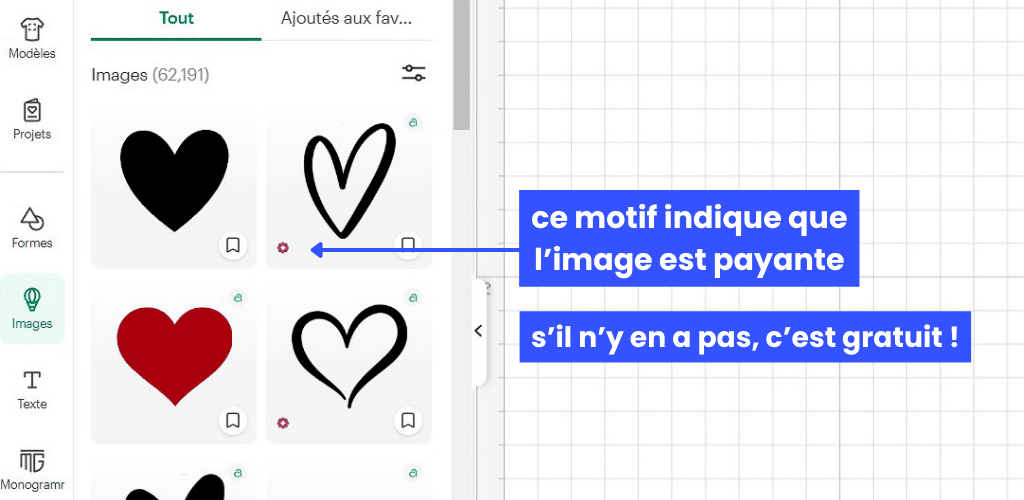
Now it's time to get creative! Cricut Design Space is packed with resources to help you create the design of your dreams: add text, shapes, and images, and above all, have fun. Just keep in mind that Cricut has a library of royalty-free images and designs, but some can also be purchased directly in the software.
🛒
If you go with text, you can format it using the panel above the canvas. You can choose your font, the alignment, the letter spacing, or even the font weight. Just be sure to pick a font that's easy to cut and weed. If you choose a font that's too thin, you might struggle with the next steps, and your text could end up hard to read. If you're not sure, do a test cut to see how your design turns out.
Then add shapes to finish it off: a heart, star, circle, or flower. Here again, put your creativity to work: you can make them bigger, cut just the outlines, or even place them behind your text for a stunning result.
Already have a design you want to use in the software? No problem, just click "Upload" and choose your file. I recommend always importing your design as an SVG, which is the preferred format for cutting. If you don't have a design in this format, you can also import a PNG or JPG; just be sure to remove the background properly. If your design is too complex, the conversion may not be perfect. In that case, you can touch up your design in the next panel that appears. Once your design is imported, click "Add to Canvas".
That's it, your design is ready! Before moving on to the next step, and to make sure the cut is perfect, group the elements you want to print together so everything cuts out as a single piece.
#Cricut Tutorial: Prepare the HTV and Start Cutting
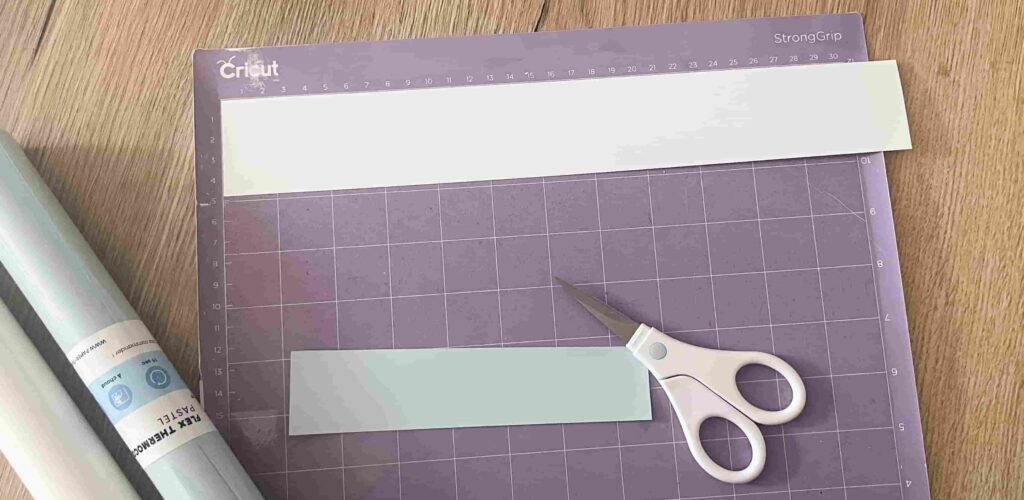
Cut your HTV a little larger than your design (check the ruler markings on your canvas), so nothing goes to waste. Then place your piece of HTV on the cutting mat, lined up with the grid (which matches the one in your software). The cutting mat is sticky, which keeps your HTV from slipping during the cut. The shiny side must face down, against the cutting mat. Once that's done and you've loaded your mat into the machine, press the arrow button so it feeds into position, then start the cut.
#Cricut Tutorial: Apply the Design
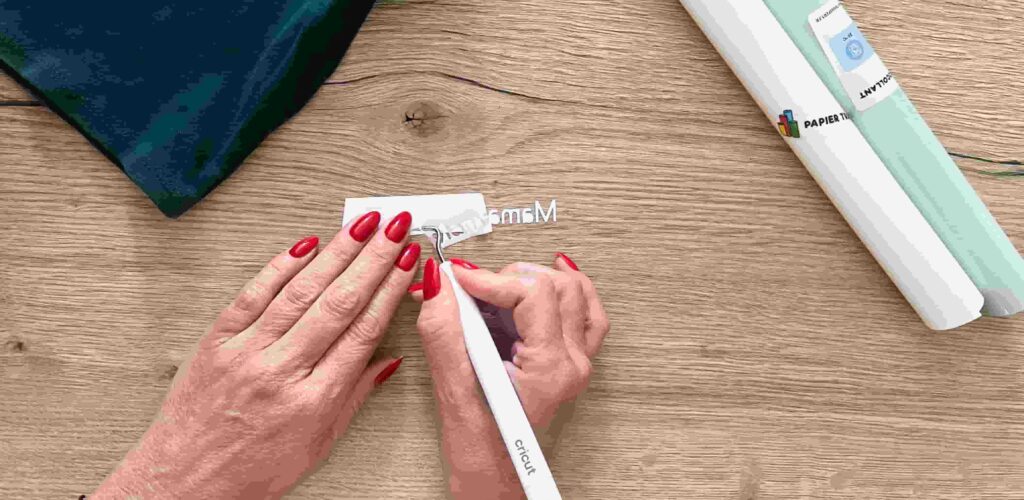
Your design is cut and ready to be placed on your fabric. But first, you'll need to weed it. For this, I recommend using weeding tweezers or a weeding hook. Weeding means removing the unwanted bits of heat transfer vinyl so your design shows through. Be gentle during this step: it's easy to grab the vinyl in the wrong spot and damage your design. Once it's weeded, you should be left with your HTV design and the carrier sheet.
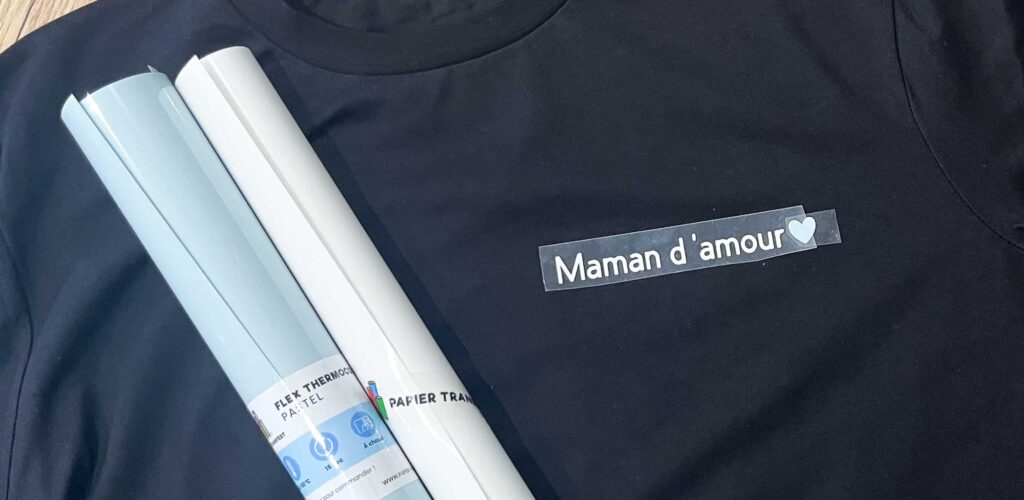
Place your design on your fabric, wherever you'd like it. I recommend using small pieces of tape to hold your design in place and make sure it won't move when you put it in the heat press (you can find heat-resistant tape right here).
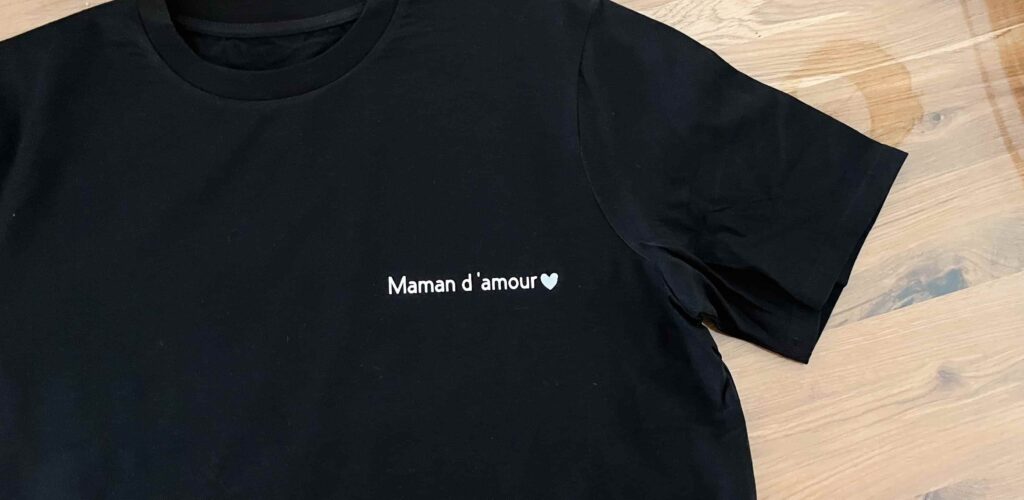
Finally, place your fabric on your Cricut heat press, lay the Teflon sheet or parchment paper on top, and press for the time shown on the label of your Transfer Paper heat transfer vinyl. If you have a mini press, heat it up, then press it over the Teflon sheet or parchment paper the same way.
And just like that, you've completed your first Cricut HTV project. You should be proud of yourself. Nice work, crafters!
#Cricut Tutorial: Extra Tips
To take things further, here are a few little tips that might come in handy:
- Save your HTV scraps for other projects (you'll see, sooner or later you'll probably need that super bright color again).
- When you want to cut your design and aren't sure about the size of certain elements, don't hesitate to do a test cut on HTV scraps (see the first tip).
- Always clean your fabric before applying HTV: if it's pilled, the vinyl might not stick, so use a lint roller if needed.
- And finally, wait at least 24h before washing your fabric, and always wash it inside out. That way, your HTV will last even longer.
Here's to your creativity, artists! 🎨



Comments
No comments yet. Be the first to share your experience.
Leave a comment