
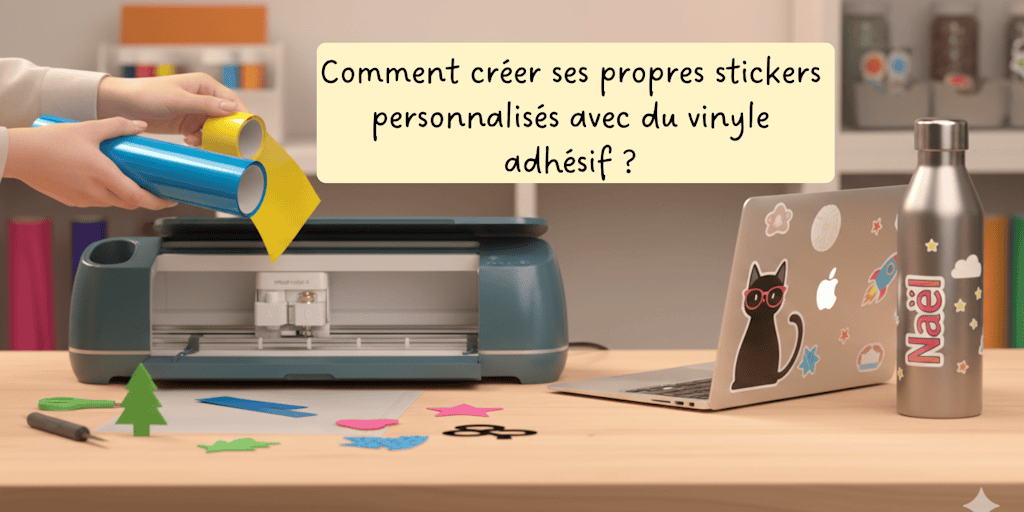
There's one moment I especially love when I'm crafting: when I'm sitting in front of a simple piece of adhesive vinyl and realize that anything is possible. An idea, a design, a little phrase that's totally me... and suddenly, what was just a roll of vinyl becomes a custom sticker that can dress up a notebook, a water bottle, or even gift wrap.
Making your own stickers is a bit like adding a little piece of yourself to the things you use every day. And whether you're a beginner crafter, a DIY lover, or a professional who wants to personalize your products, there's always that little thrill when the machine cuts your first design, when the transfer tape lifts off, and when the sticker comes to life under your fingertips.
In this article, I'll show you how to turn your ideas into one-of-a-kind custom stickers that are clean, durable, and above all... totally you! You'll see: it's simple, easy to get into, and incredibly satisfying.
Ready to make something unique? Let's get started.
✂️
✨
1. Why Have Custom Stickers Become a Must-Have?
We all have something we keep close at hand: a water bottle we've had for years, a laptop we carry everywhere, a notebook we open every morning to jot down our ideas and dreams. And these things often feel a little more personal as soon as we add that first sticker. That's where the magic happens: it's a tiny detail, but it changes everything (and trust me, it gets addictive fast!).
Custom stickers have a power few accessories can match: they tell a story. Your story.
A passion, a word that motivates you, a color that inspires you, a design that makes you smile, your cat's silhouette... At a time when we all want to create, express ourselves, and show who we are, stickers have become a language all their own.
And let's be honest:
There's a unique, almost childlike joy in making something yourself. Choosing the design. Watching the machine cut. Carefully peeling away the excess vinyl. Laying down the transfer tape like a little creative ritual. At first you stick on one, then two... and before you know it, there's no room left on your notebook, haha!
DIY appeals to us because it reconnects us with something we all have inside: the urge to do better than mass-produced, off-the-shelf stuff, the urge to personalize, the urge to stand out without breaking the bank (because yes, having things custom-made can quickly cost a fortune!).
Stickers to decorate, organize, give, reward, and make things beautiful...
All with just some adhesive vinyl and a little patience (yep, that's all it takes!).
Custom stickers aren't just a trend: they've become a way to express yourself. A little space for creative freedom, right at your fingertips!
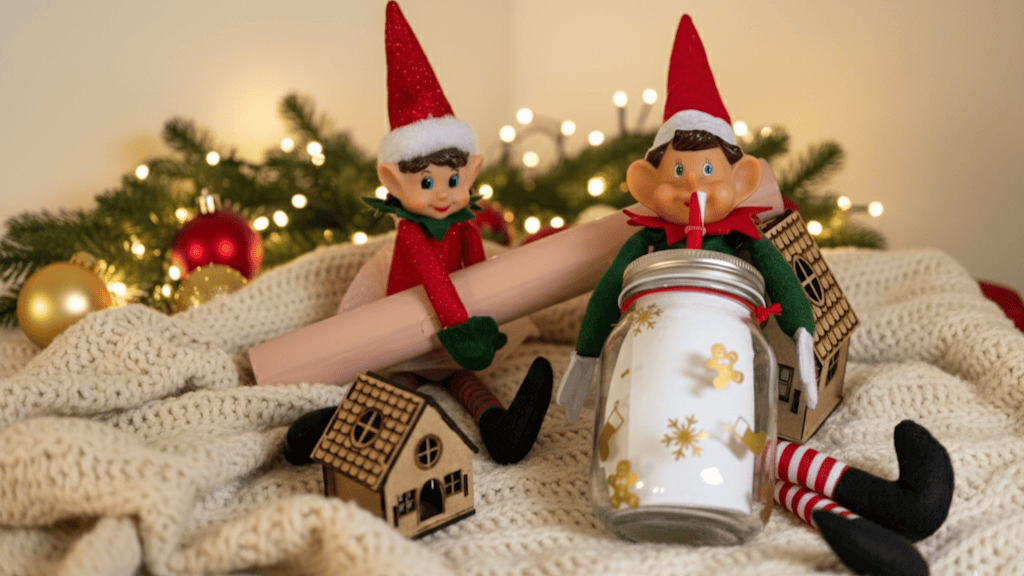
2. The Essential Supplies for Making Adhesive Vinyl Stickers
Before you get started, you just need to gather a few tools. Nothing fancy: just what it takes to turn an idea into beautiful, clean, durable custom stickers.
And trust me, once you've tried it... there's no going back.
Adhesive Vinyl: The Foundation of It All
Matte, glossy, glitter, holographic, chrome... Vinyl is a bit like an artist's palette.
Each finish creates a different vibe:
- matte gives a modern look,
- glossy catches the light,
- holographic is mesmerizing,
- glitter adds a real "wow" factor.
The right choice depends on your style, but also on what you're using it for: a water bottle, a notebook, everyday items...
You'll see: once you start, you'll want to try every texture and color!
A Cutting Machine
This is what takes care of the technical part.
And even if it seems intimidating at first, it quickly becomes a tool you can't live without.
You import your design, choose your cut settings... and the machine does the rest.
Which machine you pick is up to you: Cricut, Silhouette Cameo 5, ScanNcut, Loklik (and lots of other brands too)... they all get the job done!
There's always something a little magical about your first cuts. You think to yourself, "Wow, I made that with this machine!"
Precision Tools
Nothing complicated, just the essentials:
-
A weeding tool to remove the small pieces.
-
A squeegee to apply the vinyl without bubbles.
-
A scrap collector to hold your vinyl scraps.
They're small tools, but they make all the difference: they turn an "okay" sticker into a "perfect" one (and they'll spare you those frustrating moments when nothing seems to go right!).
Transfer Tape: The Key to a FLAWLESS Application
If vinyl is the hero, transfer tape is *its best friend (*you may also hear it called transfer paper).
It's what lets you move your design from one surface to another without distorting it.
To put it simply:
You place it over your sticker → it picks up the design → you apply it neatly to your item.
The adhesive vinyl transfer tape from Transfer Paper is designed for exactly that: the perfect grip, not too strong, just enough for a smooth, successful application, and best of all, no sticky residue!
How Do You Choose the Right Vinyl?
Here's a quick guide:
-
Items exposed to water (water bottles, mugs, cars) → permanent vinyl.
-
Temporary decorations (calendars, notebooks, labels) → removable vinyl.
-
Decorative stickers → any finish works, so have fun!
Once you've got all your supplies together, you're already halfway there.
The other half is the fun part: creating... and we're diving into that right now!
3. Step by Step: Making Your Custom Stickers
Making custom stickers isn't just a series of technical steps: it's a little creative journey. Each step has its own charm, its own "aha" moment, and its own sense of satisfaction at the end. Come along with me as you make your very first stickers!
Each sticker is a small creative win.
Proof that with vinyl, a little patience, and the right transfer tape, you can personalize just about anything.
1. Preparing the Design: Where Imagination Begins
It all starts with an idea.
Sometimes it's a sketch you doodled on your phone.
Sometimes it's a phrase that speaks to you.
Sometimes it's a design you bought or downloaded.
In your software (Cricut Design Space, Silhouette Studio...), you'll:
-
Import your design or create it from scratch.
-
Adjust the size: a sticker that's too big or too small loses its impact.
Personal tip: always zoom in to 200% to check how fine the details are. This little habit has saved me from plenty of close calls (when lines are too thin, the vinyl can tear!).
2. Cutting the Vinyl
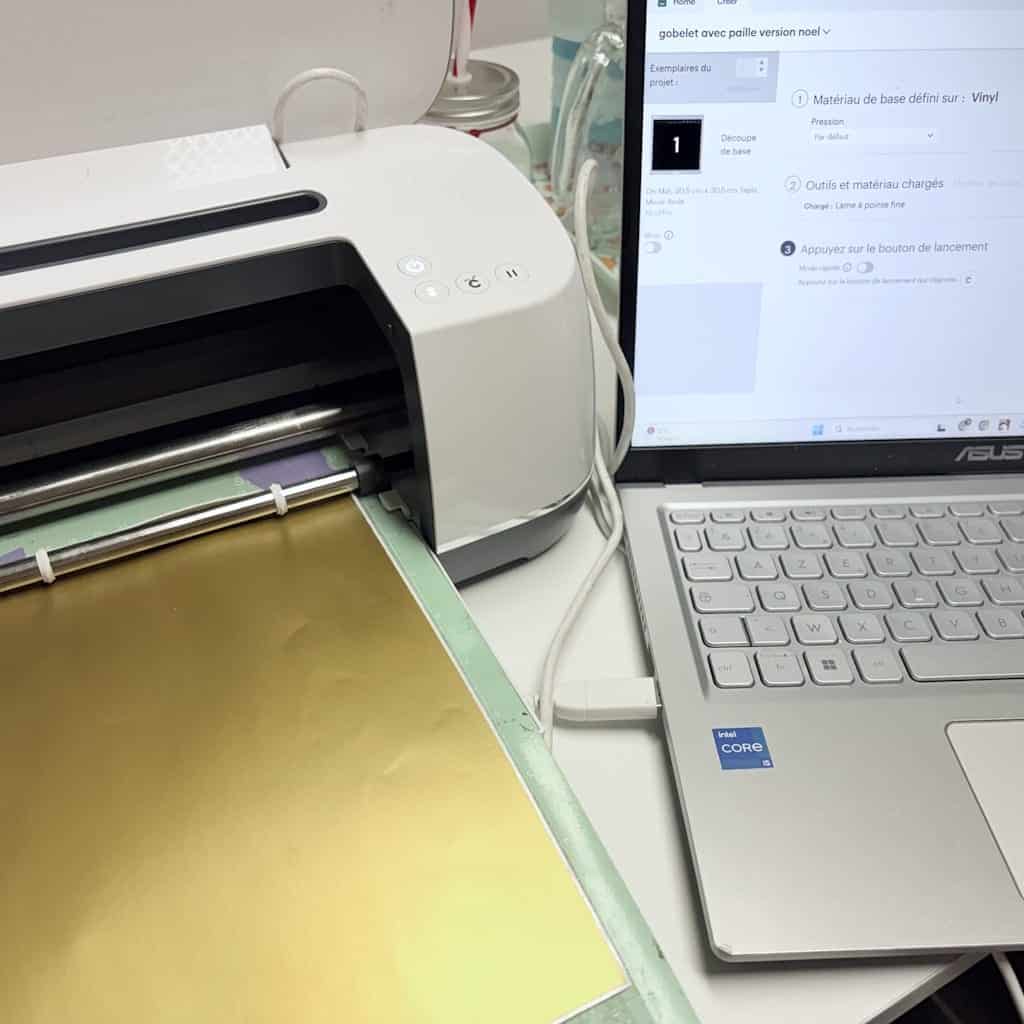
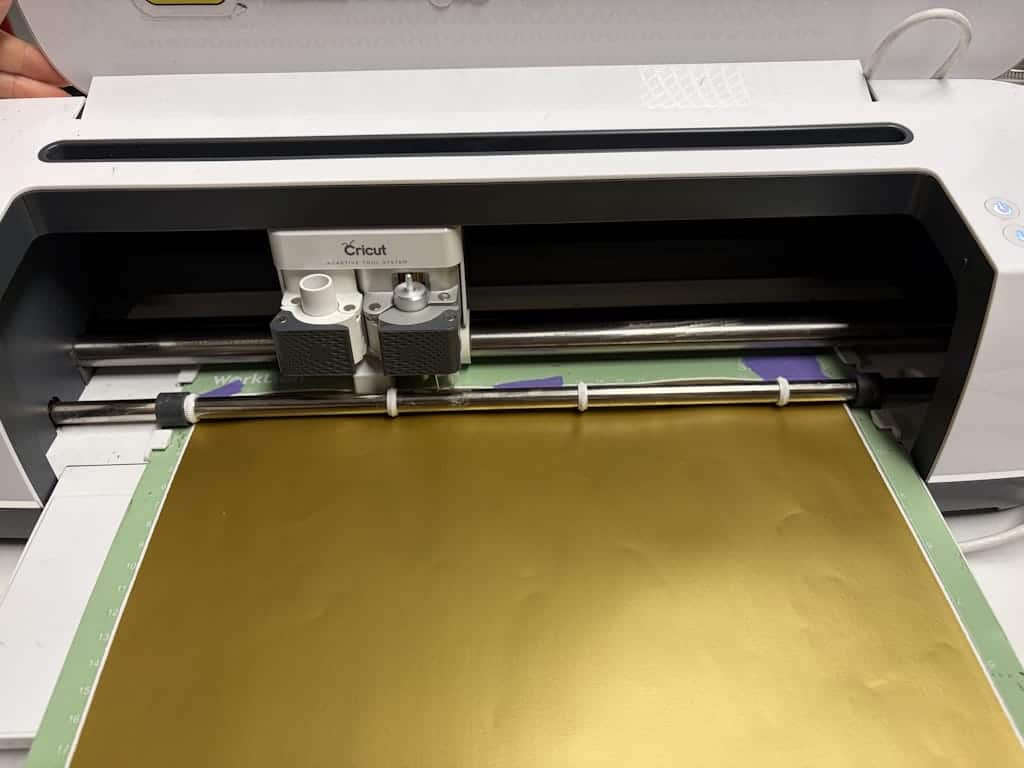
Place your adhesive vinyl on your machine's cutting mat, set up the machine... and that's where the magic begins.
Here are the simple steps:
-
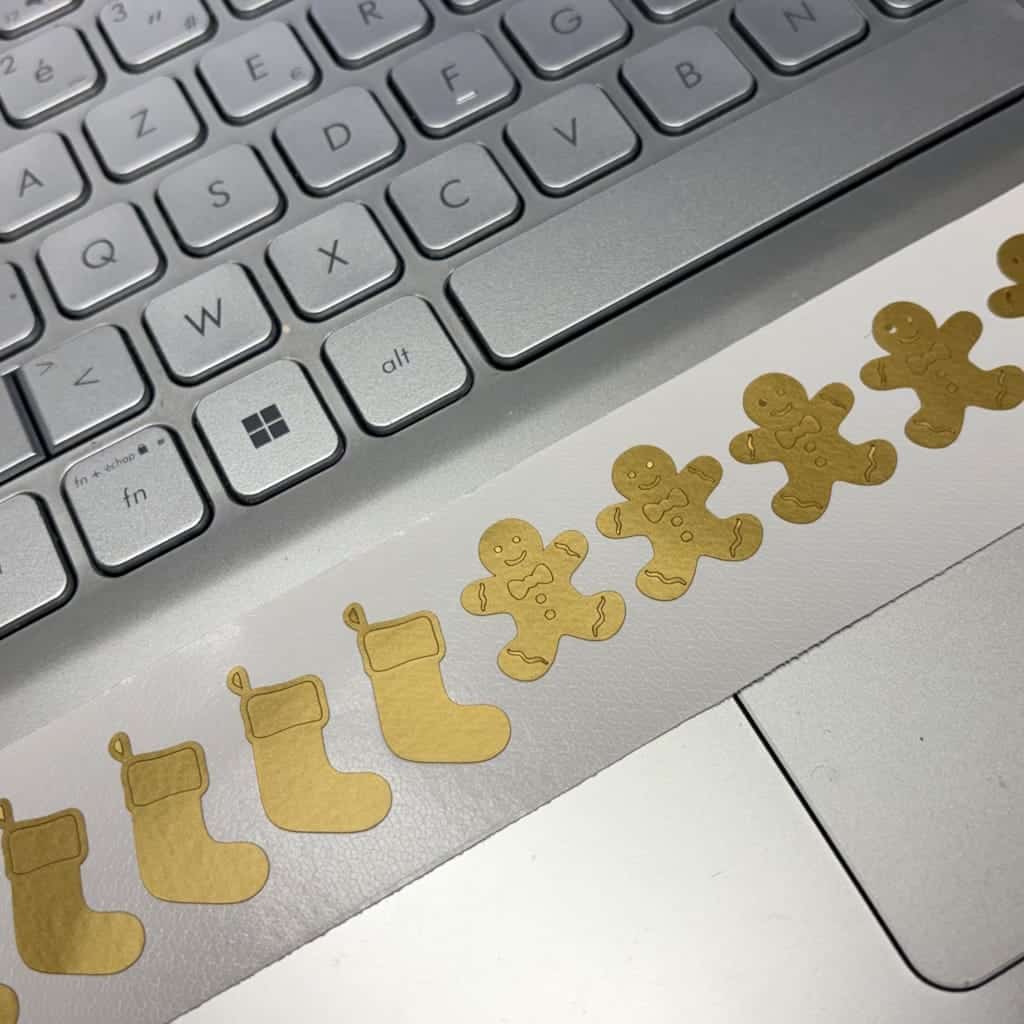
Choose your type of vinyl (matte, glossy, permanent...). Personally, I fell in love with the gold vinyl!
-
Double-check your cut settings.
-
Start the cut and let the machine do its thing.
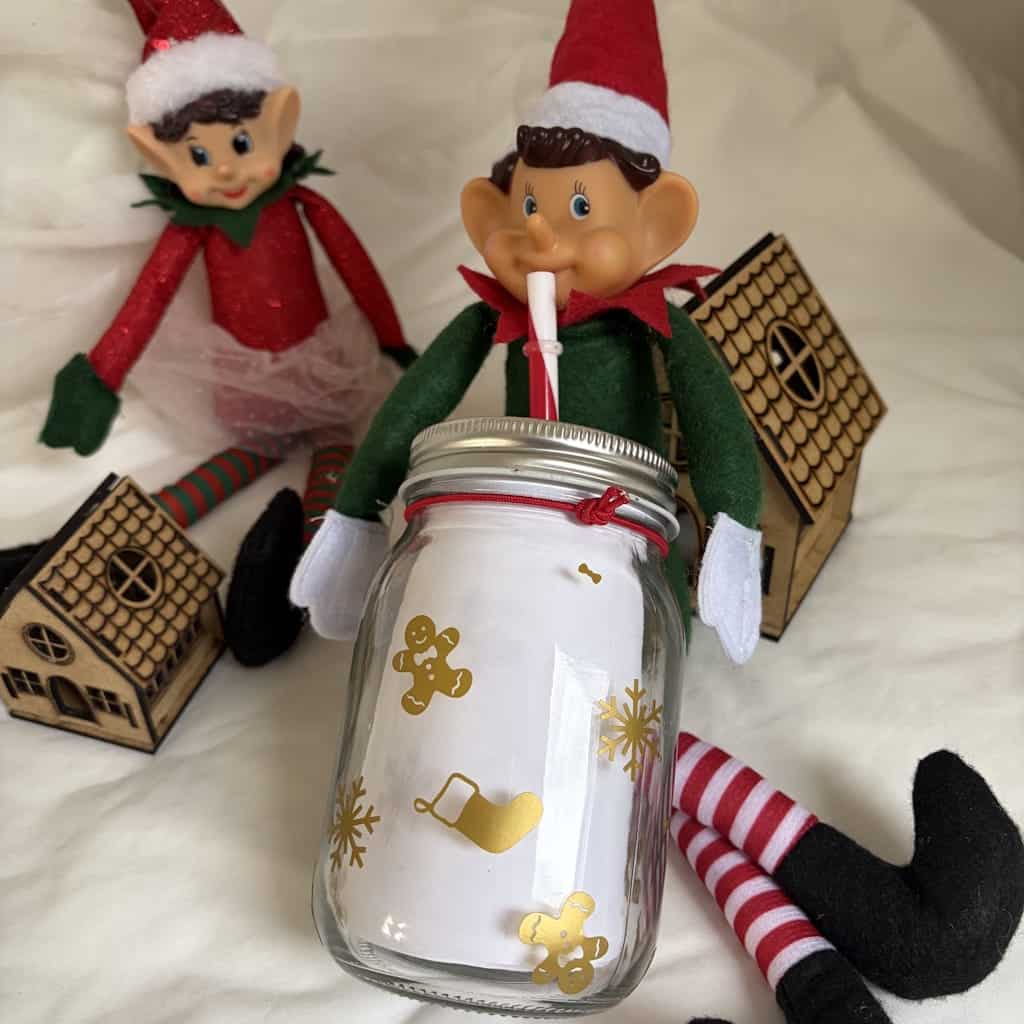
Watching the blade trace the outlines is always so satisfying: you can literally see the sticker come to life. I decided to make Christmas decorations (they always make a lovely Christmas gift!)
Next comes weeding, that careful little step where you remove the vinyl around your design.
It's a calm, focused, almost meditative moment, and above all, it's the key to a clean sticker! So don't rush, or you might pull off a piece that was supposed to stay!
3. Applying the Vinyl with Transfer Tape
Once your design is weeded, it's time for the trickiest step: applying it.
1. Apply the Transfer Tape
Place your sheet of transfer tape over the sticker and gently run the squeegee over it so it sticks.
This lets you "pick up" your design so you can move it.
2. Peel the Vinyl Off Its Backing
When you lift the transfer tape, your design should come up with it.
If a small piece stays stuck, press it down again and try once more.
3. Place the Sticker on Your Item
Water bottle, laptop, box, notebook...
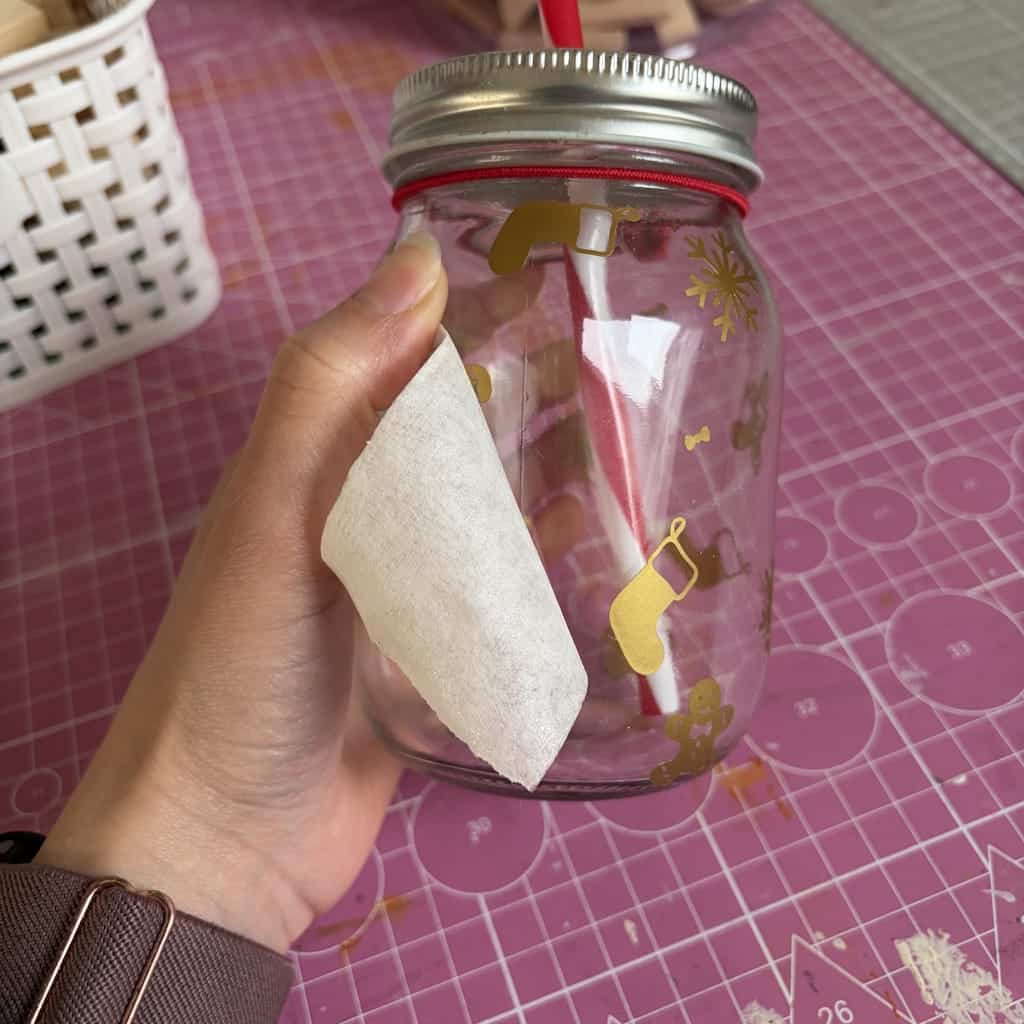
Position your sticker, then smooth it from the center outward to push out any bubbles.
4. Remove the Transfer Tape
Peel it back gently, always at a 45° angle.
And then... my favorite moment: the sticker appears, perfectly placed and ready for its new life!
4. Creative Custom Sticker Ideas to Try
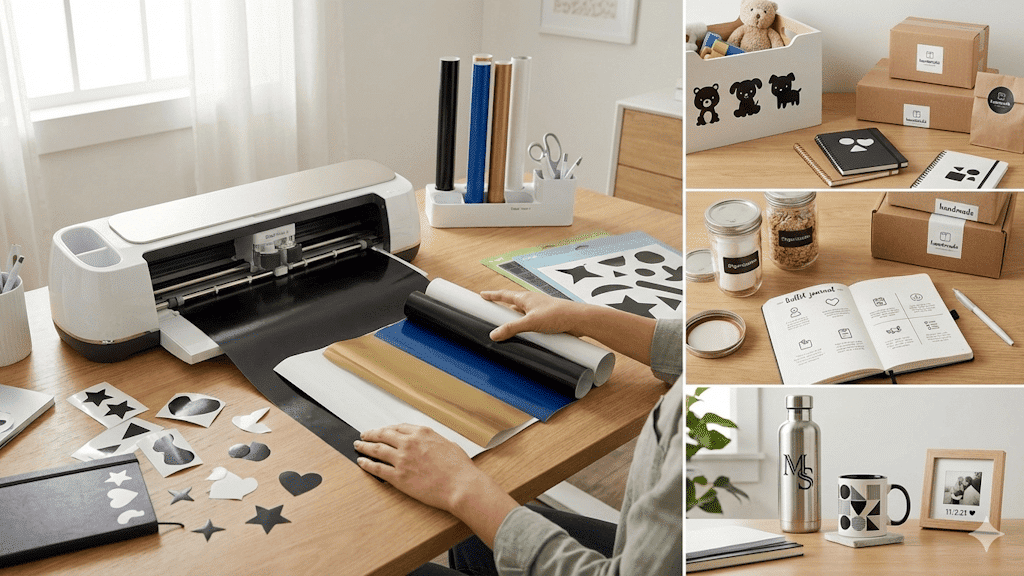
One of the best things about custom stickers is that the possibilities are endless. No two creations are ever alike, and a simple sticker often ends up becoming a little piece of your story that you give away, display, or treasure.
Here are a few ideas that work every time, whether you're a beginner or an experienced crafter.
For Kids and Their Magical Worlds
Kids love stickers, especially when they're made just for them.
-
Their name in a pretty font.
-
Cute animals, rainbows, funny monsters.
-
Stickers to decorate their boxes, toys, and notebooks.
-
A complete set for their bedroom or desk.
Giving a child a custom sticker gives them the power to say, "This is mine."
And they absolutely love that.
For Businesses and Packaging
If people order products, services, or custom creations from you, a sticker can become your signature.
-
Vinyl logos to seal packages.
-
Sweet little messages: "Thank you," "Handmade," "With love."
-
Seasonal stickers for limited editions.
-
Accents for premium packaging.
Packaging with a beautiful sticker... it completely changes how people see your brand.
It's simple and inexpensive, but so effective.
For Home Decor and Bullet Journals
Stickers come in handy every day:
-
Organizing labels (kitchen, bathroom, storage).
-
Mood tracker or calendar stickers for a planner / datebook.
-
Minimalist designs to decorate a notebook or bullet journal.
-
Short, inspiring quotes that lift your mood.
Every page, every drawer, every item becomes a little more pleasing to the eye.
For Personalizing Mugs, Water Bottles, and Accessories
A classic... but a must-have.
-
Names or initials in permanent vinyl.
-
Geometric shapes, stars, hearts.
-
Mini illustrations that hold up to washing.
-
Stickers to tell the kids' water bottles apart.
A custom mug always makes a great impression, even as a last-minute gift.
For Gifting: The Simple Present That Touches the Heart
A sticker may seem like no big deal... until it's personalized.
-
A name.
-
A date.
-
A meaningful phrase.
-
A little symbol that brings back a memory.
It's the kind of gift that costs almost nothing but lasts a long time, stuck on something you see every day.
5. Common Mistakes... and How to Avoid Them
Even with experience, we all make little mistakes when making custom stickers. The good news? They're easy to avoid and even easier to fix once you know what to watch for.
Here are the most common pitfalls... and how to get around them like a pro.
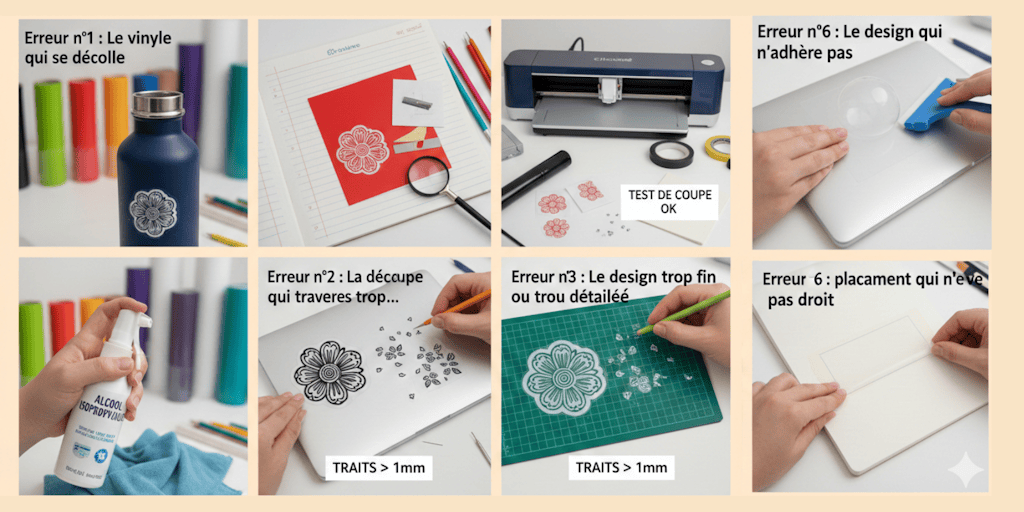
Mistake #1: Vinyl That Peels Off
You apply your sticker and everything looks perfect... then a few days later, a little corner starts to lift.
Why?
Usually because the surface wasn't cleaned properly.
The Solution:
-
Always clean the item with isopropyl alcohol (or at least wipe it with a dry cloth).
-
Avoid porous or textured surfaces.
-
Use permanent vinyl for items you handle every day.
Mistake #2: A Cut That's Too Deep... or Not Deep Enough
Your machine can be a little temperamental (or rather, it does exactly what you tell it to
😅
).
The Solution:
-
Do a test cut every time you use a new vinyl.
-
Write down the settings that work best for each type of vinyl.
-
Make sure your blade is clean (yes, it makes a big difference: a tiny scrap can easily get stuck on it!).
Mistake #3: A Design That's Too Fine or Too Detailed
Teeny-tiny flourishes, ultra-thin fonts... They look gorgeous on screen, but when it's time to weed, it's just HORRIBLE!
The Solution:
-
Simplify your designs a little.
-
Avoid lines thinner than 1 mm.
-
Choose a slightly bolder font.
Mistake #4: Air Bubbles Under the Sticker
There's nothing more frustrating than a bubble popping up right after you apply your sticker.
The Solution:
-
Smooth from the center outward with an application squeegee.
-
Apply the sticker slowly, and don't rush.
-
If you get a small bubble, prick it with a needle and gently smooth it out.
Mistake #5: A Design That Won't Stick to the Transfer Tape
This is THE moment when you catch yourself thinking, "Come on, please, just peel off..."
✔
The Solution:
-
Use good-quality transfer tape (the one from Transfer Paper is designed for this).
-
Run the squeegee over it for a few extra seconds.
-
Remove the transfer tape by pulling very slowly, almost flat against the surface.
Mistake #6: Crooked Placement
We've all been there
You stick it on...
And then you notice it's crooked.
But it's too late.
✔
The Solution:
-
Make a light guide mark (with a pencil or masking tape).
-
Use clear transfer tape so you can see the alignment better.
-
Breathe and take your time. Rushing is a sticker's worst enemy.
The bottom line: every mistake is a lesson, and each sticker gets easier to make than the last.
With a little practice, your custom stickers will be clean, crisp, and totally pro-quality!
Now It's Your Turn to Make Your Own Custom Stickers!
Making custom stickers isn't just about cutting vinyl and applying a design.
It's so much more than that.
It's a little me-time.
A moment where you turn an idea into a small object that goes everywhere with you, that decorates, inspires, and makes you smile.
Whether you're a beginner crafter, a DIY lover, or a business owner who wants to give your packaging some extra care, stickers are an endless playground.
They let you learn, experiment, make mistakes, start over, and above all... create something that's truly you.
With good adhesive vinyl, a cutting machine, and reliable transfer tape, every project becomes a little moment of pride.
So why not take the first step today?
Why not turn that idea that's been running through your head into a real sticker you can hold in your hand?
Over to You:
What If the Next Sticker You Put On Is One You Made Yourself?
Check out the adhesive vinyl that will make all your creations shine, and jump into the DIY adventure!



Comments
No comments yet. Be the first to share your experience.
Leave a comment