C'è un momento che amo particolarmente nella creazione: quello in cui mi ritrovo davanti a un semplice pezzo di vinile adesivo e mi rendo conto che tutto è possibile. Un'idea, un motivo, una piccola frase che mi rappresenta… e all'improvviso quello che era solo un rotolo diventa uno sticker personalizzato capace di decorare un quaderno, una borraccia o persino una confezione regalo.
Creare i propri sticker è un po' come mettere un pezzo di sé in ogni oggetto di tutti i giorni. E che tu sia un* creativo* alle prime armi, un* appassionat* di DIY o un* professionist* che vuole personalizzare i propri prodotti, c'è sempre quella piccola soddisfazione quando la macchina taglia il primo design, quando la carta di trasferimento si solleva e quando lo sticker prende vita sotto le nostre dita.
In questo articolo ti mostro come trasformare le tue idee in sticker personalizzati unici, puliti, duraturi e soprattutto… che ti rappresentano davvero! Vedrai: è semplice, accessibile e terribilmente soddisfacente.
Pront* a creare qualcosa di unico? Forza, si comincia.
✂️
✨
1. Perché gli sticker personalizzati sono diventati irrinunciabili?
Abbiamo tutti un oggetto che teniamo sempre vicino a noi: una borraccia da qualche anno, un computer che portiamo ovunque, un quaderno che apriamo ogni mattina per annotare le nostre idee e i nostri sogni. E spesso questi oggetti diventano un po' più personali non appena ci attacchiamo il primo sticker. È lì che avviene la magia: un dettaglio minuscolo, ma che cambia tutto (credimi, ci si diventa presto dipendenti!).
Gli sticker personalizzati hanno questa forza che pochi accessori possiedono: raccontano una storia. La tua storia.
Una passione, una parola che ti motiva, un colore che ti ispira, un design che ti fa sorridere, la sagoma del tuo gatto… In un'epoca in cui vogliamo creare, affermarci, mostrare chi siamo, lo sticker è diventato un linguaggio a tutti gli effetti.
E poi, siamo onesti:
C'è quel piacere unico, quasi infantile, di creare qualcosa con le proprie mani. Di scegliere il motivo. Di guardare la macchina che taglia. Di rimuovere delicatamente il vinile in eccesso. Di posare la carta di trasferimento come un piccolo rituale creativo. Così all'inizio ne attacchi uno, poi due… e ti ritrovi a non avere più spazio sul quaderno tanti ce ne sono haha!
Il DIY ci conquista perché ci riconnette a ciò che ognun* ha dentro di sé: la voglia di fare meglio del già pronto, la voglia di personalizzare, la voglia di distinguersi senza spendere una fortuna (perché sì, far personalizzare può costarci presto una fortuna!).
Sticker per decorare, organizzare, regalare, premiare, abbellire…
E tutto questo con un semplice vinile adesivo e un po' di pazienza (eh sì, solo questo!).
Gli sticker personalizzati non sono solo di tendenza: sono diventati un mezzo di espressione. Uno spazio di libertà creativa a portata di mano!
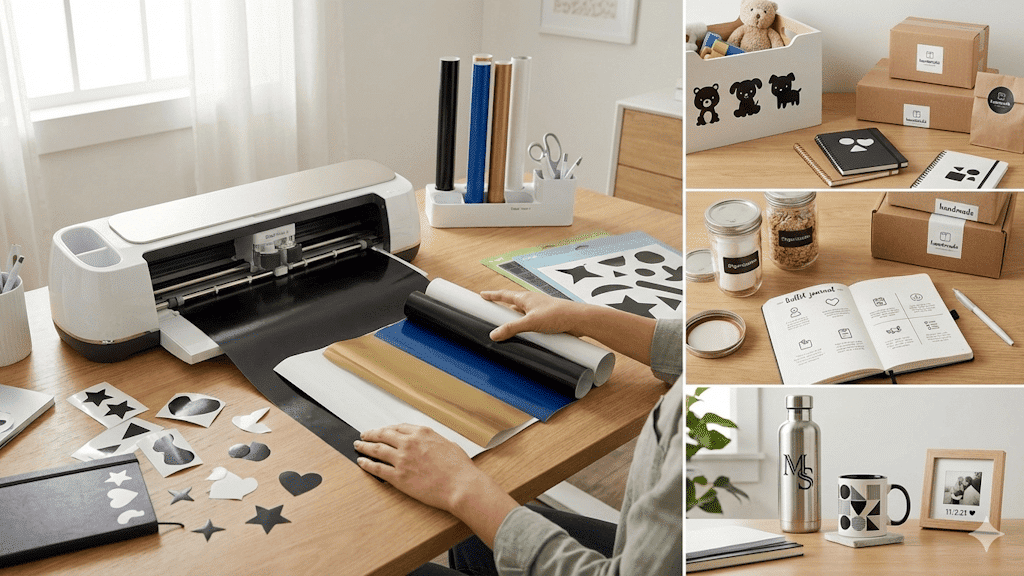
2. Il materiale indispensabile per creare i tuoi sticker in vinile adesivo
Prima di lanciarsi, basta raccogliere qualche attrezzo. Niente di stravagante: giusto quello che serve per trasformare un'idea in sticker personalizzati belli, puliti e duraturi.
E credimi, una volta provato… non si torna più indietro.
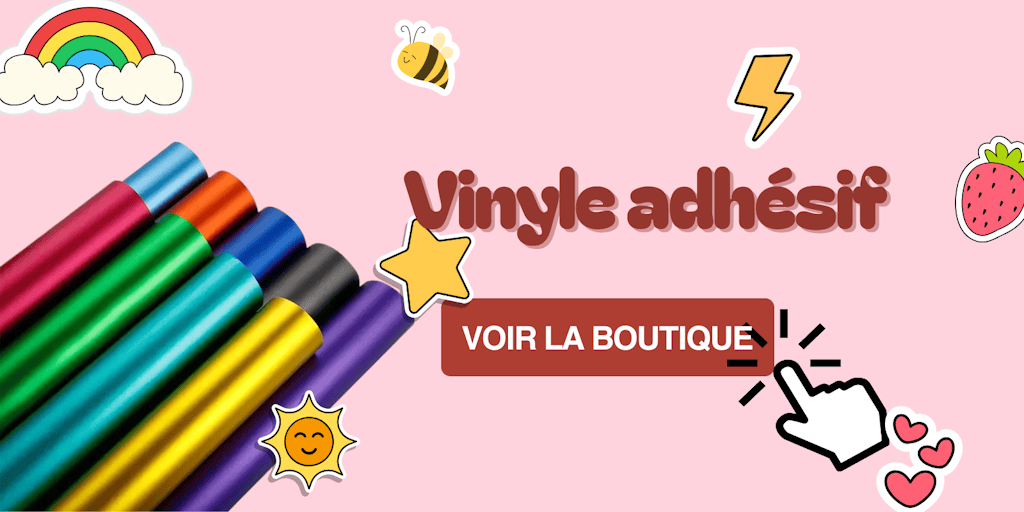
Vinile adesivo: la base di tutto
Opaco, lucido, glitterato, olografico, cromato… Il vinile è un po' la tavolozza di un* artista.
Ogni finitura racconta un'atmosfera diversa:
, l'opaco dà un risultato moderno,
, il lucido attira la luce,
, l'olografico ipnotizza,
, il glitterato aggiunge un vero tocco "wow".
La scelta dipende dal tuo stile, ma anche dall'uso: borraccia, quaderno, oggetti di tutti i giorni…
Vedrai: una volta iniziato, vorrai provare tutte le texture e i colori!
Una macchina da taglio
È lei che si occupa della parte tecnica.
E anche se all'inizio può impressionare, diventa presto un'alleata indispensabile.
Importi il tuo design, regoli il taglio… e la macchina fa il resto.
E qui sta a te scegliere la tua macchina: Cricut, Silhouette Cameo 5, ScanNCut, Loklik (e ancora un sacco di altre marche)… fanno il loro lavoro!
I primi tagli hanno sempre qualcosa di un po' magico, ci si dice "wow, l'ho fatto io con questa macchina!".
Strumenti di precisione
Niente di complicato, solo gli essenziali:
-
Un estrattore (echenilleur) per rimuovere le piccole parti.
-
Una spatola per posare il vinile ed evitare le bolle.
-
Un raccoglitore di scarti, per metterci i residui di vinile.
Sono piccoli strumenti, ma cambiano tutto: trasformano uno sticker "decente" in uno sticker "perfetto" (e ti risparmiano un momento di frustrazione perché niente funziona!).
La carta di trasferimento (tape): la chiave per un'applicazione IMPECCABILE
Se il vinile è l'eroe, la carta di trasferimento è il *suo migliore amico (*puoi anche chiamarlo tape di trasferimento).
È lei che ti permette di spostare il tuo design da un supporto all'altro senza deformare tutto.
Per farla semplice:
La posi sul tuo sticker → afferra il motivo → lo attacchi in modo pulito sul tuo oggetto.
Il tape per vinile adesivo di Paper Transfer è pensato proprio per questo: aderenza perfetta, non troppo forte, giusto quello che serve per un'applicazione delicata e riuscita, ma soprattutto senza residui di colla!
Come scegliere il vinile giusto?
Una piccola guida rapida:
-
Oggetti esposti all'acqua (borracce, tazze, automobili) → vinile permanente.
-
Decorazioni effimere (calendari, quaderni, etichette) → vinile riposizionabile.
-
Sticker decorativi → tutte le finiture possibili, divertiti!
Quando si mette insieme questo materiale, si è già fatta metà del percorso.
L'altra metà è il piacere della creazione… e ci lanciamo subito!
3. Passo dopo passo: creare i tuoi sticker personalizzati
Creare i propri sticker personalizzati non è solo una serie di gesti tecnici: è un piccolo viaggio creativo. Ogni passaggio ha il suo fascino, il suo momento "aha" e la sua soddisfazione finale. Ti porto con me per la tua primissima realizzazione di sticker!
Ogni sticker è una piccola vittoria creativa.
La prova che con il vinile, un po' di pazienza e una carta di trasferimento ben scelta si può personalizzare tutto.
1. Preparare il design, dove l'immaginazione comincia
Tutto comincia con un'idea.
A volte è un disegno che hai abbozzato sul telefono.
A volte è una frase che ti parla.
A volte è un modello acquistato o scaricato.
Nel tuo software (Cricut Design Space, Silhouette Studio…), andrai a:
-
Importare il tuo design o crearlo da zero.
-
Regolare la dimensione: uno sticker troppo grande o troppo piccolo perde il suo impatto.
Consiglio personale: fai sempre uno zoom al 200% per verificare la finezza del design. Questo piccolo riflesso mi ha già evitato parecchi spaventi (quando i tratti sono troppo sottili, il vinile rischia di strapparsi!).
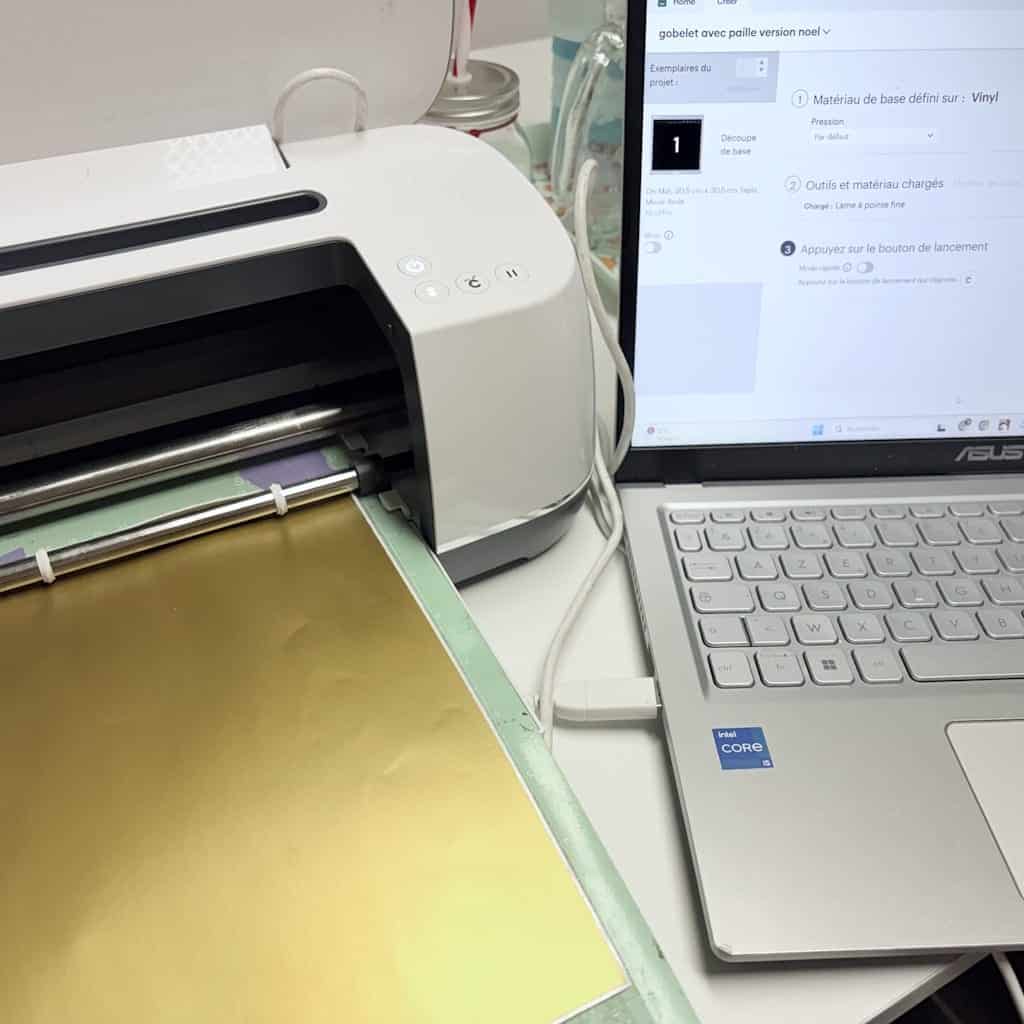
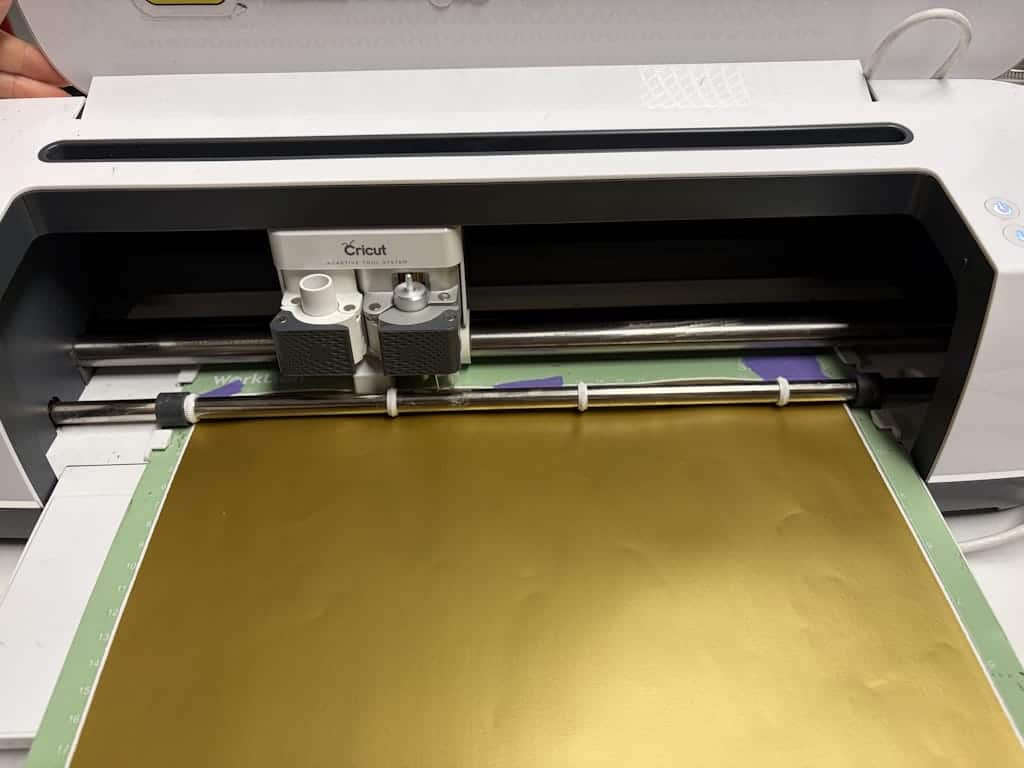
2. Tagliare il vinile
Posizioni il tuo vinile adesivo sul tappetino da taglio della tua macchina, regoli la macchina… ed è lì che comincia la magia.
Passaggi semplici:
-
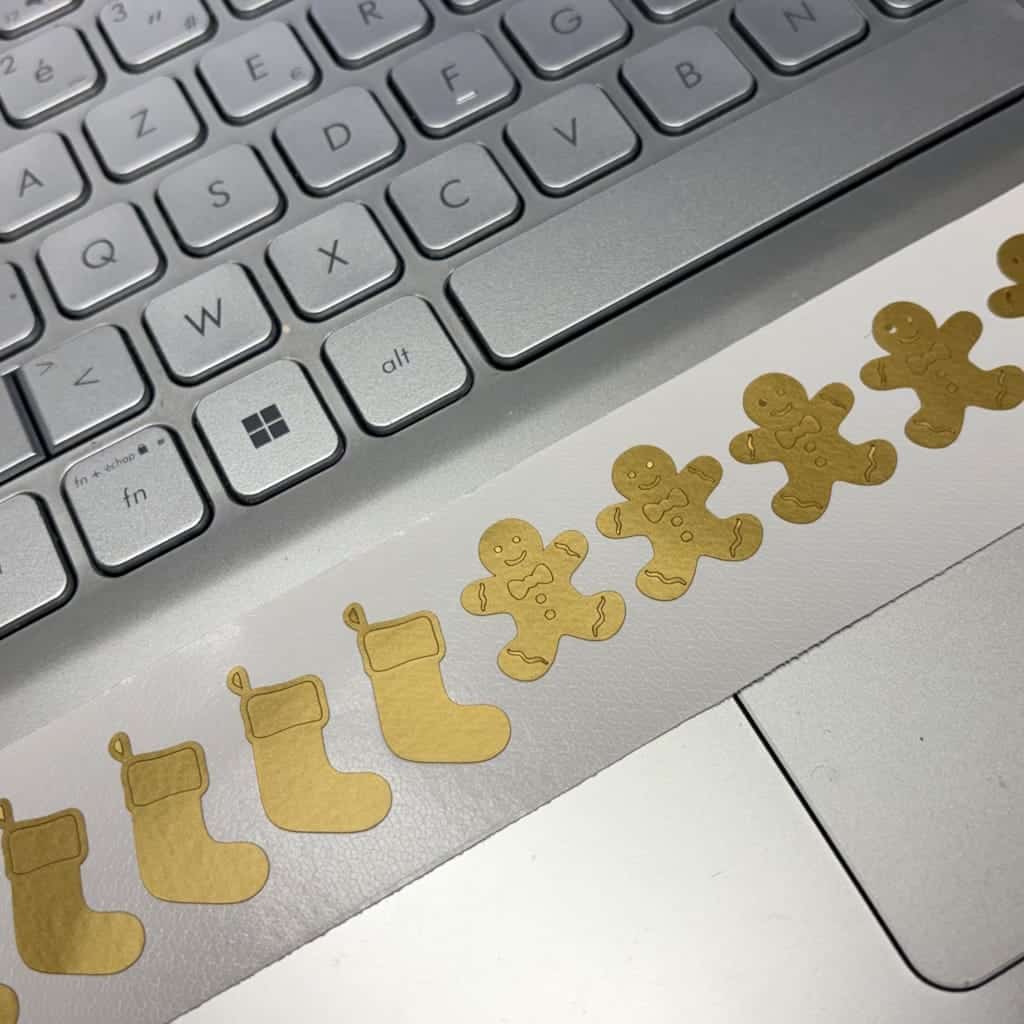
Scegliere il tipo di vinile (opaco, lucido, permanente…). Per quanto mi riguarda, è il vinile color oro che mi ha fatto innamorare!
-
Verificare i parametri di taglio.
-
Avviare il taglio e lasciare lavorare la macchina.
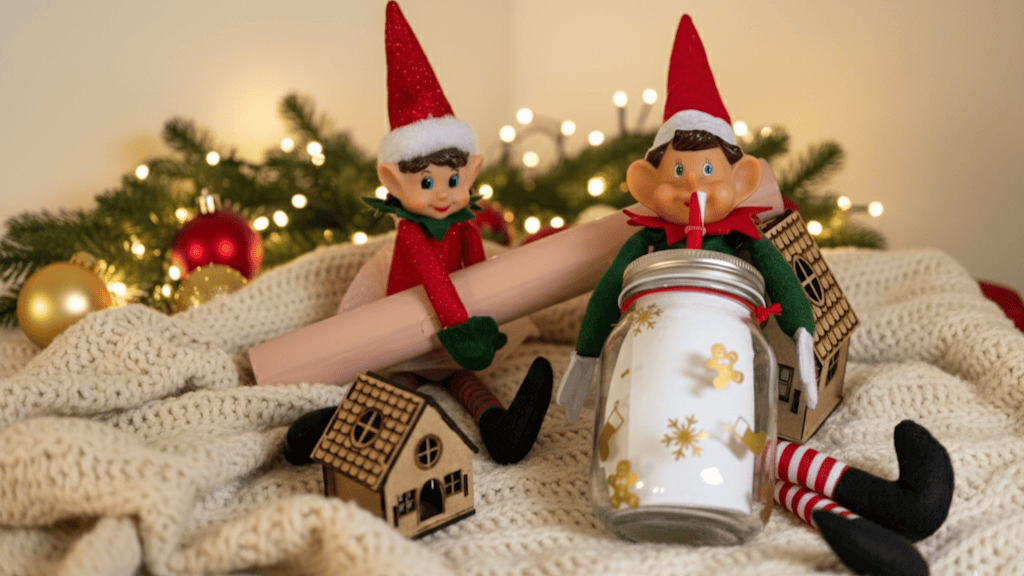
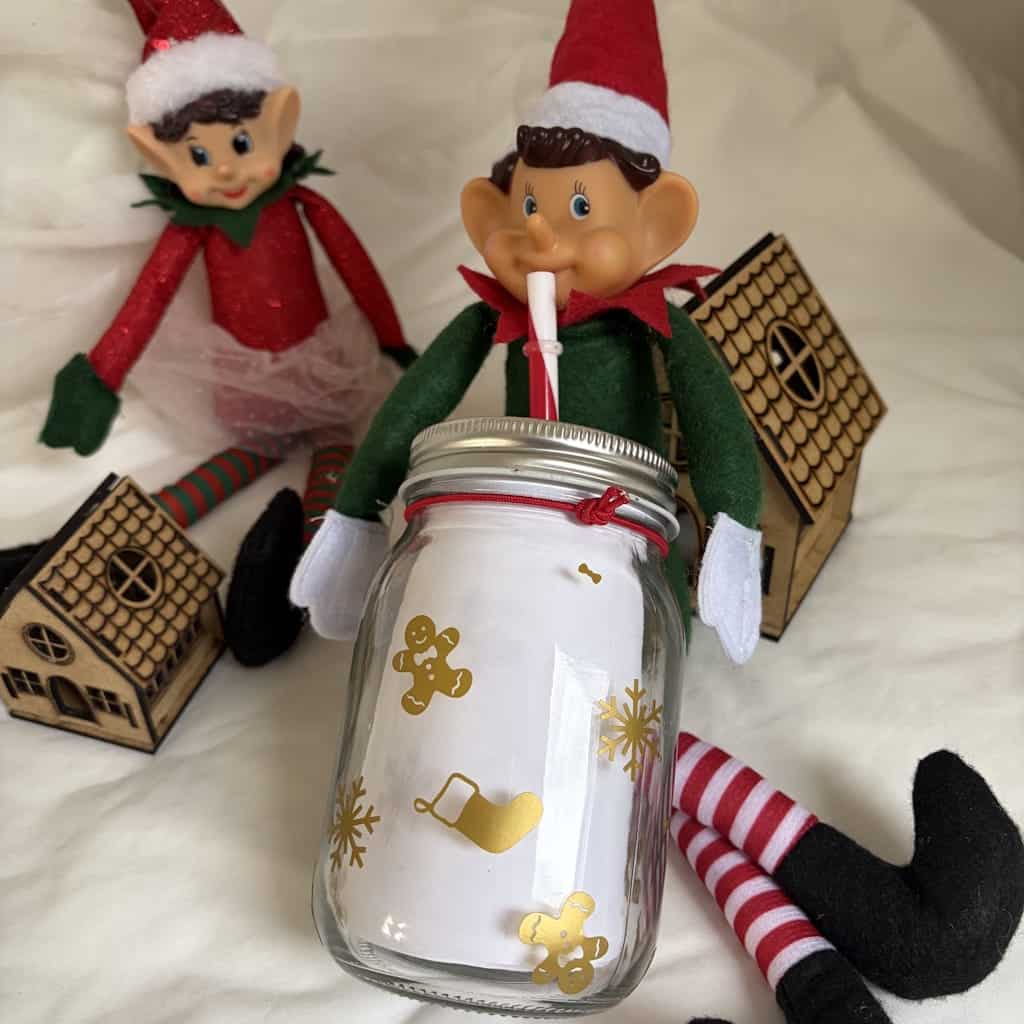
Il momento in cui la lama traccia i contorni è sempre soddisfacente: si vede letteralmente lo sticker prendere vita. Ho scelto di fare delle decorazioni di Natale (è sempre un bel regalo di Natale da fare!)
Poi arriva lo scarto del vinile (échenillage), quel gesto minuzioso in cui rimuovi il vinile attorno al motivo.
È un momento zen, concentrato, quasi meditativo e soprattutto la chiave di uno sticker pulito! Quindi non andare troppo veloce, col rischio di togliere una parte che doveva restare!
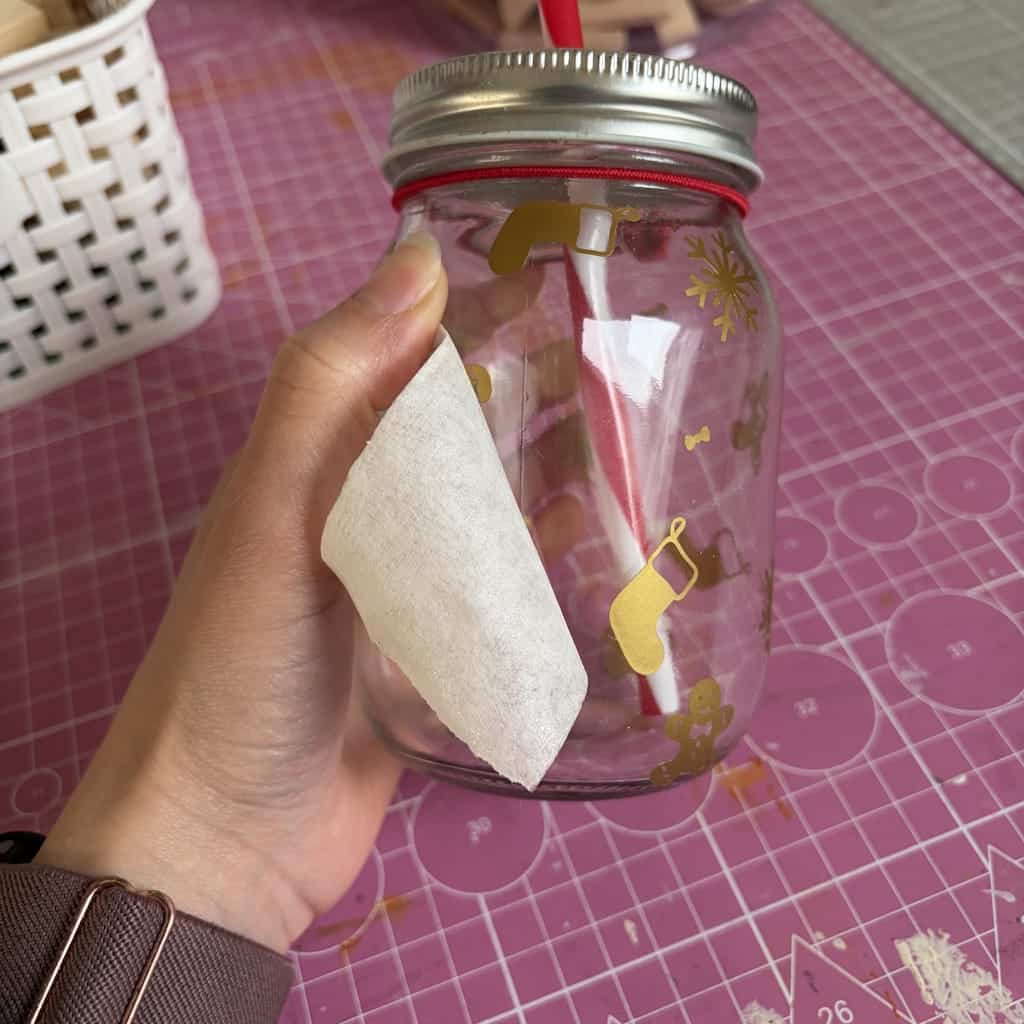
3. Posare il vinile con il tape di trasferimento
Una volta che il design è stato scartato, si passa al passaggio più delicato: la posa.
1. Applicare la carta di trasferimento
Posi il tuo foglio di carta di trasferimento sullo sticker, passi delicatamente la spatola perché aderisca.
Vai ad "afferrare" il tuo motivo per trasportarlo.
2. Rimuovere il vinile dal suo foglio
Quando sollevi la carta di trasferimento, il tuo design deve venire via con essa.
Se una piccola parte resta attaccata, si preme di nuovo e si ricomincia.
3. Posizionare lo sticker sull'oggetto
Borraccia, computer, scatola, quaderno…
Posizioni il tuo sticker, lisci dal centro verso l'esterno per scacciare le bolle.
4. Rimuovere la carta di trasferimento
Si solleva delicatamente, sempre con un angolo di 45°.
Ed ecco… il momento che preferisco: lo sticker appare, posato perfettamente, pronto a vivere la sua nuova vita!
4. Idee creative di sticker personalizzati da realizzare
Uno dei più grandi piaceri con gli sticker personalizzati è che si può immaginare di tutto. Una creazione non assomiglia mai a un'altra, e spesso un semplice sticker finisce per diventare un piccolo pezzo di storia che si regala, che si espone o che si conserva con cura.
Ecco qualche idea che funziona sempre, che tu sia alle prime armi o un* creativ* espert*.
Per i bambini e i loro universi magici
I bambini adorano gli sticker. E ancora di più quando sono creati apposta per loro.
-
Il loro nome in un bel font.
-
Animali carini, arcobaleni, mostri buffi.
-
Sticker per decorare le loro scatole, i loro giocattoli, i loro quaderni.
-
Un set completo per la loro cameretta o la loro scrivania.
Regalare uno sticker personalizzato a un bambino significa dargli il potere di dire "è mio".
E di questo vanno matti.
Per le aziende e il packaging
Se qualcuno ti ordina un prodotto, un servizio o una creazione, lo sticker può diventare la tua firma.
-
Loghi in vinile per chiudere i pacchi.
-
Piccole parole dolci: "Grazie", "Fatto a mano", "Con amore".
-
Sticker stagionali per edizioni limitate.
-
Decorazioni per packaging di fascia alta.
Un packaging con un bel sticker… cambia tutta la percezione del marchio.
È semplice, poco costoso, ma talmente efficace.
Per la decorazione di casa e il bullet journal
Lo sticker diventa un alleato del quotidiano:
-
Etichette organizzate (cucina, bagno, ripostigli).
-
Sticker mood tracker o calendario per planner / agenda.
-
Motivi minimalisti per decorare un quaderno o un bullet journal.
-
Piccole frasi ispiranti che migliorano l'umore.
Ogni pagina, ogni cassetto, ogni oggetto diventa visivamente più piacevole.
Per personalizzare tazze, borracce e accessori
Classico… ma irrinunciabile.
-
Nome o iniziali in vinile permanente.
-
Forme geometriche, stelle, cuori.
-
Mini illustrazioni che resistono al lavaggio.
-
Sticker per distinguere le borracce dei bambini.
Una tazza personalizzata fa sempre il suo piccolo effetto, anche come regalo improvvisato.
Per regalare: il regalo semplice che tocca il cuore
Uno sticker può sembrare insignificante… finché non viene personalizzato.
-
Un nome.
-
Una data.
-
Una frase che ha un significato.
-
Un piccolo simbolo che ricorda un ricordo.
È il genere di regalo che non ti costa quasi nulla ma che resta a lungo, attaccato su un oggetto che si vede tutti i giorni.
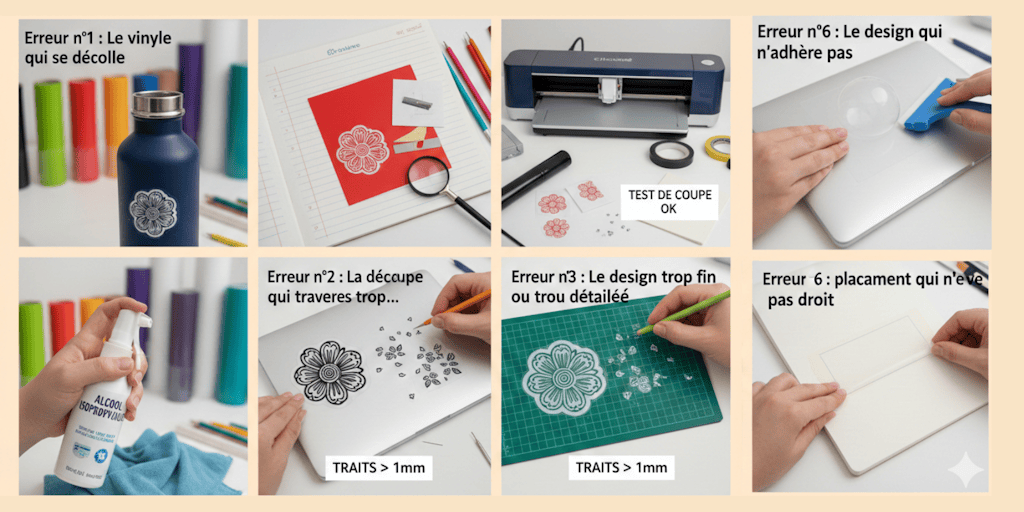
5. Gli errori più comuni… e come evitarli
Anche con esperienza, facciamo tutti dei piccoli errori creando sticker personalizzati. La buona notizia? Sono facili da evitare e ancora più facili da correggere quando si sa cosa controllare.
Ecco le trappole più frequenti… e come aggirarle come un* pro.
Errore n°1: Il vinile che si stacca
Posi il tuo sticker, tutto sembra perfetto… e qualche giorno dopo una piccola punta si solleva.
Perché?
Spesso perché la superficie non è stata pulita bene.
La soluzione:
-
Pulire sempre l'oggetto con alcol isopropilico (o almeno un panno asciutto).
-
Evitare le superfici porose o testurizzate.
-
Usare il vinile permanente per gli oggetti maneggiati ogni giorno.
Errore n°2: Il taglio che attraversa troppo… o non abbastanza
La macchina a volte è capricciosa (o meglio: fa esattamente quello che le diciamo
😅
).
La soluzione:
-
Fare un test di taglio prima di ogni nuovo vinile.
-
Annotare le impostazioni che funzionano meglio per ogni tipo di vinile.
-
Verificare che la lama sia pulita (sì, cambia tutto, un piccolo pezzo può restarci facilmente attaccato!).
Errore n°3: Il design troppo sottile o troppo dettagliato
I piccoli arabeschi minuscoli, i font ultra sottili… Sullo schermo è magnifico, ma allo scarto del vinile è semplicemente ORRIBILE!
La soluzione:
-
Semplificare leggermente i motivi.
-
Evitare i tratti di meno di 1 mm.
-
Usare un font leggermente ispessito.
Errore n°4: Le bolle d'aria sotto lo sticker
Niente di più frustrante di una bolla che appare subito dopo la posa.
La soluzione:
-
Lisciare dal centro verso l'esterno con una spatola da posa.
-
Posare lo sticker lentamente, senza fretta.
-
In caso di piccola bolla: bucare con un ago e lisciare delicatamente.
Errore n°5: Il design che non aderisce alla carta di trasferimento
È IL momento in cui ci si dice: "Forza, per favore, staccati…"
✔
La soluzione:
-
Usare una carta di trasferimento di buona qualità (quella di Paper Transfer è progettata per questo).
-
Passare la spatola qualche secondo in più.
-
Rimuovere il tape di trasferimento tirando molto lentamente, quasi in piano.
Errore n°6: Il posizionamento che non è dritto
Lo viviamo tutti
Attacchi…
Ed ecco che vedi che è storto.
Ma troppo tardi.
✔
La soluzione:
-
Tracciare un riferimento leggero (matita, masking tape).
-
Usare una carta di trasferimento trasparente per visualizzare meglio l'allineamento.
-
Respirare, prendersi il proprio tempo. La fretta è nemica dello sticker.
Quello che bisogna ricordare: ogni errore è una lezione, e ogni sticker diventa più semplice da creare del precedente.
Con un po' di pratica, i tuoi sticker personalizzati saranno puliti, netti e degni di un risultato da pro!
Ora tocca a te creare i tuoi sticker personalizzati!
Creare i propri sticker personalizzati non significa solo tagliare il vinile e posare un motivo.
È molto più di questo.
È un momento per sé.
Un istante in cui si trasforma un'idea in un piccolo oggetto che viaggia con noi, che decora, che ispira, che fa sorridere.
Che tu sia un* creativ* alle prime armi, un* appassionat* di DIY o un* imprenditor* che vuole curare i propri packaging, gli sticker sono un terreno di gioco infinito.
Permettono di imparare, di provare, di sbagliare, di ricominciare e soprattutto… di creare qualcosa che ti rappresenta.
Con un buon vinile adesivo, una macchina da taglio e una carta di trasferimento (tape) affidabile, ogni creazione diventa un piccolo momento di orgoglio.
Allora oggi, perché non fare il primo passo?
Perché non trasformare quell'idea che ti gira in testa in un vero sticker che potrai tenere in mano?
Tocca a te:
E se il prossimo sticker che attaccherai fosse quello che hai creato tu stess?*
Scopri il vinile adesivo che abbellirà tutte le tue creazioni e lanciati nell'avventura del DIY!