
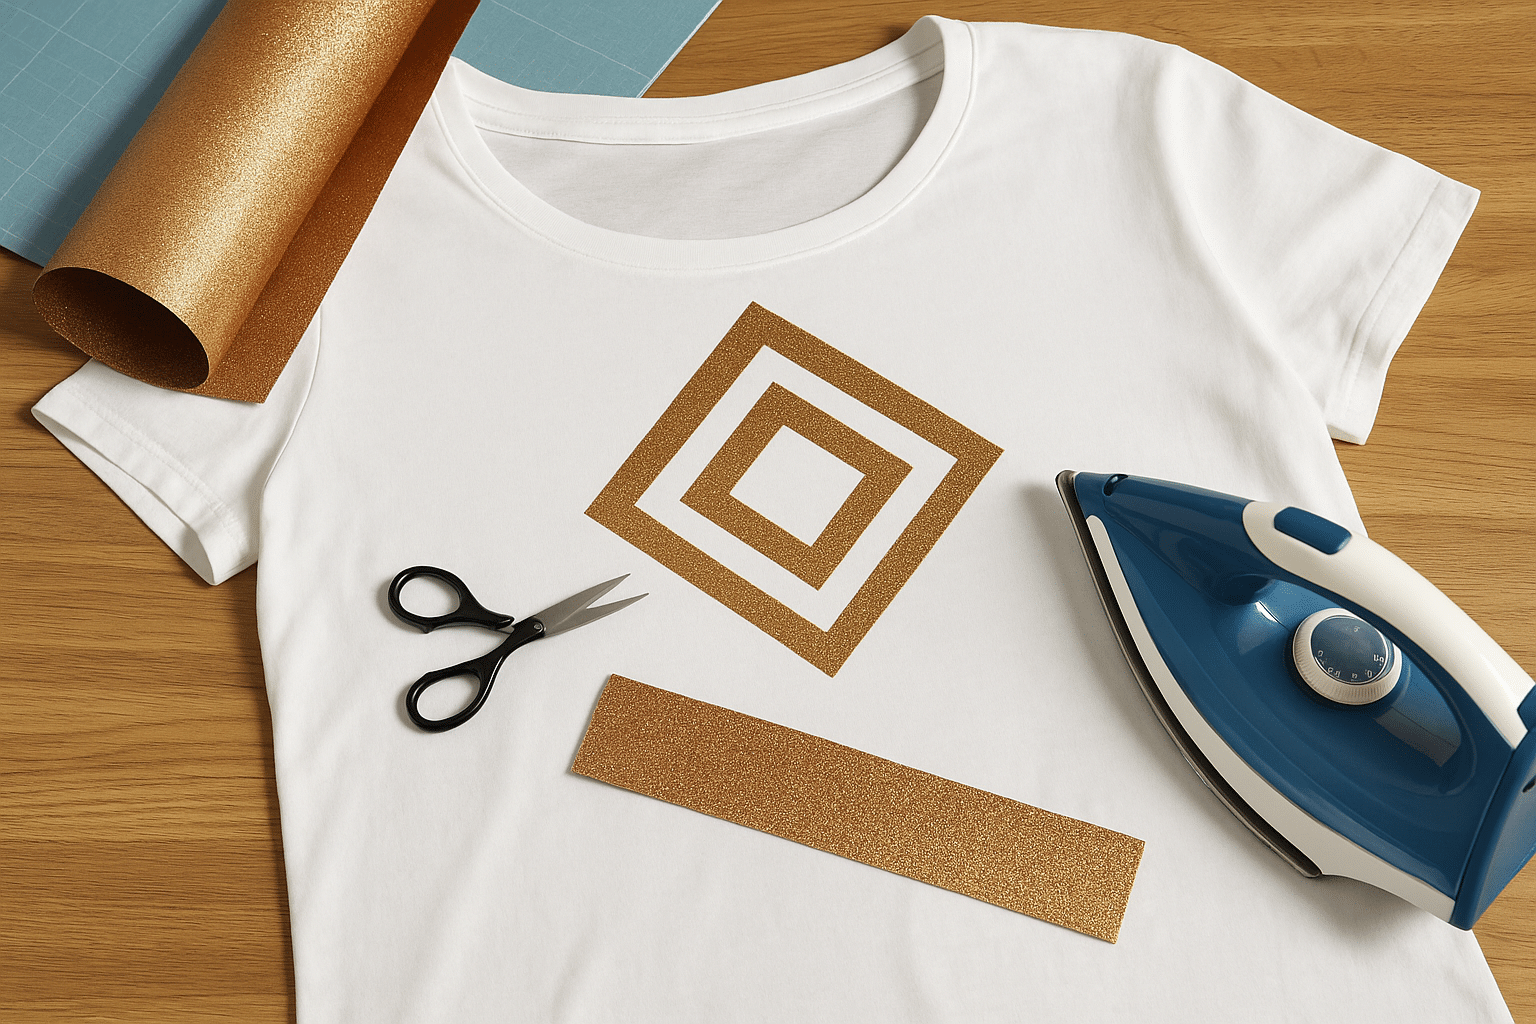
Learn how to customize T-shirts and other fabric items any way you like with heat transfer vinyl!
If you've never worked with heat transfer vinyl before, follow this step-by-step guide to learn exactly how to use heat transfer vinyl to put the designs you want on your clothes! 😀
What Is Heat Transfer Vinyl?
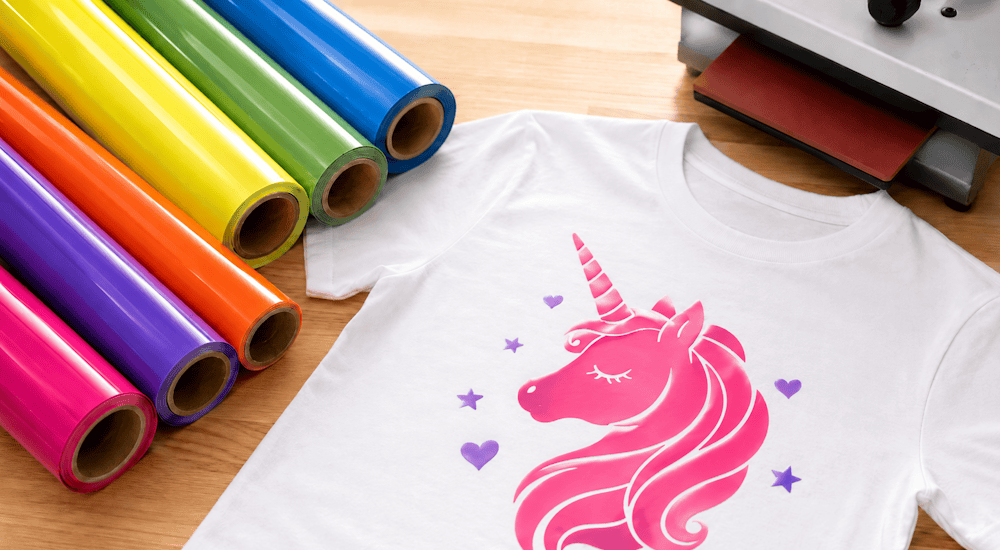
If you're new to the world of custom apparel, you're in the right place! Here's a complete beginner's guide to using heat transfer vinyl.
But first, let's define what heat transfer vinyl is, so you know exactly what we're talking about:
Heat transfer vinyl is a plastic sheet that can be cut with a cutting machine to create all kinds of designs. Once your design is created, this plastic sheet needs to be pressed onto fabric at high heat for the transfer to work.
This decorating method is called heat transfer, which means heat transfer vinyl is the supply that lets you apply designs to fabric with heat.
What Tools Do You Need to Customize Fabric with HTV?
To create your first custom fabric projects, it's important to know the different tools and accessories you'll need to use heat transfer vinyl.
Here's everything you'll need:
✔️ Heat Transfer Vinyl
As you've probably guessed, you need heat transfer vinyl to customize fabric with heat.
✔️ A Cutting Machine
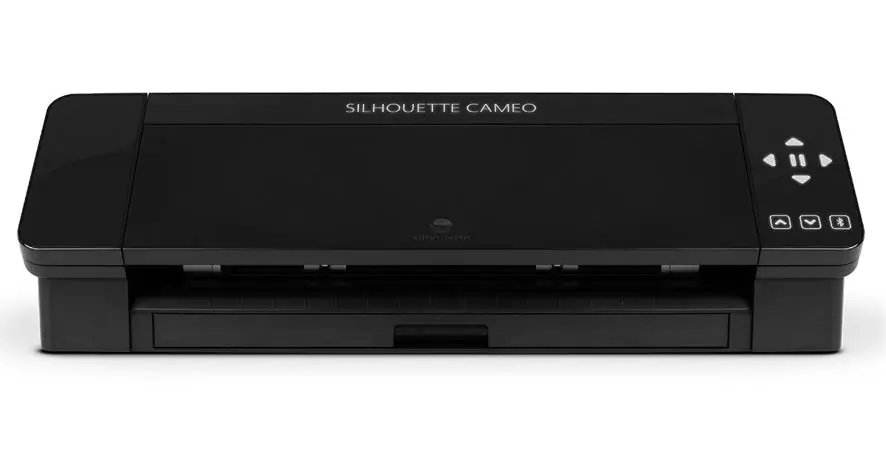
A cutting machine cuts your heat transfer vinyl into your logos and designs so you can put them on T-shirts. 👕
The cutting machines we recommend are the Cricut Maker 3 and the Silhouette Cameo 5, because they're the most reliable on the market.
They're easy to get the hang of, very intuitive, and the software you install on your computer is free. We recommend watching a few videos about these two machines to choose the one that's right for you.
✔️ A Heat Press or an Iron
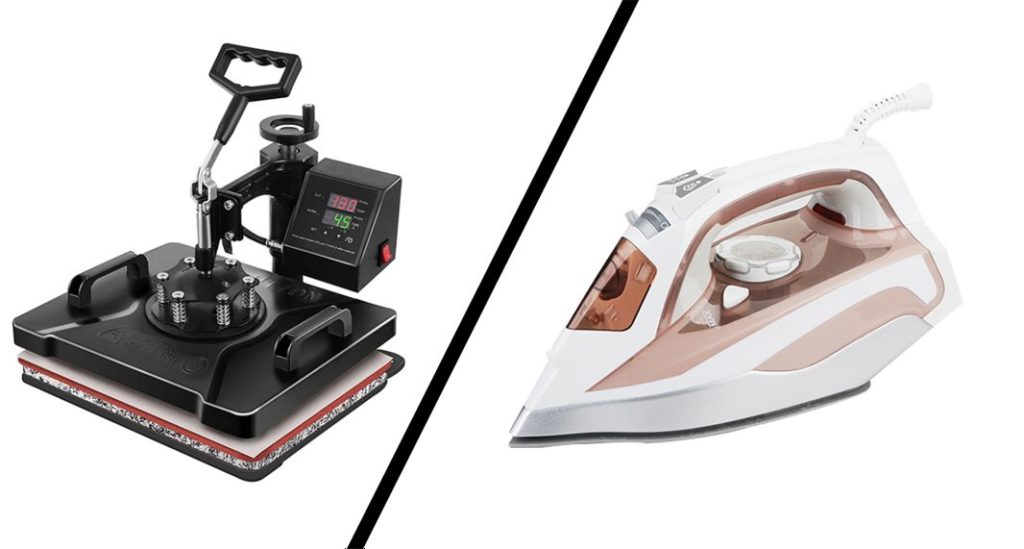
Once your heat transfer vinyl is cut, take the garment of your choice and lay it flat. Place your heat transfer vinyl design on the garment.
Then all you have to do is grab an iron (or a heat press) to press your design onto the garment, and your first custom HTV project is done!
We recommend getting started with HTV using an iron, since it's less expensive than a quality heat press. Once you have a lot of HTV projects to make, you can consider using a heat press.
✔️ A Garment
It may seem obvious, but we'd rather mention it anyway: you'll of course need the fabric item of your choice to press your design onto.
Whether it's a bag, a T-shirt, a pair of jeans, socks, or even a pillow cover, you can use heat transfer vinyl to personalize the fabric items you use every day. 😉
4 Steps to Learn How to Use Heat Transfer Vinyl
1️⃣ - Prepare Your Design
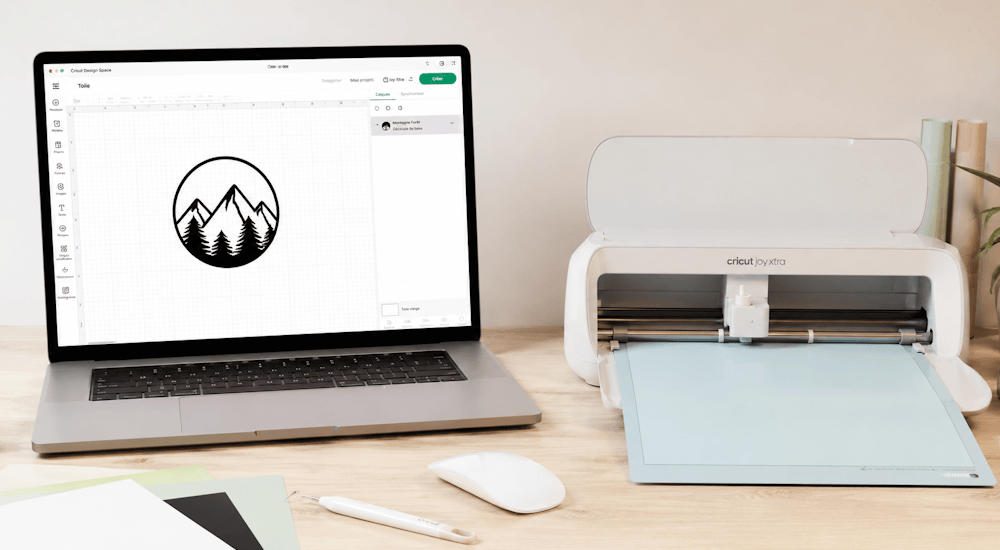
Once you have all your supplies and your cutting machine is set up, you need to create a design on your computer for the machine to cut. The easiest way to do this is to use the software that comes with your machine and start by creating a simple logo.
Once you've fully mastered the machine, you can start making more complex designs by importing them into the software.
These programs are very user-friendly, and there are countless YouTube tutorials to help you get started. Plus, if graphic design isn't really your thing, check out our collection of designs for Silhouette Cameo and Cricut to create projects with ease!
Finally, before sending your design to be cut, it's very important to make sure you've mirrored your design horizontally. Since you're cutting the back of the heat transfer vinyl, your design needs to be reversed so it comes out the right way. That way, when you press it, it'll face the right direction.
2️⃣ - Cut the Heat Transfer Vinyl
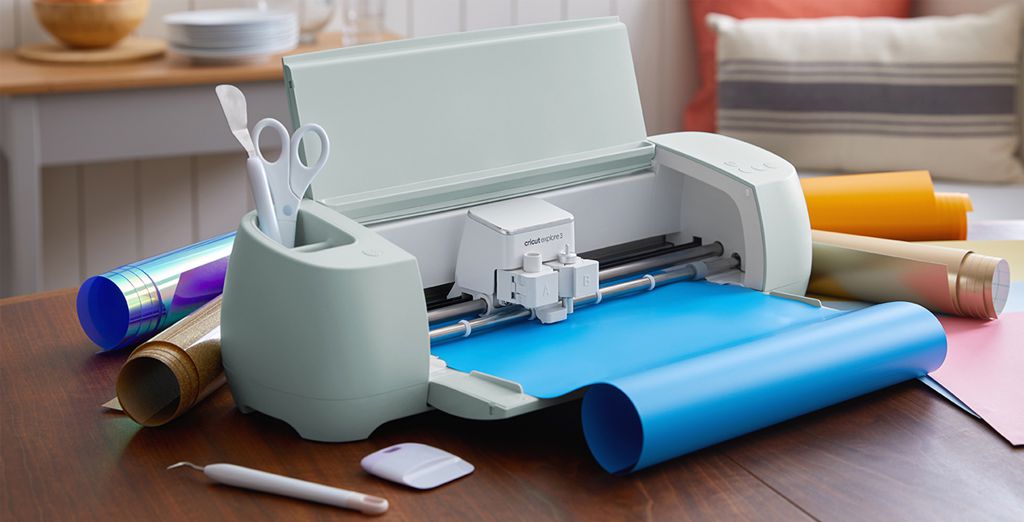
Once your cut file is ready, it's time to load the vinyl into your cutting machine. If this is your first time working with heat transfer vinyl, there are two things to pay attention to.
First, you'll notice that your heat transfer vinyl has a shiny side and a matte side. The shiny side is the carrier sheet. This plastic carrier holds the vinyl in place during application to make sure your cut design stays properly aligned.
The other side, the matte one, is the adhesive side of the material, and that's the side that needs to be cut. With that in mind, place the vinyl shiny side down and matte side up (since the matte side is the one that gets cut).
Every cutting machine comes with a cutting mat that lets you stick the vinyl onto it right before cutting. So place the vinyl on the mat as recommended and load the mat into the machine.
Adjust your cutting machine's settings for the type of heat transfer vinyl you want to cut, and then start the cut.
3️⃣ - Weed the Vinyl
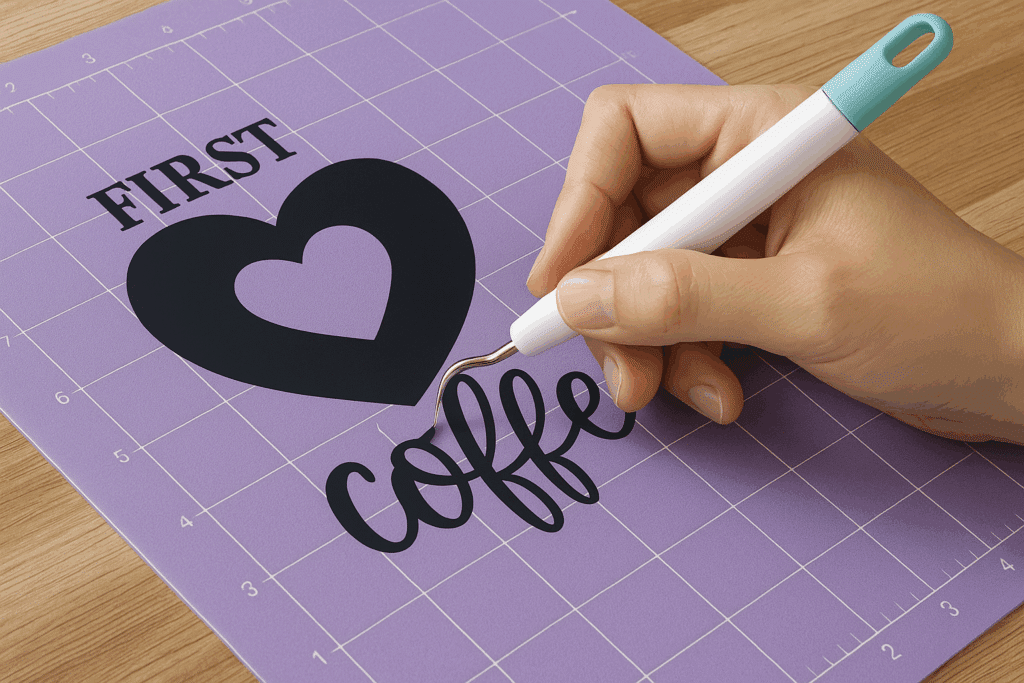
Once your design is cut, it's time to remove the excess heat transfer vinyl that isn't part of your design. This is commonly known as weeding.
You can use tweezers or a weeding tool, especially to remove small excess pieces.
Take your time with this step so you don't damage the logo.
4️⃣ - Apply It to the Fabric

Now you have a design that's ready to be pressed onto your garment.
Place the weeded design on the fabric of your choice (in this example, we'll use a T-shirt).
Be precise and gentle when positioning the logo, because once the vinyl is pressed onto your fabric, you won't be able to remove it.
Every heat transfer vinyl has its own application temperature, so in this example, we'll use the application settings for the standard HTV in our line.
Once the logo is properly positioned on the T-shirt, use your iron or heat press and set the temperature to 150°C. Apply heat to the entire design for 15 to 20 seconds with firm pressure so the design bonds perfectly to the fabric.
Then do a hot peel by removing the plastic carrier sheet covering the vinyl, and you're all set!
Now you know how to use heat transfer vinyl.
You can also watch our video tutorial below to better understand the process. ⬇️
Video Tutorial: How to Use Heat Transfer Vinyl
There Are Many Types of Heat Transfer Vinyl
One of the biggest advantages of heat transfer vinyl over other printing methods is that there are so many different types of heat transfer vinyl.
That means you can take on countless projects, each one crazier than the last! 🤩
Here are a few types of heat transfer vinyl you might be interested in:
- Standard HTV
- Glitter HTV
- Holographic HTV
- Velvet HTV
- 3D HTV
- Fluorescent HTV
- Glow-in-the-dark HTV
- Rainbow HTV
- Leopard HTV
- Diamond HTV
And many more!
Be sure to carefully follow all the heat and pressing instructions for each heat transfer vinyl; you'll find them in the description of each type of vinyl. 👍
We hope this article has given you a clearer picture of how to use heat transfer vinyl.
Ready to get started? 🚀 With our Magic Starter Pack, you'll have everything you need to start customizing apparel today: machines, accessories, premium HTV, and even step-by-step training to guide you.
Whether you want to launch your own brand or start your own custom apparel business, everything's ready to go. All that's missing is your ideas! ✨
If you already have all the accessories you need to customize your clothes with HTV, you can also check out the heat transfer vinyl available in our shop!



Comments
No comments yet. Be the first to share your experience.
Leave a comment