Impara a personalizzare le t-shirt e altri tessuti come desideri grazie al vinile termoadesivo!
Se non hai mai lavorato con il vinile, ti invitiamo a seguire questa guida passo dopo passo che ti insegnerà esattamente come usare il vinile termoadesivo per stampare sui tuoi vestiti i motivi che desideri! 😀
Che cos'è il vinile termoadesivo?
Se sei nuovo nel mondo della stampa su tessuto, allora sei nel posto giusto! Ecco una guida completa per principianti sull'uso del vinile termoadesivo.
Ma prima di tutto, ecco una definizione di cosa sia il vinile termoadesivo, così saprai esattamente di cosa stiamo parlando:
Il vinile termoadesivo è un foglio di plastica che può essere ritagliato con una macchina da taglio per realizzare ogni tipo di motivo. Una volta creato il motivo, questo foglio di plastica dovrà essere pressato su un tessuto ad alta temperatura affinché il trasferimento riesca.
Questo metodo di stampa si chiama stampa su tessuto, in altre parole, il vinile termoadesivo è il materiale di consumo che permette di realizzare una stampa su tessuto.
Quali sono gli strumenti per realizzare una stampa su tessuto?
Per creare le tue prime personalizzazioni tessili, è importante conoscere i diversi strumenti e accessori che ti servono per usare il vinile termoadesivo.
Ecco quindi tutti gli accessori di cui avrai bisogno:
✔️ Del vinile termoadesivo
L'hai capito bene, è necessario avere del vinile termoadesivo per fare stampa su tessuto.
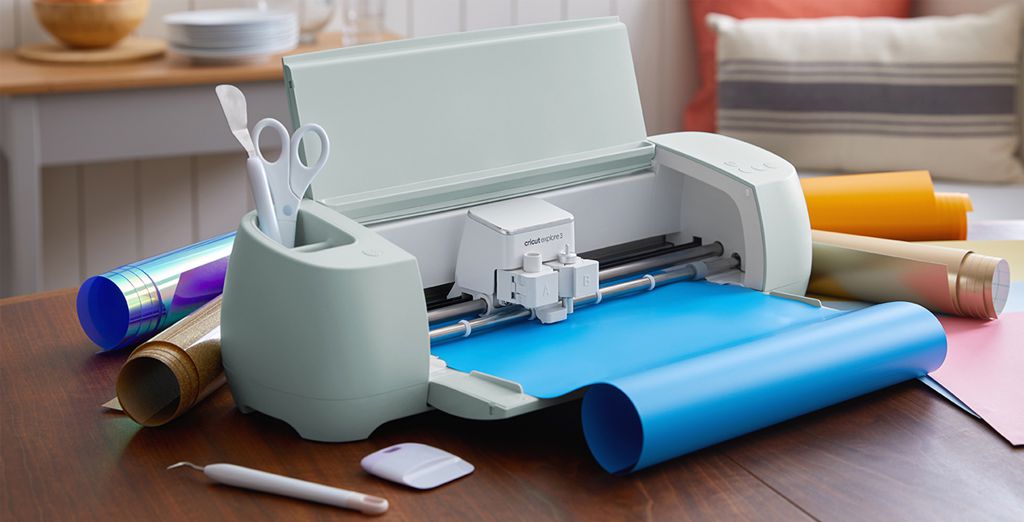
✔️ Una macchina da taglio
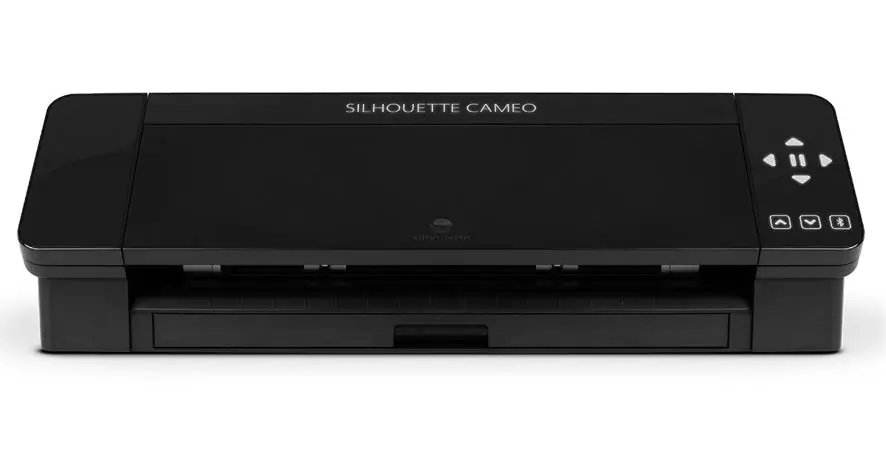
La macchina da taglio ti permetterà di ritagliare il vinile termoadesivo riproducendo i tuoi loghi e motivi per stamparli sulle t-shirt. 👕
Le macchine da taglio che ti consigliamo sono la Cricut Maker 3 e la Silhouette Cameo 5, perché sono le più affidabili sul mercato.
Sono facili da usare, molto intuitive e il software da installare sul computer è gratuito. Ti consigliamo quindi di guardare alcuni video informativi su queste due macchine per scegliere quella che fa più al caso tuo.
✔️ Una pressa a caldo o un ferro da stiro
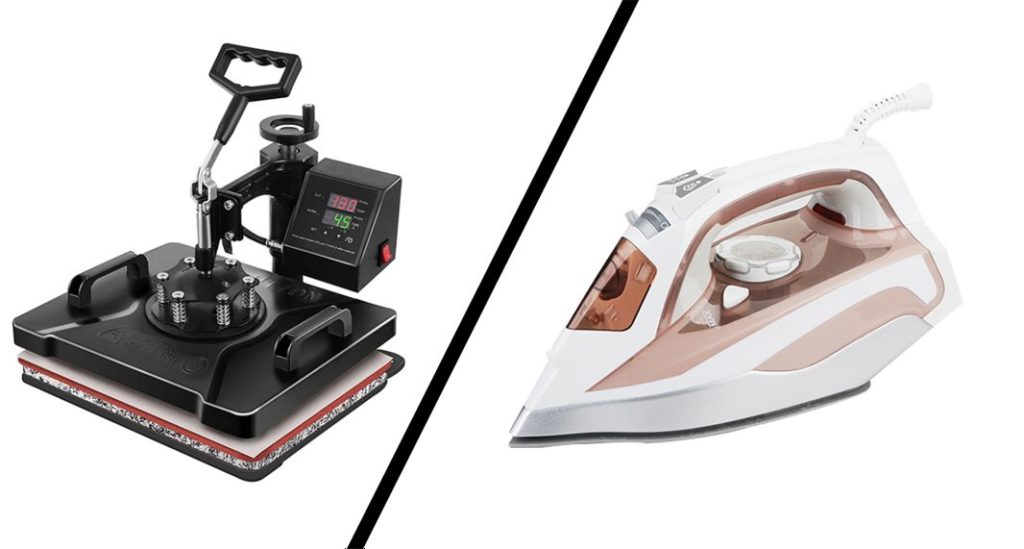
Una volta ritagliato il vinile termoadesivo, prendi il capo che preferisci e stendilo in piano. Posiziona il motivo in vinile termoadesivo sul capo.
Ti basterà poi munirti di un ferro da stiro (o di una pressa a caldo) per pressare il tuo motivo sul capo e la tua prima personalizzazione su tessuto sarà realizzata!
Ti consigliamo di iniziare la stampa su tessuto usando un ferro da stiro, perché sarà meno costoso di una pressa a caldo di qualità. Quando avrai un numero consistente di progetti da realizzare, potrai pensare di usare una pressa a caldo.
✔️ Un capo d'abbigliamento
Sembra ovvio, ma preferiamo comunque menzionarlo: dovrai naturalmente munirti del tessuto che preferisci su cui stampare.
Che sia una borsa, una t-shirt, un jeans, un paio di calze o ancora una fodera per cuscino, puoi usare il vinile termoadesivo per personalizzare i tuoi tessuti di tutti i giorni. 😉
4 Passaggi per imparare a usare il Vinile Termoadesivo
1️⃣ - La preparazione del tuo motivo
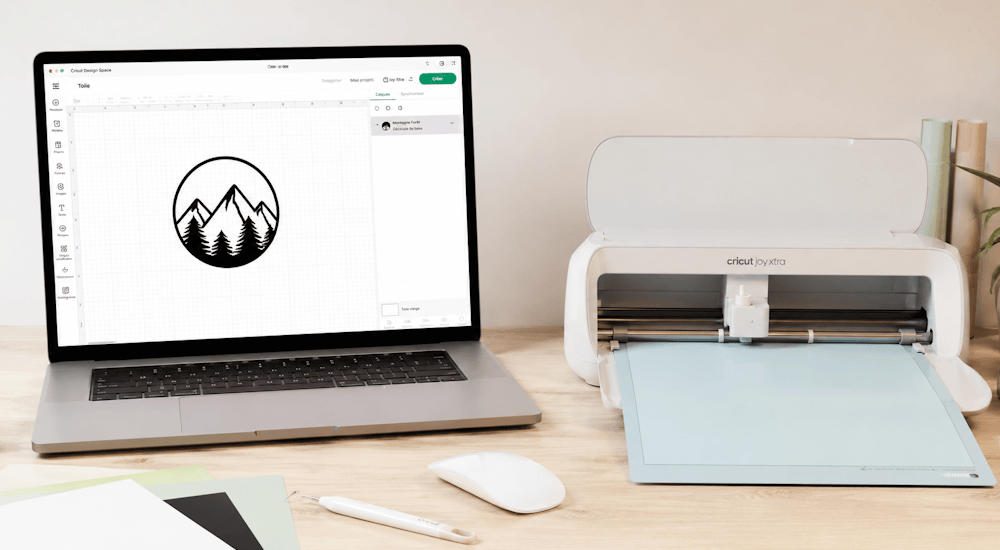
Una volta che hai tutto il materiale e che la tua macchina da taglio è installata, devi creare sul computer un motivo che verrà poi ritagliato dalla macchina. Il modo più semplice per farlo è usare il software fornito con la tua macchina per iniziare a creare un logo semplice.
Una volta che avrai una perfetta padronanza della macchina, potrai iniziare a realizzare motivi più complessi inserendoli nel software.
Questi programmi sono molto intuitivi ed esistono milioni di tutorial su YouTube che ti aiuteranno a iniziare. Inoltre, se non sei molto bravo con la grafica, puoi dare un'occhiata alla nostra collezione di motivi per Silhouette Cameo e Cricut per creare progetti in tutta semplicità!
Infine, prima di inviare il tuo file al taglio, è molto importante assicurarti di aver applicato bene l'effetto specchio per invertire orizzontalmente il tuo motivo. Dato che ritagli il retro del vinile termoadesivo, il tuo disegno deve essere invertito per ottenere un risultato dritto. Quando lo presserai, sarà così orientato nel verso giusto.
2️⃣ - Il taglio del vinile termoadesivo
Una volta che il tuo file di taglio è pronto, è il momento di caricare il vinile nella macchina da taglio. Se è la prima volta che maneggi del vinile termoadesivo, devi fare attenzione a due cose.
Innanzitutto, noterai che il tuo vinile termoadesivo ha un lato lucido e un lato opaco. Il lato lucido del vinile corrisponde al supporto. Il supporto in plastica tiene il vinile in posizione durante l'applicazione per garantire che il motivo ritagliato sia correttamente allineato.
Il lato opposto, di tipo opaco, corrisponde al lato adesivo del materiale ed è quello che deve essere ritagliato. Tenendo questo a mente, devi quindi posizionare il lato lucido verso il basso e il lato opaco verso l'alto (perché è il lato opaco che deve essere ritagliato).
Ogni macchina da taglio dispone di un tappetino da taglio che permette di far aderire il vinile sopra di esso poco prima del taglio. Posiziona quindi il vinile sul tappetino come consigliato e inserisci il tappetino nella macchina.
Regola correttamente le impostazioni della tua macchina da taglio in base al tipo di vinile termoadesivo che vuoi ritagliare e avvia poi il taglio.
3️⃣ - La scartatura del vinile
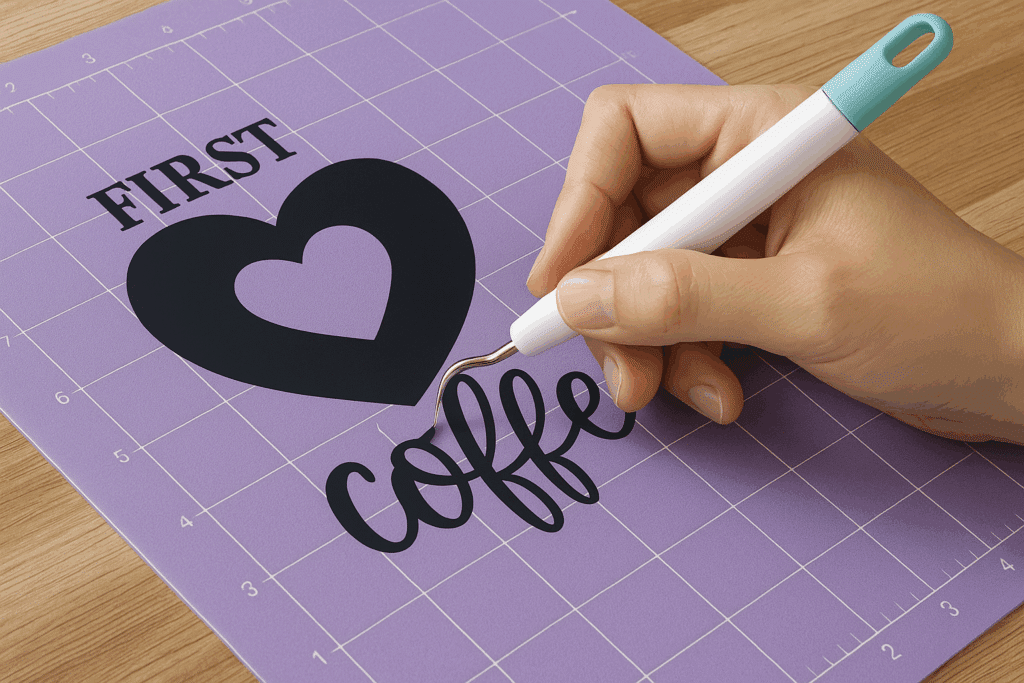
Una volta ritagliato il tuo motivo, è il momento di rimuovere il vinile termoadesivo in eccesso che non fa parte del motivo ritagliato. È ciò che comunemente si chiama scartatura.
Puoi munirti di una pinzetta o di uno strumento speciale per la scartatura, in particolare per rimuovere i piccoli pezzi in eccesso.
Questo passaggio deve essere eseguito con cura per non rovinare il logo.
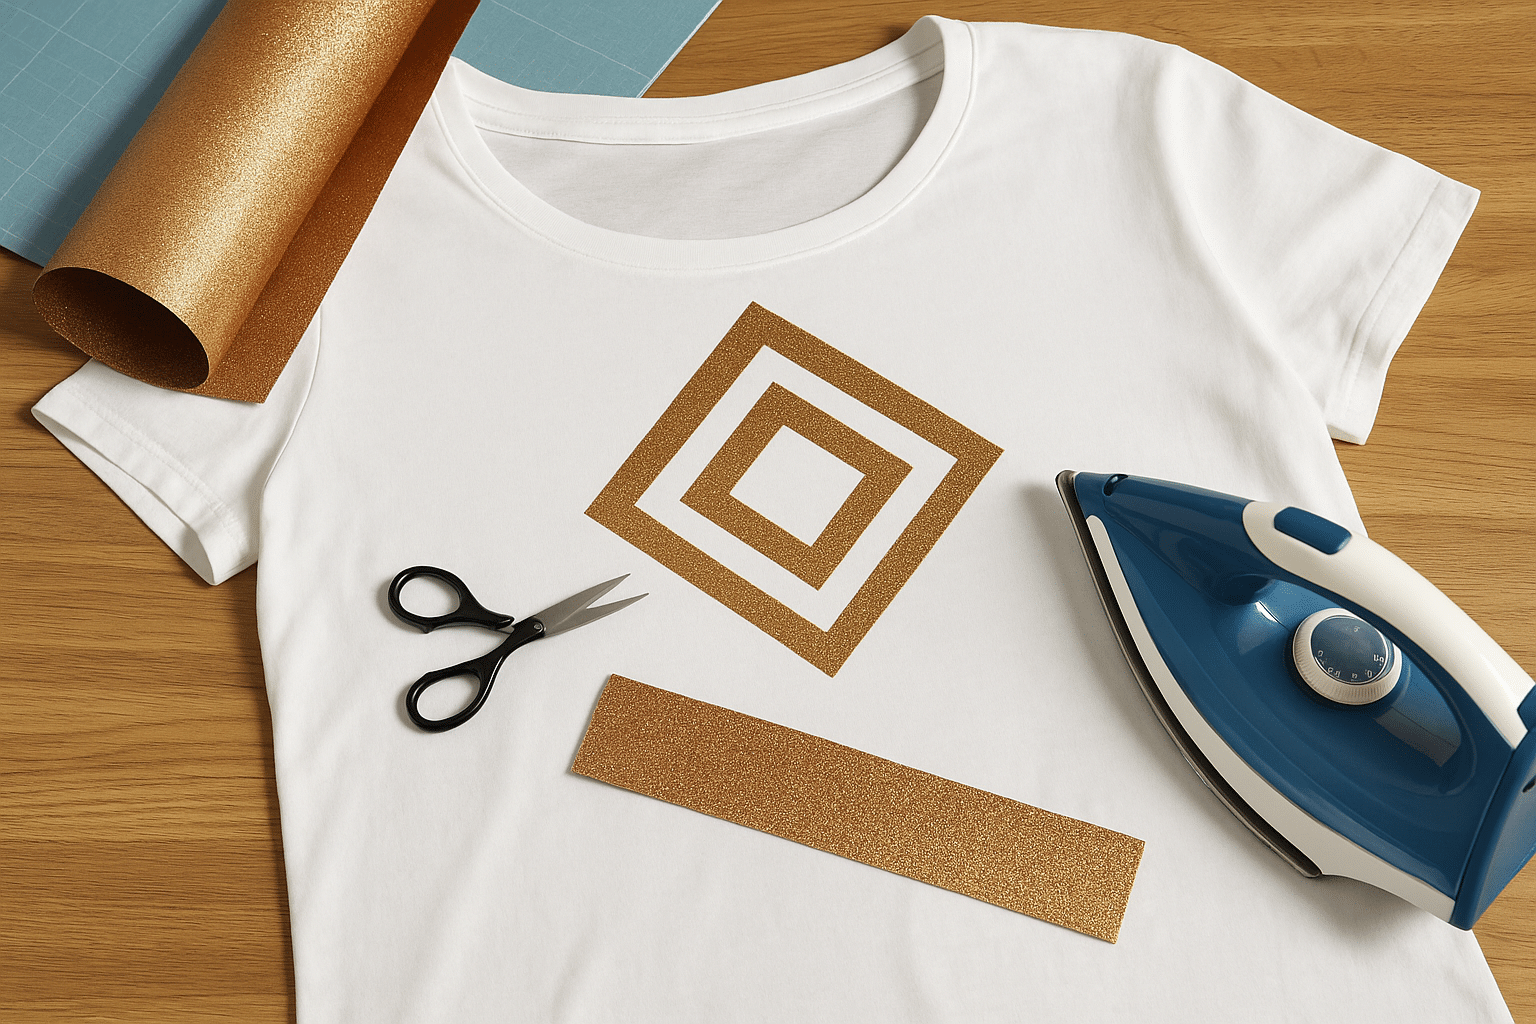
4️⃣ - L'applicazione sul tessuto

Ora abbiamo un motivo pronto per essere pressato sul tuo capo.
Posiziona il disegno precedentemente scartato sul tessuto desiderato (in questo esempio prenderemo una t-shirt)
Sii preciso e delicato quando posizioni il logo, perché dopo aver pressato il vinile sul tuo tessuto, non potrai più rimuoverlo.
Tutti i vinili termoadesivi hanno temperature di riscaldamento diverse, quindi in questo esempio prenderemo le impostazioni di applicazione del vinile standard della nostra gamma.
Dopo aver posizionato correttamente il logo sulla t-shirt, usa il tuo ferro da stiro o la pressa a caldo e imposta la temperatura a 150 gradi Celsius. Applica il calore sull'intero motivo per 15 o 20 secondi aggiungendo una forte pressione affinché il motivo si fissi perfettamente al tessuto.
Poi, procedi con una rimozione a caldo togliendo la plastica che ricopre il vinile e il gioco è fatto!
Ora sai come usare il vinile termoadesivo.
Puoi anche seguire il nostro tutorial video qui sotto per capire meglio il processo. ⬇️
Tutorial video per usare il vinile termoadesivo
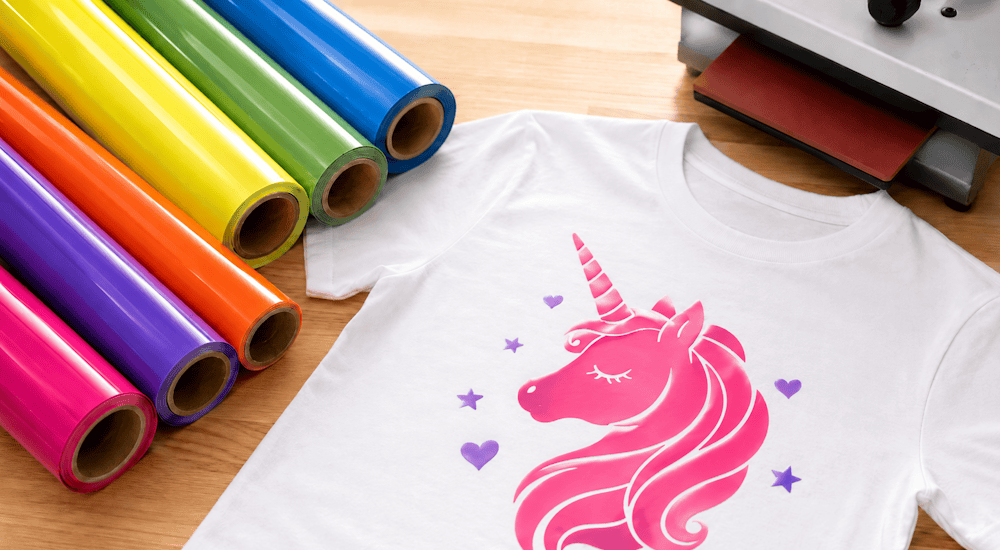
Esistono molti tipi di vinili termoadesivi
Uno dei più grandi vantaggi della stampa su tessuto rispetto agli altri metodi di stampa è che esistono molti tipi di vinili termoadesivi diversi.
Il che ti permetterà quindi di realizzare un numero incalcolabile di progetti uno più folle dell'altro! 🤩
Ecco alcuni tipi di vinili termoadesivi che potrebbero interessarti:
- Vinile Standard
- Vinile Glitter
- Vinile Olografico
- Vinile Velluto
- Vinile 3D
- Vinile Fluo
- Vinile Fosforescente
- Vinile Arcobaleno
- Vinile leopardato
- Vinile Diamante
E molto altro ancora!
Assicurati di seguire scrupolosamente tutte le istruzioni di riscaldamento e pressatura per ciascuno dei vinili termoadesivi, le istruzioni sono disponibili nella descrizione di ogni tipo di vinile. 👍
Speriamo che questo articolo ti abbia aiutato a vederci più chiaro sull'uso del vinile termoadesivo.
Pronto a passare all'azione? 🚀
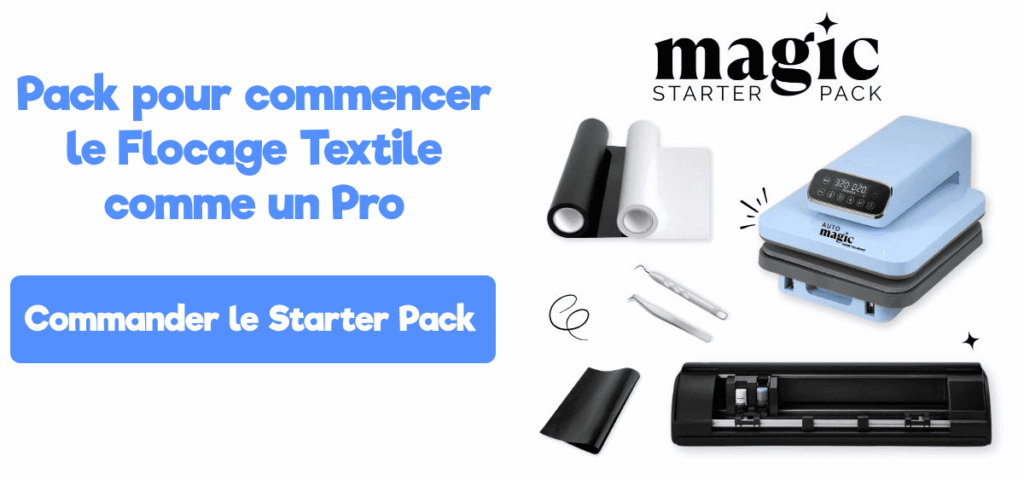
Con il nostro Magic Starter Pack, hai tutto il necessario per lanciarti già da oggi nella personalizzazione tessile: macchine, accessori, vinile premium... e persino corsi passo dopo passo per accompagnarti.
Che tu voglia creare il tuo marchio o avviare la tua attività di personalizzazione, è già tutto pronto... mancano solo le tue idee! ✨
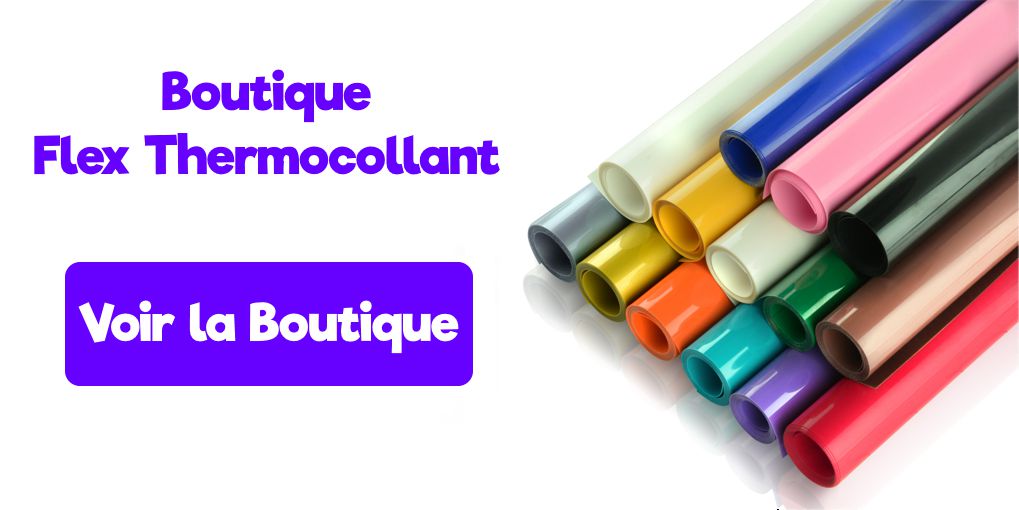
Se hai già tutti gli accessori necessari per personalizzare i tuoi vestiti con la stampa su tessuto, puoi anche dare un'occhiata ai vinili termoadesivi che proponiamo nel nostro negozio!