
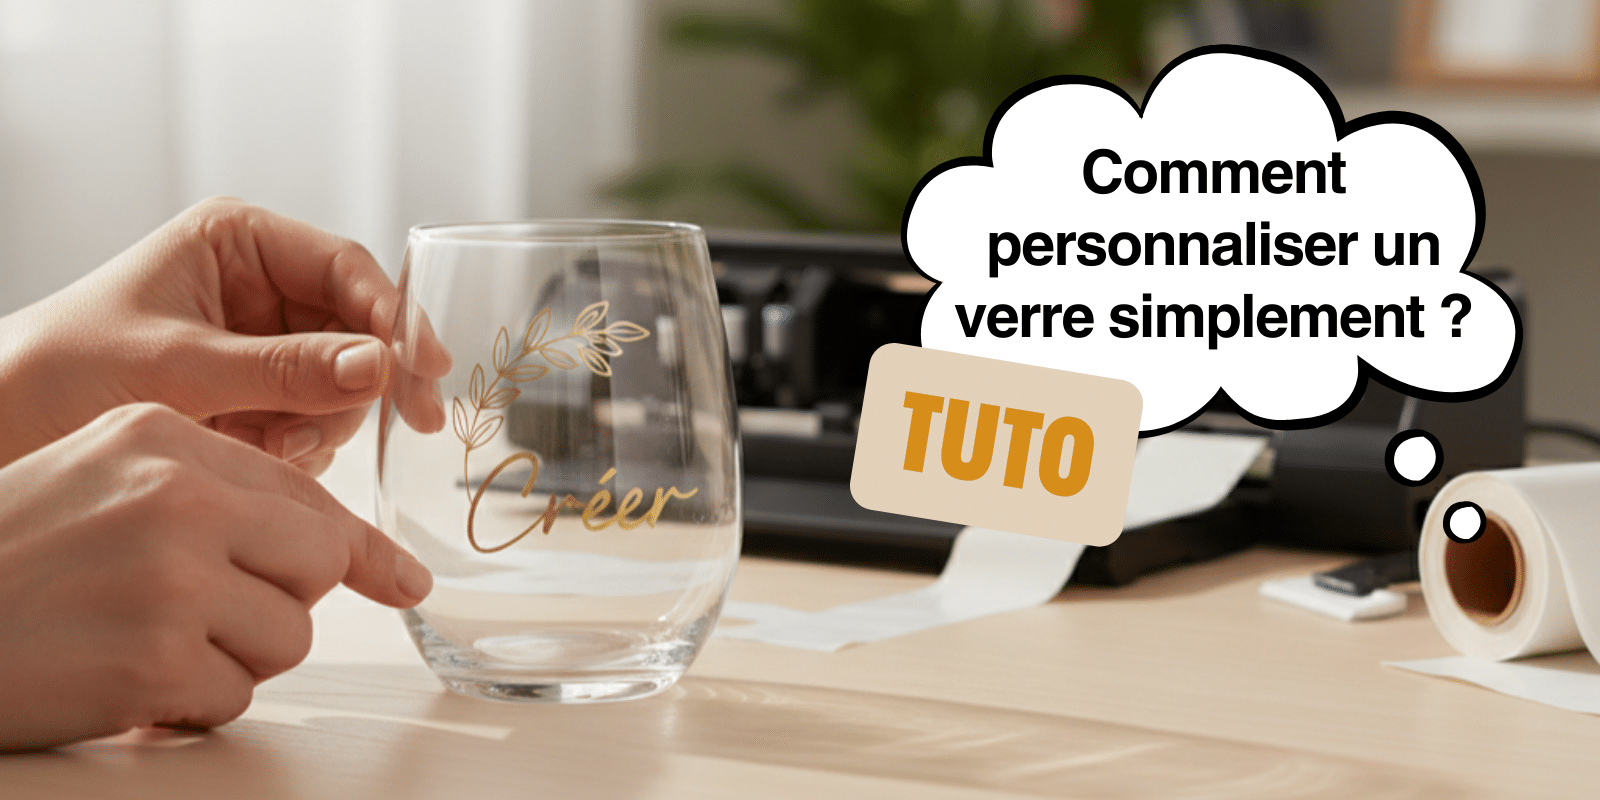
Some things we use on autopilot, without ever really looking at them. The drinking glass is one of them. Clear, ordinary, sitting on a table... until an idea suddenly strikes: what if this glass became one of a kind?
That's often how a DIY project begins. Not with a desire to make things complicated, but with a desire to create something meaningful. A name, a sweet message, an important date, a logo... In just a few minutes, a simple glass can tell a story.
Personalizing a glass is one of the easiest projects to try when you're just getting into handmade crafts. You don't need to be an expert or have a professional workshop. With the right supplies, and especially adhesive vinyl, you can get a clean, long-lasting, and truly impressive result.
At Transfer Paper, we're here for everyone who wants to create with ease, without frustration or wasted time. Whether you want to make a gift, decorate a table, celebrate an event, or even start a small business, personalizing a glass is a great way to get into DIY.
In this article, I'll show you how to personalize a glass easily, step by step, even if you're a total beginner.
1. Why Personalize a Glass?
Because a glass, when you get right down to it, is just... a glass.
But once it's personalized, it becomes something else entirely. It looks beautiful, it dresses up the table, it shows you care... In short, it's always better than a glass with zero personality!
Personalizing a glass turns an everyday object into something that carries emotion. A name on display, an important date, a message that makes someone smile at breakfast or over drinks. It's no longer just something to drink from: it's an object with a story to tell.
That's also why personalized glasses are a hit every single time (take it from experience!)
First, as gifts. A personalized glass is a useful, lasting, and personal present. Unlike a decorative item that ends up on a shelf, this one actually gets used. And every time it does, the message is right there.
Next, for events. Weddings, birthdays, bachelorette parties, christenings, baby showers, holiday celebrations... Personalized glasses let you create a cohesive, well-coordinated, and memorable table without blowing your budget.
But that's not all.
Personalizing a glass is also a great opportunity for a brand, a maker, or a small business. A subtle logo, an inspiring message, a visual identity: the glass becomes a stylish, effective marketing tool.
Most of all, it's a project that's perfect for getting started with DIY.
Minimal supplies, minimal risk, a short learning curve, and results you can see right away. With an adhesive vinyl made for glass, personalizing becomes simple, clean, and doable, even with no experience.
👉 That's exactly why personalizing a glass is often one of the first projects people recommend: it's easy, rewarding, and incredibly effective.
2. What Types of Glasses Can You Personalize?
Good news: almost any glass can be personalized.
But for a clean, long-lasting result, some types of glasses work better than others, especially when you're just starting out.
Water Glasses
This is the perfect surface to start with.
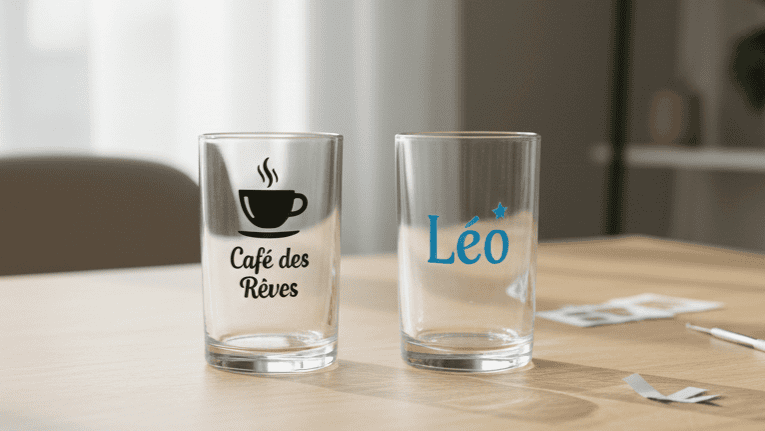
They usually have straight sides, very little curve, and good stability, so adhesive vinyl goes on easily and the result is crisp. Perfect for names, short words, or simple icons.
👉 If this is your first time personalizing a glass, start here. It'll make things so much easier!
Wine Glasses and Champagne Flutes
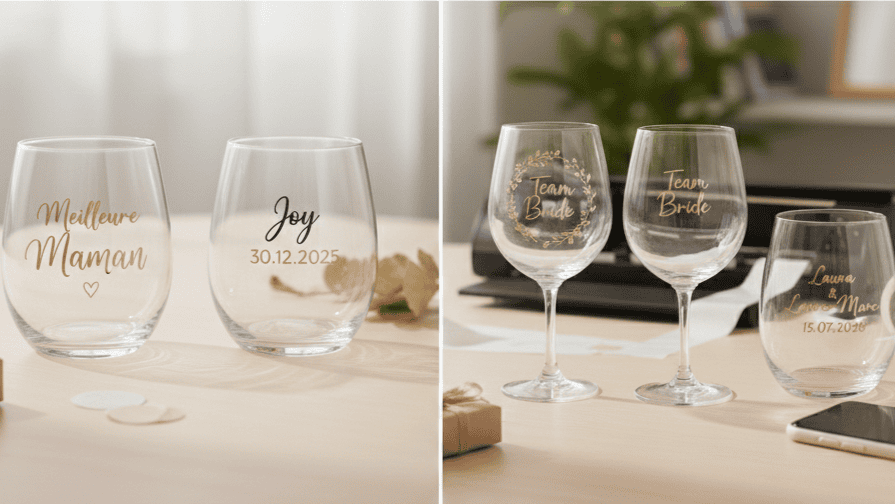
Very popular for events (weddings, birthdays, parties), these glasses give an elegant, sophisticated look.
The design usually goes on the stem or the upper part of the glass.
Be careful with the curve, though: a simple, well-placed design is essential to avoid visual distortion.
What to Check Before Personalizing a Glass
Before you apply your adhesive vinyl, always take a few seconds to make sure:
-
The glass is perfectly smooth
-
There are no raised areas, textures, or existing etching
-
The area you've chosen is flat enough
-
The glass is clean, dry, and grease-free
💡 Tip: the more even the surface, the easier it is to personalize, and the more professional your result will look.
Personalizing a glass isn't about complexity: it's about choosing the right surface. By picking the right type of glass from the start, you give yourself the best possible chance of a flawless result.
3. The Essential Supplies for Personalizing a Glass
The good news about personalizing a glass is that there's nothing complicated about it. You don't need a professional workshop or a big investment. With the right supplies from the start, your result can be clean, durable, and truly high quality.
The Glass
Choose a smooth glass with no raised texture or built-in pattern.
Water glass, wine glass, champagne flute, or glass mug: the key is an even surface so the design sticks more easily.
Before anything else, the glass needs to be perfectly clean, dry, and grease-free. In most cases, a simple wash followed by careful drying is all it takes.
Adhesive Vinyl
This is what's going to give your glass its whole personality.
Name, word, date, short phrase, logo, or symbol: always make readability your priority.
On a clear surface, a design that's too busy quickly loses its impact. Keeping it simple often gives the most elegant result.
Not all adhesive vinyl is created equal, especially on a surface like glass. Using a vinyl specially designed for hard surfaces gives you:
-
Better adhesion
-
A crisp, precise result
-
Long-lasting durability
At Transfer Paper, our adhesive vinyls are designed to make DIY easier, even for beginners, while guaranteeing a professional result.
👉 That's really what makes the difference between a successful project and a disappointing one.
The Cutting Machine (Cricut, Silhouette, etc.)
When you decide to personalize a glass with adhesive vinyl, a cutting machine becomes a real ally.
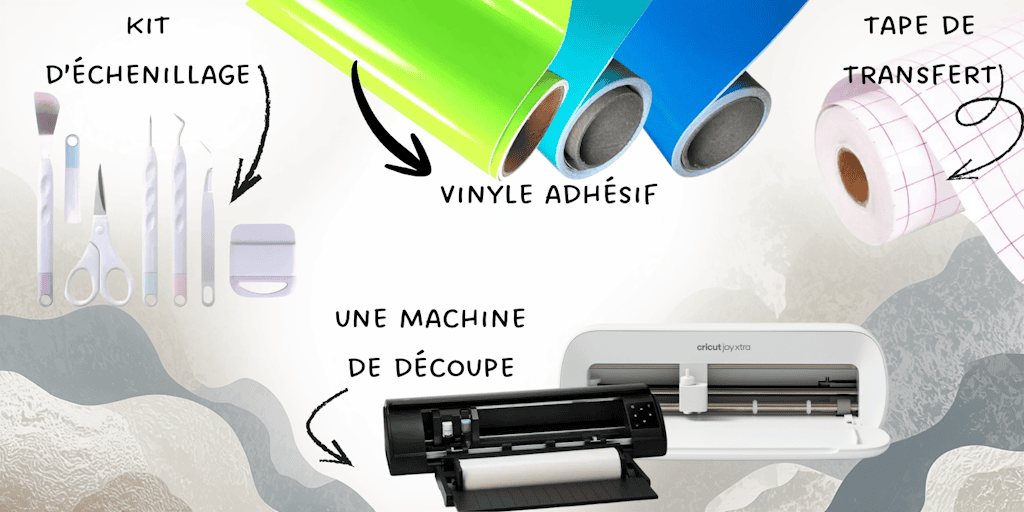
A machine like the Cricut or the Silhouette Cameo 5 lets you cut text and designs with great precision, even very fine details. On a clear surface like glass, that precision is essential for a clean, readable result.
With a cutting machine, you can:
-
Create perfectly crisp names
-
Use delicate or elegant fonts
-
Cut detailed logos or designs
-
Save time on prep
-
Reproduce the exact same design every time
👉 You can absolutely cut adhesive vinyl by hand, but for a professional, durable, and consistent result, a cutting machine is still the easiest option, especially if you're a beginner or making several glasses in a row.
Handy Tools
To finish your project smoothly, have these on hand:
-
A squeegee (or a flexible card) for smoothing
-
Transfer tape (to move your design onto your glass)
-
A clean, dry cloth
💡 Transfer Paper tip: working calmly on a clean surface makes all the difference. DIY isn't about speed, it's about precision.
With these supplies, you have everything you need to personalize a glass easily and get a result worthy of a professional product (and yes, you'll never want to buy ready-made personalized glasses at the store again!).
4. How to Personalize a Glass Step by Step
This is where it all comes together. There's no need to rush or force anything. If you follow these steps in order, personalizing a glass becomes a truly enjoyable experience, with a clean, professional result.
Create Your Design
Before you even think about cutting, take a few minutes to plan your design.
On a glass, less is more (though, of course, that's just my personal opinion). A nicely centered name, a short word, a date, or a simple symbol will always have more impact than a design that's too busy.
Think about contrast, too. Glass is see-through, so choose colors that stand out and fonts that are easy to read. The goal is for the message to be instantly recognizable, even from a distance.
💡
Tip: picture the result directly on the glass before printing. It'll save you from a lot of mistakes.
Cut Your Adhesive Vinyl
Start cutting with your smart cutting machine (and yes, new technology is pretty great, it makes life a whole lot easier!). If you don't have one, you can always use scissors or a craft knife for simple designs.
Follow the instructions for the adhesive vinyl you've chosen to the letter (pressure, etc.).
Apply the Adhesive Vinyl to the Glass
The moment you've been waiting for!
Weed your design with a weeding kit (if you don't have one, welll... good luck! It's fairly easy on larger designs, but on small ones it's still pretty tedious without the right tools).
Once all the excess vinyl has been removed from your design, grab some transfer tape. Cut a piece that fits your design, stick it on top, then peel off the backing from underneath your adhesive vinyl. Now all you have to do is gently place it on your glass (always take your time, because a crooked design will be noticeable right away, and you'll have to start all over again!). Once your design is on the glass, smooth it down gradually from the center outward.
5. Common Mistakes to Avoid When Personalizing a Glass
Personalizing a glass is simple... as long as you avoid a few classic mistakes. The good news? They're easy to anticipate once you know what to watch for.
Choosing the Wrong Glass
A glass with raised details, built-in patterns, or an uneven surface will inevitably make applying adhesive vinyl more difficult. The result? Bubbles, peeling, or a sloppy finish.
👉
Always go for a smooth, even glass, especially for your first project.
Using an Adhesive Vinyl That Isn't Suited to Glass
This is the most common mistake.
Not all adhesive vinyl is made for hard surfaces, let alone glass. On top of that, some are only repositionable (not a fun thing to discover once your project is finished).
The wrong adhesive vinyl can lead to:
-
Poor adhesion
-
Fuzzy edges
-
Limited durability over time
At Transfer Paper, every adhesive vinyl is designed for everyday use (and excellent long-term durability). Choosing a compatible vinyl gets you 80% of the way to a job well done.
Skipping Glass Prep
If your glass isn't properly cleaned and still has traces of grease or dust, the adhesive vinyl won't stick properly.
Before personalizing a glass, always take the time to:
-
Wash the glass
-
Dry it completely
-
Degrease it if needed (dish soap and hot water do the trick)
This small step makes a huge difference in the final result.
Choosing a Design That's Too Busy
On a clear surface, too much going on makes things hard to read.
A cluttered design loses its impact and often looks less elegant.
👉
Golden rule: simple = effective.
Going Too Fast
DIY and rushing don't mix.
A badly positioned design, a bunch of tiny bubbles... Not great at all!
Taking your time, following the steps, and sticking to the recommended times are the keys to a personalized glass that looks great and lasts.
Avoid these mistakes, and you're sure to get a clean, crisp, professional result, even with no experience.
6. Ideas for Personalizing Glasses
If you're short on inspiration, don't worry: the possibilities for personalizing a glass are nearly endless. It all depends on the message you want to share and the feeling you want to create.
As a Personalized Gift
A glass with a name, a date, or a short message is a simple gift that always goes over well.
It's the kind of thoughtful touch that shows you took the time to make something just for that person.
Perfect for:
-
Birthdays
-
Mother's Day or Father's Day
-
Christmas
-
Last-minute handmade gifts
For an Event
Weddings, bachelorette parties, christenings, baby showers, or birthdays: a personalized glass becomes a true part of the decor.
Each guest can take their own glass home as a lasting keepsake of the event. It's beautiful, useful, and memorable all at once.
💡 Tip: name + date = winning combo.
For Your Home and Decor
Why save personalization for big occasions?
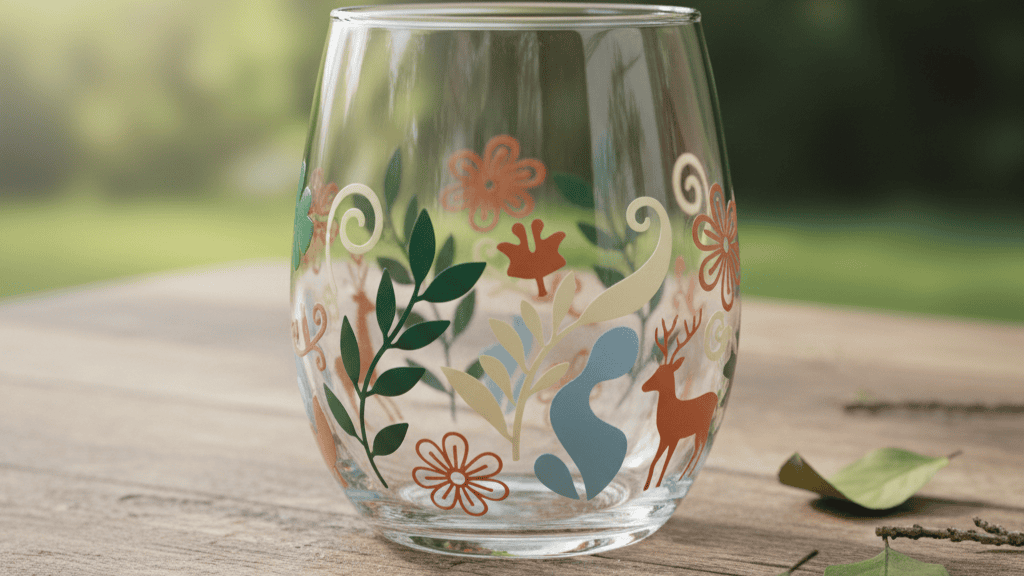
A glass with an inspiring word, a minimalist symbol, or an elegant font can fit right into your home decor.
It's a subtle way to add a personal touch to your everyday life.
For a Brand or Business
Glasses are also an excellent marketing tool.
A subtle logo, a slogan, an inspiring message: a glass can strengthen a brand's visual identity while staying elegant.
It's a smart option for:
-
Client gifts
-
Photo shoots
-
Social media content
-
Selling personalized products
With the right adhesive vinyl, the result can be high-quality enough for professional use.
Personalizing a glass isn't just about decorating an object. It's about creating something that carries emotion, a memory, or a brand image, and it's something anyone can do.
Personalizing a glass is much more than just a DIY project. It's a simple, accessible way to turn an everyday object into a unique creation full of meaning.
With the right surface, a well-thought-out design, and above all an adhesive vinyl suited to glass, you can absolutely get a clean, long-lasting result, even with no experience. Whether you want to make a gift, decorate for an event, personalize your home, or grow a creative business, glass is a versatile and effective surface to work with.
At Transfer Paper, our goal is clear: to make personalization accessible to everyone, without any unnecessary complexity. When you choose the right materials and follow the right steps, DIY becomes a real pleasure... with results you can be proud of.
There's just one thing left to do: get started and create your very first personalized glass.
FAQ: Personalizing a Glass
Will a Personalized Glass Hold Up in the Wash?
Yes, as long as you use an adhesive vinyl suited to glass and follow the recommended drying times. To help it last longer, hand washing is recommended.
Is This a Good Project for Beginners?
Absolutely. Personalizing a glass is one of the easiest DIY projects to start with. With a smooth glass and a good adhesive vinyl, you get quick and very rewarding results.
What Vinyl Should You Use to Personalize a Glass?
It's essential to use an adhesive vinyl designed for hard surfaces that's specifically compatible with glass. That's what ensures strong adhesion and a crisp result.
Can You Personalize a Curved Glass?
Yes, but stick to a simple, well-placed design. The more curved the surface, the more important it is to avoid designs that are too large or too detailed.
How Long Does It Take to Personalize a Glass?
Including printing, application, and drying time, you can personalize a glass in under an hour. It's a quick project, perfect even when you're short on time.



Comments
No comments yet. Be the first to share your experience.
Leave a comment