
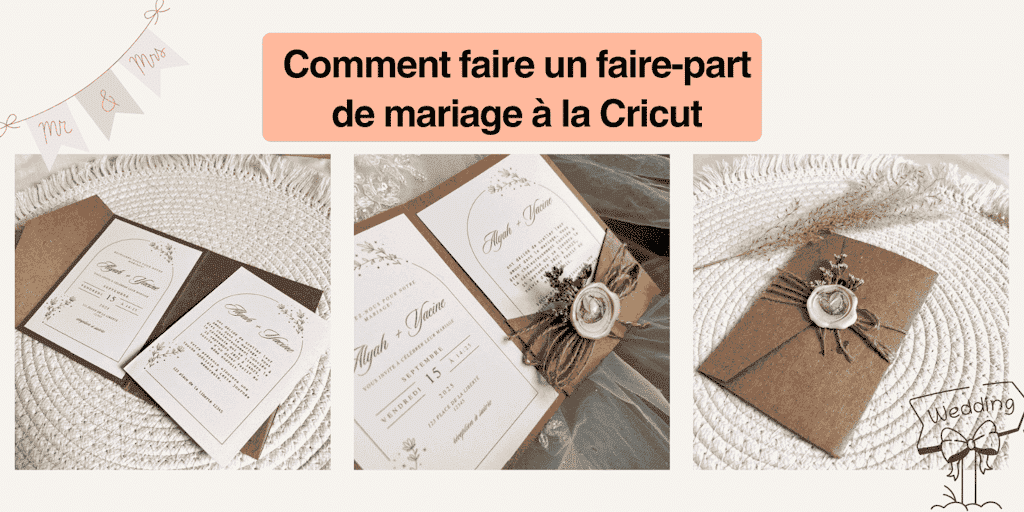
How to make a wedding invitation with a Cricut is a question many brides- and grooms-to-be ask, and for good reason: your wedding is one of the most beautiful days of your life, and every detail counts. The invitation holds a very special place among those details: it sets the tone for your big day and shares the news with your loved ones.
Instead of settling for a standard design, why not create a unique, personalized wedding invitation with your Cricut? This cutting machine lets you make professional-quality invitations while giving your creativity free rein.
When I was planning my wedding, I spent hours searching for the PER-FECT invitation. I wanted something that felt like us: elegant but not too traditional, unique without being over the top. But every time, the designs were either too impersonal or the prices were outrageous
😳
.
Then one day, it hit me: what if I made it myself? That's where my Cricut came in. With it, I was able to create personalized, elegant invitations that, most importantly, felt like us.
Today, I want to share that experience with you. If you're in the middle of wedding planning and dreaming of a unique invitation your guests won't forget, I'll show you how to make a wedding invitation with a Cricut that looks professionally made, without blowing your budget.
Find out how to easily design a wedding invitation with a Cricut in just 5 simple steps, plus my best tips for an elegant finish!
So, are you ready to get started and create your own Cricut invitations? Let's go!
1. The Essential Supplies for Making a Wedding Invitation with a Cricut
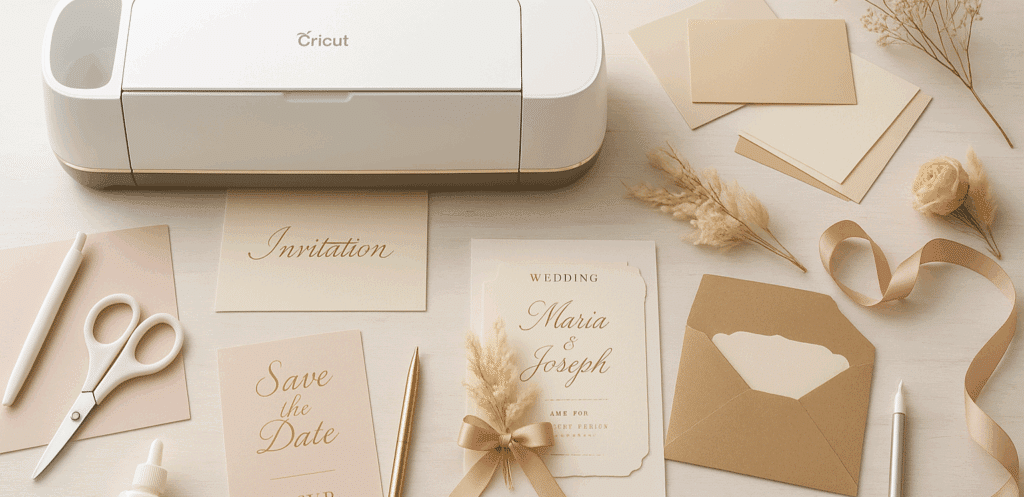
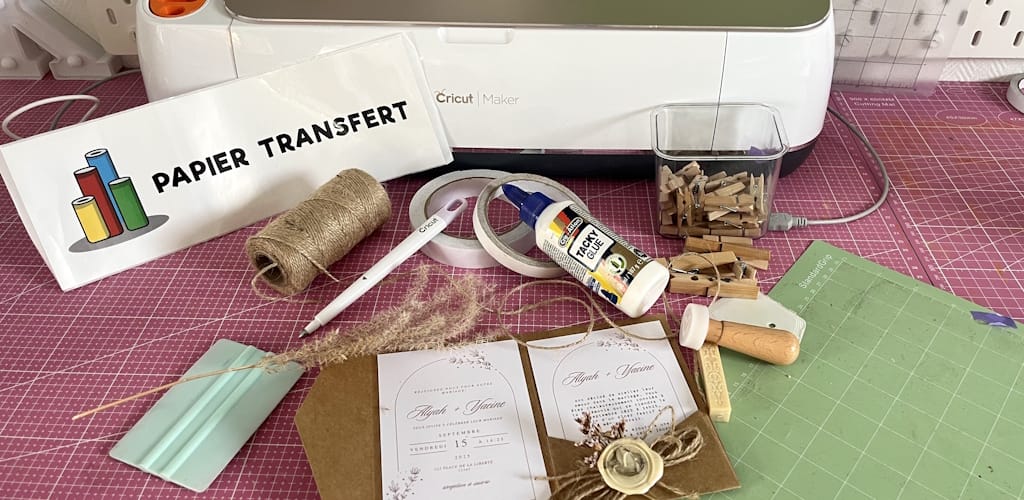
Before you dive into making your invitations, it's important to gather all your supplies. Having the right tools within reach will save you time and help you avoid mistakes. Here's a detailed list of all the tools I recommend having on hand to make your invitations:
A. The Cricut Machine
There are several models to choose from, depending on your needs and budget:
-
Cricut Explore: a good middle ground for medium-sized projects.
-
Cricut Maker: the most versatile and powerful option, ideal if you want to take personalization as far as it can go.
Can't decide which one to choose? Don't worry, I've put together a comparison of these two Cricut machines for you right HERE.
💡
My advice: if you're planning to make a lot of invitations or add intricate cuts (like paper lace), the Cricut Maker will be your best friend.
Otherwise, you could also go with the Silhouette Cameo 5!
B. The Cutting Mat
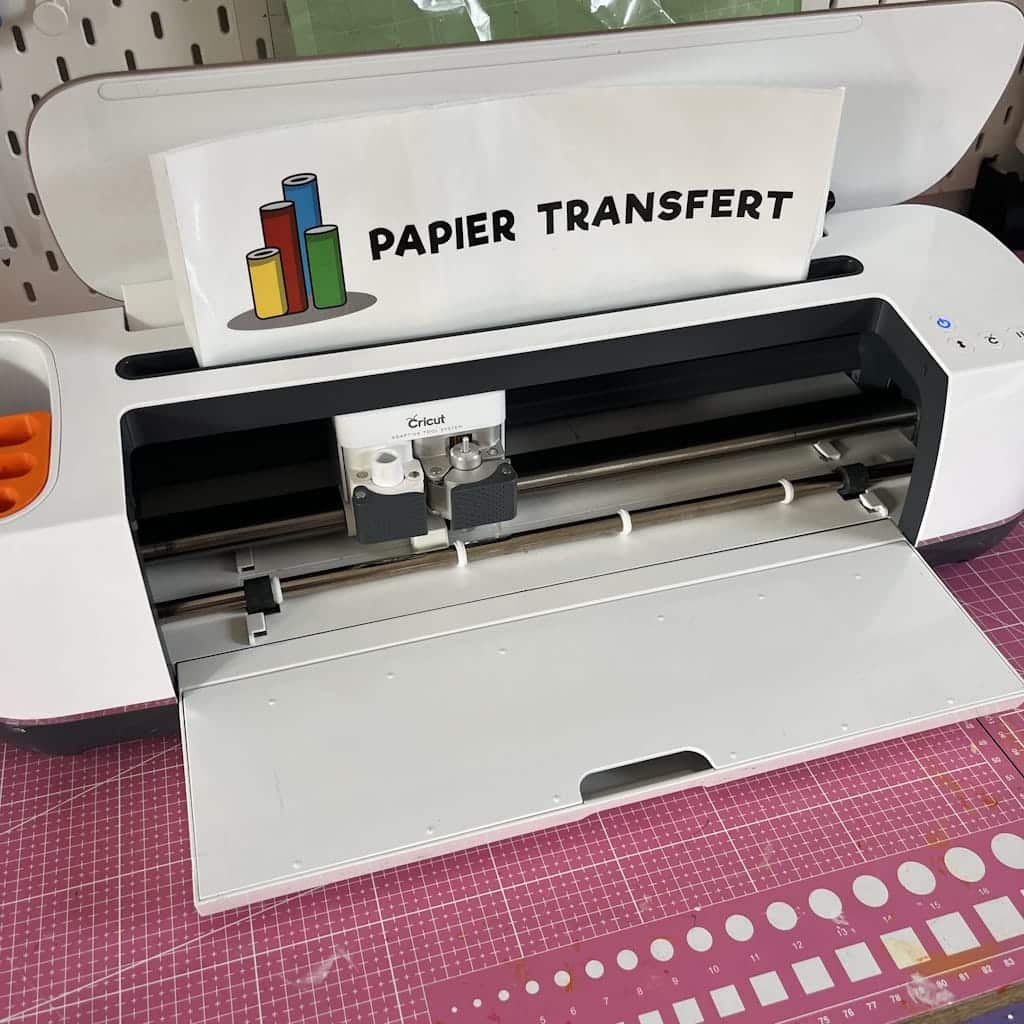
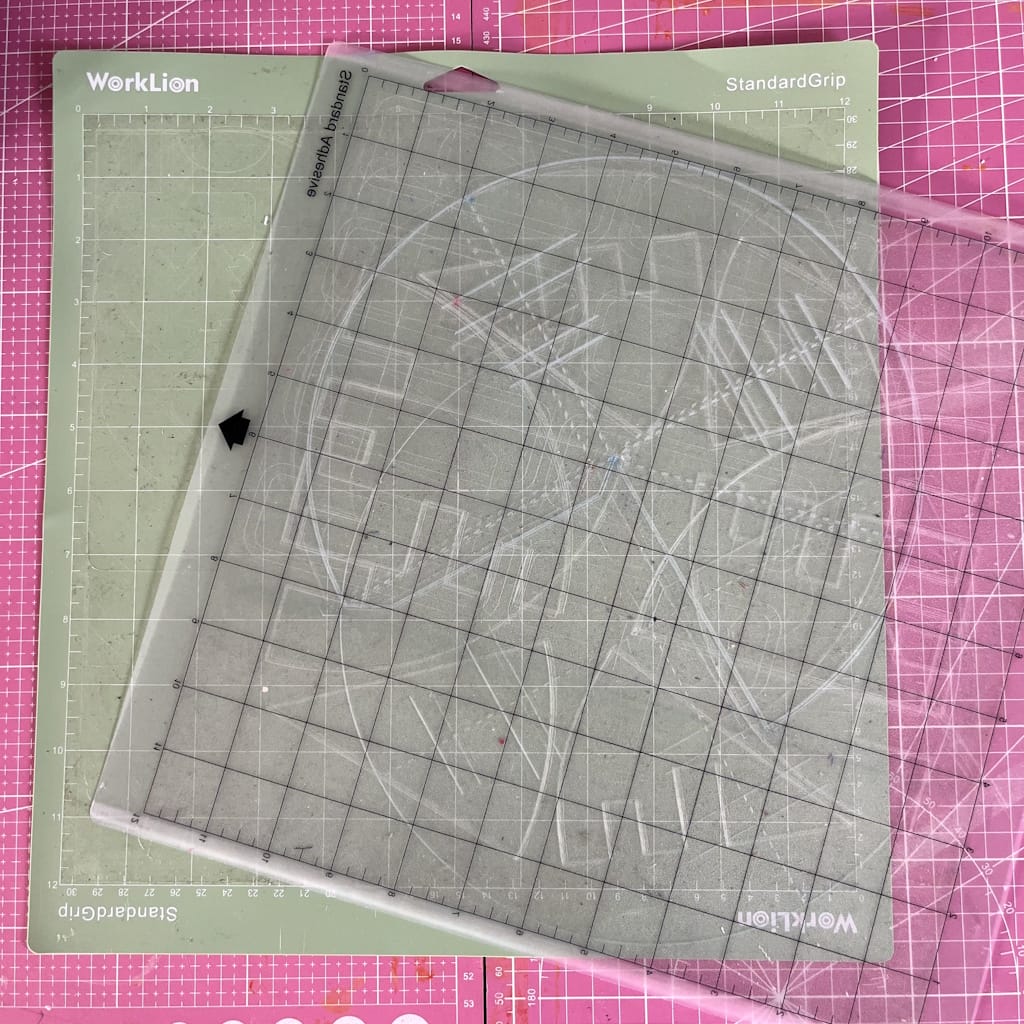
Choosing the right mat is key to getting your wedding invitations just right.
-
LightGrip mat (blue): perfect for thin paper or vellum.
-
StandardGrip mat (green): ideal for cardstock.
-
StrongGrip mat (purple): made for thicker materials (avoid it for delicate paper).
At Transfer Paper, Cricut cutting mats are sold in sets, which is great if you want to have all of them on hand, or individually if you only need the one you're missing!
Tip: use a spatula to press your papers down without damaging them, so they stay in perfect condition.
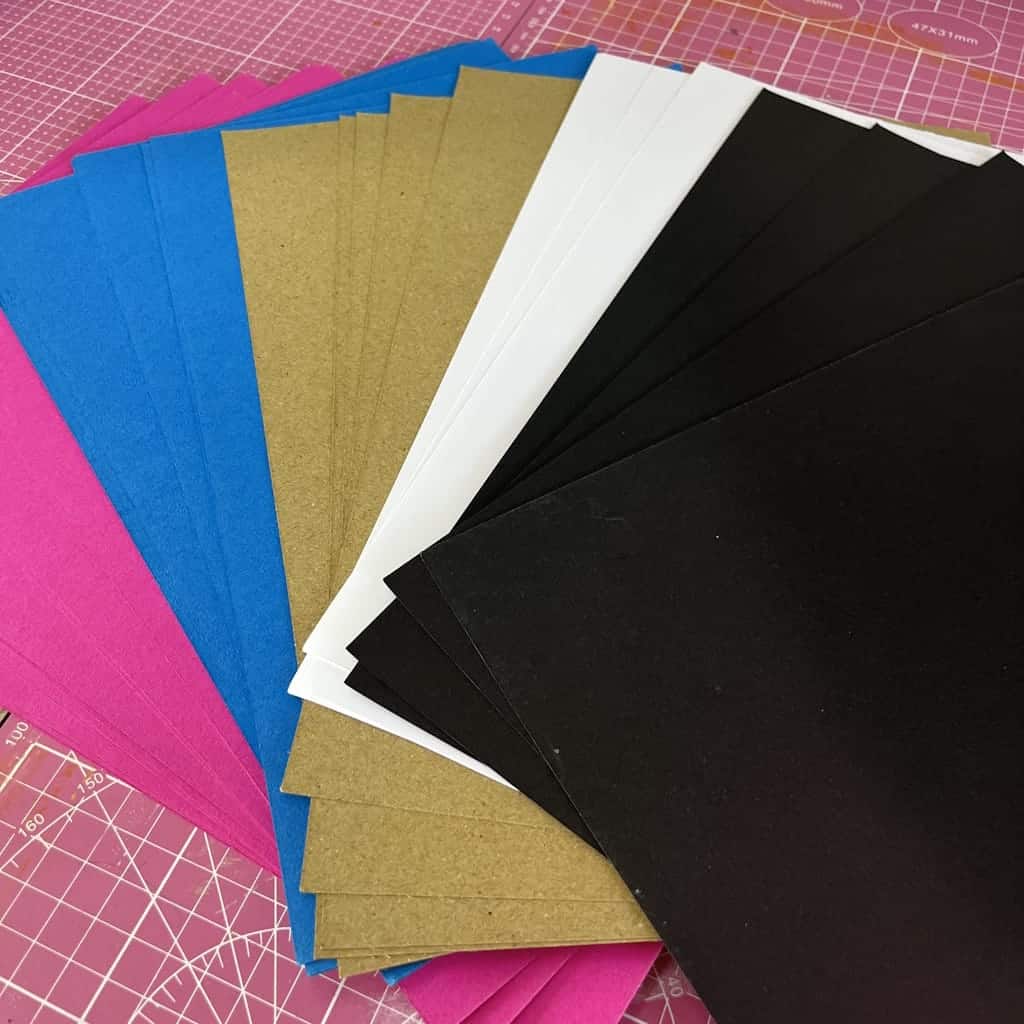
C. Cardstock
Cardstock is the centerpiece of your invitation. The better the quality, the more professional your invitations will look.
-
Recommended weight: between 200 and 300 g/m².
-
Finish options: matte, glossy, pearlescent, metallic, or textured.
-
Colors: stick to your wedding color palette
(e.g., white and gold for an elegant wedding, kraft and beige for a rustic look).
A little tip from experience: I started out with paper that was too thin, and the invitations felt flimsy. Once I switched to thick, slightly textured paper, they looked far more high-end and professional.
D. Gluing Supplies
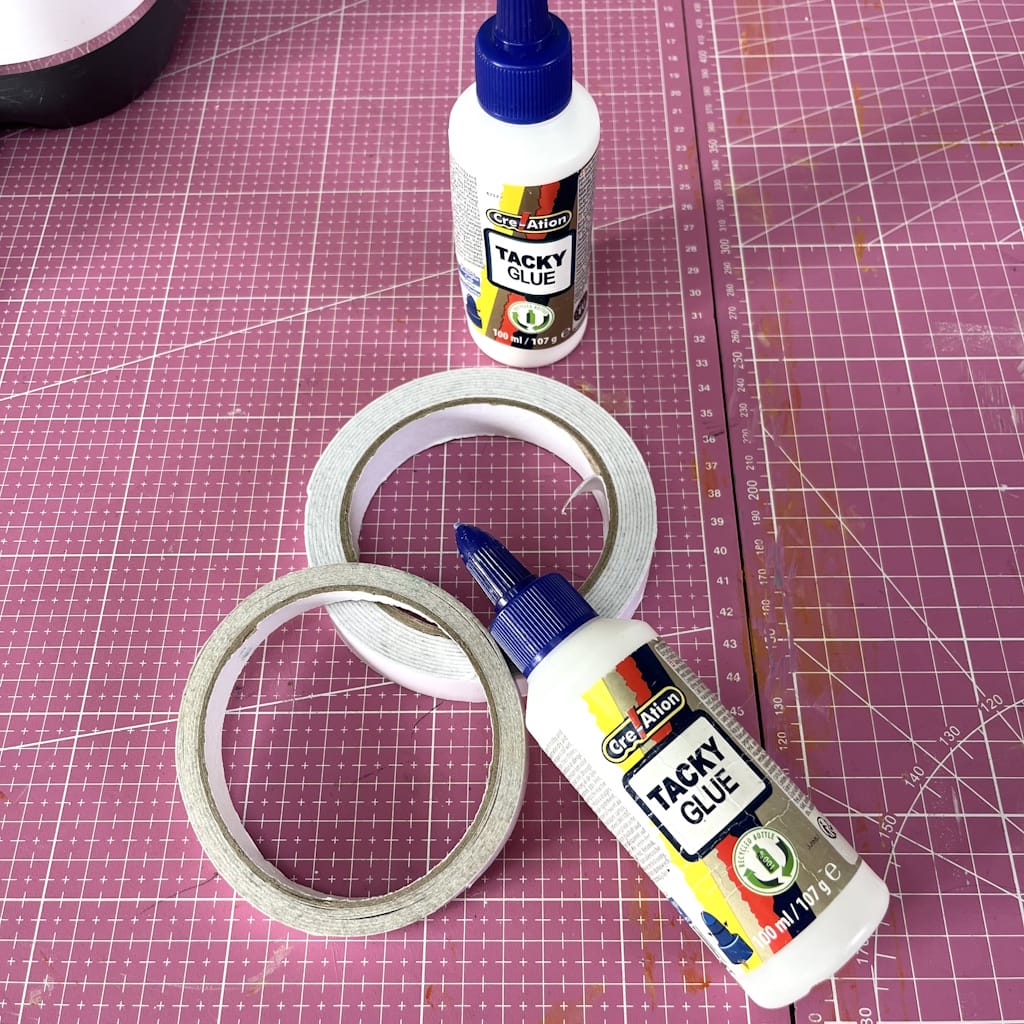
There are two main options:
-
Double-sided tape: quick and clean, ideal for precise assembly and neat, polished projects.
-
Liquid glue: cheaper, but it can leave marks if it squeezes out. Handy for simple projects or detailed finishing touches.
Tip: use a glue pen for small, delicate cutouts (swirls, patterns, lace, etc.) to get a clean, precise result.
E. Embellishments
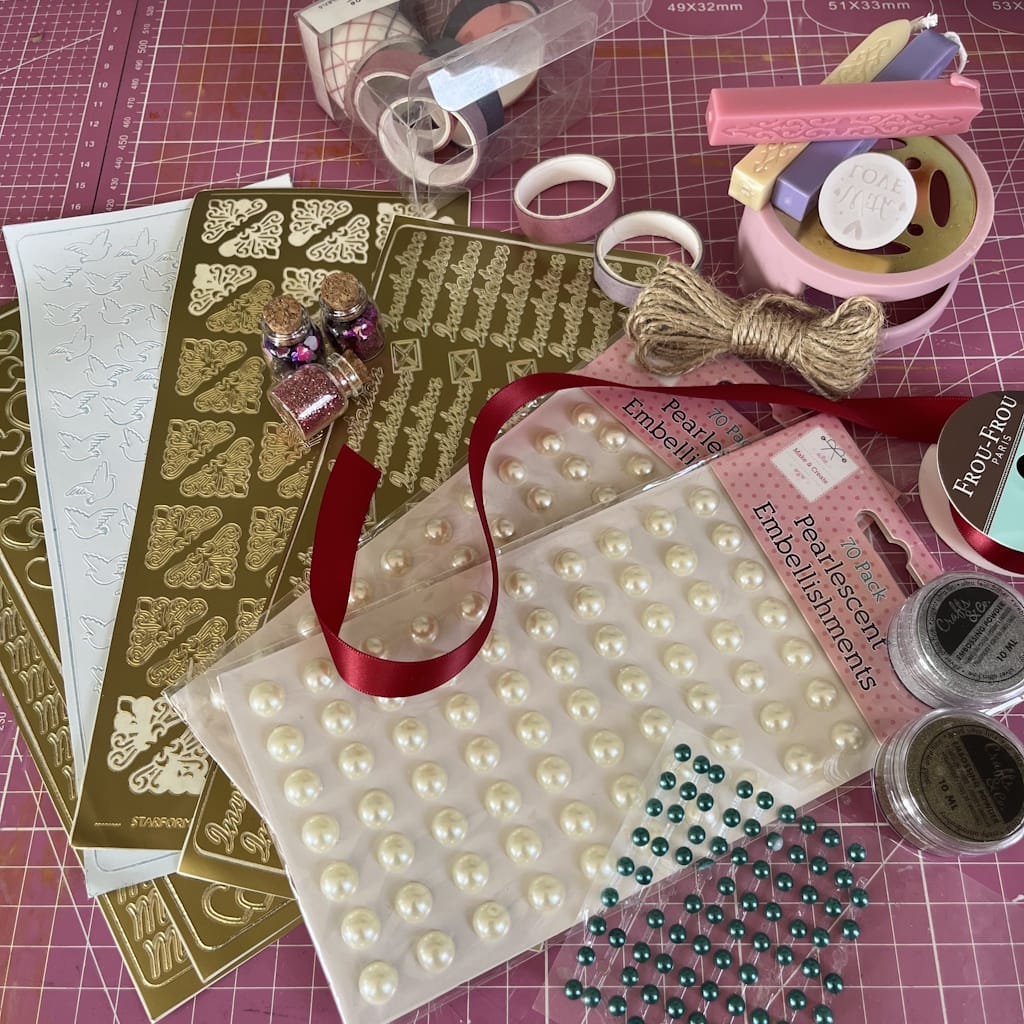
Embellishments are what make all the difference between a standard invitation and a one-of-a-kind invitation you've made with your Cricut.
-
Ribbons and twine for a chic or rustic look.
-
Rhinestones and self-adhesive pearls for an elegant touch.
-
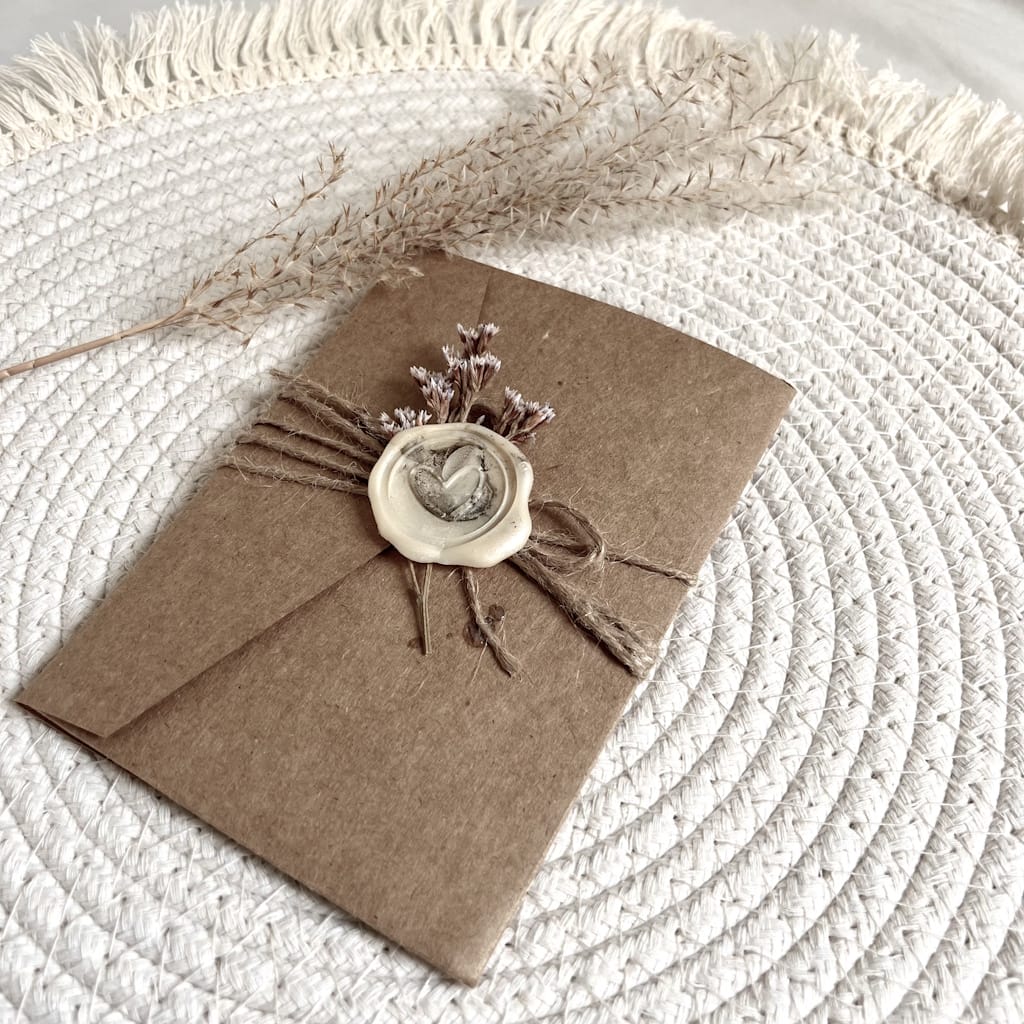
Dried flowers for a romantic, natural style.
-
Stickers or wax seals to seal your envelope in style.
💡
My personal tip: for my wedding, I added a small gold ribbon to each invitation. It was simple, but it got a guaranteed "wow" the moment guests opened the envelope.
F. Cricut Design Space Software
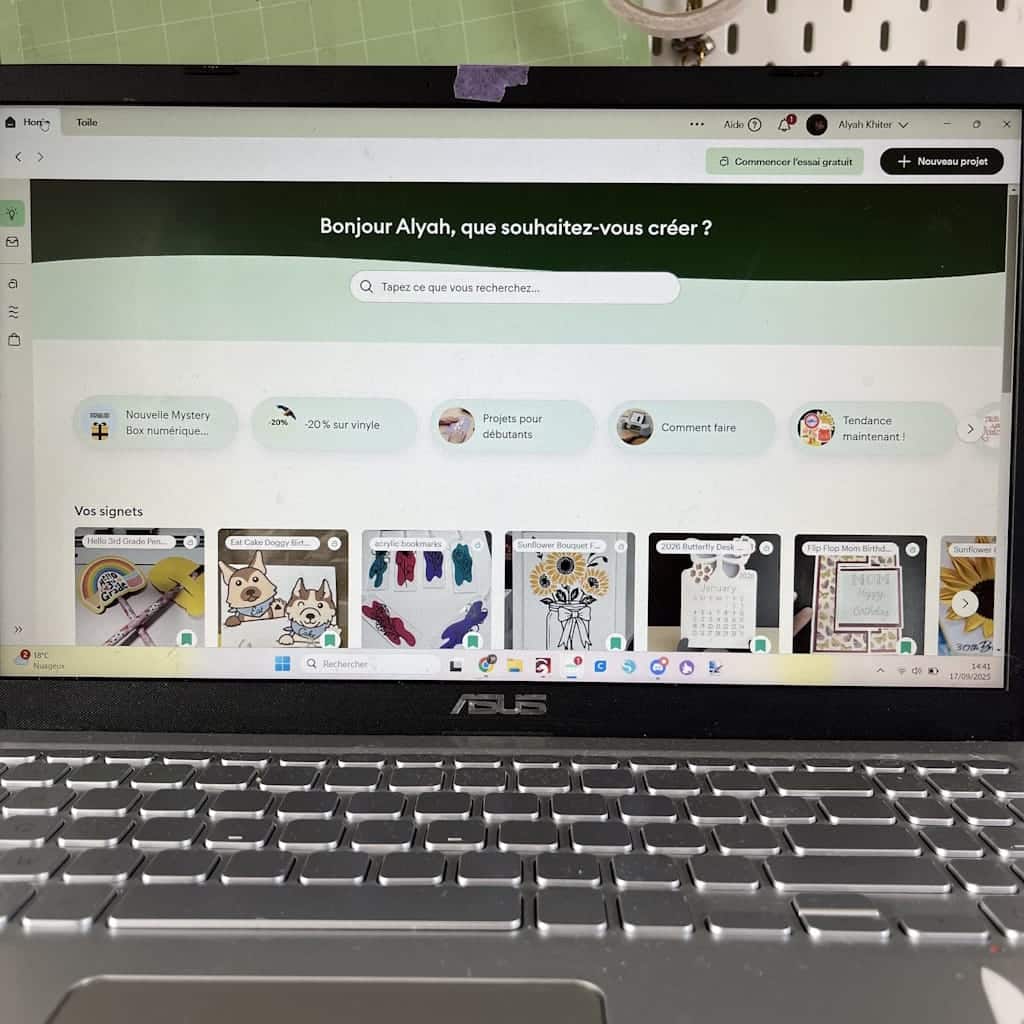
This is the brains of your project. With it, you can:
-
Create or import your designs.
-
Try out different fonts and layouts for a professional result.
-
Adjust the size and position of your text.
-
Preview your design before you start cutting.
This is where you really personalize your invitation so it reflects the two of you and your theme, giving you a one-of-a-kind and professional result.
Getting your supplies ready is the first step in learning how to make a wedding invitation with a Cricut. The right machine, good paper, and a few embellishments are all it takes to turn your invitations into true works of art.
Now that you know all the supplies you need to make a wedding invitation with a Cricut, let's walk through the 5 simple steps to make one. Let's get started!
2. How to Make a Wedding Invitation with a Cricut
I still remember the first time I set out to make my invitations with my Cricut. I had a thousand ideas in my head but no clear plan. I fumbled around and botched a few cuts (and wasted some paper
😅
), but little by little, I found a workflow that let me get truly professional-looking results.
That's the experience I want to share with you today, so you can learn how to make a wedding invitation with a Cricut too, without wasting time and without making the same mistakes I did. Here are the simple steps to follow to get your invitations right on the first try!
P.S. We're going to make one invitation design together, but of course, feel free to personalize it or create your own that truly matches your style!
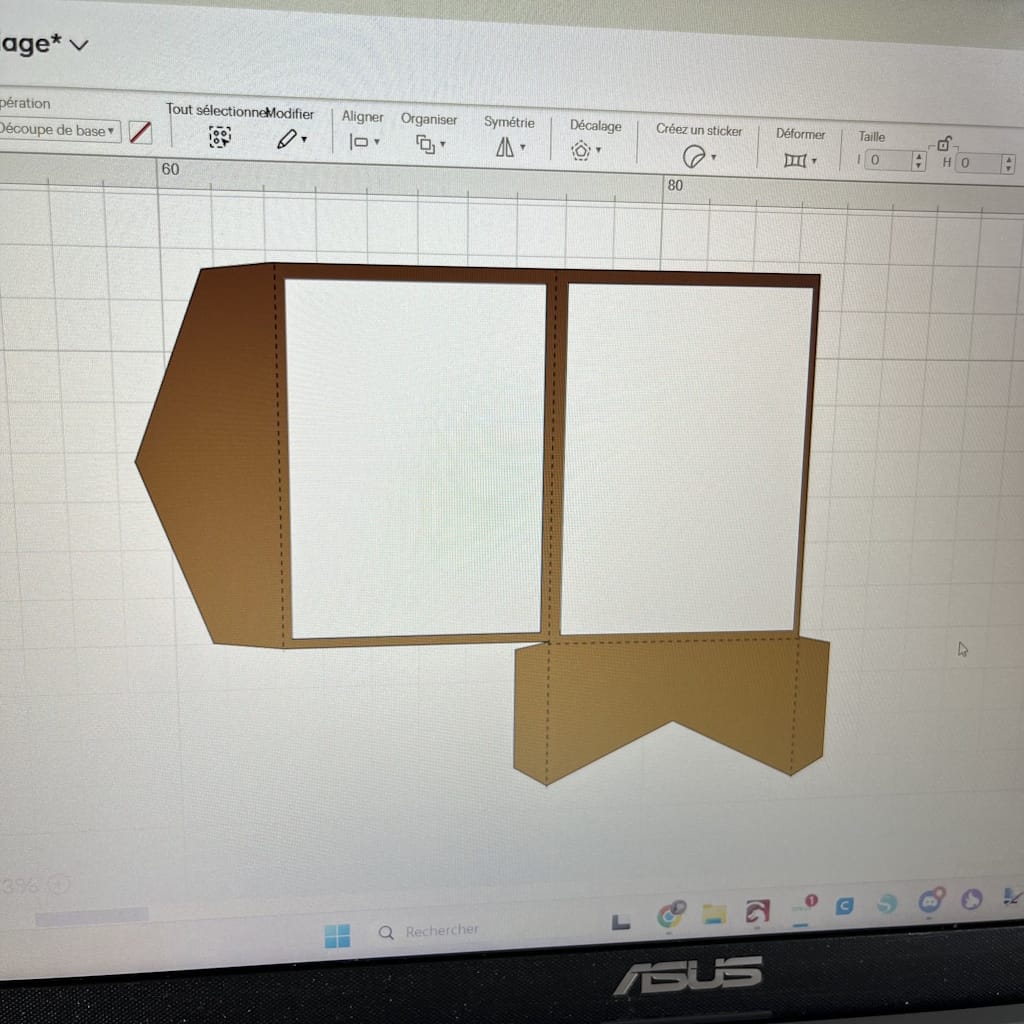
1. Choose a Design That Fits Your Wedding
Start by deciding on a style: romantic, rustic, modern, or minimalist. In Design Space (the Cricut app), you'll find ready-made templates, or you can create your own.
Need some inspiration? Pinterest is a real gold mine of ideas!
2. Set Up Your File in Cricut Design Space
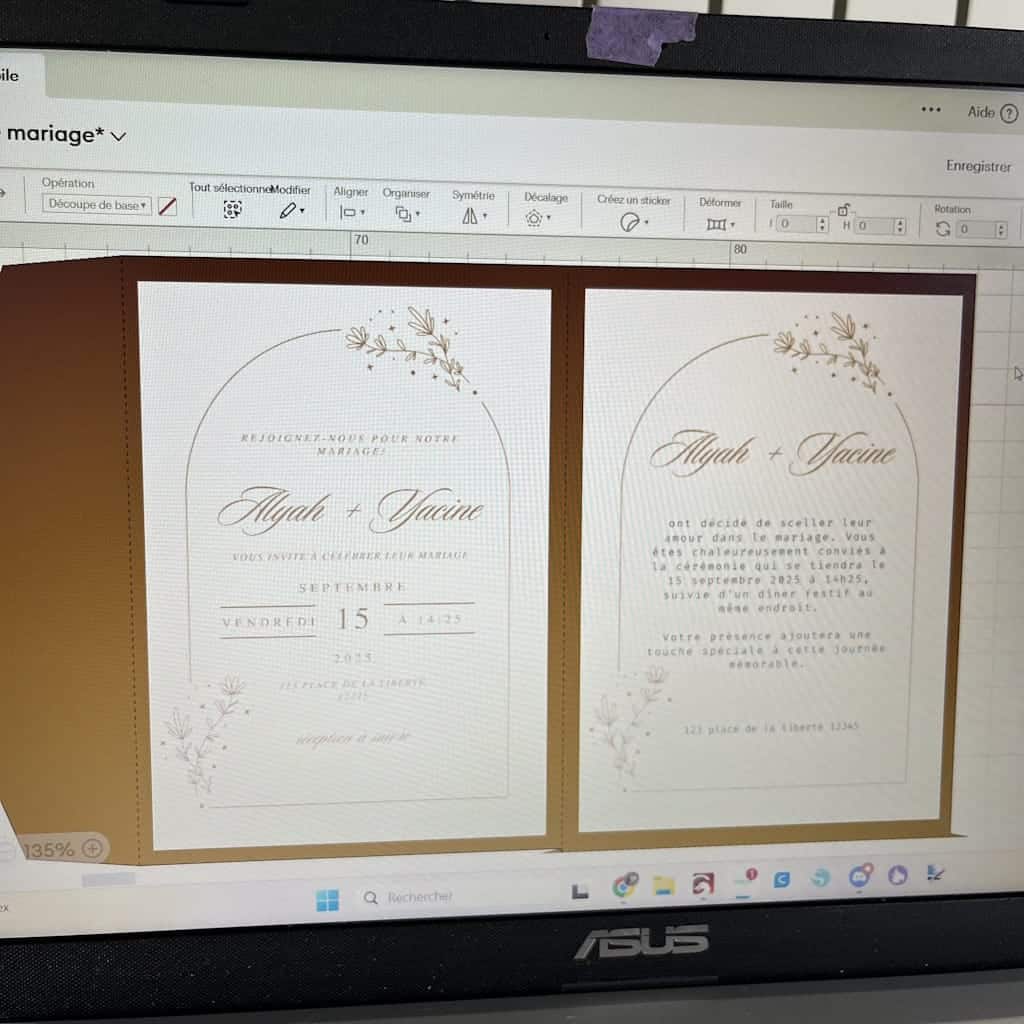
-
Type in your first names, the wedding date, and the venue.
-
Choose your fonts (handwritten, calligraphy, modern).
-
Add decorative elements (swirls, hearts, floral designs).
In Cricut Design Space, each element you want to cut needs to be a different color. That's how the software knows it will need to cut several different papers.
Quick tip: keep your layers well organized to avoid any mix-ups when it's time to cut.
3. Start Cutting
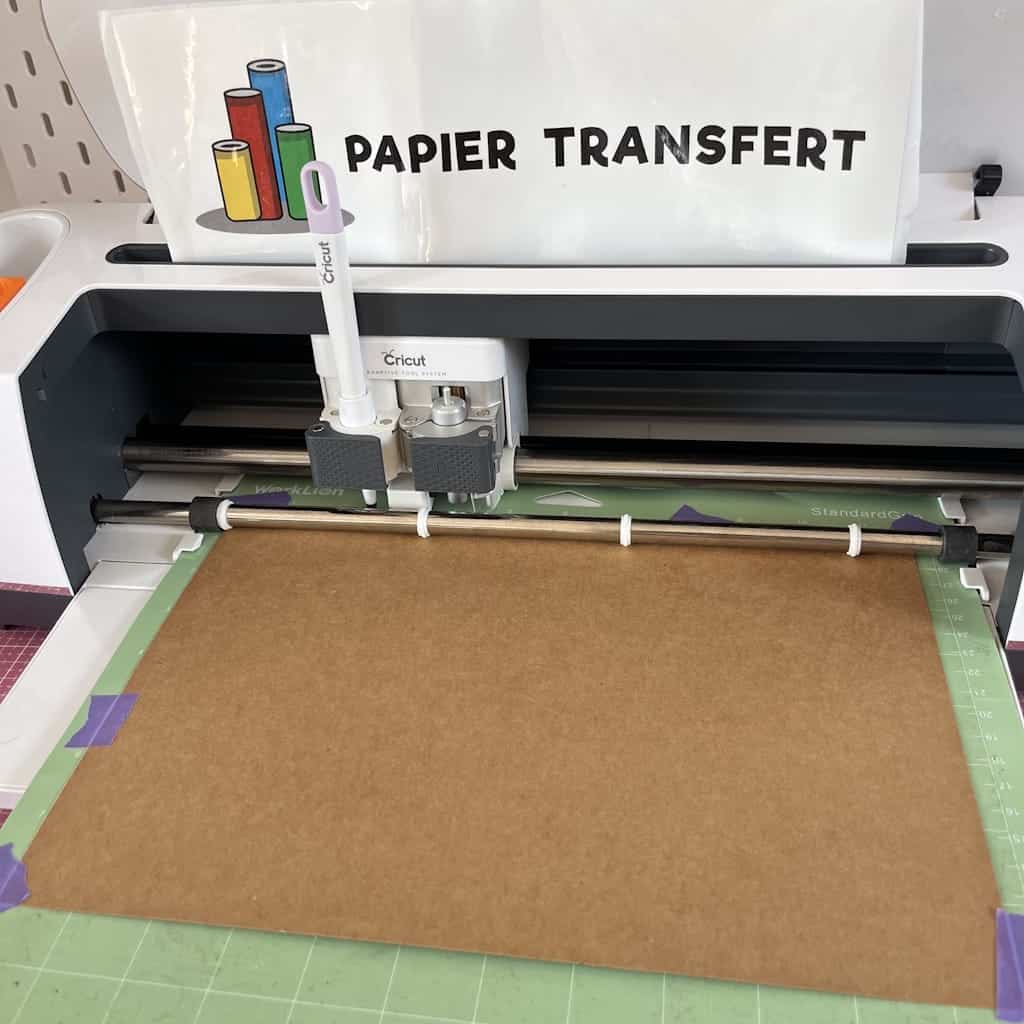
-
Place the paper on the mat.
-
Check your settings before you start the machine.
-
Let your Cricut cut your design with precision.
For this invitation, I actually used the Cricut's Print & Cut feature (print, then cut) for an even more professional finish!
4. Assemble the Invitation
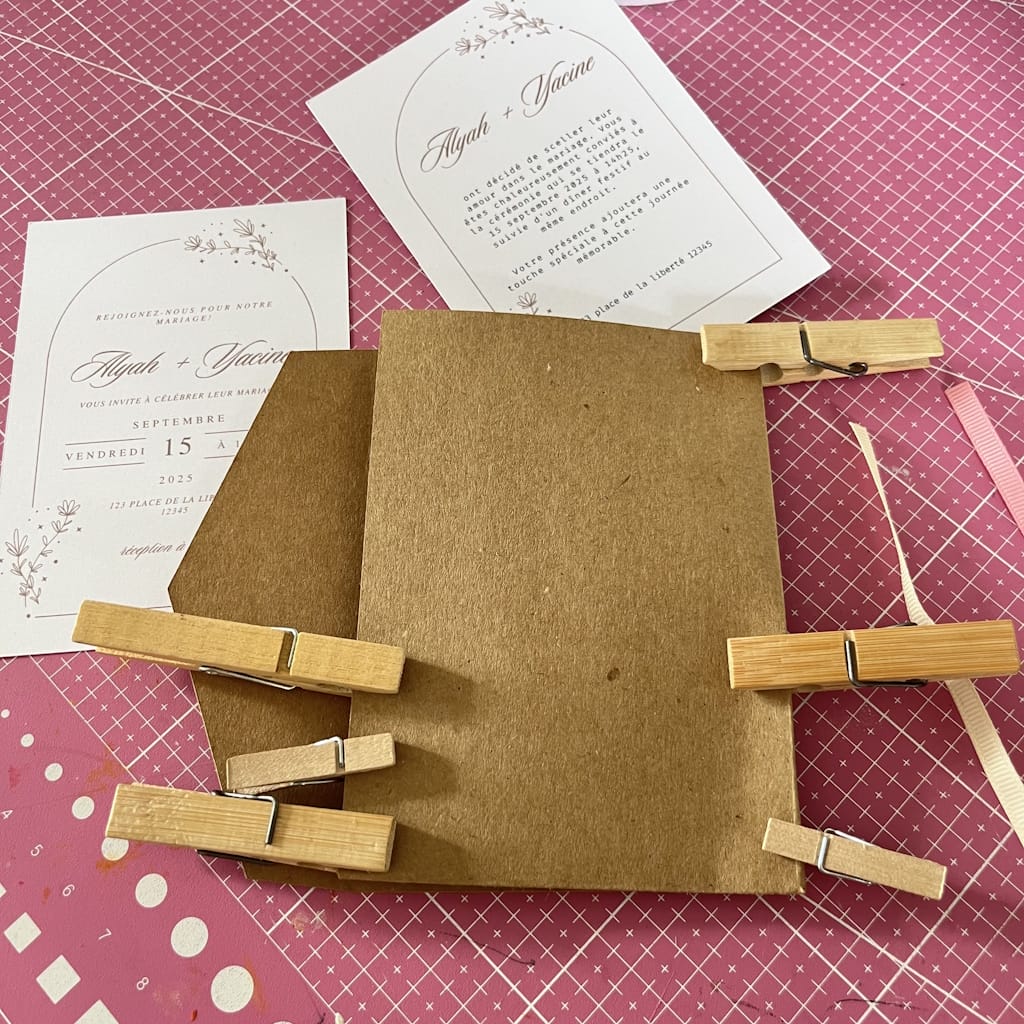
-
Layer your papers. To add dimension, use double-sided foam tape.
-
Glue the different pieces in place.
-
Add a ribbon, a bow, or some twine for an elegant finishing touch.
5. Finish Your Invitations
-
Make sure the colors and details of your invitations match your wedding theme.
-
Slip your creations into coordinating envelopes for a cohesive, elegant look.
-
Well done! You've made your own invitations with your Cricut. Be proud of yourself: each card is unique, personalized, and a perfect reflection of your style. Your guests will love receiving an invitation made with so much care and creativity!
-
Bonus tip: snap a photo of your creations before you mail them, so you can hold on to the memory of this magical DIY project!
3. How to Make a Wedding Invitation with a Cricut: The Tips!
Want an elegant invitation that leaves a lasting impression? Here are a few tips from my own experience:
-
Choose metallic or pearlescent paper: these papers catch the light and instantly give your invitation a chic, refined touch. Even a simple design will look professional right away.
-
Add gold or silver foil to your text: this technique creates a luxurious, modern look. A few gold accents on your names or the wedding date will take your invitation to the next level.
-
Always keep your colors and theme consistent: choose shades that go with your wedding. Even the smallest touches, like a ribbon or a cut detail, should tie back to your color palette.
💡
Personal tip: for my wedding, I used white paper with a few gold foil details and a matching ribbon. It was simple but so elegant that several guests asked me how I'd made them!
4. Cricut Invitation Style Ideas
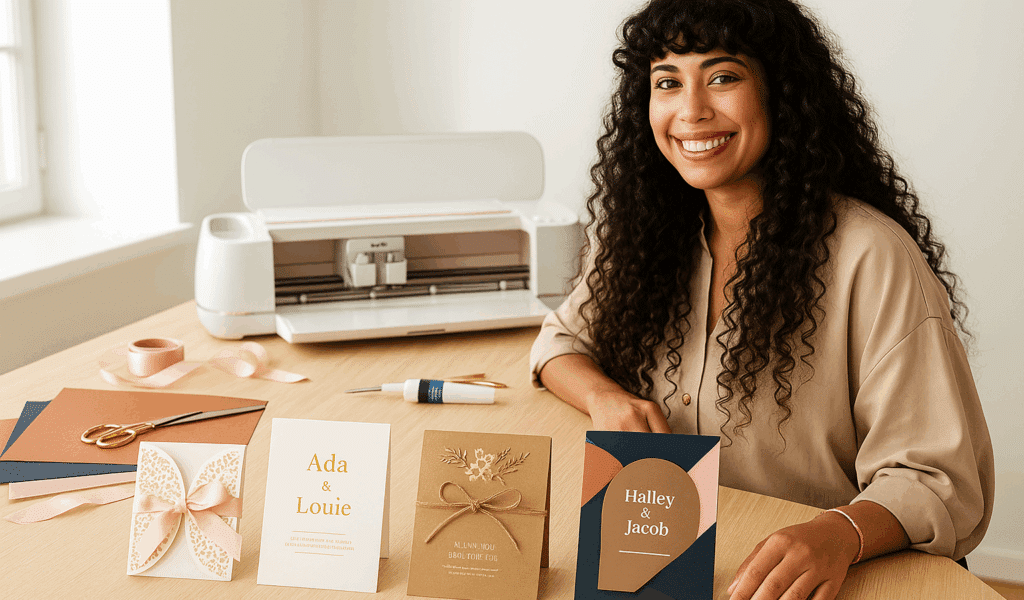
When I made my own invitations, I realized just how much creative freedom a Cricut gives you. Depending on your wedding style, you can tailor your invitation so it perfectly reflects your aesthetic. Here are a few ideas to inspire you:
💌
Romantic
For a soft, elegant look, choose cut-paper lace, fine swirls, and delicate details. You can add a satin ribbon for an even more refined touch. This style is perfect for a classic wedding or a rustic-chic one.
💡
Tip: use pearlescent paper to enhance the romantic feel and give your invitation a subtle glow.
💌
Minimalist and Chic
If you love clean lines and a contemporary look, minimalism is the way to go. Choose thick white or ivory paper and simple but elegant fonts, then add a few gold or foil accents to the text.
💡
Tip: play with font sizes and contrast to make your names or the date stand out, without adding any extra decoration.
💌
Rustic
For a nature-inspired or rustic wedding, kraft paper and dried flowers are your go-to materials. Your Cricut can cut out floral shapes or leaves to complete the look.
💡
Tip: add some natural twine or a small jute ribbon for a warm, authentic feel.
💌
Modern
If you love originality and graphic design, go for geometric shapes, contrasting colors, and bold patterns. Your Cricut can make precise, creative cuts for an ultra-contemporary look.
💡
Tip: experiment with layering colored papers to create dimension and give your invitation some personality.
Whatever style you choose, make sure your invitation reflects your personality and the feel of your wedding. That's the best way to create a one-of-a-kind invitation your guests will remember!
5. Make Your Invitations an Unforgettable Memory with Your Cricut
Making your wedding invitation with a Cricut is so much more than a DIY project: it's a way to tell your story and let your creativity shine. I still remember the moment I held my first invitations in my hands... I felt a mix of pride and excitement. Every detail reflected who we were and the atmosphere we wanted for our wedding.
By following the steps and tips I've shared, you can make elegant, unique, personalized invitations too, without blowing your budget. The best part? Your guests will feel all the care and love you put into these little works of art. 💕
So don't wait any longer: dive in, explore your ideas, try out some cuts, and play with different papers and embellishments. With a little patience and your Cricut, your invitations will be as beautiful as they are memorable.
FAQ: How to Make a Wedding Invitation with a Cricut
1. Which Cricut Machine Should You Choose for Your Wedding Invitations?
For invitations, the Cricut Maker is ideal thanks to its versatility and cutting power, especially if you want to make intricate cuts or add fine details like paper lace. The Cricut Explore also works well for simple designs, while the Cricut Joy is perfect for small projects and more minimalist invitations.
2. What Type of Paper Should You Use for Elegant Invitations?
Go with 200 to 300 g/m² cardstock. For a chic look, choose pearlescent, metallic, or textured paper. You can also layer several papers to give your invitations dimension.
3. Is It Hard to Make an Invitation with a Cricut as a Beginner?
Not at all! Cricut machines are designed to be beginner-friendly, even if you're just starting out. Just follow the steps: choose a design, set up your file in Design Space, cut, and assemble. With a little practice and my tips, your invitations will look like a pro made them.
4. How Much Does It Cost to Make a Homemade Invitation?
The cost depends on the paper and embellishments you choose. On average, a homemade invitation costs between 1.50 € and 3 €, compared to 6 to 8 € (or even more) for one ordered from a print shop. The machine is a one-time investment, and it lets you create as many designs as you like.
5. Can You Fully Personalize Your Invitations with a Cricut?
Yes! With a Cricut, you can customize fonts, colors, patterns, and cuts. You can add ribbons, rhinestones, or gold or silver foil, and even create your own designs so every invitation is unique.
6. How Long Does It Take to Make a Wedding Invitation?
It all depends on how complex your design is and how many invitations you're making. For a simple design, plan on 30 to 45 minutes per invitation (including cutting and assembly). More elaborate designs can take longer, especially if you add multiple layers of paper or decorations.
7. What Are the Best Tips for a Truly Professional Result?
- Choose quality paper in the right weight.
- Stick to a consistent color palette that matches your wedding theme.
- Add elegant details like foil, ribbons, or metallic vinyl.
- Do a test cut on scrap paper before cutting your whole batch.
8. Where Can You Find the Right Supplies to Make Your Invitations with a Cricut?
You'll find all the accessories you need for your Cricut at Transfer Paper.
Owning a Cricut is already a game changer. But to get clean, precise, long-lasting cuts, you need the accessory that changes everything: the Cricut cutting mat. It's what ensures a flawless result, especially for a project as important as a wedding invitation. And here's the good news: our Cricut cutting mats perform really well... at a much more affordable price!



Comments
No comments yet. Be the first to share your experience.
Leave a comment