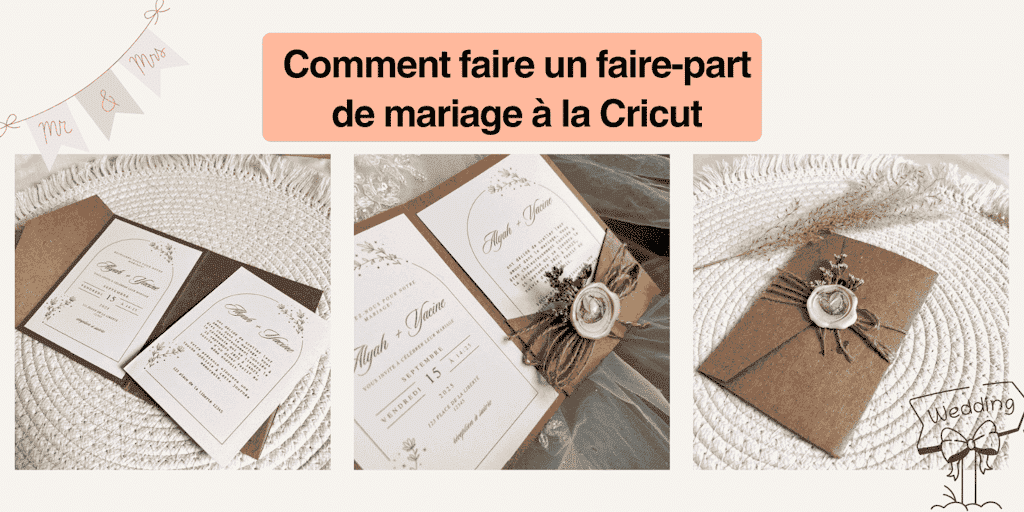
Come fare una partecipazione di nozze con la Cricut è una domanda che molti futuri sposi si pongono, e a ragione: il matrimonio è uno dei giorni più belli della tua vita, in cui ogni dettaglio conta. Tra questi, la partecipazione occupa un posto davvero speciale: dà il tono al tuo grande giorno e annuncia l'evento ai tuoi cari.
Invece di optare per un modello standard, perché non creare una partecipazione di nozze unica e personalizzata con la tua Cricut? Questa macchina da taglio ti permette di realizzare inviti degni di un professionista, lasciando libero sfogo alla tua creatività.
Quando preparavo il mio matrimonio, ho passato ore a cercare la partecipazione PER-FET-TA. Volevo qualcosa che ci somigliasse, elegante ma non troppo classico, unico senza essere stravagante. Ma ogni volta, o i modelli erano troppo impersonali, oppure i prezzi erano esorbitanti
😳
.
Un giorno ho avuto l'illuminazione: e se lo facessi da sola? È lì che è entrata in gioco la Cricut. Grazie a lei, ho potuto creare inviti personalizzati, raffinati e soprattutto a nostra immagine.
Oggi ho voglia di condividere questa esperienza con te. Se sei in piena fase di preparativi e sogni una partecipazione unica che lascerà il segno tra i tuoi invitati, ti mostrerò come fare una partecipazione di nozze con la Cricut degna di un professionista, senza far esplodere il tuo budget.
Scopri come progettare facilmente una partecipazione di nozze con la Cricut in soli 5 semplici passaggi, insieme ai miei migliori consigli per un risultato elegante!
Allora, pronta a passare all'azione e creare le tue partecipazioni Cricut? Forza, si comincia!
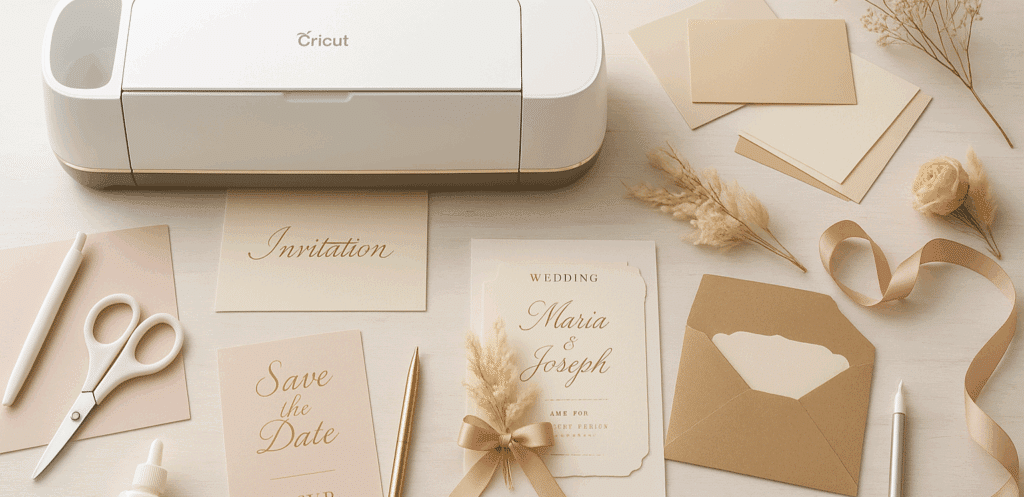
1. Il materiale indispensabile per realizzare una partecipazione di nozze con la Cricut
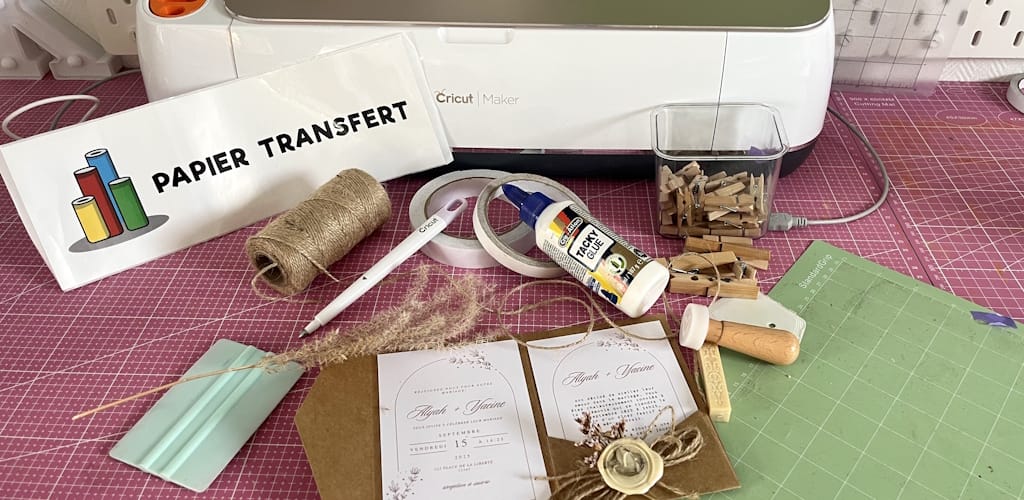
Prima di lanciarti nella creazione dei tuoi inviti, è essenziale preparare tutto il materiale. Avere gli strumenti giusti a portata di mano ti farà guadagnare tempo e ti eviterà errori. Ecco l'elenco dettagliato di tutti gli strumenti che ti consiglio di avere per realizzare le partecipazioni:
A. La macchina Cricut
A seconda delle tue esigenze e del tuo budget, esistono diversi modelli:
-
Cricut Explore: un buon compromesso per i tuoi progetti di media dimensione.
-
Cricut Maker: la più versatile e potente, ideale se vuoi spingere la personalizzazione al massimo.
Non sai quale scegliere? Niente panico, ti ho preparato un confronto tra queste due Cricut proprio QUI.
💡
Il mio consiglio: se prevedi di realizzare molte partecipazioni o di aggiungere tagli complessi (come il pizzo di carta), la Cricut Maker sarà la tua migliore alleata.
Altrimenti, puoi anche orientarti verso la Silhouette Cameo 5!

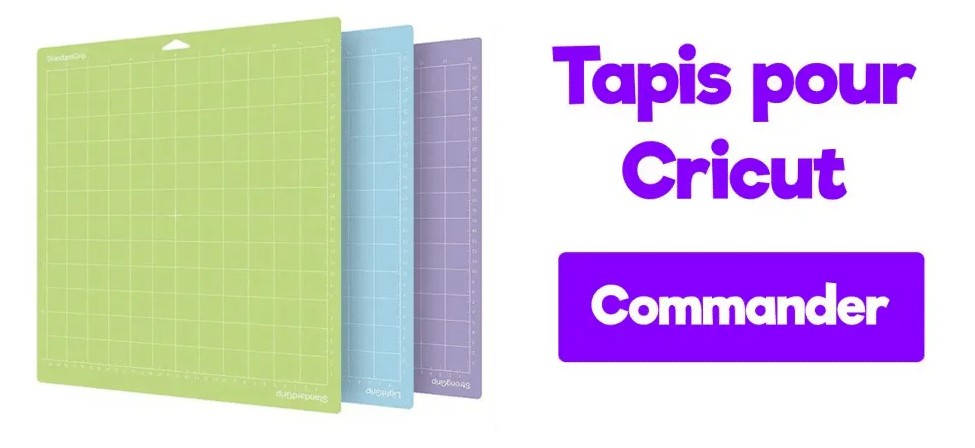
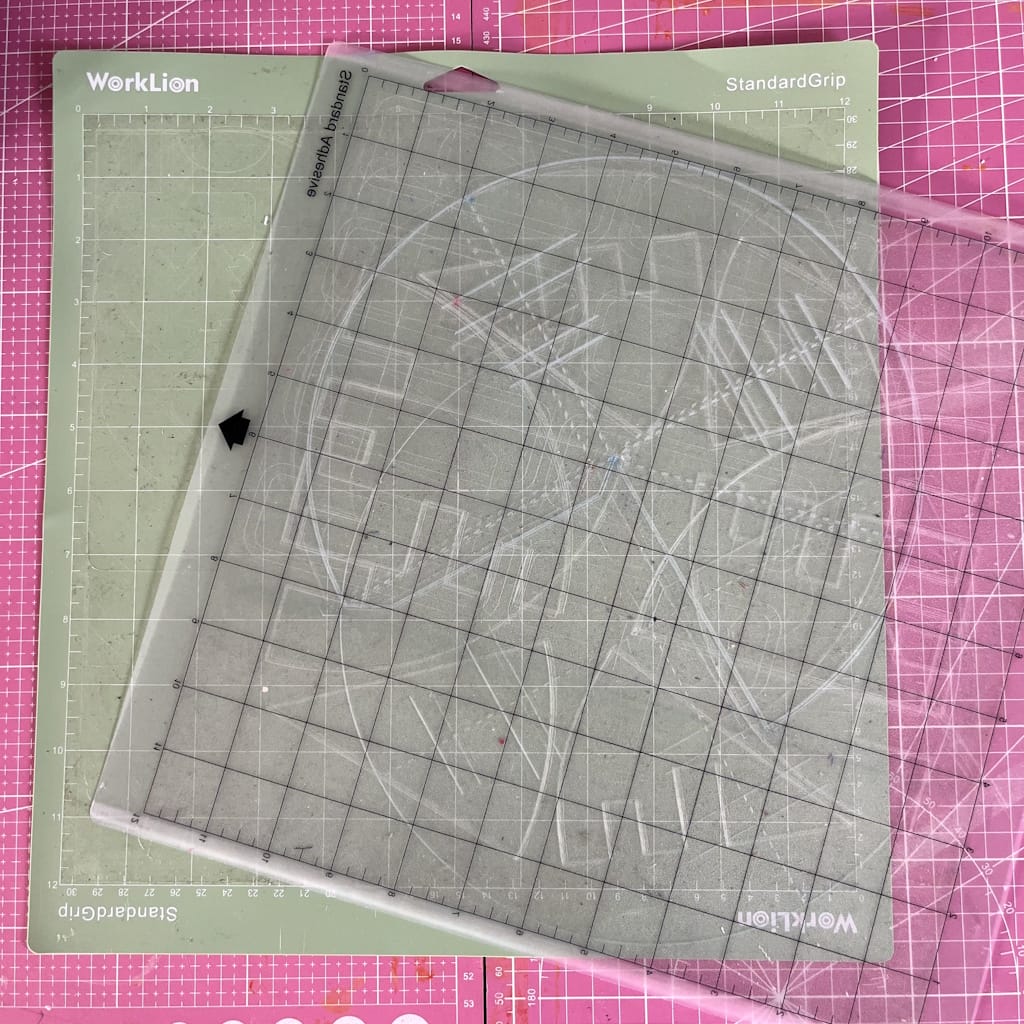
B. Il tappetino da taglio
La scelta del tappetino è fondamentale per riuscire nelle tue partecipazioni di nozze.
-
Tappetino LightGrip (blu): perfetto per le carte sottili o la carta lucida.
-
Tappetino StandardGrip (verde): ideale per il cartoncino.
-
Tappetino StrongGrip (viola): riservato ai materiali più spessi (da evitare per la carta delicata).
Da Paper Transfer, i tappetini da taglio Cricut sono venduti in set, il che è ottimo per averli tutti sotto mano, oppure singolarmente se vuoi solo quello che ti manca!
Consiglio: usa una spatola per fissare le tue carte senza rovinarle e preservarne la qualità.
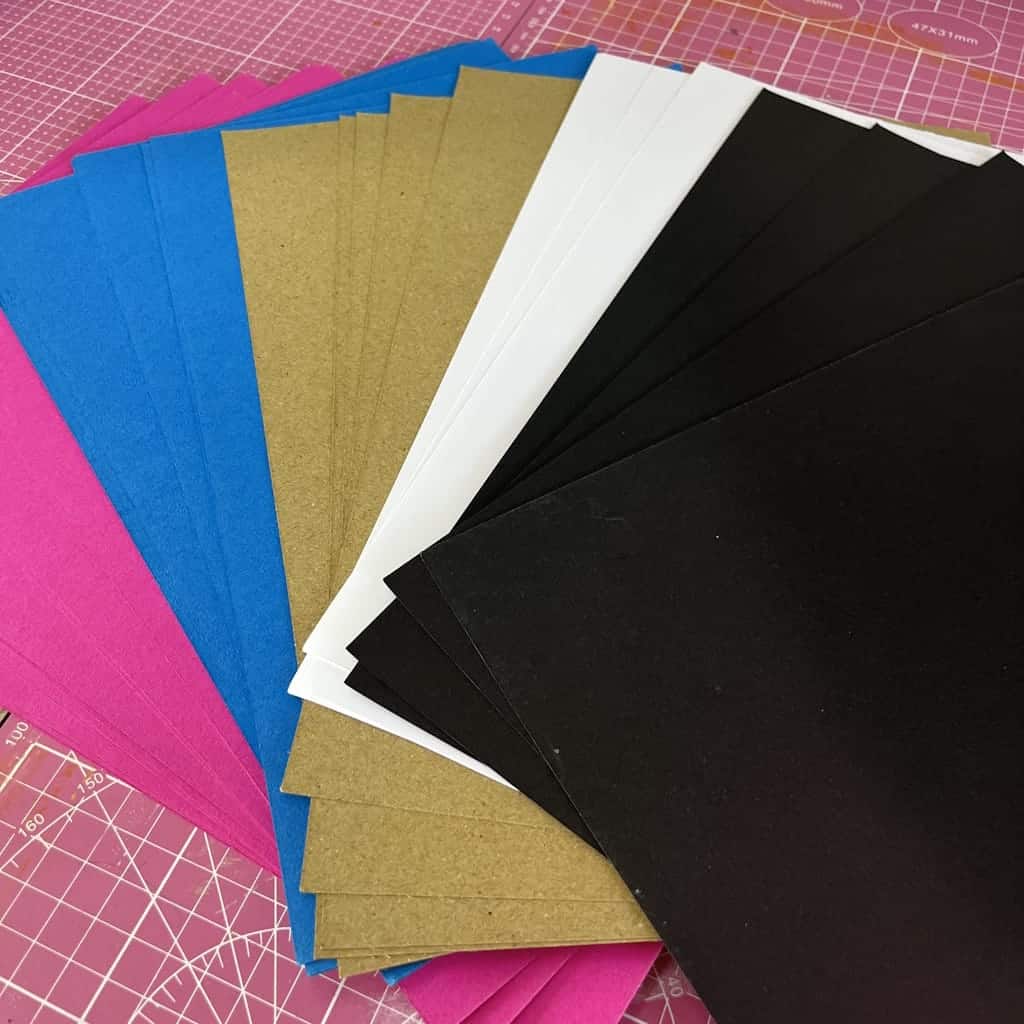
C. Il cartoncino
Il cartoncino è l'elemento centrale della tua partecipazione. Più è di qualità, più i tuoi inviti avranno un risultato professionale.
-
Grammatura consigliata: tra 200 e 300 g/m².
-
Finiture possibili: opaco, lucido, perlato, metallizzato, testurizzato.
-
Colori: rispetta la palette del tuo matrimonio
(es. bianco e oro per un matrimonio chic, kraft e beige per uno stile campestre).
Piccolo consiglio dato dall'esperienza: all'inizio avevo scelto una carta troppo sottile, e il risultato mancava di consistenza. Con una carta spessa e leggermente testurizzata, il risultato è diventato molto più di fascia alta e professionale.
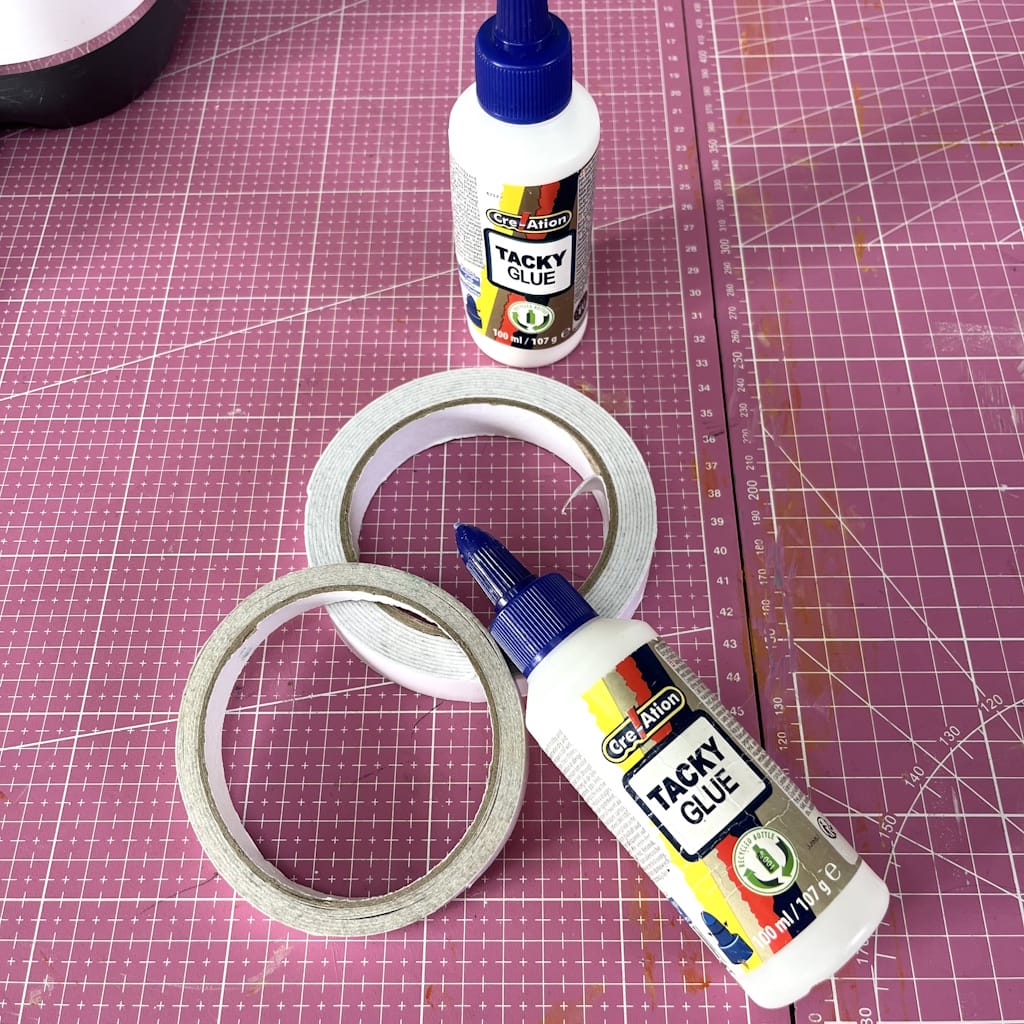
D. Gli strumenti per incollare
Due opzioni principali:
-
Il biadesivo: rapido, pulito, ideale per i tuoi assemblaggi precisi e le creazioni curate.
-
La colla liquida: più economica ma può lasciare tracce se trabocca. Pratica per i tuoi progetti semplici o le finiture minuziose.
Consiglio: usa una penna a colla per i tuoi piccoli tagli fini (arabeschi, motivi, pizzo...), per ottenere un risultato preciso e pulito.
E. Gli abbellimenti
È ciò che fa tutta la differenza tra una partecipazione classica e una partecipazione unica che crei con la tua Cricut.
-
Nastri e spaghi per un effetto chic o campestre.
-
Strass e perle adesive per un tocco elegante.
-
Fiori secchi per uno stile romantico e naturale.
-
Adesivi o sigilli di ceralacca per chiudere la tua busta con raffinatezza.
💡
Il mio consiglio personale: per il mio matrimonio, avevo aggiunto un piccolo nastro dorato a ogni partecipazione. Semplice, ma l'effetto "wow" era garantito già all'apertura della busta.

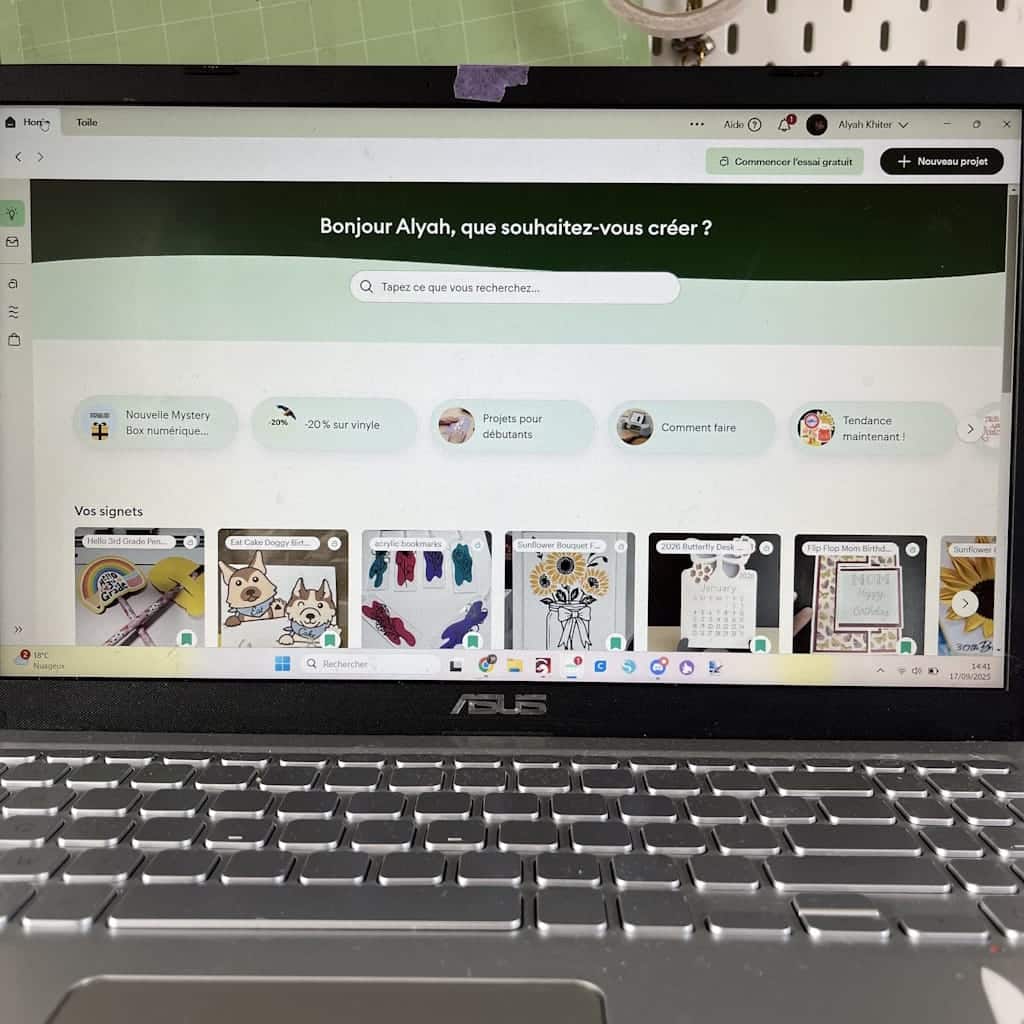
F. Il software Cricut Design Space
È il cervello del tuo progetto. Grazie a lui, puoi:
-
Creare o importare i tuoi modelli.
-
Testare diversi caratteri e impaginazioni per un risultato professionale.
-
Regolare la dimensione e la posizione dei tuoi testi.
-
Visualizzare l'anteprima del risultato prima di avviare il taglio.
È lì che personalizzerai davvero la tua partecipazione affinché corrisponda alla tua coppia e al tuo tema, e ottenga un risultato unico e professionale.
Preparare bene il tuo materiale è il primo passo per sapere come fare una partecipazione di nozze con la Cricut. Una macchina adatta, una buona carta e qualche abbellimento bastano per trasformare i tuoi inviti in vere opere d'arte.
Ora che conosci tutto il materiale necessario per sapere come fare una partecipazione di nozze con la Cricut, scopriamo i 5 semplici passaggi per realizzarla. Forza, si comincia!
2. Come fare una partecipazione di nozze con la Cricut.
Mi ricordo ancora della prima volta in cui ho voluto creare le mie partecipazioni con la mia Cricut. Avevo mille idee in testa ma nessun metodo chiaro. Ho proceduto a tentoni, ho sbagliato qualche taglio (e sprecato carta
😅
), ma a poco a poco ho trovato un'organizzazione che mi ha permesso di ottenere un risultato davvero degno di una professionista.
È questa esperienza che voglio condividere con te oggi, affinché anche tu sappia come fare una partecipazione di nozze con la Cricut, senza perdere tempo ed evitando i miei errori. Ecco i semplici passaggi da seguire per riuscire nei tuoi inviti al primo colpo!
PS: Realizzeremo insieme un modello di partecipazione, ma ovviamente sei libera di personalizzarlo o di crearne uno che corrisponda davvero al tuo stile!
1. Scegliere un design adatto al tuo matrimonio
Inizia definendo uno stile: romantico, campestre, moderno o minimalista. In Design Space (l'applicazione Cricut), troverai modelli pronti all'uso oppure puoi creare il tuo.
A corto di ispirazione? Pinterest è una vera miniera d'oro per trovare idee!
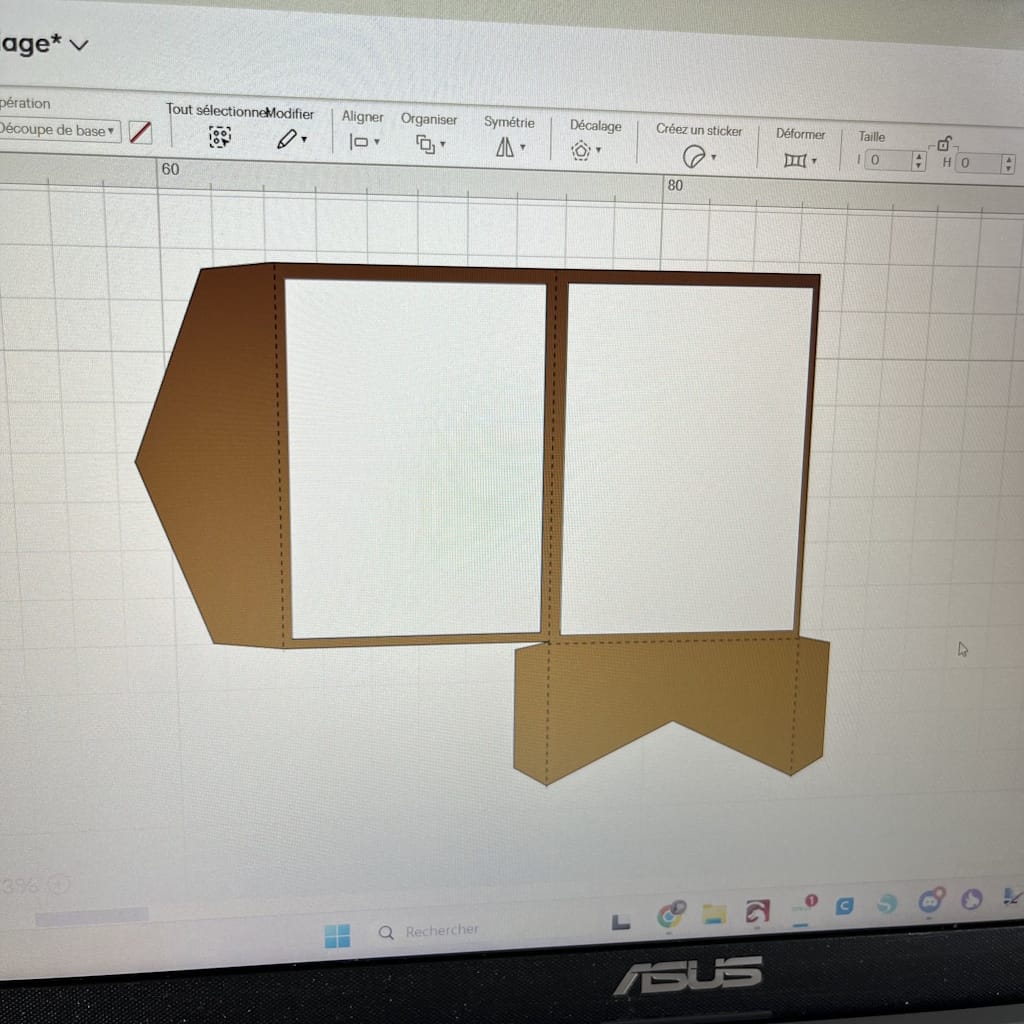
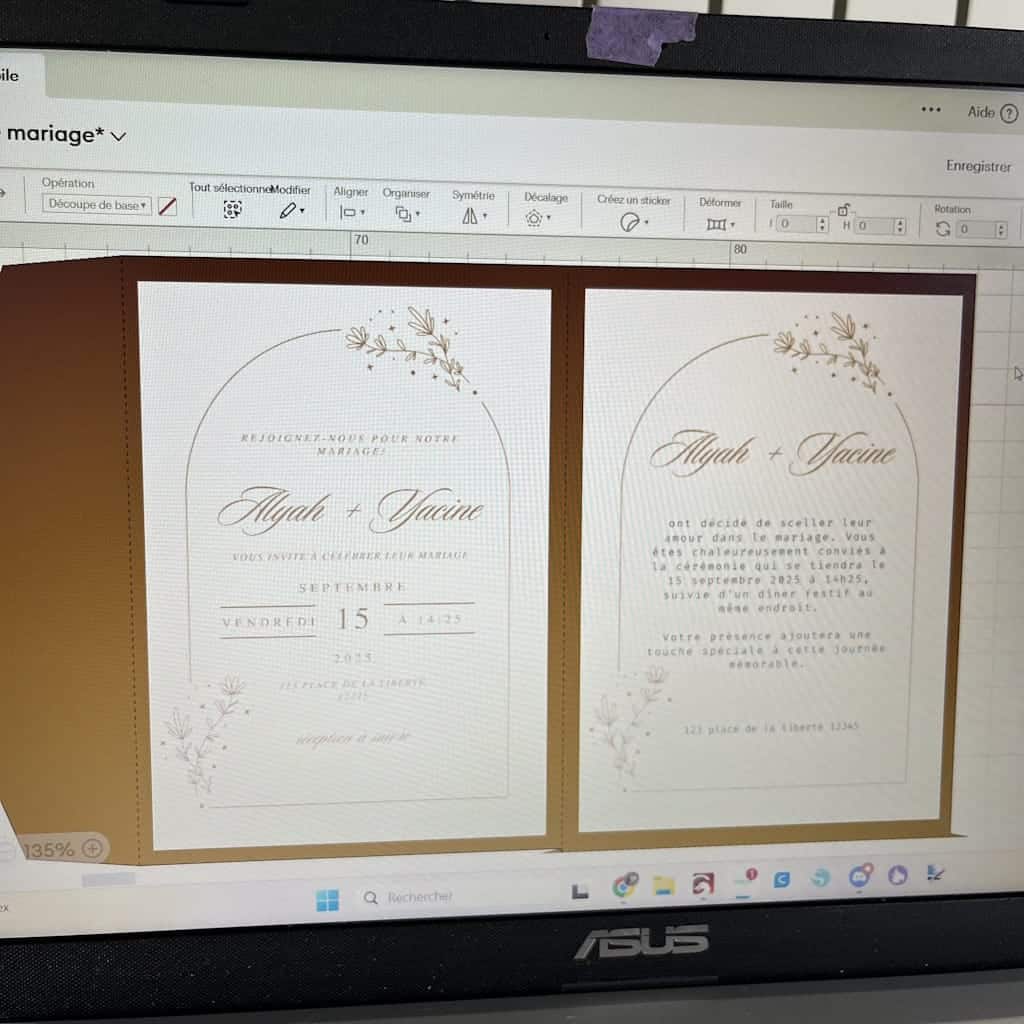
2. Preparare il file in Cricut Design Space
-
Inserisci i tuoi nomi, la data e il luogo del matrimonio.
-
Seleziona i tuoi caratteri (manoscritto, calligrafia, moderno).
-
Aggiungi i tuoi ornamenti (arabeschi, cuori, motivi floreali).
In Cricut Design Space, ogni elemento da tagliare deve avere un colore diverso. Questo permette al software di capire che dovrà tagliare diverse carte differenti.
Piccolo consiglio: ricordati di organizzare bene i tuoi livelli per evitare qualsiasi confusione al momento del taglio.
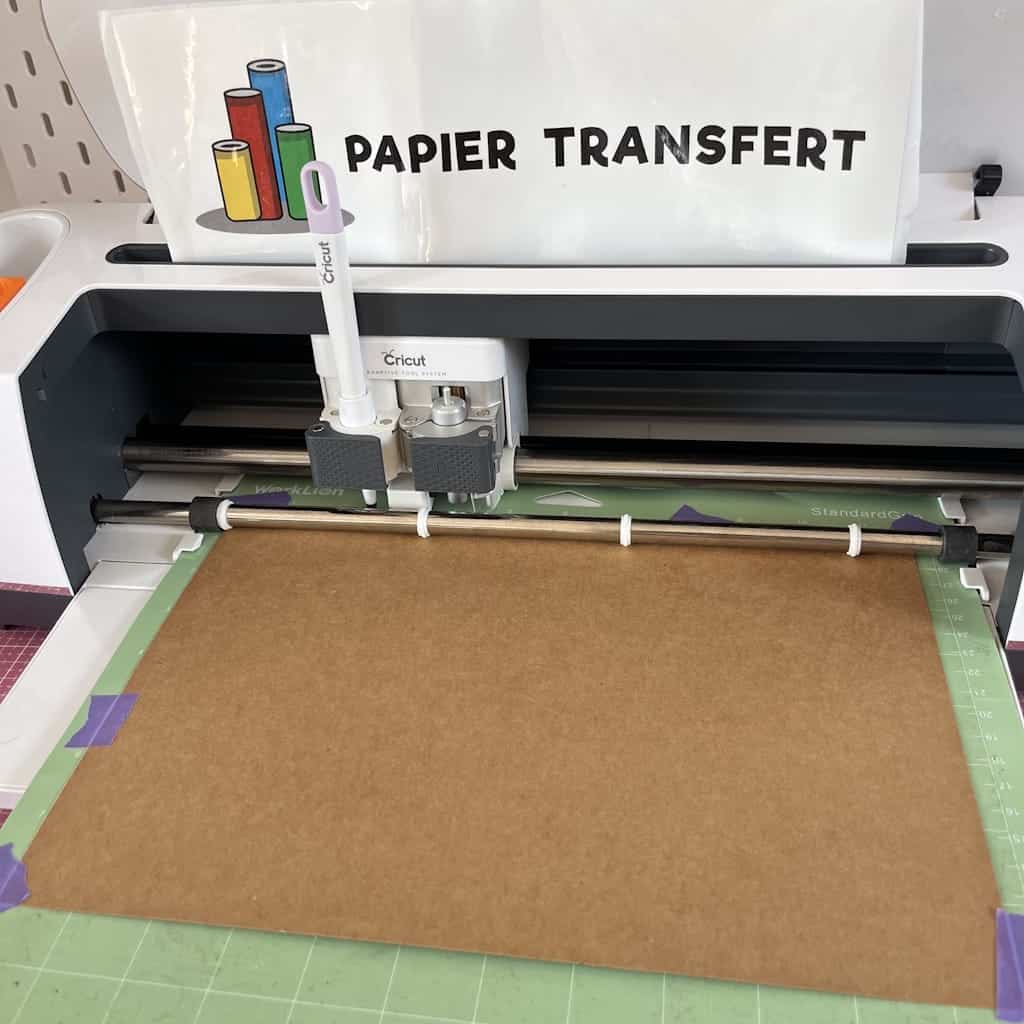
3. Avviare il taglio
-
Posiziona la carta sul tappetino.
-
Verifica le impostazioni prima di avviare la macchina.
-
Lascia che la Cricut tagli il tuo design con precisione.
Per questa partecipazione, ho tra l'altro utilizzato l'opzione Print & Cut della Cricut (stampa poi taglio), per un risultato ancora più professionale!
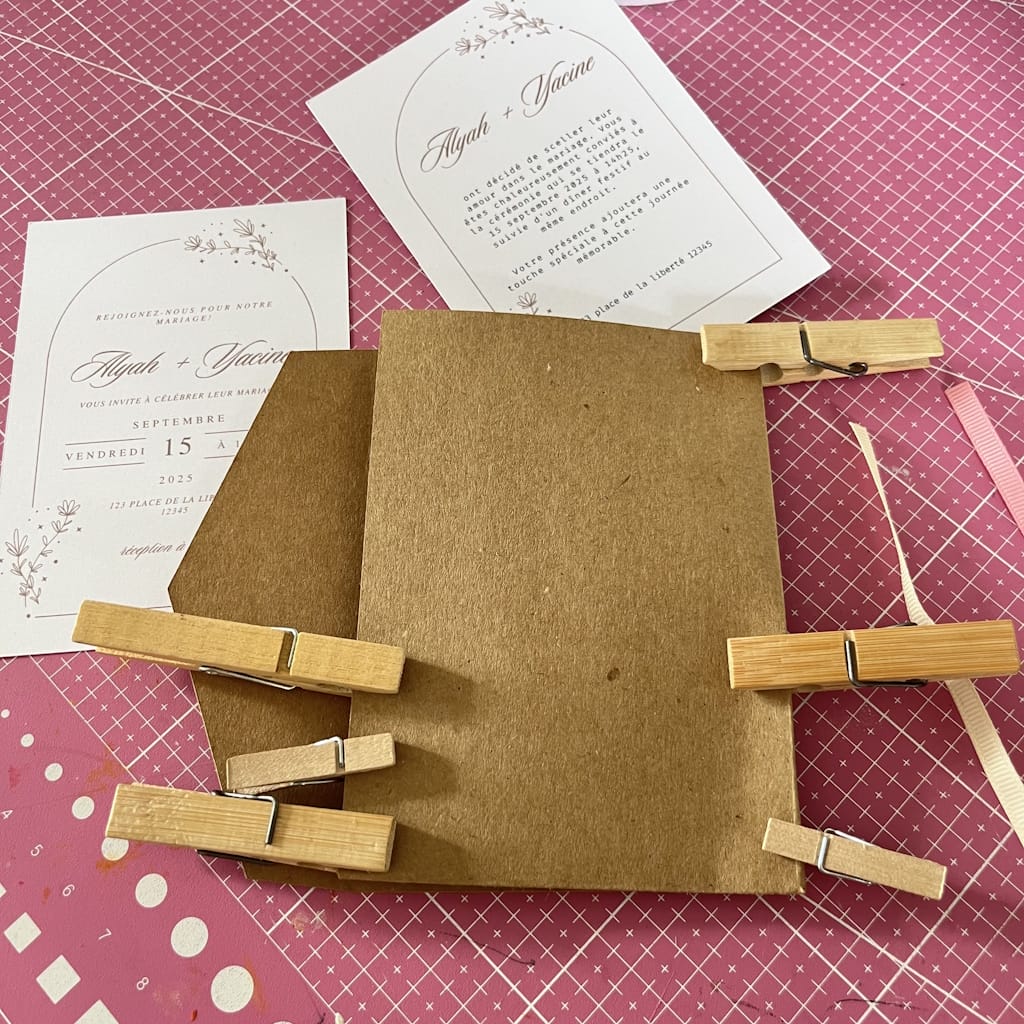
4. Assemblare la partecipazione
-
Sovrapponi le carte. Se desideri dare rilievo, usa del biadesivo in schiuma.
-
Incolla i diversi elementi.
-
Aggiungi un nastro, un fiocco o uno spago per un risultato raffinato.
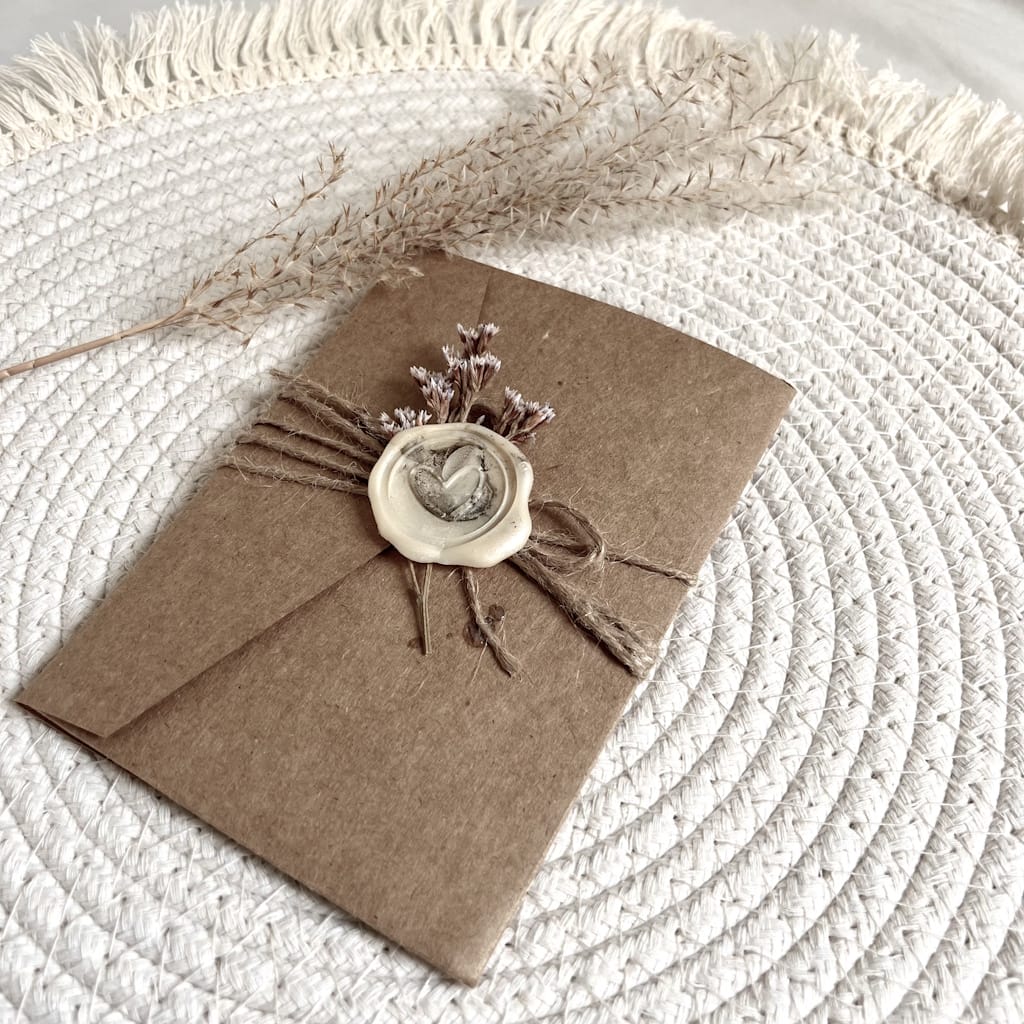
5. Finalizzare i tuoi inviti
-
Verifica che i colori e i dettagli dei tuoi inviti siano coerenti con il tema del tuo matrimonio.
-
Inserisci le tue creazioni in buste abbinate per un risultato armonioso ed elegante.
-
Bravissima! Sei riuscita a creare i tuoi inviti con la Cricut. Sii fiera di te: ogni biglietto è unico, personalizzato e riflette perfettamente il tuo stile. I tuoi invitati adoreranno ricevere una partecipazione fatta con così tanta attenzione e creatività!
-
Piccolo consiglio bonus: scatta una foto delle tue creazioni prima di inviarle, potrai conservare questo ricordo magico del tuo progetto fai da te!
3. Come fare una partecipazione di nozze con la Cricut. I consigli!
Per ottenere una partecipazione elegante e che lascia il segno, ecco qualche consiglio nato dalla mia esperienza:
-
Scegli una carta metallizzata o perlata: queste carte riflettono la luce e portano immediatamente un tocco chic e raffinato al tuo invito. Anche un design semplice acquisterà subito un'aria professionale.
-
Integra del foil dorato o argentato sul tuo testo: questa tecnica dà un risultato lussuoso e moderno. Qualche tocco di doratura sui nomi o sulla data del matrimonio impreziosirà la tua partecipazione.
-
Rispetta sempre la coerenza dei colori e del tema: scegli tonalità in accordo con il tuo matrimonio. Anche i più piccoli tocchi, come un nastro o un dettaglio del taglio, devono richiamare la tua palette di colori.
💡
Consiglio personale: per il mio matrimonio, avevo usato una carta bianca con qualche dettaglio in foil dorato e un nastro abbinato. Il risultato era semplice ma così elegante che diversi invitati mi hanno chiesto come avevo fatto!
4. Idee di stili di partecipazione con la Cricut
Quando ho creato i miei inviti, mi sono resa conto di quanto la Cricut permetta di lasciare libero sfogo alla creatività. A seconda dello stile del tuo matrimonio, puoi adattare la tua partecipazione affinché rifletta perfettamente il tuo mondo. Ecco qualche idea per ispirarti:
💌
Romantico
Per uno stile dolce ed elegante, punta sul pizzo di carta intagliato, su arabeschi fini e dettagli delicati. Puoi aggiungere un nastro di raso per un tocco ancora più raffinato. Questo stile è perfetto per un matrimonio classico o campestre chic.
💡
Consiglio: usa una carta perlata per accentuare l'effetto romantico e aggiungere luce al tuo invito.
💌
Minimalista e chic
Se ami le linee pulite e lo stile contemporaneo, il minimalismo è l'ideale. Scegli una carta bianca o avorio spessa, caratteri semplici ma eleganti, e aggiungi qualche tocco di doratura o foil sui testi.
💡
Consiglio: gioca con la dimensione e il contrasto dei caratteri per mettere in risalto i nomi o la data, senza aggiungere ulteriori decorazioni.
💌
Campestre
Per un matrimonio naturale o rustico, la carta kraft e i fiori secchi sono i tuoi migliori alleati. La Cricut ti permette di tagliare motivi floreali o foglie per completare questo look.
💡
Consiglio: aggiungi uno spago naturale o un piccolo nastro di juta per un risultato autentico e caloroso.
💌
Moderno
Se ami l'originalità e il design grafico, opta per forme geometriche, colori contrastanti e motivi audaci. La Cricut ti permetterà di realizzare tagli precisi e innovativi, per un risultato ultra contemporaneo.
💡
Consiglio: gioca con la sovrapposizione di carte colorate per creare rilievo e dare carattere alla tua partecipazione.
Qualunque sia lo stile scelto, assicurati che la tua partecipazione rifletta la tua personalità e l'atmosfera del tuo matrimonio. È il modo migliore per creare un invito unico che lascerà il segno tra i tuoi invitati!
5. Rendi i tuoi inviti un ricordo indimenticabile con la Cricut
Creare la tua partecipazione di nozze con una Cricut è molto più di un semplice fai da te: è un modo per raccontare la tua storia e lasciar parlare la tua creatività. Mi ricordo ancora del momento in cui ho tenuto i miei primi inviti tra le mani... un misto di orgoglio ed emozione. Ogni dettaglio rifletteva il nostro mondo e l'atmosfera che volevamo per il nostro matrimonio.
Seguendo i passaggi e i consigli che ho condiviso con te, anche tu puoi realizzare partecipazioni eleganti, uniche e personalizzate, senza far esplodere il tuo budget. La cosa più bella in tutto questo? I tuoi invitati percepiranno tutta l'attenzione e l'amore che hai messo in queste piccole opere d'arte. 💕
Allora non esitare più: lanciati, esplora le tue idee, prova dei tagli, gioca con le carte e gli abbellimenti. Con un po' di pazienza e la tua Cricut, i tuoi inviti saranno tanto belli quanto memorabili.
FAQ, come fare una partecipazione di nozze con la Cricut
1. Quale macchina Cricut scegliere per creare la tua partecipazione di nozze?
Per le partecipazioni, la Cricut Maker è l'ideale grazie alla sua versatilità e alla sua potenza, soprattutto se vuoi realizzare tagli complessi o aggiungere dettagli fini come il pizzo di carta. La Cricut Explore va bene anche per design semplici, mentre la Cricut Joy è perfetta per i piccoli progetti e gli inviti più minimalisti.
2. Che tipo di carta usare per inviti eleganti?
Opta per un cartoncino da 200 a 300 g/m². Per un risultato chic, privilegia le carte perlate, metallizzate o testurizzate. Puoi anche sovrapporre più carte per dare rilievo ai tuoi inviti.
3. È difficile creare una partecipazione con una Cricut quando si è principianti?
Per niente! La Cricut è progettata per essere accessibile, anche se sei alle prime armi. Basta seguire i passaggi: scegliere un design, preparare il tuo file in Design Space, tagliare e assemblare. Con un po' di pratica e seguendo i miei consigli, le tue partecipazioni avranno un risultato degno di un professionista.
4. Quanto costa realizzare una partecipazione fatta in casa?
Il costo dipende dalla carta e dagli abbellimenti che scegli. In media, una partecipazione fatta in casa costa tra 1,50 € e 3 €, contro i 6 e 8 € (o anche di più) per una partecipazione ordinata da un tipografo. L'investimento nella macchina è unico e ti permette di creare tutti i modelli che desideri.
5. Puoi personalizzare completamente i tuoi inviti con la Cricut?
Sì! La Cricut ti permette di personalizzare caratteri, colori, motivi e tagli. Puoi aggiungere nastri, strass, foil dorato o argentato, e persino creare i tuoi motivi affinché ogni invito sia unico.
6. Quanto tempo ci vuole per realizzare una partecipazione di nozze?
Tutto dipende dalla complessità del design e dal numero di inviti. Per un modello semplice, calcola da 30 a 45 minuti per invito (taglio e assemblaggio compresi). I modelli più elaborati possono richiedere più tempo, soprattutto se aggiungi più strati di carta o decorazioni.
7. Quali sono i consigli per un risultato davvero professionale?
- Scegli una carta di qualità e una grammatura adatta.
- Rispetta una palette di colori coerente con il tema del tuo matrimonio.
- Aggiungi dettagli eleganti come foil, nastri o vinile metallizzato.
- Prova un taglio su una carta di prova prima di avviare la produzione in serie.
8. Dove trovare il materiale adatto per realizzare le tue partecipazioni con la Cricut?
Troverai tutti gli accessori necessari per la tua Cricut su Paper Transfer.
Avere una Cricut è già una rivoluzione. Ma per ottenere tagli netti, precisi e duraturi, ti serve l'accessorio che cambia tutto: il tappetino da taglio Cricut. È lui che garantisce un risultato impeccabile, soprattutto per progetti importanti come una partecipazione di nozze. E buona notizia: i nostri tappetini da taglio Cricut sono davvero performanti... a un prezzo molto più accessibile!