
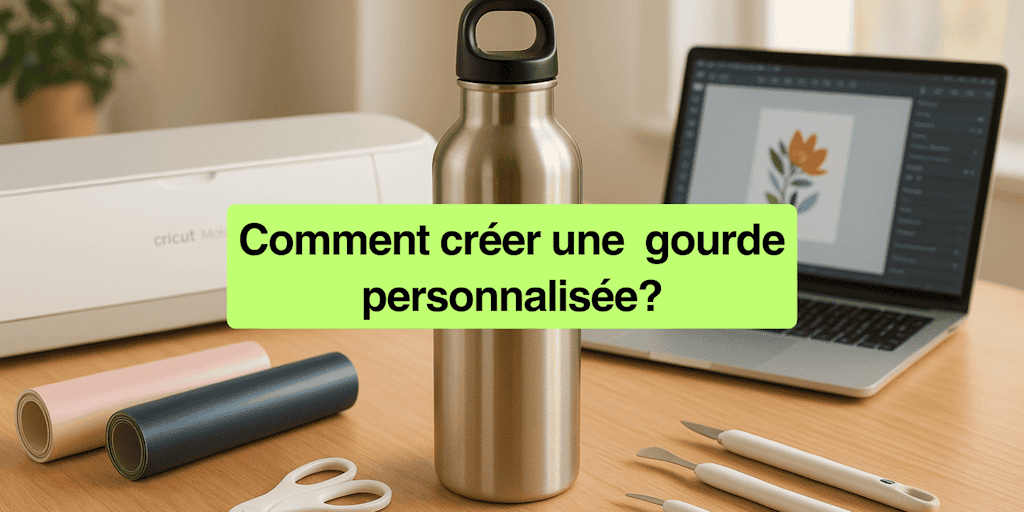
You've probably felt that little twinge of frustration: you set your water bottle down at the gym, on your desk, or even in a classroom, and you realize it looks exactly like your neighbor's. Not very original, right?
I've been there too: that feeling that everyone has the exact same thing as you and that your style just gets lost in the crowd. That's exactly what made me want to make my own personalized water bottle. Because that's a whole different story: it's yours and yours alone, one of a kind. Whether you're flying solo or part of a team, whether you want to show off your style or just make everyday life a little more fun, a personalized water bottle completely changes the experience. And trust me, once you have one, you'll never look at your old bottle the same way again.
I truly believe any everyday object can become unique, stylish, and fun. And honestly, what better way to show off your style, do something small for the planet, and take your water everywhere than with a personalized water bottle? Today, I'm going to show you step by step how to make yours, easily and stress-free.
So grab your supplies, and let's get started on your very first personalized water bottle!
1. Why Personalize a Water Bottle?
A personalized water bottle isn't just something to drink from: it's a practical, one-of-a-kind accessory that truly reflects your personality. Once you have yours, there's no going back! Still not sold on the idea? Then let me give you a few good reasons to get a personalized water bottle.
-
Guaranteed originality: With a personalized water bottle, say goodbye to the same bottle everyone else has. Yours will be unique, recognizable at a glance, and most of all, it will say something about you. Whether you're on your own or in a group, you'll easily stand out.
-
Eco-friendly and responsible: Choosing a personalized water bottle is also a small way to do your part for the planet
🌍
. Goodbye, single-use plastic! Every time you refill your bottle, you know you're helping cut down on waste. It's simple, but it makes a real difference.
-
The perfect gift: If you're looking for an original, practical gift idea, a personalized water bottle is a winner. Whether it's for a birthday, Christmas, a coworker, or a friend, it's a useful, stylish gift that's always appreciated.
-
Everyday motivation: A personalized water bottle with your name, an illustration you love, or an inspiring quote will make you want to take it everywhere. Whether it's for sports, work, or school, it gives your day a little boost.
In short, a personalized water bottle is the perfect accessory: practical, good-looking, and 100% you. It combines style, function, and personality, and that's what makes it so irresistible.
2. The Supplies You'll Need
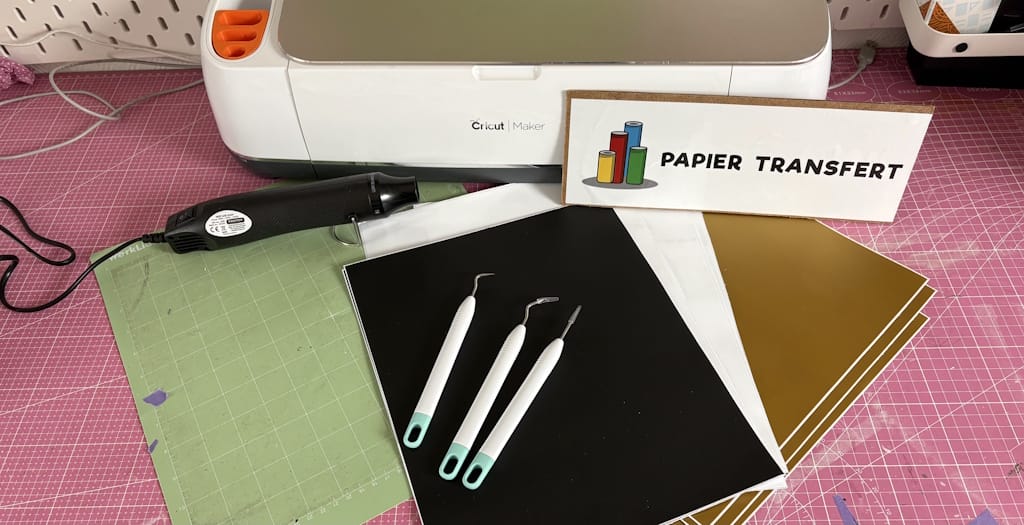
The good news? You don't need a fully equipped workshop to make a great personalized water bottle. Here's what you'll need:
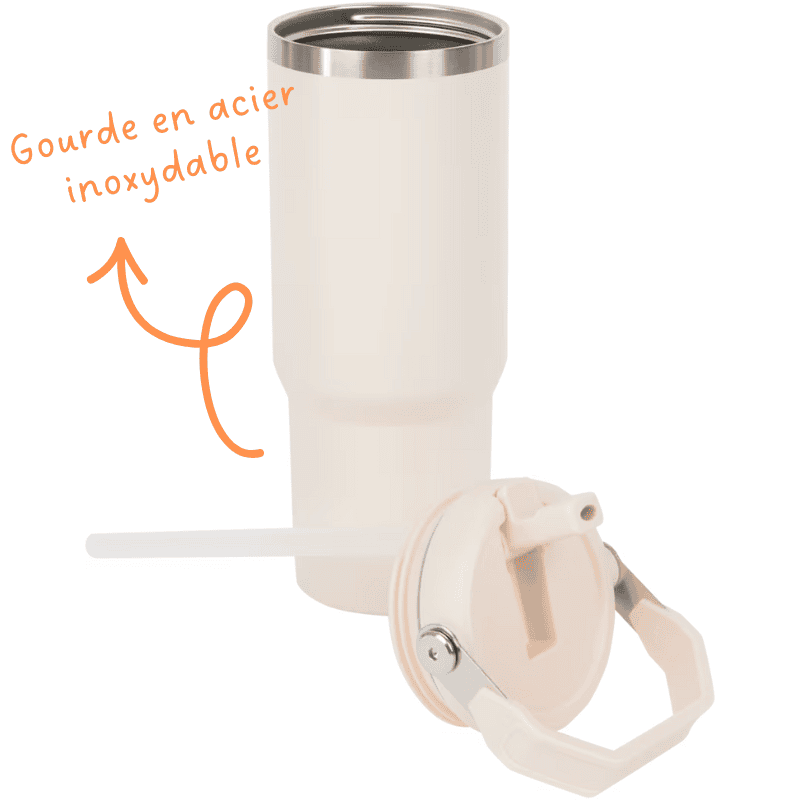
A Stainless Steel Water Bottle or a Reusable Plastic One
This is the foundation of your project! For a personalized water bottle that stands the test of time, I recommend stainless steel: it's sturdy, durable, and keeps your drinks cold for hours. If you prefer reusable plastic, that works too, but be sure to choose a good-quality one (and whatever you do, don't put it in the dishwasher, or you can kiss your gorgeous personalized water bottle goodbye). Choosing the right bottle will help your design hold up perfectly over time! And trust me, having a personalized water bottle that doesn't wear out quickly makes all the difference!
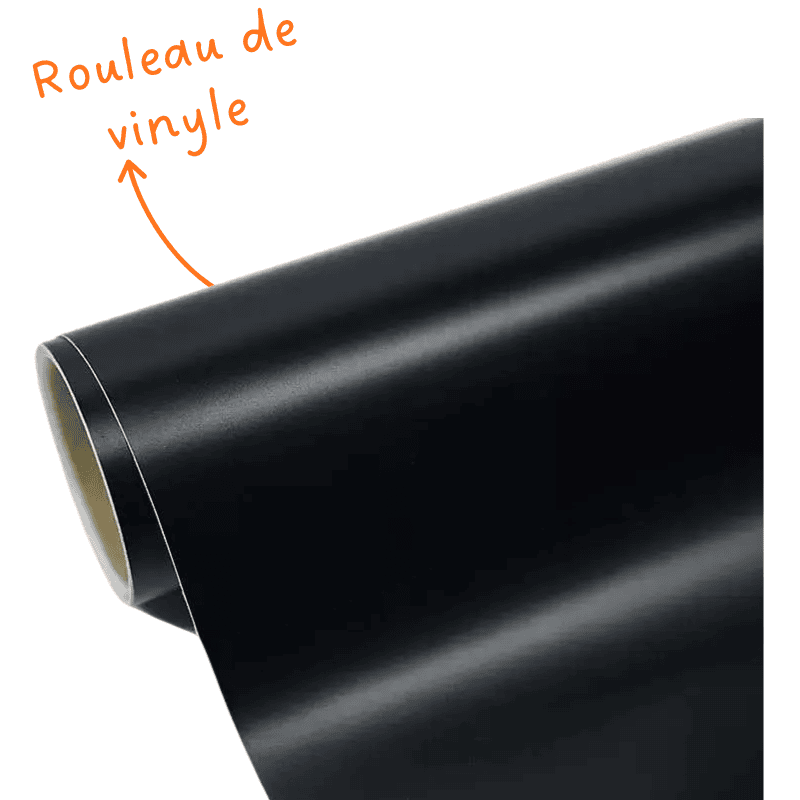
Adhesive Vinyl
Adhesive vinyl is perfect for making your personalized water bottle! It cuts easily, goes on without heat, and gives you a clean look right away. You can write your name in matte chrome vinyl, add a motivational quote in glitter vinyl, or include small geometric shapes in glossy vinyl for a fun touch on your personalized water bottle. Adhesive vinyl makes personalizing quick and easy, with results that are a real pleasure to look at. So let your imagination run wild!
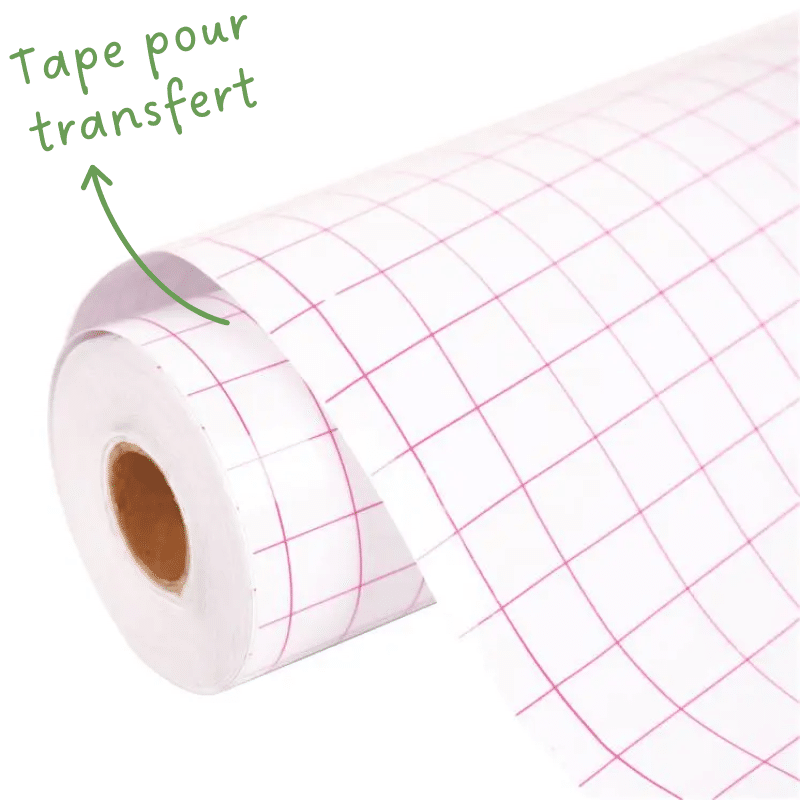
Transfer Tape to Apply Your Design Easily
Transfer tape will be your best friend for applying your design without distorting it. You place your cut vinyl on it, transfer the whole thing onto your personalized water bottle, and voila: a clean application (to avoid air bubbles, don't forget to use a squeegee!)
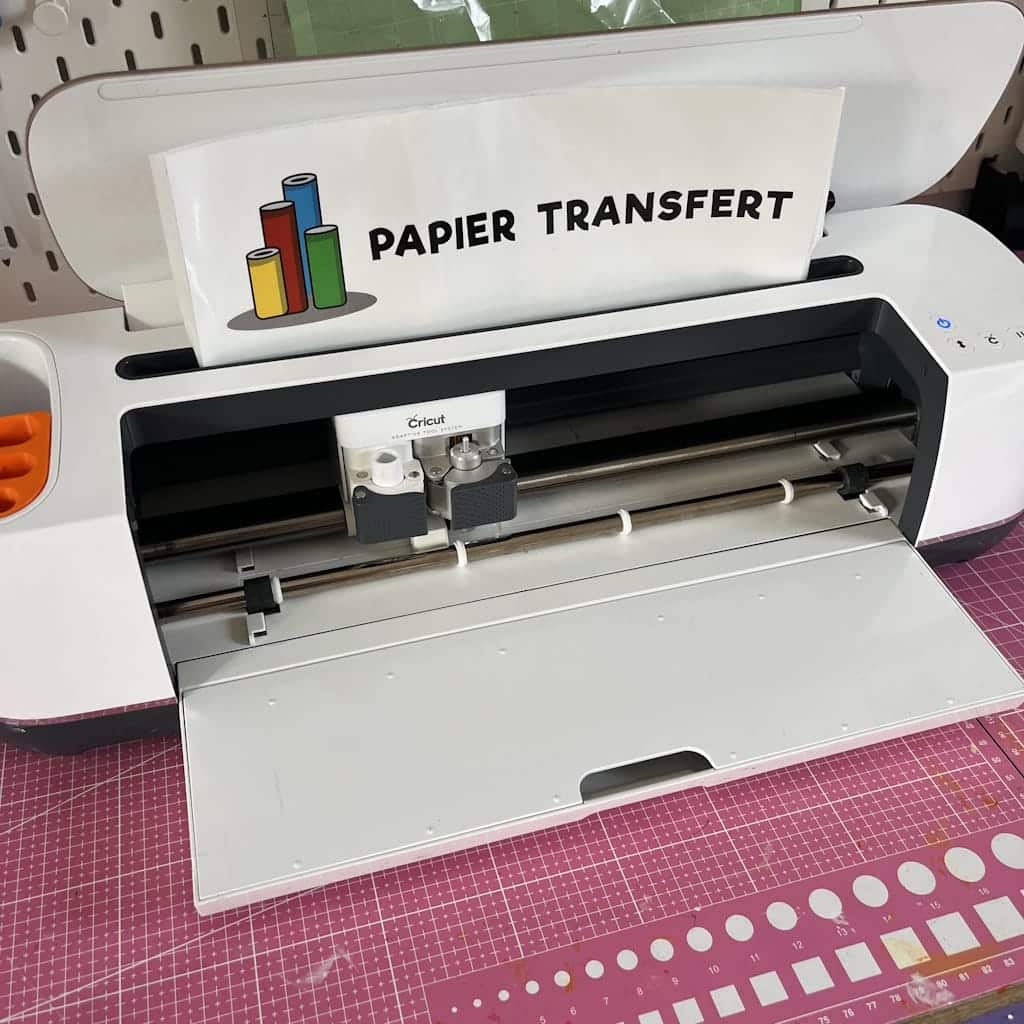
A Cricut or Silhouette Cameo 5
If you want precise cuts, like thin lettering, intricate drawings, or detailed shapes, a Cricut or a Silhouette Cameo 5 is ideal. Of course, you can cut your vinyl by hand, but for a truly professional finish on your personalized water bottle, a cutting machine is a total game changer.
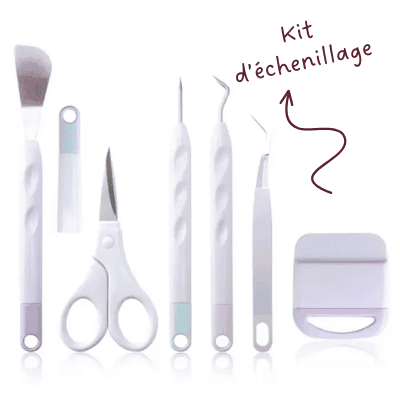
A Weeding Kit
It's the magic tool that makes life so much easier when you're working with vinyl. With it, you can remove all the little unwanted pieces from your design (the scraps inside letters, extra details, thin outlines, and so on). Without this kit, weeding can quickly turn into a real headache! With its fine tips and handy accessories, it helps you save time, work more precisely, and get a clean, crisp result.
So take my advice: don't skip the weeding kit!
3. Step-by-Step Instructions for Your Personalized Water Bottle
I remember the first personalized water bottle I ever made: I was excited, and a little nervous. Since then, I've fine-tuned my method. So here's my step-by-step recipe to make sure your personalized water bottle turns out great on the very first try, with a clean, professional finish.
1) Prepare the Surface
-
Cleaning: start by washing your bottle with a little dish soap, then rinse and dry it thoroughly. A clean bottle means maximum adhesion for your personalized water bottle.
-
Remove labels and sticky residue: if needed, use a suitable adhesive remover so the surface is perfectly smooth before you apply the vinyl.
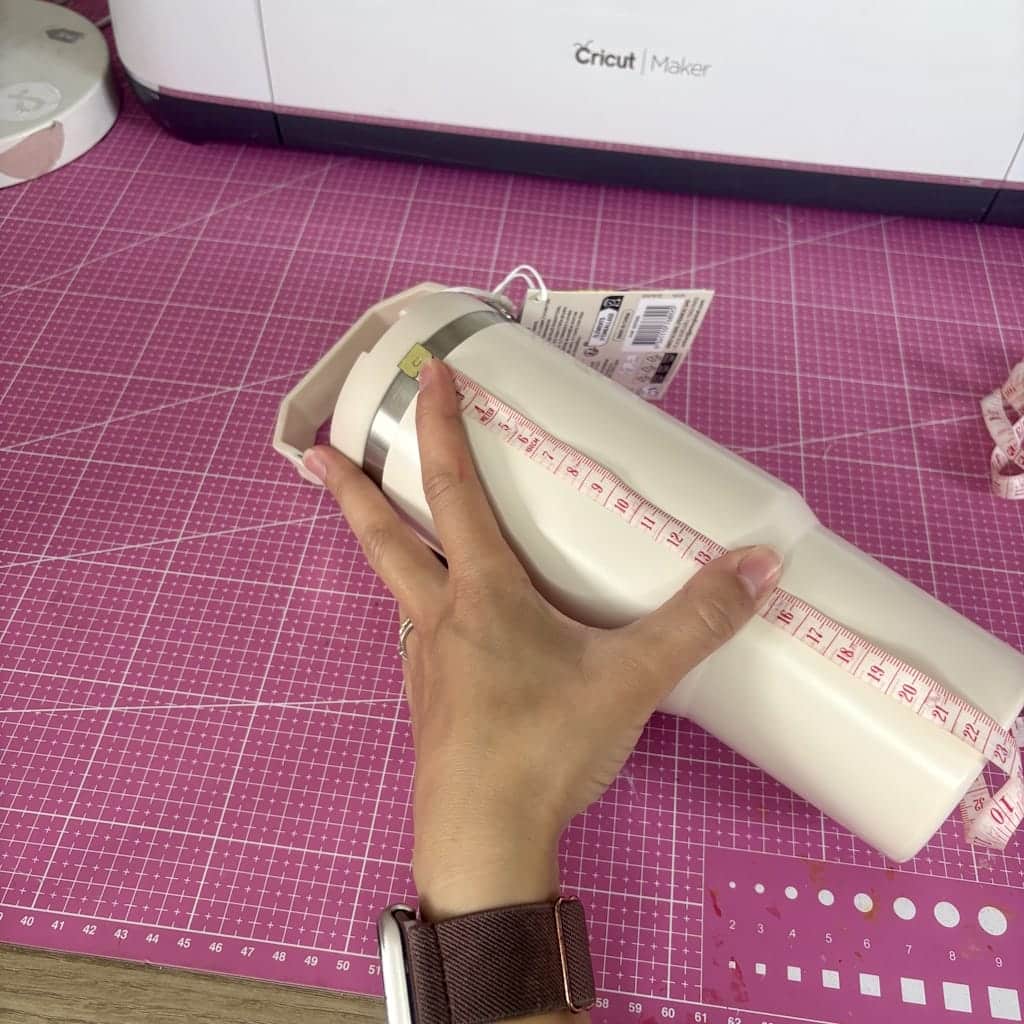
- Measure the bottle: first, measure the usable circumference (not counting handles or bumps) and the height of the area you want to decorate. Write these measurements down before creating your design. It'll make things easier and help you avoid unpleasant surprises.
-
Tip: use a sewing tape measure. It makes it much easier to measure the kind of items you'll be personalizing.
2) Create and Prepare Your Design
Adjust the size: always leave a 5 to 10 mm margin on each side so your design doesn't touch the edges, especially if your personalized water bottle is slightly curved.
- Fonts & details: stick to easy-to-read fonts and avoid lines that are too thin (less than 1.5 to 2 mm) so the cut stays clean and your design looks perfect.
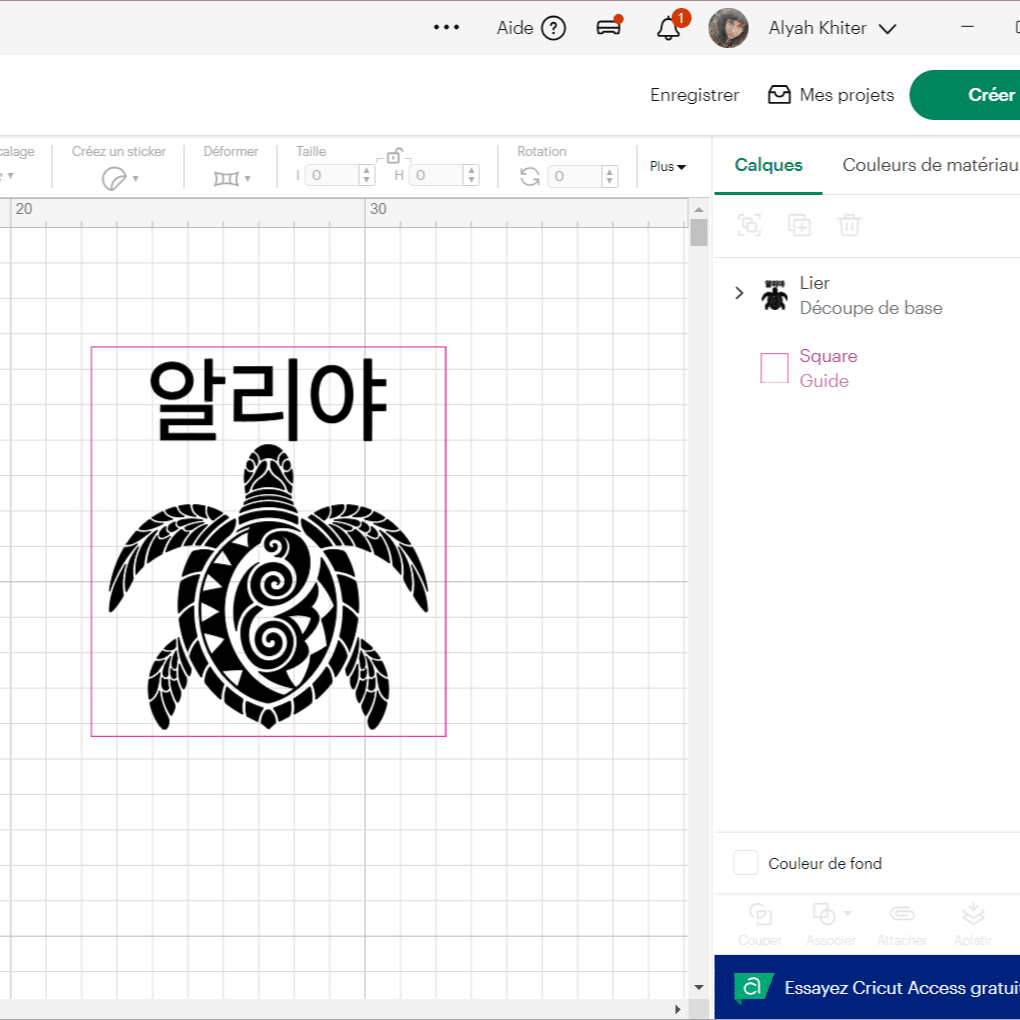
I went with a gorgeous turtle and my name written in Korean! Now it's up to you to pick whatever you'd like to put on your bottle.
3) Cut and Weed
-
Cutting: use the recommended settings for your vinyl (force and speed are listed on each of our vinyl product pages) to get clean, precise shapes. If you decide to cut by hand, take your time and use a pair of precision scissors so your personalized water bottle turns out perfect.
-
Weeding: carefully remove the unwanted parts of the vinyl with weeding tweezers and a scrap collector (so you don't end up with bits everywhere!). This step keeps your design clean and precise, ready to be applied to your personalized water bottle.
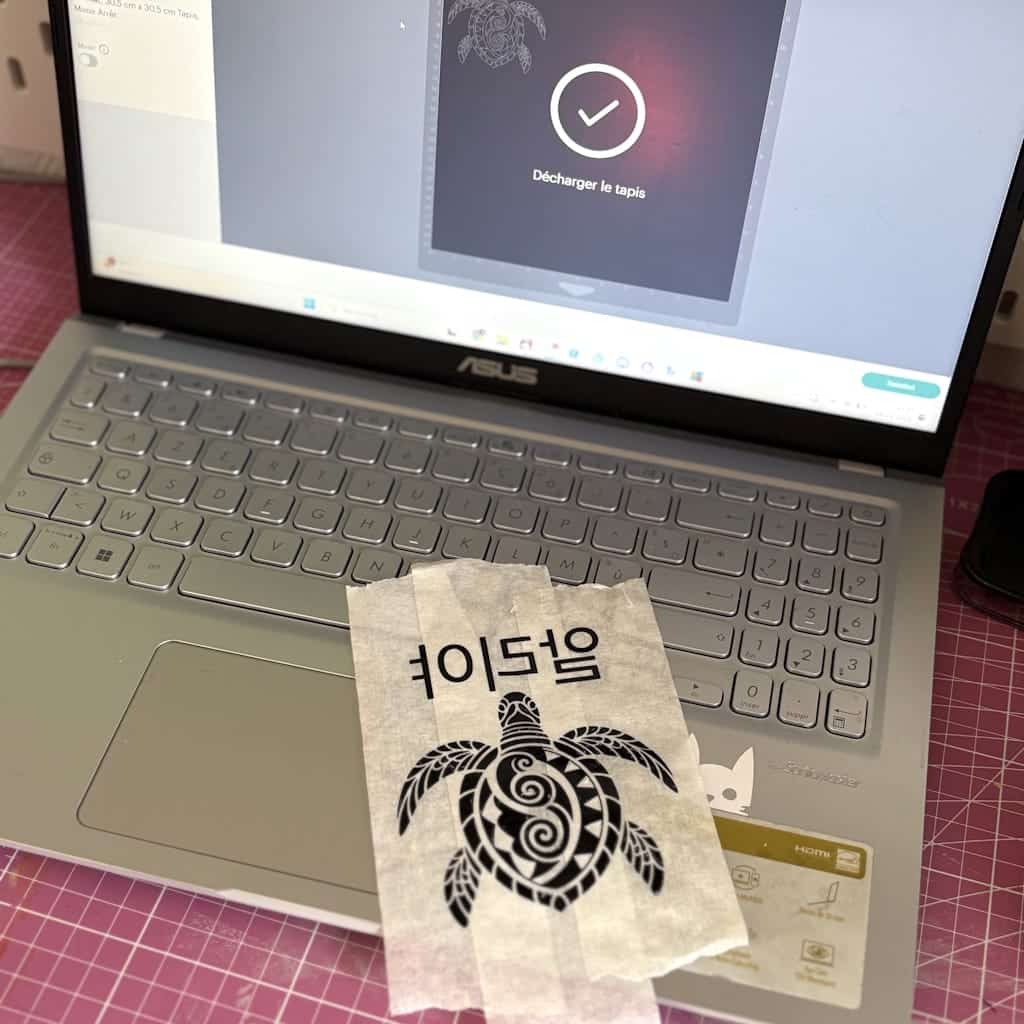
Tip: if your design has very small pieces like mine, don't hesitate to weed it on the transfer tape. It'll make your life so much easier!
4) Apply the Vinyl with Transfer Tape
-
Positioning it on the bottle: set your bottle on a stable surface and line up the design before sticking it down. Start at the center and smooth outward toward the edges for a precise result.
-
Tip for curves: if your personalized water bottle is very curved, make small vertical slits in the tape (without cutting into the design) to help it follow the shape, or apply the design in several strips.
-
Squeegee: go over the entire surface with the squeegee, pressing firmly along the edges so the vinyl sticks perfectly and your design stays flawless.
5) Final Adhesion and Shaping
-
Gentle heat (optional): a quick blast from a hair dryer or a heat gun (often used in scrapbooking), held at a moderate distance, can help the vinyl conform to the curves of your personalized water bottle. Be careful not to overheat the bottle, or you could warp it or damage the coating.
-
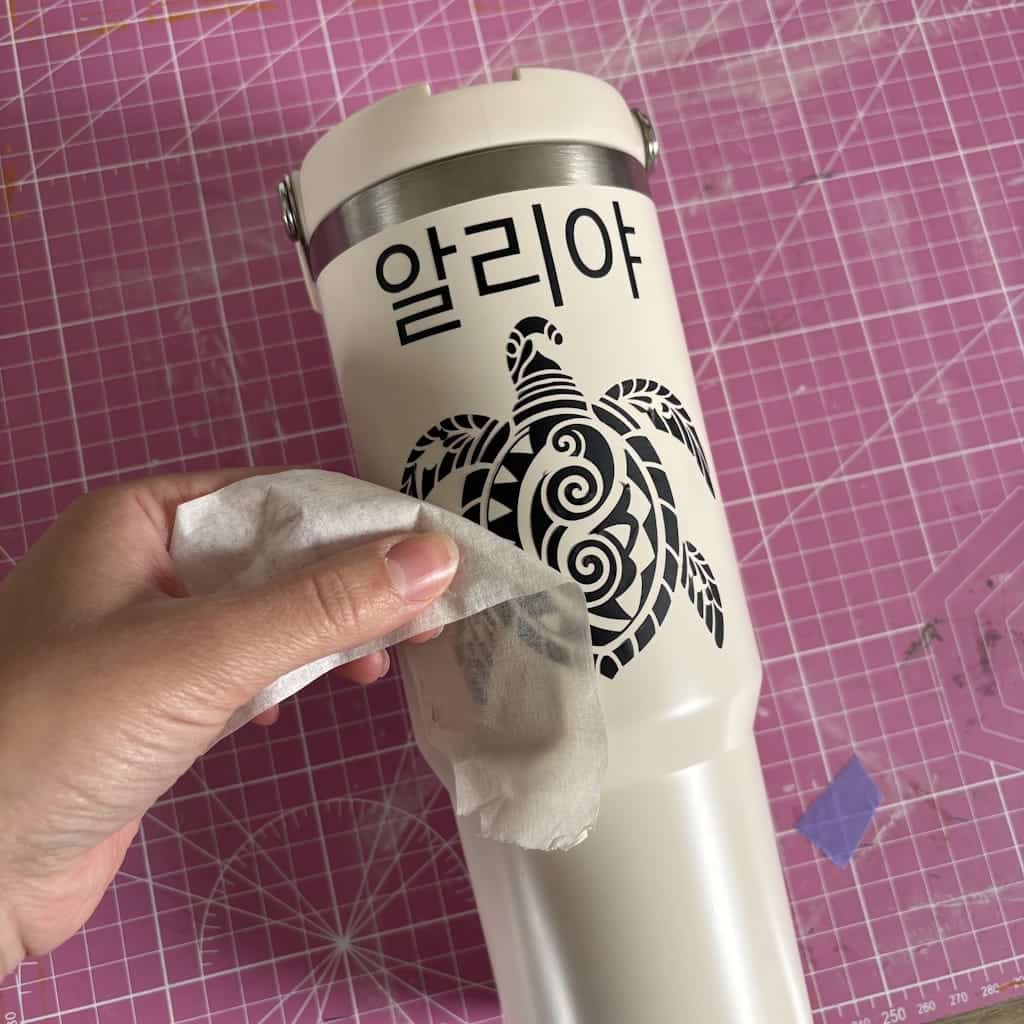
Peeling off the transfer tape: slowly peel the tape back flat, at a low angle, holding the squeegee against the design if needed. This keeps your design perfectly in place and bubble-free.
4. Creative Ideas for Your Personalized Water Bottle
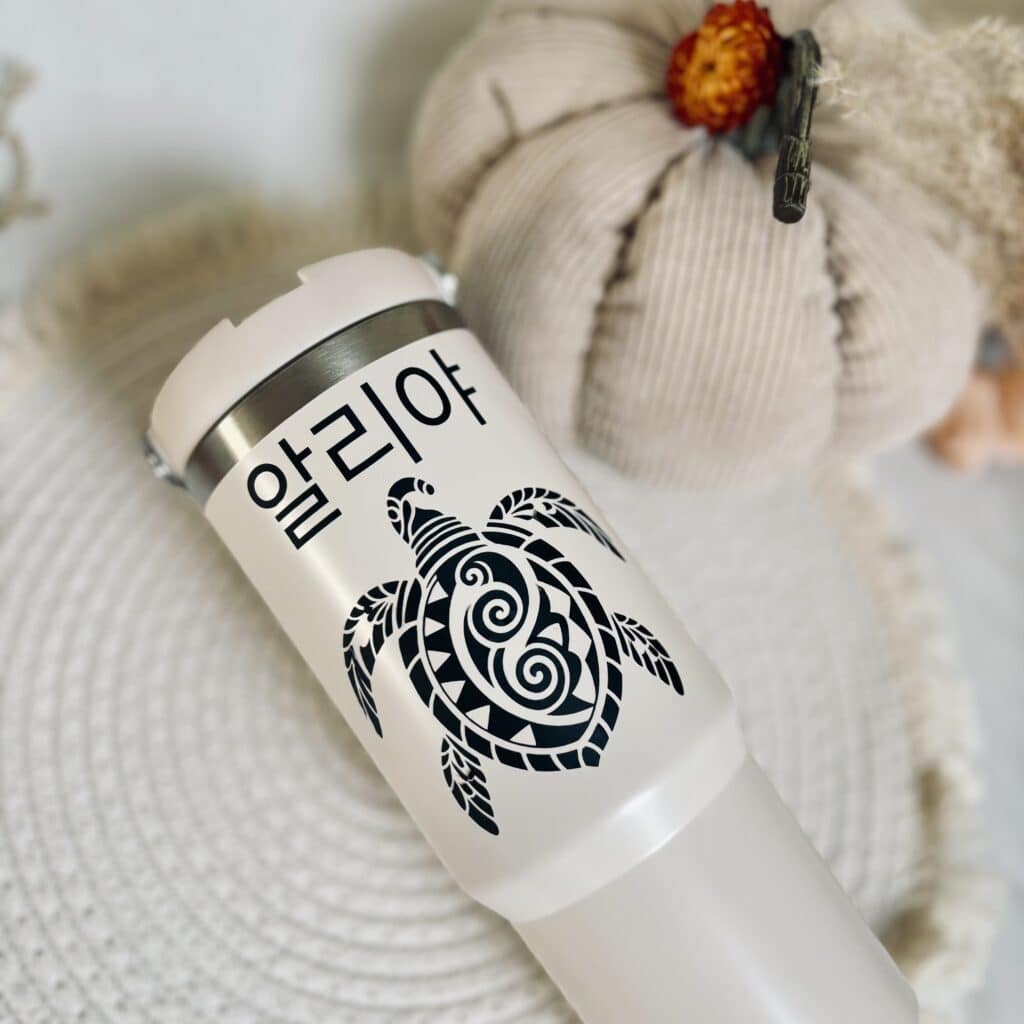
You've got your supplies and you know the steps, but maybe you're still wondering what design to choose for your personalized water bottle? Don't worry, here are a few ideas to spark your inspiration
👇
-
Your name or initials
Simple but always effective. Adding your name in colored or gold vinyl makes your personalized water bottle instantly recognizable. You can also play around with fonts, whether handwritten, modern, or even graffiti-style, to reflect your personal style. -
Floral or tropical designs
If you want a personalized water bottle that radiates summer and good vibes, go for flowers, monstera leaves, or pineapples. Perfect for adding a boho or summery touch to your everyday life. -
A motivational quote
A phrase like "Stay Hydrated," "Always in a good mood!" or "Never Give Up" gives your personalized water bottle some extra pep and motivates you to drink more water throughout the day. -
A design for kids
Little ones love having their own bottle at school. A personalized water bottle with their name, a superhero, a unicorn, or dinosaurs is the perfect combo to get them excited about staying hydrated. -
A minimalist style
Prefer something more low-key? A small logo, a stylized initial, or a geometric design in black or white is all you need for a chic, elegant personalized water bottle. -
A seasonal or festive touch
Christmas coming up? Make a personalized water bottle with snowflakes or a little reindeer. For summer, go for a sunset or some waves. The idea is to have a bottle that matches your mood or suits the occasion. -
Designs for a team or group
Picture a set of matching personalized water bottles, each with a different name: perfect for a sports team, a family, or even as company swag.
👉
In short, whether your style is fun, chic, minimalist, or colorful, your personalized water bottle can adapt to it and become your favorite accessory.
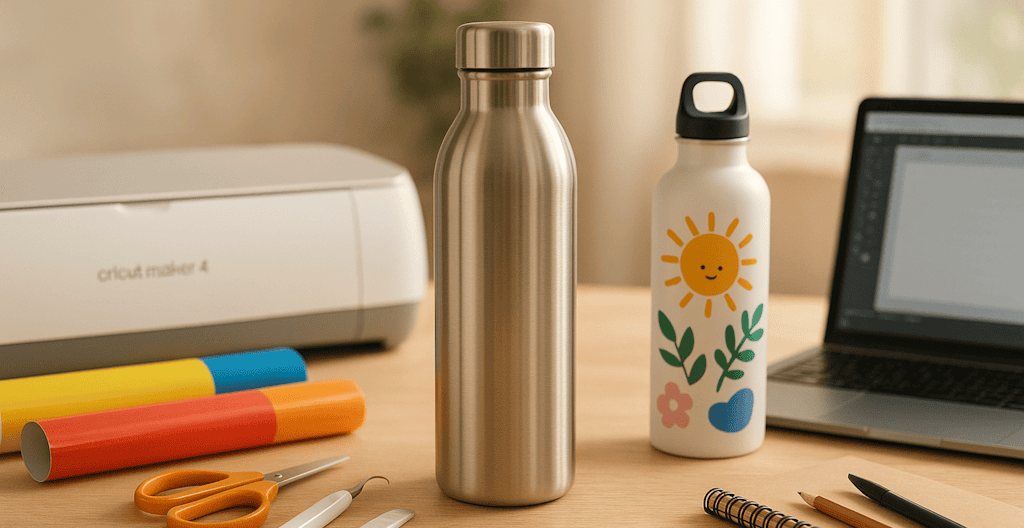
And there you have it 🎉! You now know how to make a personalized water bottle step by step, with simple supplies and a healthy dose of creativity. What I love about a personalized water bottle is that it's practical, trendy, and unique all at once: your style is on display, your name stands out, and your personal touch makes all the difference.
So why keep using a boring bottle when you can have one that's completely personalized? Trust me, once you've made yours, you won't be able to live without it.
👉 To help you nail your project, Transfer Paper has everything you need:
-
adhesive vinyl for quick designs that are easy to apply,
-
transfer tape for clean, bubble-free designs.
No more excuses 😉: go for it, make your personalized water bottle, have fun, and treat yourself! And if you try this DIY, come share your creation with us: we love seeing your projects come to life.
FAQ: Personalized Water Bottles
1. What Type of Water Bottle Should I Choose for Personalizing?
For a long-lasting personalized water bottle, stainless steel is ideal: it's sturdy, tough, and keeps your drinks cold. Reusable plastic works too, but go for a good-quality one so your design holds up over time.
2. Can I Personalize a Water Bottle with Vinyl by Hand?
Yes! You can cut your vinyl by hand with scissors or a precision craft knife, but for a truly clean, professional result, we recommend a cutting machine like the Cricut or the Silhouette Cameo 5.
3. How Do I Avoid Air Bubbles When Applying the Vinyl?
The secret is a vinyl squeegee (or an old credit card). Apply your vinyl from the center outward, pressing firmly, and you're all set! Transfer tape also helps keep your design in place while you apply it.
4. How Long Should I Wait Before Washing My Personalized Water Bottle?
To give the adhesive time to set, wait at least 24 hours before hand-washing your bottle for the first time. To be on the safe side, 48 hours is ideal. Avoid the dishwasher, unless you're using a stainless steel bottle with Transfer Paper vinyl, which is dishwasher-compatible.
5. Can I Make a Personalized Water Bottle as a Gift?
Absolutely! A personalized water bottle makes a practical, original, and trendy gift. You can add a name, a motivational quote, or a design that suits the person. Perfect for a birthday, Christmas, or a corporate gift.
6. Will the Vinyl Stand Up to Time and Washing?
Yes, as long as you use a good-quality vinyl and wait the full drying time before washing. For maximum durability, you can apply a clear, food-safe varnish (staying away from the spout).
7. What Design Ideas Are Easy to Make?
-
Your name or initials
-
Floral, tropical, or geometric designs
-
A motivational quote
-
Illustrations for kids (superheroes, unicorns, dinosaurs)
-
Minimalist or seasonal designs
8. Can I Make Several Matching Water Bottles for a Team or Family?
Yes! You can make several matching personalized water bottles and simply change the names or details. It's perfect for a sports team, a family, or company swag.
9. Where Can I Find Supplies to Personalize My Water Bottle?
At Transfer Paper, you'll find everything you need:
-
Adhesive vinyl for simple or detailed designs
-
Transfer tape for a clean application
-
A Silhouette Cameo 5 for precise cuts
-
A weeding kit to make your life easier
10. What If I Make a Mistake or Mess Up My First Bottle?
Don't worry! DIY is all about having fun and learning. If a design peels off or a cut goes wrong, you can always start over. With a little practice, your personalized water bottles will turn out perfect every time.



Comments
No comments yet. Be the first to share your experience.
Leave a comment