
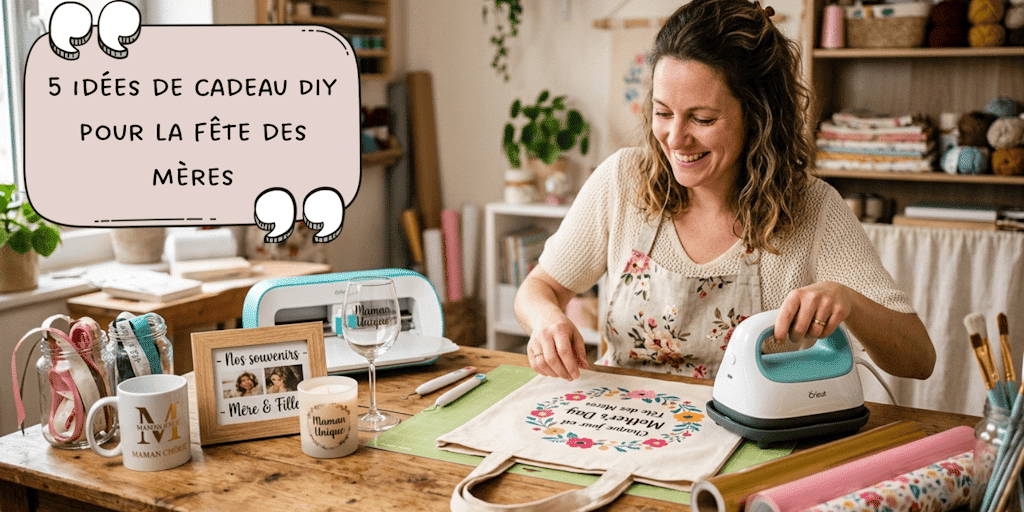
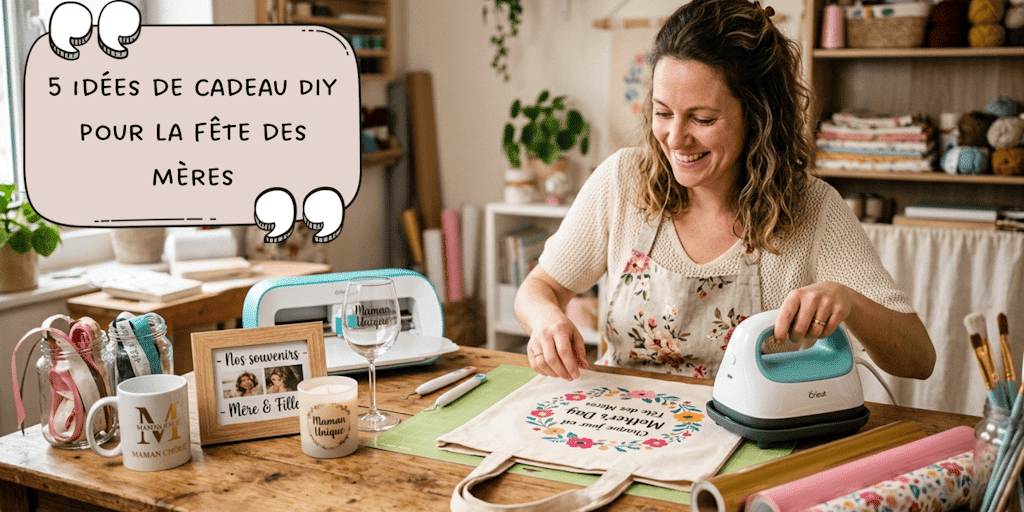
Every year, Mother's Day comes back around with its share of questions. What gift will make her happy without being something she's seen a hundred times? And as the years go by, coming up with DIY gift ideas only gets harder!
Flowers are still a safe bet, and gift sets are easy to buy, but these options often lack personality. This occasion deserves a little more than a quick pick. It's the perfect time to slow down and think about what would really make your mom's heart sing.
Making a gift yourself is exactly what lets you take it further. A DIY Mother's Day gift adds a personal touch you won't find in a store-bought product. It shows special care, time spent, and above all, an intention: to say "I know you" through a one-of-a-kind item.
You don't need to be a seasoned artist to get started. With accessible techniques like heat transfer vinyl and adhesive vinyl, you can now personalize everyday items with a clean, long-lasting finish, even without much experience. Whether you want to customize a cozy fabric item or an elegant decor accessory, the only limit is your imagination.
Get your machines ready, pick out your prettiest material scraps, and let yourself be guided by these ideas, designed to leave a lasting impression (on minds and hearts).
In this blog post, you'll find 5 DIY gift ideas, each with a detailed mini tutorial. It's all part of Alyah's mini tutorials!
1. A Personalized Tote Bag with a Message
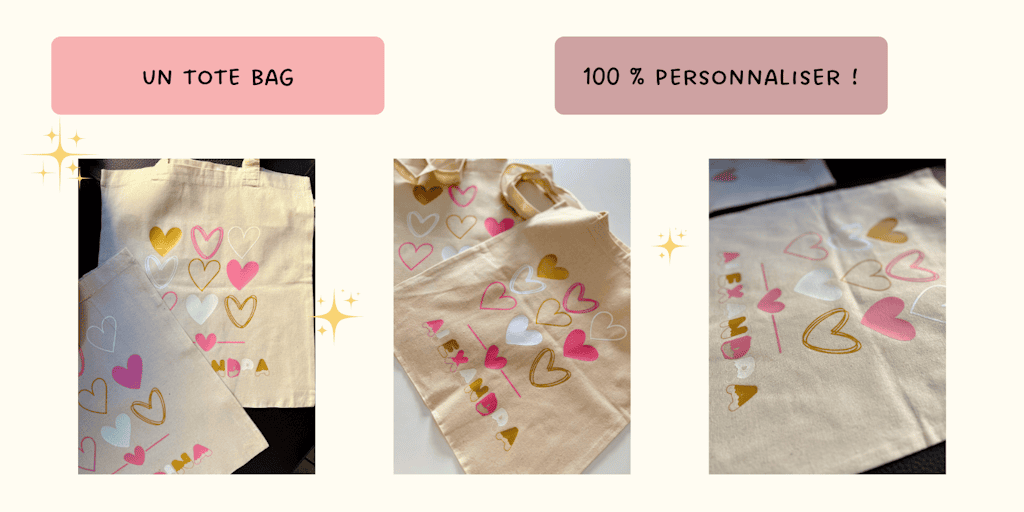
A tote bag is an ideal blank for getting started with personalization. It's practical, reusable, and easy to work with.
Giving a personalized tote bag means giving an everyday item that takes on special meaning thanks to the message it carries. A simple phrase, a term of endearment, or even a first name can be enough to make a big impact.
Mini Tutorial: Making a Personalized Tote Bag
For this project, we recommend using a light-colored cotton tote bag to get good contrast with the heat transfer vinyl.
Start by creating your design in your cutting software. Go for a short, easy-to-read message. Fonts that are too thin or too intricate can make the cutting and the final result more difficult.
Once your design is ready, start cutting the heat transfer vinyl, making sure to load the material correctly, which means shiny side down on the mat.
After cutting, move on to weeding. In this step, you remove all the excess vinyl so that only the design or text remains, using your weeding kit.
Then position your design on the tote bag. Take the time to center it properly, and there's nothing better for that than an alignment ruler, because a crooked design is noticeable as soon as the transfer is done.
Apply heat with a quality heat press or, if you don't have one, an iron. Firm, even pressure is essential for the heat transfer vinyl to stick properly to the fabric. Follow the manufacturer's recommendations for temperature and pressing time (at Transfer Paper, you'll find everything listed on each product page!).
Once the pressing time is up, let it cool if needed, then peel off the carrier sheet. Be careful: some heat transfer vinyls are hot peel, while others are cold peel!
My Tips for a Clean Result:
A simple design always works better than a cluttered one. The goal is a clean, easy-to-read, balanced result.
Also, remember to prep your fabric by ironing it before application to get rid of any wrinkles that could affect adhesion.
Finally, avoid handling the tote bag right after application so the heat transfer vinyl has time to set properly!
2. A Personalized Mug for Her Quiet Moments
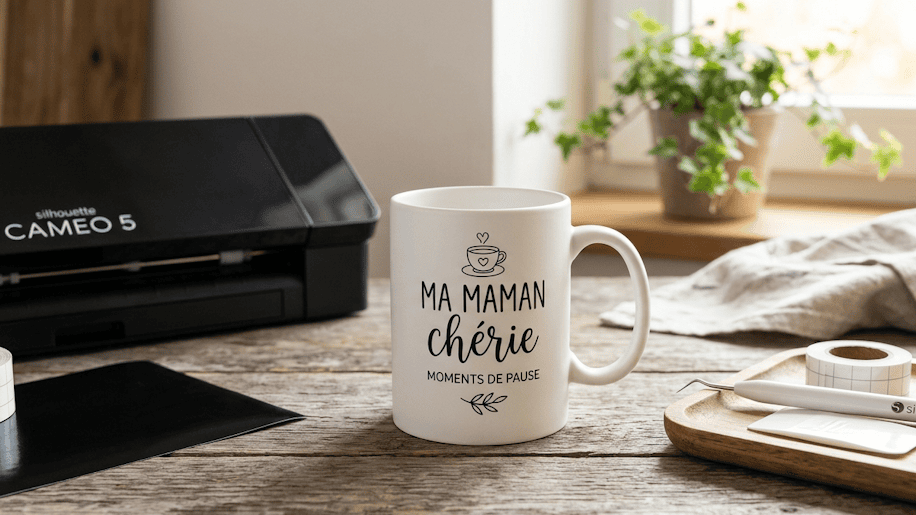
A personalized mug is one of the most effective DIY gifts, as long as it's well thought out. It's something your mom will use regularly, whether for her morning coffee or a break during the day.
The point here isn't just to personalize a mug, but to create a design that truly suits her. A phrase she often says, a term of endearment, or a small, subtle touch can be enough to make this gift completely unique.
Mini Tutorial: Personalizing a Mug with Adhesive Vinyl
For this kind of project, adhesive vinyl is a perfect fit, especially for decorative use.
Start by choosing a smooth, clean mug. The surface needs to be completely grease-free so the adhesive vinyl sticks properly.
Then create your design in your cutting machine's software. Just like with the tote bag, go for a simple, easy-to-read design. Small details are harder to apply, especially if you're a beginner. And most importantly, since the mug will be used every day, vinyl elements that are too small won't last long!
Cut the adhesive vinyl with your Silhouette Cameo 5, then move on to weeding by removing the excess vinyl with your weeding kit.
Next, apply transfer tape over your design so you can handle it easily. Position it on the mug, taking the time to line it up carefully.
Once it's in place, use your squeegee to press the vinyl down gradually so it sticks, then gently peel off the transfer tape.
Tips for Long-Lasting Results
Avoid placing the design on an area that's too curved, since that makes application harder and can cause wrinkles.
This kind of personalization is best for gentle use. It's better to skip the dishwasher and hand wash the mug to keep the design looking its best for as long as possible.
3. A Floral Frame Under Glass for a "Wow" Effect
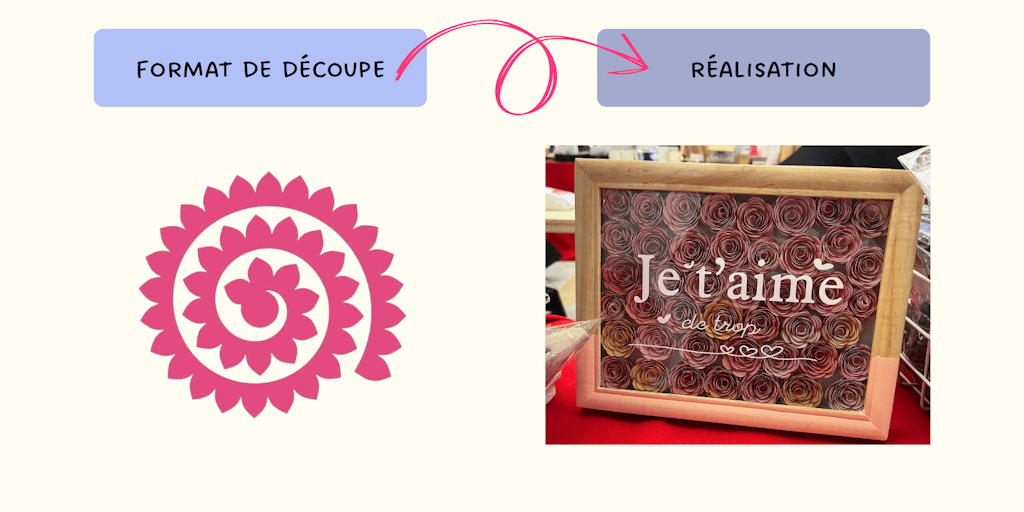
If you're looking for a gift that combines delicacy and dimension, a frame filled with paper flowers is an irresistible option.
The idea here isn't just to display an object, but to create a true showcase of softness: a vibrant floral heart protected by a glass pane beautifully personalized with adhesive vinyl.
Mini Tutorial: Creating a 3D Paper Flower Frame
-
Prepare your base: Choose a shadow box frame (with some depth) that has a glass pane. That empty space is what will hold your flowers, cut with your Silhouette Cameo 5.
-
Make your heart: Create lots of small paper flowers (rolled roses, for example). Attach them to the back of the frame to form a full, even heart (personally, I simply glued hearts over the entire back of the frame).
-
Prepare your message: Cut your design or text out of adhesive vinyl. Thin lettering will add an extra touch of lightness.
-
Apply the adhesive vinyl to the glass: Clean the glass thoroughly, then apply your design directly to the outside of the glass. This creates a stunning sense of depth between the text in the foreground and the flowers in the background.
-
Put it all together: Close the frame. The contrast between the dimensional flowers and the delicate adhesive vinyl on the glass gives you a professional, poetic result!
Tips for a Beautiful Finish
-
Play with shades: Use a color gradient for your flowers (a range of pinks or whites) to give the heart a sense of movement.
-
Choose your font carefully: Since the flowers give the background texture, go for a clean font so your message stays perfectly readable, but above all, let your imagination run wild!
4. A Personalized Pouch She'll Use Every Day
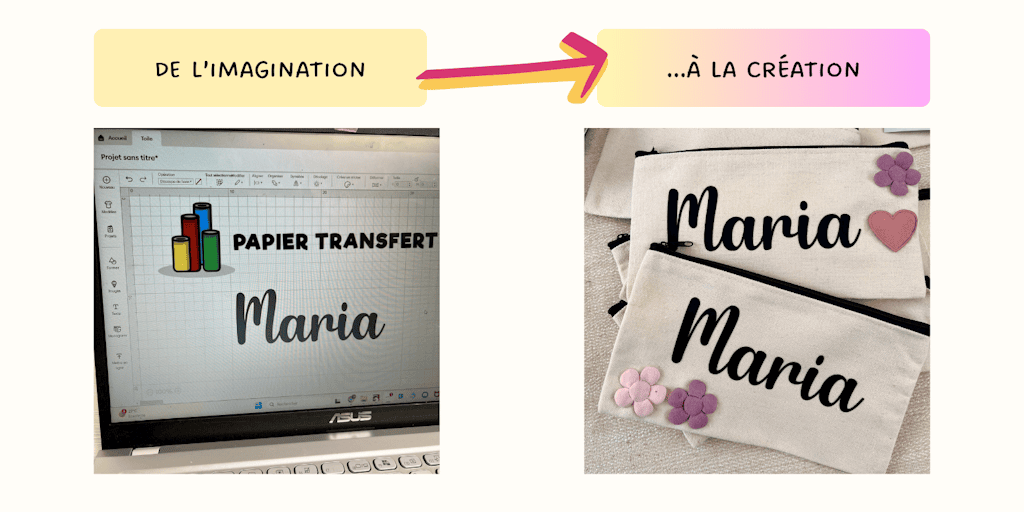
A personalized pouch is a gift that's both practical and easy to adapt. It can be used as a makeup bag, a storage pouch, or even a travel case.
It's a great idea if you want to give something that will actually be used every day.
Mini Tutorial: Personalizing a Fabric Pouch
Choose a cotton pouch or a canvas pouch, ideally with a fairly smooth surface.
- Create a design that fits the size of the pouch. A word, a first name, or a short phrase is plenty.
- Cut your design out of heat transfer vinyl, then weed it with your weeding kit.
- Position the design on the pouch, keeping the seams and zippers in mind so they don't get in the way during application.
- Apply heat with your heat press or an iron, making sure to keep the pressure even. If the pouch is thick or has seams, adjust the pressure to make sure the vinyl sticks well.
Tips for a Successful Application
Watch out for uneven areas like zippers.
Take the time to position your design carefully before applying it, because smaller surfaces leave less room for error.
So, what do you think of this fully customizable pouch? Not bad for a beginner project, right?
5. A Faux Leather Keychain She Can Take Everywhere
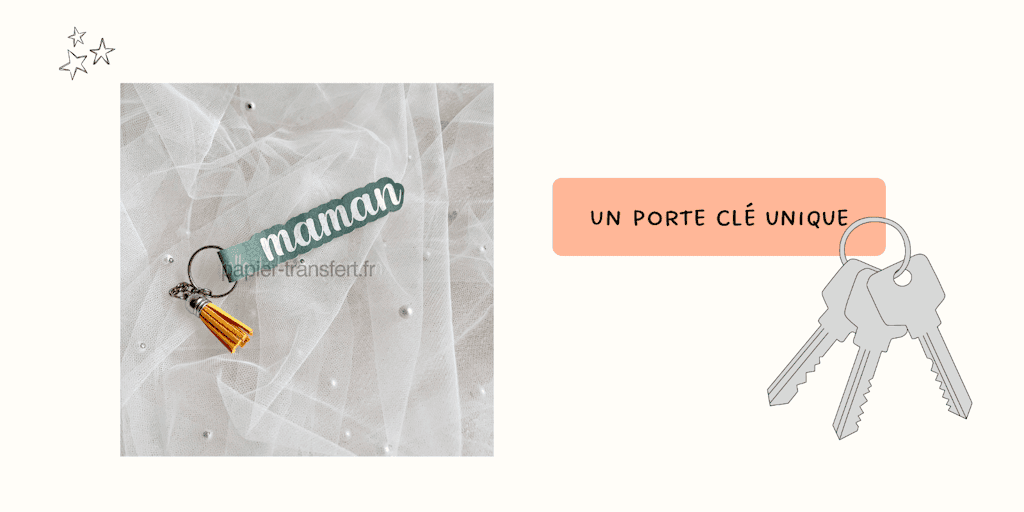
For a gift that's practical, elegant, and completely unique, a personalized keychain is the perfect choice. Rather than decorating an existing item, you make the whole thing yourself so it matches her taste, while reminding her of a sweet message every time she uses it.
Mini Tutorial: Making a Faux Leather and Heat Transfer Vinyl Keychain
-
Gather your supplies: You'll need a cutting machine, some faux leather, heat transfer vinyl, a key ring, and small pliers for assembly.
-
Cut the shape: Use your cutting machine to cut the base shape of your keychain out of faux leather. A simple rectangle or a heart shape are both safe bets.
-
Create the design: Create your text or design in your cutting machine's software. Remember to set it to "mirror" before you start cutting your heat transfer vinyl.
-
Weed carefully: Once the heat transfer vinyl is cut, carefully weed it with your weeding kit so that only the design you want to transfer remains.
-
Apply the heat transfer vinyl: Position your vinyl design on the piece of faux leather. Use a heat press (or an iron if you don't have one), applying firm, even pressure. Be sure to follow the recommended times and temperatures for both the faux leather AND the heat transfer vinyl.
-
Peel and assemble: Once the heat transfer vinyl has set, let it cool before gently peeling off the carrier sheet. Finally, use the pliers to attach your keychain to the ring.
My Tips for Great Results
-
Keep it simple: For the heat transfer vinyl, go for a simple design and an easy-to-read font. Details that are too fine will be harder to work with and may not stick well.
-
Elegant contrast: Choose colors that go well together and make the vinyl text really stand out on the faux leather (I promise the results will be worth it!).
That's All for Now...
That's all for now... Yes, we've already reached the end of these tutorials, but don't worry, we'll be back very soon with new DIY ideas!
I hope these ideas have inspired you to grab your tools and let your creativity shine. Giving a DIY gift for Mother's Day lets you break away from the usual options and add real sentimental value. It's not just an object you give; it's a memory you make.
With materials like heat transfer vinyl and adhesive vinyl, you can turn an ordinary item into a unique, useful, and long-lasting piece, without any technical complexity. Remember: what matters most is the message you choose and keeping the design simple. The most understated creations, the ones that come from the heart, are often the ones with the most impact.
Taking the time to create is also a way to give yourself a creative break before making others happy. Even a simple project always makes a difference because it carries your personal touch. So, which idea are you going to try first?
FAQ: Your Questions, My Answers
What's the Minimum Equipment You Need to Get Started?
A cutting machine (like a Cricut or Silhouette), a few sheets of heat transfer vinyl or adhesive vinyl, a weeding tool, and a heat press (or an iron) are enough to make most of these projects. You don't need a fully equipped workshop to work wonders!
Will These Creations Last Over Time?
Absolutely! As long as you follow the application temperatures, the pressing time, and the care instructions (like washing inside out). Heat transfer vinyl is especially durable on fabric and holds up really well in the washing machine.
Can You Make These Projects Without a Cutting Machine?
It's possible with patience and a good precision craft knife, but the result will inevitably be less detailed. A machine is a real time-saver and gives you that clean, professional finish we love.
How Long Does It Take to Make a Gift?
That's the whole beauty of these techniques! Most of these projects can be done in under an hour once your design is ready. It's the perfect solution for a last-minute gift that doesn't look last-minute.
Where Can You Find Design Inspiration?
Inspiration is everywhere! You can start with a quote that suits her, an important date, or simply her favorite patterns. What matters is that the design tells a story: yours.



Comments
No comments yet. Be the first to share your experience.
Leave a comment