
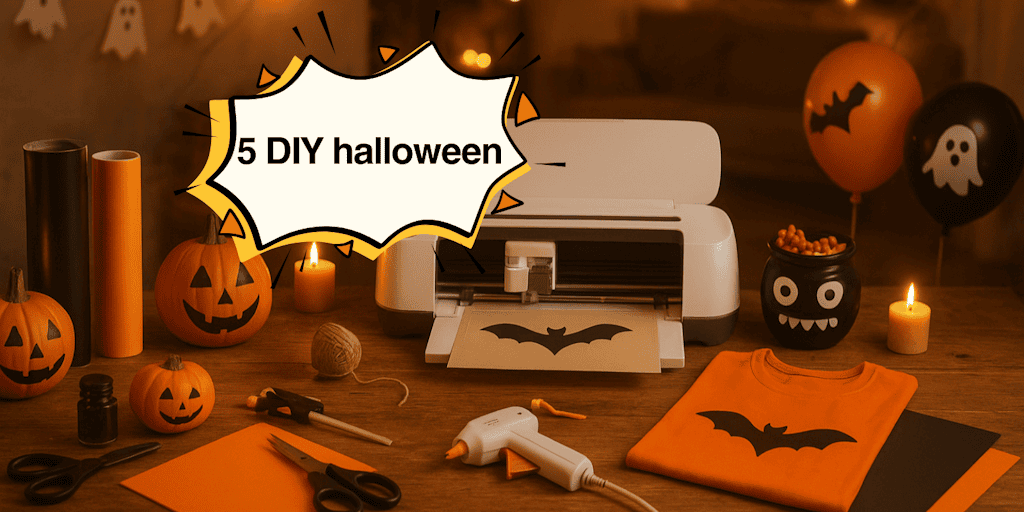
Can you feel that eerie vibe in the air? The lights getting softer, pumpkins taking over store windows, and that little thrill of excitement building as October 31st gets closer… Halloween is just around the corner, and you want this year to be different. No way are you buying ready-made decorations or generic costumes. No, this time you want to create, have fun, and get your hands a little dirty (but with style and elegance!).
That's where Halloween DIY projects come in.
There's the fun of turning a few odds and ends into spooky decor, of watching kids' eyes (or even grown-ups') light up at a homemade creation… and above all, the pride of being able to say: "I made it myself!"
Whether you're a DIY pro or trying it for the very first time, these Halloween DIY projects will show you that you can create a magical atmosphere without spending a fortune. They're simple, quick, and fun projects, perfect for a creative moment on your own or with the family (feel free to make them with your kids)!
So grab your scissors, your glue gun, and your Cricut or Silhouette Cameo 5 cutting machine (if you want to do this like a boss), and get ready to discover 5 Halloween DIY projects that are as fun as they are spooky.
Ready? Let's go
👇
🕸️
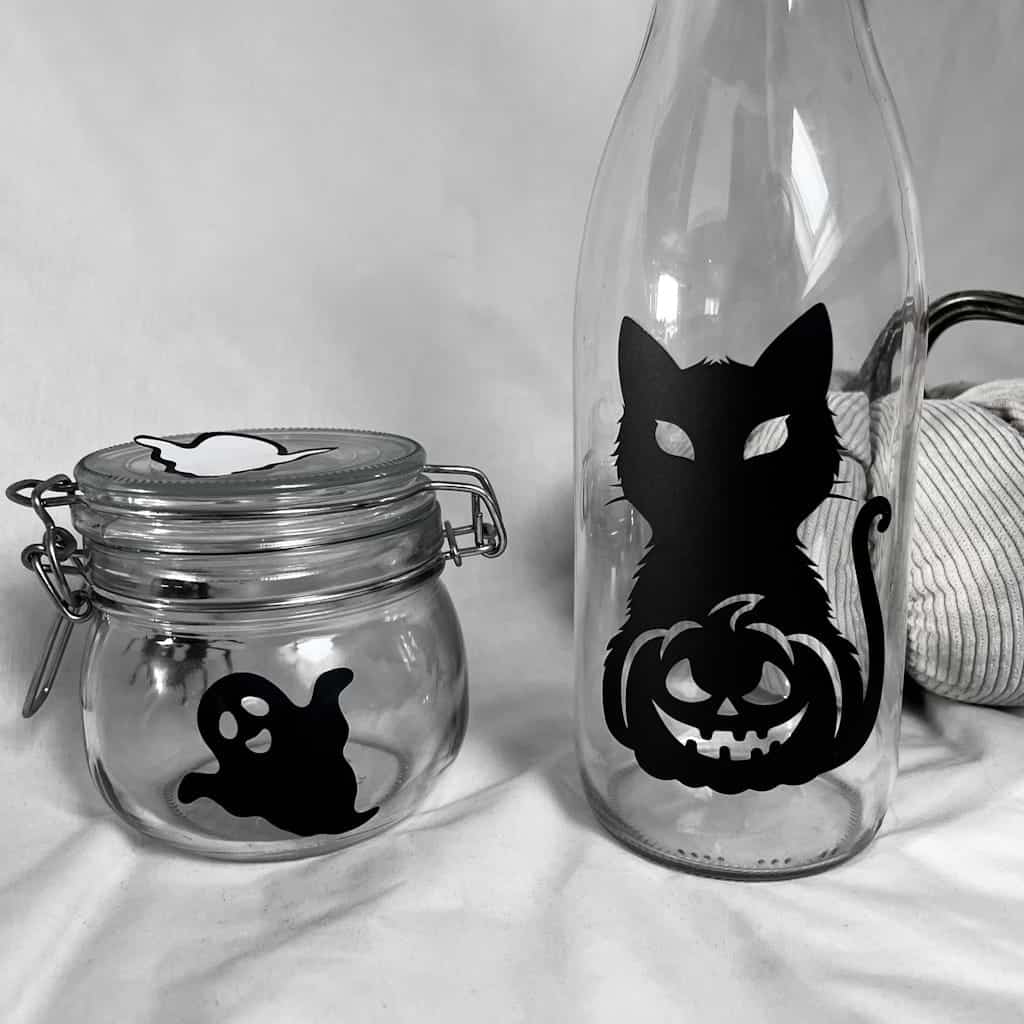
- Monster Candy Jars
Admit it: Halloween without candy would be a bit like a pumpkin without a smile. So what if this year you turned handing out treats into a real creative moment with an easy, super fun Halloween DIY?
Picture an eye-catching decoration on your entryway table: little jars decorated like monsters, ghosts, or pumpkins, patiently waiting for someone to come grab a treat. Little ones (and grown-ups too) won't be able to resist!
💡
What You'll Need:
-
Glass jars (jam jars, a vase, or upcycled jars)
-
Self-adhesive googly eyes (or eyes you cut out with your Silhouette Cameo 5)
-
Tape, scissors, and a little hot glue (for even more decor!)
🪄
The Steps:
-
Clean your jars thoroughly and dry them.
-
Paint them in the colors of your choice: pumpkin orange, monster green, ghost white…
-
Once they're dry, add eyes, a mouth, scars, or even fangs, all cut out with your cutting machine (Cricut or Silhouette Cameo 5). The best option is to cut them from adhesive vinyl, so all you have to do is transfer them and you're done!
-
Finish by tying some twine or ribbon around the lid for the final touch.
And there you have it: your first Halloween DIY is ready to steal the show! These jars aren't just perfect for handing out candy; they also work as table decor, as lighting with an LED candle, or even as a little gift for your guests.
What makes this Halloween DIY so irresistible is how simple it is: zero stress, maximum impact. And you'll see, once you get started, it's impossible to stop… (that's part of the magic of DIY too!).
I decided to simply apply adhesive vinyl to the jars, so you can still keep the candy inside!
👻
- Glowing Ghost String Lights
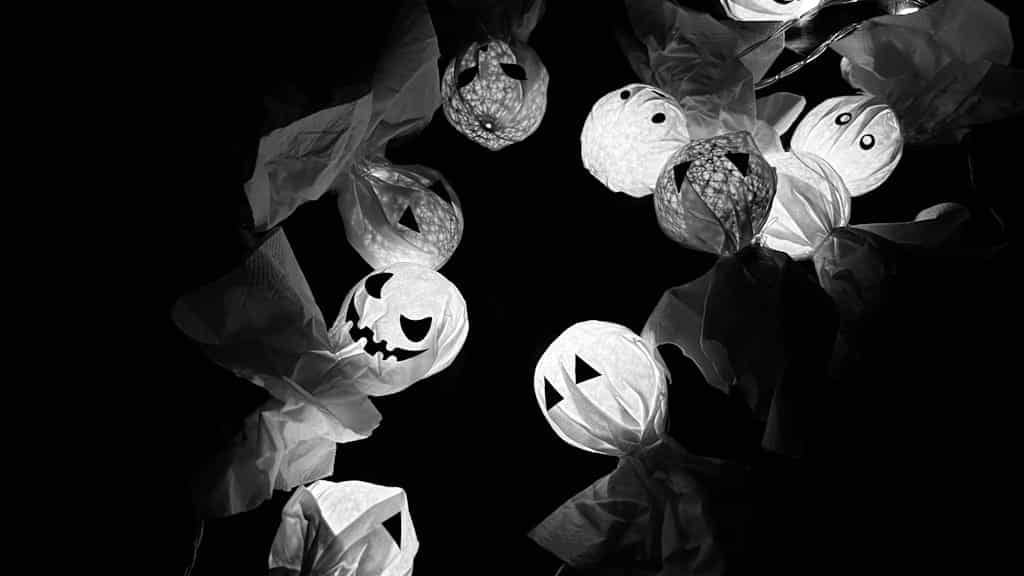
When night falls and the shadows grow longer, the magic of Halloween comes to life. And what could be better than a soft, slightly mysterious glow to create that mood somewhere between spine-tingling and enchanting? That's where this Halloween DIY, as simple as it is stunning, comes in: glowing ghost string lights.
Picture your living room in near darkness, lit by little ghosts that seem to float in midair. You don't need a big budget, just a little imagination and a few everyday supplies.
💡
What You'll Need:
-
A strand of LED string lights (preferably white)
-
Cotton balls or white tissues
-
Clear thread or thin twine
-
A black marker for the faces (or, like me, some black adhesive vinyl)
🪄
The Steps:
-
Wrap each little bulb in a tissue or a piece of white fabric.
-
Tie the tissue at the base with thread to form the ghost's head.
-
Draw two black eyes (and why not a surprised mouth or a wink?). I stuck on black adhesive vinyl instead for a cleaner look.
-
Hang your string lights on a wall, in a window, or around a mirror.
In just a few minutes, your Halloween DIY turns your room into an enchanted hideout full of friendly ghosts. And if you want to take it further, spritz a little room spray onto the fabric before hanging them up (it'll get everyone even more into the Halloween spirit). The effect is guaranteed as soon as the lights come on.
Oo0Oouh, this Halloween DIY is perfect for fall evenings: quick, budget-friendly, and so satisfying to look at once the lights are dimmed. It's the kind of creation that makes your guests ask, "Wait… where did you buy that?" And you'll answer with a proud little smile, "Nope, I made it myself." (Pretty proud of yourself, huh?)
🕯️
- Bewitched Candles
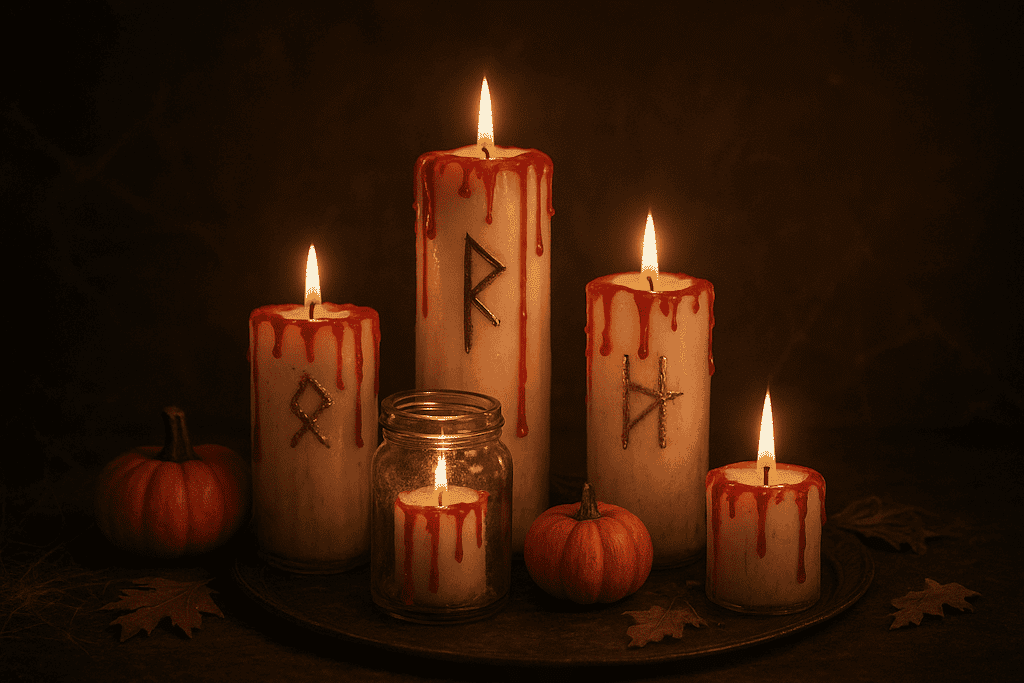
Close your eyes for a moment. The room is dark. A flame flickers, casting dancing shadows on the walls. You hear a faint crackle… that's the sign: your Halloween DIY is working its magic.
Candles have a fascinating way of transforming a room's mood. In just a few minutes, your living room becomes a mystical lair worthy of a horror movie (the gentle version, of course). And the good news is that you can make these bewitched candles without spending a fortune.
💡
What You'll Need:
-
White candles (or colored ones if you want an even darker look)
-
Red wax (or an old red candle you can melt down)
-
A spoon (to melt your wax) and a lighter
-
Optional: a little black or gold paint for decoration
🪄
The Steps:
-
Light a red candle and let the wax drip onto a white candle for a "bloody" effect.
-
Once it's dry, add a few painted details: runes, gold flecks, strange symbols…
-
Arrange them in glass jars or on an old metal tray for a more authentic look.
With just a few simple steps, your Halloween DIY turns plain candles into real witchcraft accessories. You can even add a cinnamon or smoky wood scented wick to bring a sensory touch to your decor.
The best part of this Halloween DIY? It's not just the result, it's the atmosphere it creates. Dim lighting, a hint of mystery, a warm, cozy scent… In short, it's a spell for the eyes and the nose, and you're the one casting it.
🎨
- Personalized Halloween DIY T-Shirt
Admit it, you've dug through your closet before thinking, "I have nothing to wear for Halloween…"
😅
Good news: you don't need an overpriced costume to get into the theme. All it takes is a little creativity and a great Halloween DIY to create your own spooky… or downright stylish T-shirt!
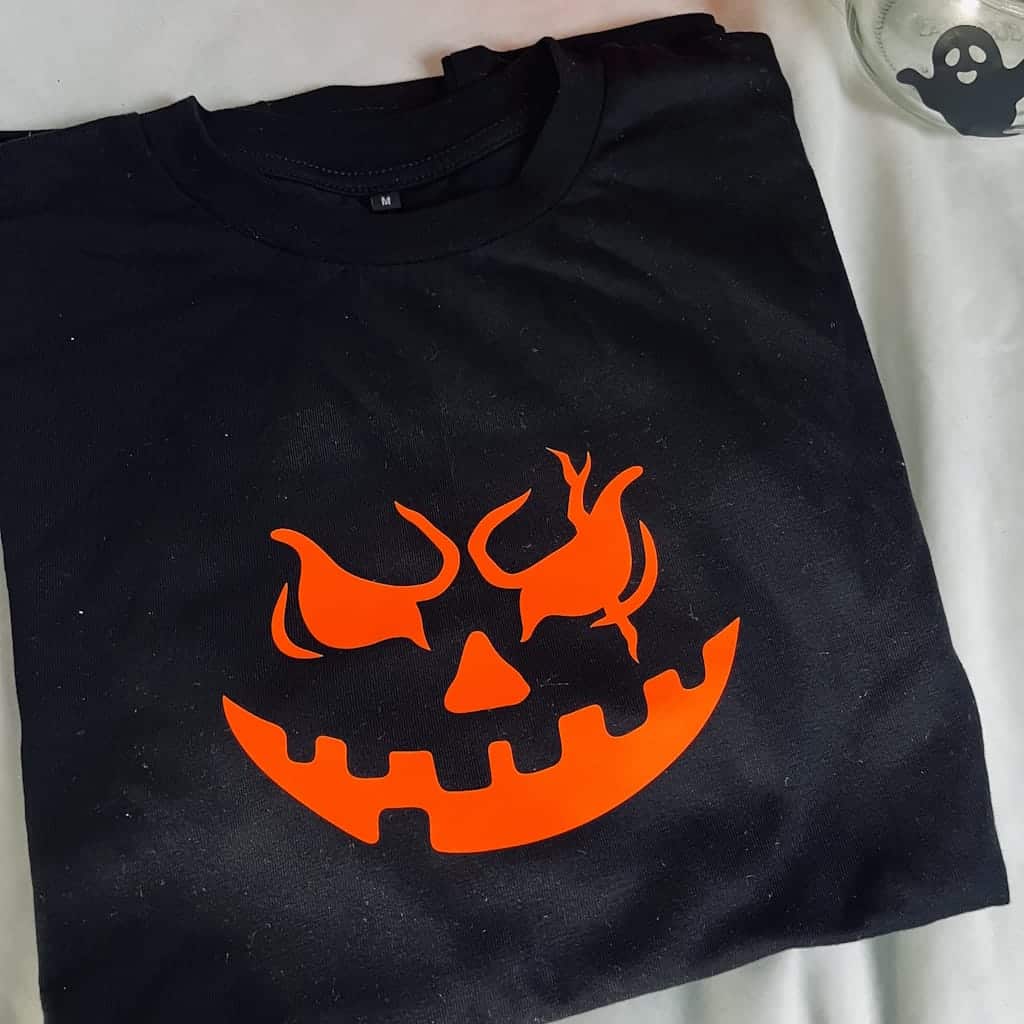
A black top with a glow-in-the-dark bat, a smiling pumpkin, or even a funny message like "I'm tonight's monster". With a little heat transfer vinyl, fabric paint, or fabric markers, your Halloween DIY becomes a truly one-of-a-kind piece, somewhere between a costume and an everyday look.
💡
What You'll Need:
-
A plain T-shirt (preferably black, orange, or white)
-
Heat transfer vinyl (or printable HTV if you want to print a design). I chose orange glow-in-the-dark HTV for an even more wow-worthy finish!
-
An iron or a heat press
-
A design idea: pumpkin, spiderweb, bat, skeleton…
Psst: don't have a design to cut out? Right here, you can get 50 for FREE! No more excuses, now you can personalize everything!
🪄
The Steps:
-
Cut out or print your design, depending on the look you want.
-
Position it on your T-shirt and iron it on according to the instructions (or use a heat press if you want a pro finish).
-
Let it cool, then gently peel off the carrier sheet.
-
Admire your masterpiece!
This Halloween DIY is perfect if you want an original look without the hassle. You can even make a set of matching T-shirts for the whole family, and they're guaranteed to look great in your photos!
📸
And if you want to take it even further, try adding a little glow-in-the-dark paint or a "glow in the dark" effect: your Halloween DIY will come to life as soon as the lights go out.
In short, this project is the perfect combo: quick, fun, and super rewarding. You're not just wearing a T-shirt… you're wearing your creativity. (And that is seriously awesome
👏
)
🎈
- Halloween Balloons Decorated with Adhesive Vinyl
Want decor that makes a statement without spending all day on it? This Halloween DIY is for you!
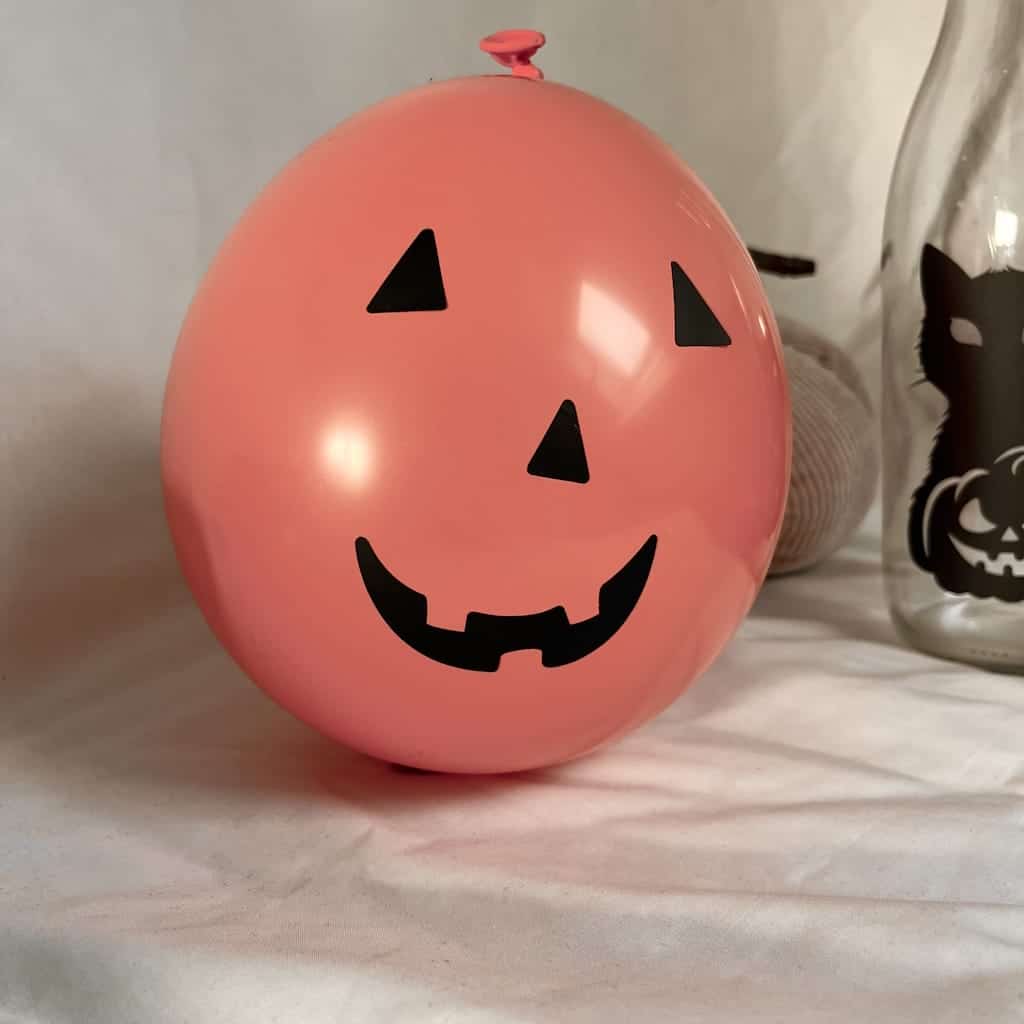
A few balloons, a little adhesive vinyl, and your imagination… That's all it takes to turn your home into a hideout full of flying pumpkins and floating ghosts.
🎃
It never fails to make an impression: black balloons with monster faces, orange balloons with grinning pumpkins, or white ones turned into hanging ghosts. All homemade, just the way you like it. Simple, quick, and incredibly effective.
💡
What You'll Need:
-
Latex balloons (black, orange, white)
-
A cutting machine or a pair of scissors.
-
Twine or ribbon to hang them
🪄
The Steps:
-
Blow up your balloons and tie them off.
-
Cut face shapes out of adhesive vinyl: eyes, mouths, fangs, scars…
-
Carefully stick them onto the balloons (tip: avoid the most curved areas for a better finish).
-
Hang them at different heights with twine or attach them to the wall for a "swarm of monsters" effect.
This Halloween DIY is perfect for last-minute decor before a party, an afternoon snack, or a photo shoot. It costs next to nothing but grabs everyone's attention. And if you want an even more spectacular result, go for helium balloons and let them float up to the ceiling for an instant party vibe!
The great thing about this Halloween DIY is that you can personalize everything: funny, scary, cute, or mysterious. It's up to you to pick your style (creative, right?) and come up with the most fun faces.
In short, in just a few minutes, your room becomes a real Halloween set… and you (yes, you!) made it all yourself. (Way to go
👏
)
🕸️ The Power of Your Halloween DIY
Halloween isn't just a date on the calendar; it's an invitation to create, share, and have fun. With these Halloween DIY projects, you can turn your home, your look, and your parties into truly memorable moments. From monster candy jars to decorated balloons, each project is a chance to let your creativity shine and get your loved ones (or just yourself!) involved in a fun, festive atmosphere.
So don't settle for store-bought decorations: grab your scissors, your adhesive vinyl, and your heat transfer vinyl, and go for it! With these 5 Halloween DIY projects, you have everything you need for a Halloween that's unique, funny, and a little spooky. And trust me, the joy of saying "I made it myself!" is priceless. (Proud of yourself?)
❓
FAQ: Halloween DIY
1. Are These DIY Projects Kid-Friendly?
Yes! Most of these projects (candy jars, ghost string lights, decorated balloons) are perfect for kids, with adult supervision for tools like hot glue or scissors.
2. I Don't Have Many Supplies. Can I Still Make These Halloween DIY Projects?
Absolutely! Most of the projects use simple, reusable materials: jars, sheets, balloons, paint, adhesive vinyl… Even without a cutting machine, you can get great results.
3. How Much Time Should I Plan for Each DIY Project?
On average, between 10 and 30 minutes per project. The candy jars and balloons are very quick, while the T-shirt or the candles may take a little longer for a polished result.
4. Can You Make These DIY Projects Again Every Year?
Yes! Some projects are reusable (like the string lights or the candles in jars), while others can be recreated with a new twist every Halloween.
5. Where Can I Find Adhesive Vinyl for the Balloons or the T-Shirt?
You can find it at craft stores, online on specialty sites (like Transfer Paper), or you can even use heat transfer vinyl if you have a Cricut-style machine.
6. Are These Halloween DIY Projects Expensive?
Not at all! With a modest budget and a little imagination, you can create unique decorations and accessories without breaking the bank.



Comments
No comments yet. Be the first to share your experience.
Leave a comment