Spürst du diese seltsame Stimmung, die in der Luft liegt? Das Licht wird sanfter, Kürbisse erobern die Schaufenster, und diese kleine Aufregung steigt, je näher der 31. Oktober rückt… Halloween steht vor der Tür, und du möchtest, dass dieses Jahr anders wird. Keine Frage von fertigen Dekorationen oder unpersönlichen Kostümen. Nein, dieses Mal willst du gestalten, Spaß haben, dir ein bisschen die Hände schmutzig machen (aber mit Stil und Eleganz!).
Genau hier kommen die Halloween-DIYs ins Spiel.
Die Freude, aus drei Kleinigkeiten eine gruselige Deko zu zaubern, die leuchtenden Augen der Kinder (oder sogar der Großen) vor einer selbst gemachten Kreation zu sehen… und vor allem dieser Stolz, sagen zu können: „Das habe ich selbst gemacht!“
Egal, ob du ein Bastelprofi bist oder zum ersten Mal loslegst, diese Halloween-DIYs beweisen dir, dass man eine magische Stimmung schaffen kann, ohne ein Vermögen auszugeben. Einfache, schnelle und lustige Projekte, perfekt, um einen kreativen Moment zu teilen, allein oder mit der Familie (zögere nicht, sie mit deinen Kindern umzusetzen)!
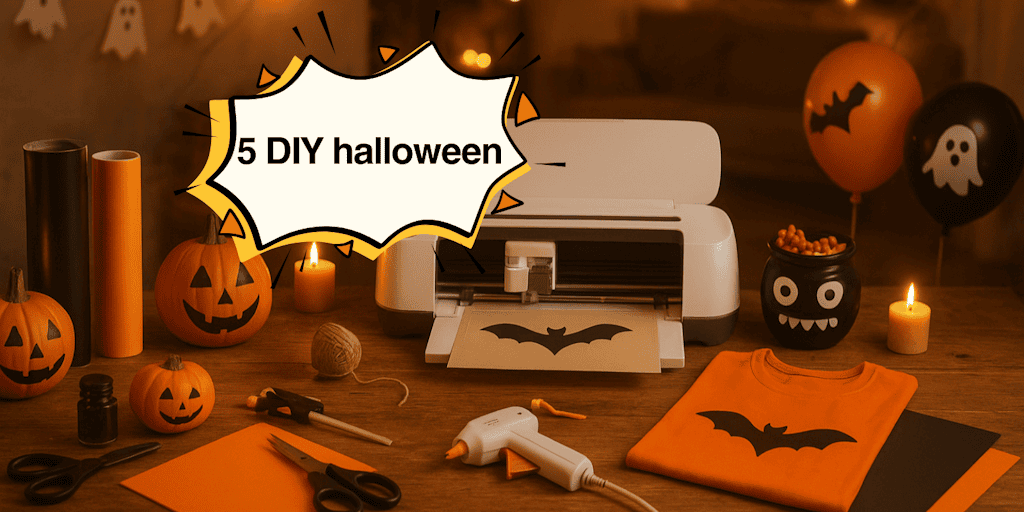
Also schnapp dir deine Schere, deine Heißklebepistole, deine Schneidemaschine Cricut oder Silhouette Caméo 5 (wenn du das wie ein Boss machen willst) und mach dich bereit, 5 Halloween-DIYs zu entdecken, die genauso lustig wie gruselig sind.
Bereit? Los geht's
👇
🕸️
- Die monströsen Süßigkeitengläser
Gib es zu: Halloween ohne Süßigkeiten wäre ein bisschen wie ein Kürbis ohne Lächeln. Und wie wäre es, wenn du dieses Jahr deine Süßigkeitenverteilung dank eines einfachen und super lustigen Halloween-DIYs in einen echten kreativen Moment verwandelst?
Eine Deko, die ins Auge fällt: auf deinem Tisch im Eingangsbereich kleine Gläser, dekoriert als Monster, Gespenster oder Kürbisse, die brav darauf warten, dass man ihnen eine Süßigkeit stibitzt. Die Kleinen (und auch die Großen) werden nicht widerstehen können!
💡
Das brauchst du:
-
Gläser (zum Beispiel Marmeladengläser, Vase oder recycelte Einmachgläser)
-
Selbstklebende Wackelaugen (oder zum Ausschneiden mit deiner Silhouette Caméo 5)
-
Klebeband, eine Schere, ein bisschen Heißkleber (für noch mehr Deko!)
🪄
Die Schritte:
-
Reinige deine Gläser gründlich und trockne sie ab.
-
Bemale sie in den Farben deiner Wahl: Kürbisorange, Monstergrün, Gespensterweiß…
-
Sobald sie trocken sind, füge Augen, einen Mund, Narben oder sogar Reißzähne hinzu, alles ausgeschnitten mit deiner Schneidemaschine (Cricut oder Silhouette Caméo 5). Am besten schneidest du sie aus Klebefolie aus, dann musst du sie nur noch übertragen und fertig!
-
Schließe mit einer Schnur oder einem Band um den Deckel für den letzten Schliff ab.
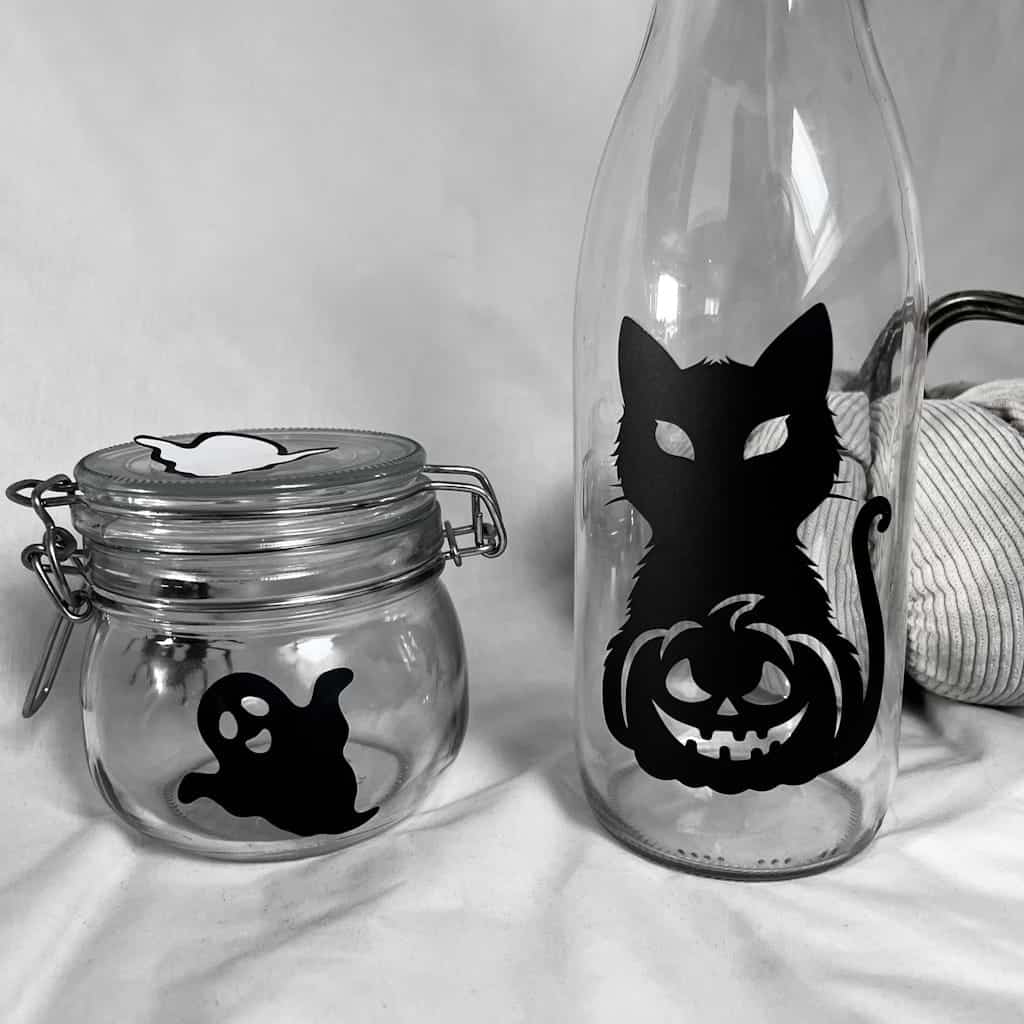
Und schon ist dein erstes Halloween-DIY bereit, für Aufsehen zu sorgen! Diese Gläser eignen sich nicht nur perfekt zum Verteilen der Süßigkeiten, sondern können auch als Tischdeko, als Beleuchtung mit einer LED-Kerze oder sogar als kleines Geschenk für deine Gäste dienen.
Was dieses Halloween-DIY so unwiderstehlich macht, ist seine Einfachheit: null Stress, maximale Wirkung. Und du wirst sehen, sobald du angefangen hast, kannst du nicht mehr aufhören… (das ist auch die Magie des DIY!).
Ich habe mich entschieden, einfach Klebefolie auf die Einmachgläser zu kleben, so kann man die Süßigkeiten hineinlegen!
👻
- Die leuchtende Gespensterkette
Wenn die Nacht hereinbricht und die Schatten länger werden, erwacht die Magie von Halloween zum Leben. Und was gibt es Besseres als ein sanftes, etwas geheimnisvolles Licht, um diese Stimmung zwischen Gruseln und Verzauberung zu schaffen? Genau hier kommt dieses Halloween-DIY ins Spiel, das ebenso einfach wie atemberaubend ist: die leuchtende Gespensterkette.
Stell dir dein Wohnzimmer im Halbdunkel vor, beleuchtet von kleinen Gespenstern, die durch die Luft zu schweben scheinen. Du brauchst kein großes Budget, nur ein bisschen Fantasie und ein paar Alltagsgegenstände.
💡
Das brauchst du:
-
Eine LED-Lichterkette (vorzugsweise weiß)
-
Wattebäusche oder weiße Taschentücher
-
Transparenten Faden oder dünne Schnur
-
Einen schwarzen Marker für die Gesichter (oder wie ich schwarze Klebefolie)
🪄
Die Schritte:
-
Wickle jedes kleine Lämpchen mit einem Taschentuch oder einem Stück weißem Stoff ein.
-
Befestige das Taschentuch unten mit Faden, um den Kopf des Gespenstes zu formen.
-
Zeichne zwei schwarze Augen (und warum nicht einen überraschten Mund oder ein Augenzwinkern). Ich habe schwarze Klebefolie aufgeklebt für ein saubereres Ergebnis.
-
Häng deine Kette an die Wand, an ein Fenster oder um einen Spiegel.
In wenigen Minuten verwandelt dein Halloween-DIY deinen Raum in ein verzaubertes Versteck freundlicher Gespenster. Und wenn du noch einen Schritt weiter gehen willst, gib einen Hauch Raumduft auf den Stoff, bevor du sie aufhängst (das versetzt alle noch mehr in Halloween-Stimmung), garantierter Effekt, wenn das Licht angeht.
Oo0Oouh, dieses Halloween-DIY ist perfekt für Herbstabende: schnell, günstig und so befriedigend anzusehen, sobald das Licht gedämpft ist. Es ist die Art von Kreation, bei der deine Gäste sagen: „Aber… wo hast du das gekauft?“ und du antwortest mit einem stolzen Lächeln: „Nein nein, das habe ich selbst gemacht.“ (stolz auf dich, oder?)

🕯️
- Die verzauberten Kerzen
Schließ einen Moment die Augen. Der Raum liegt im Halbdunkel. Eine Flamme flackert und wirft tanzende Schatten an die Wände. Du hörst ein leises Knistern… das ist das Signal: Dein Halloween-DIY entfaltet gerade seine Magie.
Kerzen haben diese faszinierende Kraft, eine Stimmung zu verwandeln. In wenigen Minuten wird dein Wohnzimmer zu einem mystischen Versteck, würdig eines Horrorfilms (natürlich in der sanften Version). Und die gute Nachricht ist, dass du diese verzauberten Kerzen gestalten kannst, ohne ein Vermögen auszugeben.
💡
Das brauchst du:
-
Weiße Kerzen (oder farbige, wenn du einen noch düstereren Effekt willst)
-
Rotes Wachs (oder eine alte rote Kerze, die du schmelzen kannst)
-
Einen Löffel (zum Schmelzen deines Wachses) und ein Feuerzeug
-
Optional: ein bisschen schwarze oder goldene Farbe für die Deko
🪄
Die Schritte:
-
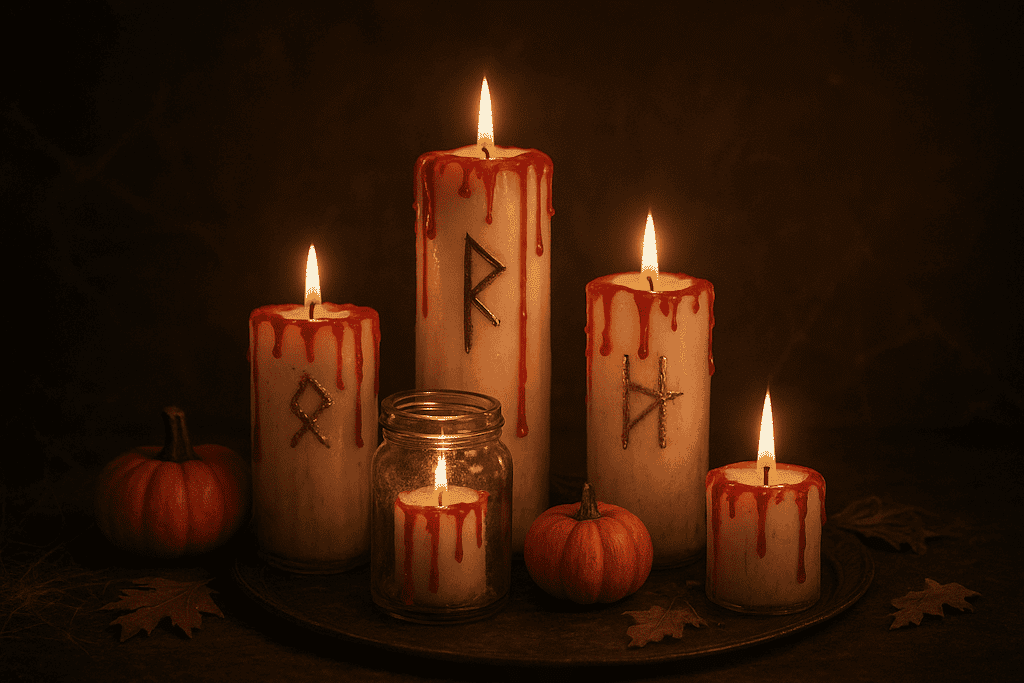
Zünde eine rote Kerze an und lass das Wachs auf eine weiße Kerze tropfen für einen „blutigen“ Effekt.
-
Sobald es trocken ist, füge ein paar Details mit Farbe hinzu: Runen, goldene Splitter, seltsame Symbole…
-
Stell sie in Gläser oder auf ein altes Metalltablett für ein authentischeres Ergebnis.
Mit wenigen Handgriffen verwandelt dein Halloween-DIY einfache Kerzen in echtes Hexenzubehör. Du kannst sogar einen mit Zimt oder Räucherholz parfümierten Docht hineinstecken, um deiner Deko eine sinnliche Dimension zu verleihen.
Das Schönste an diesem Halloween-DIY? Es ist nicht nur das Ergebnis, sondern die Atmosphäre, die es schafft. Ein gedämpftes Licht, ein bisschen Geheimnis, ein warmer und einhüllender Duft… Kurz gesagt, ein visueller und olfaktorischer Zauber, dessen Magier(in) du bist.
🎨
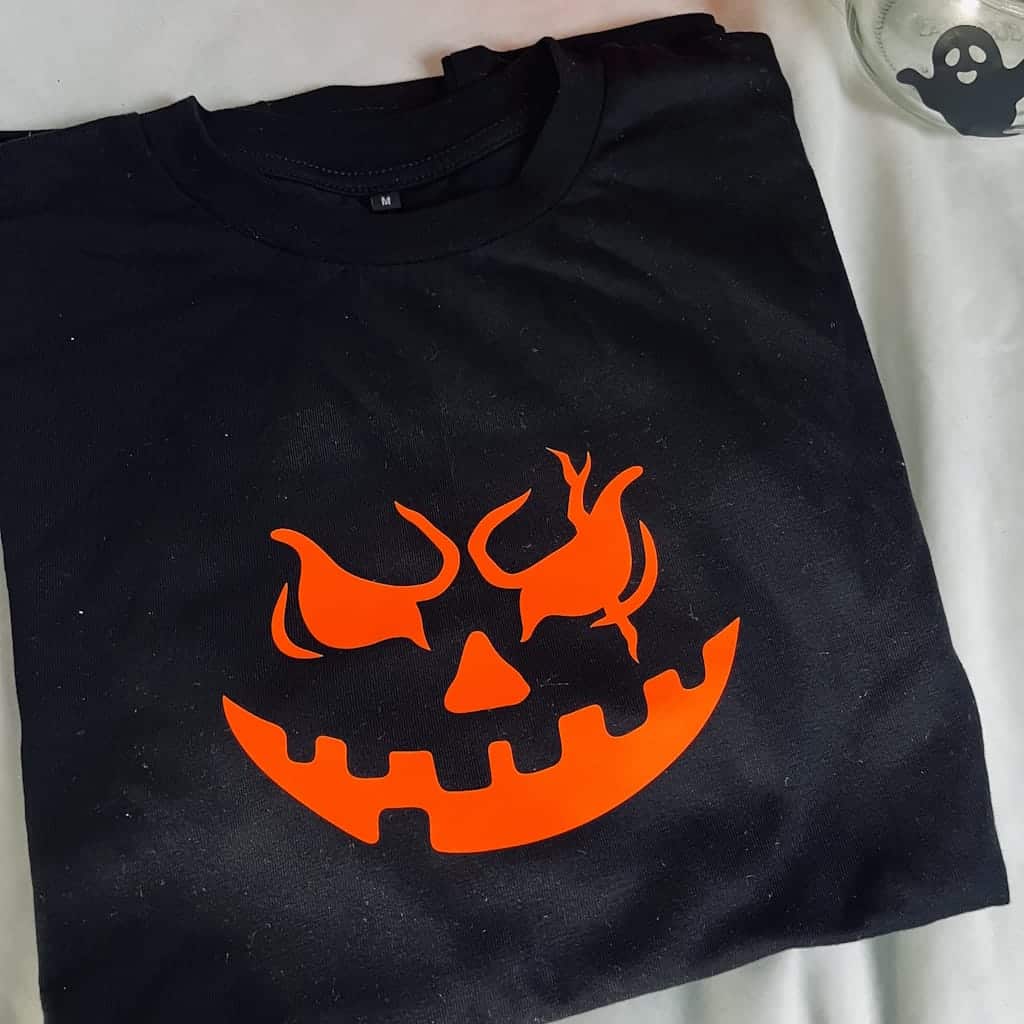
- Das personalisierte Halloween-DIY-T-Shirt
Gib es zu, du hast schon mal deinen Kleiderschrank durchwühlt und dir gedacht: „Ich habe nichts für Halloween anzuziehen…“
😅
Gute Nachricht: Du brauchst kein überteuertes Kostüm, um im Thema zu sein. Es genügt ein bisschen Kreativität und ein gutes Halloween-DIY, um dein eigenes gruseliges… oder einfach stylisches T-Shirt zu gestalten!
Ein schwarzes Oberteil mit einer leuchtenden Fledermaus, einem lächelnden Kürbis oder sogar einer lustigen Botschaft wie „Ich bin das Monster des Abends“. Mit ein bisschen Flexfolie, Textilfarbe oder geeigneten Stiften wird dein Halloween-DIY zu einem echten Unikat, genau zwischen Kostüm und Alltagslook.
💡
Das brauchst du:
-
Ein einfarbiges T-Shirt (vorzugsweise schwarz, orange oder weiß)
-
Flexfolie (oder bedruckbare Flexfolie, wenn du ein Design drucken willst). Ich habe mich für orange leuchtende Flexfolie entschieden, für ein noch beeindruckenderes Ergebnis!
-
Ein Bügeleisen oder eine Transferpresse
-
Eine Motividee: Kürbis, Spinnennetz, Fledermaus, Skelett…
Psss: Du hast kein Motiv zum Ausschneiden? Hier schenken wir dir 50 GRATIS! Jetzt gibt es keine Ausrede mehr, du kannst alles personalisieren!
🪄
Die Schritte:
-
Schneide oder drucke dein Motiv je nach gewünschtem Design.
-
Positioniere es auf deinem T-Shirt und bügle es nach Anleitung auf (oder nutze eine Transferpresse, wenn du ein professionelles Ergebnis willst).
-
Lass es abkühlen und ziehe dann vorsichtig die Schutzfolie ab.
-
Bewundere dein Meisterwerk!
Dieses Halloween-DIY ist perfekt für alle, die einen originellen Look ohne großen Aufwand wollen. Du kannst sogar eine Reihe passender T-Shirts für die ganze Familie gestalten, und das sorgt garantiert für einen tollen Effekt auf den Erinnerungsfotos!
📸
Und wenn du noch einen Schritt weiter gehen willst, denk daran, ein bisschen leuchtende Farbe oder einen „Glow in the dark“-Effekt hinzuzufügen: Dein Halloween-DIY erwacht zum Leben, sobald das Licht ausgeht.
Kurz gesagt, dieses Projekt ist die perfekte Kombination: schnell, lustig und ungemein bereichernd. Du trägst nicht einfach nur ein T-Shirt… du trägst deine Kreativität. (und das knallt
👏
)
🎈
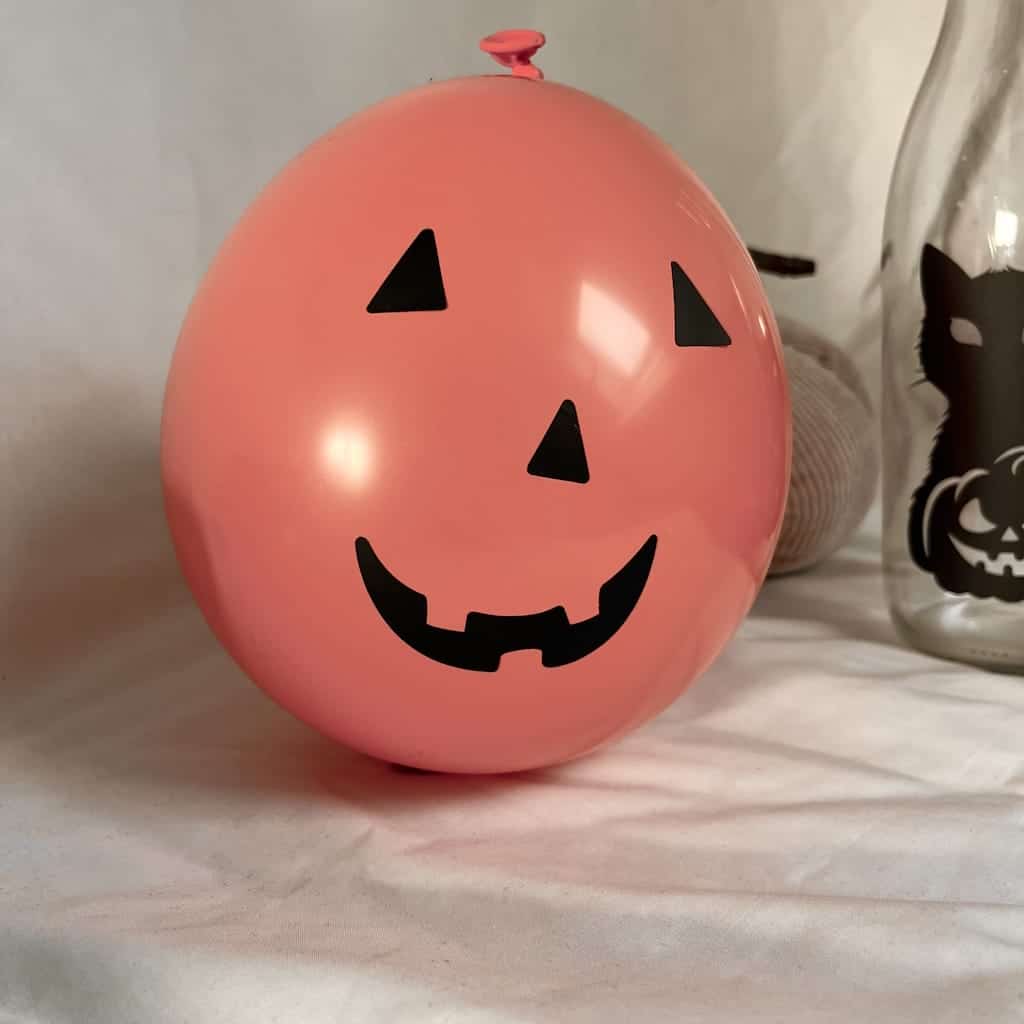
- Die mit Klebefolie verzierten Halloween-Ballons
Du willst eine Deko, die etwas hermacht, ohne den ganzen Tag damit zu verbringen? Dieses Halloween-DIY ist genau das Richtige für dich!
Ein paar Ballons, ein bisschen Klebefolie und deine Fantasie… Mehr brauchst du nicht, um dein Zuhause in ein Versteck fliegender Kürbisse und schwebender Gespenster zu verwandeln.
🎃
Das macht immer seinen kleinen Effekt: schwarze Ballons mit Monstergesichtern, orange Ballons mit lachenden Kürbissen oder weiße, die in schwebende Gespenster verwandelt wurden. Alles selbst gemacht, ganz nach deinem Geschmack. Einfach, schnell und furchtbar wirkungsvoll.
💡
Das brauchst du:
-
Luftballons (schwarz, orange, weiß)
-
Eine Schneidemaschine oder eine Schere.
-
Schnur oder Band zum Aufhängen
🪄
Die Schritte:
-
Blas deine Ballons auf und mach einen Knoten.
-
Schneide aus der Klebefolie Gesichtsformen aus: Augen, Münder, Reißzähne, Narben…
-
Klebe sie sorgfältig auf die Ballons (Tipp: Vermeide zu stark gewölbte Stellen für ein besseres Ergebnis).
-
Häng sie auf unterschiedlichen Höhen mit Schnur auf oder befestige sie an der Wand für einen „Monsterschwarm“-Effekt.
Dieses Halloween-DIY ist perfekt für eine Express-Deko vor einer Party, einem Snack oder einem Fotoshooting. Es kostet fast nichts, zieht aber alle Blicke auf sich. Und wenn du ein noch spektakuläreres Ergebnis willst, nimm mit Helium gefüllte Ballons und lass sie an der Decke schweben, garantierte Stimmung!
Der Vorteil dieses Halloween-DIYs ist, dass du alles personalisieren kannst: lustig, gruselig, niedlich oder geheimnisvoll. Du entscheidest über deinen Stil (kreativ, oder?) und überlegst dir die lustigsten Gesichter.
Kurz gesagt, in wenigen Minuten wird dein Raum zu einer echten Halloween-Kulisse… und du (du selbst!) hast sie gestaltet. (bravo, du
👏
)
🕸️ Die Kraft deines Halloween-DIYs
Halloween ist nicht nur ein Datum im Kalender, es ist eine Einladung zum Gestalten, Teilen und Spaßhaben. Dank dieser Halloween-DIYs kannst du dein Zuhause, deinen Look und deine Feste in echte unvergessliche Momente verwandeln. Von den monströsen Süßigkeitengläsern bis zu den verzierten Ballons ist jedes Projekt eine Gelegenheit, deine Kreativität sprechen zu lassen und deine Liebsten (oder dich selbst!) in eine fröhliche und festliche Stimmung einzubeziehen.
Also begnüge dich nicht damit, fertige Dekorationen zu kaufen: Nimm deine Schere, deine Klebefolie, deine Flexfolie und leg los! Mit diesen 5 Halloween-DIYs hast du alles, was du brauchst, um ein einzigartiges, lustiges und ein bisschen gruseliges Halloween zu erleben. Und glaub mir, die Freude, sagen zu können „Das habe ich selbst gemacht!“, ist unbezahlbar. (stolz auf dich?)
❓
FAQ zu Halloween-DIY
1. Sind diese DIYs für Kinder geeignet?
Ja! Die meisten dieser Projekte (Süßigkeitengläser, Gespensterkette, verzierte Ballons) sind perfekt für Kinder, unter Aufsicht bei Werkzeugen wie Heißkleber oder Schere.
2. Ich habe wenig Material, kann ich diese Halloween-DIYs trotzdem umsetzen?
Absolut! Die meisten Projekte verwenden einfache und wiederverwertbare Materialien: Einmachgläser, Laken, Ballons, Farbe, Klebefolie… Auch ohne Schneidemaschine kannst du tolle Ergebnisse erzielen.
3. Wie viel Zeit muss ich für jedes DIY einplanen?
Im Durchschnitt zwischen 10 und 30 Minuten pro Projekt. Die Süßigkeitengläser und die Ballons gehen sehr schnell, während das T-Shirt oder die Kerzen für ein sauberes Ergebnis etwas mehr Zeit brauchen können.
4. Kann man diese DIYs jedes Jahr wiederholen?
Ja! Manche Projekte sind wiederverwendbar (wie die Lichterketten oder die Kerzen in Gläsern), während andere mit Variationen für jedes Halloween neu gestaltet werden können.
5. Wo finde ich Klebefolie für die Ballons oder das T-Shirt?
Du findest sie im Bastelladen, online auf spezialisierten Seiten (wie Paper Transfer) oder du verwendest einfach Flexfolie, wenn du eine Maschine wie Cricut hast.
6. Sind diese Halloween-DIYs teuer?
Überhaupt nicht! Mit einem kleinen Budget und ein bisschen Fantasie kannst du einzigartige Dekorationen und Accessoires gestalten, ohne deinen Geldbeutel zu sprengen.