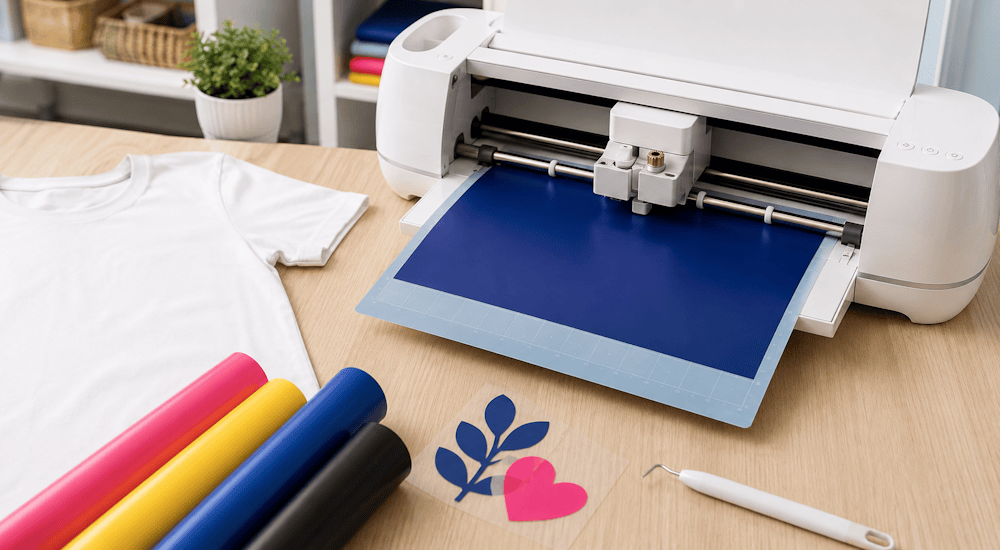
Oggi ti mostreremo come tagliare il flex termoadesivo con le macchine Cricut. Uno dei vantaggi del flex termoadesivo è che puoi applicarlo su tanti tessuti diversi come camicie, cuscini, t-shirt e borse.
Che tu abbia una macchina Cricut Maker, Cricut Explore Air o Cricut Joy, ecco come tagliare il tuo primo motivo in flock con Cricut:
Seleziona il tuo motivo
Quando sei pronto a tagliare un motivo nel flex termoadesivo, apri il software Cricut Design Space e prepara il tuo motivo. In questo esempio, abbiamo scaricato un Design disponibile nel nostro pacchetto di 50 Design Gratuiti per Cricut che puoi scaricare! 🎨
Posiziona il motivo sul tappetino virtuale della cricut cliccando su «Carica» poi su “Carica immagine” e scegliendo il motivo desiderato tra i tuoi file.
Adatta il tuo motivo alla giusta dimensione.
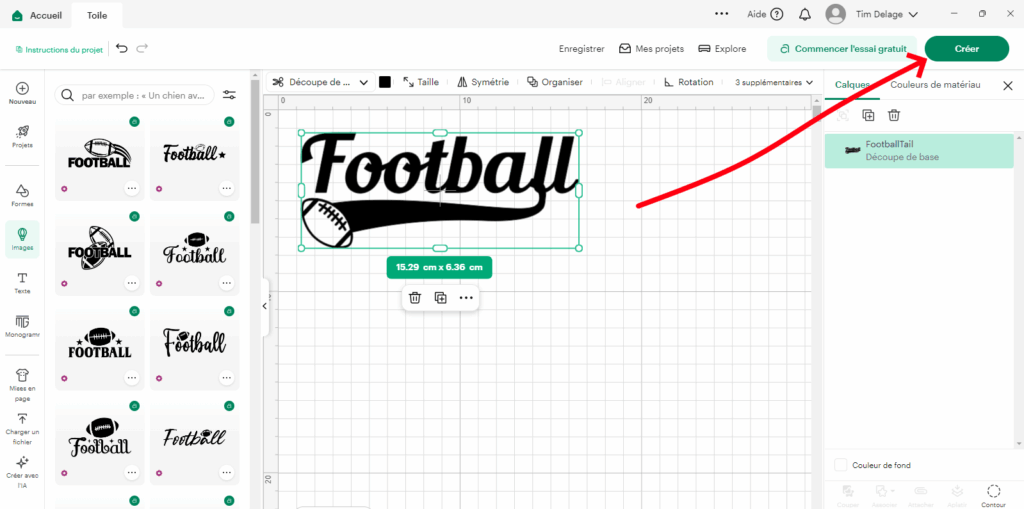
Una volta che il motivo è pronto, clicca su «Crea». Lo schermo dovrebbe avere questo aspetto. ⬇️
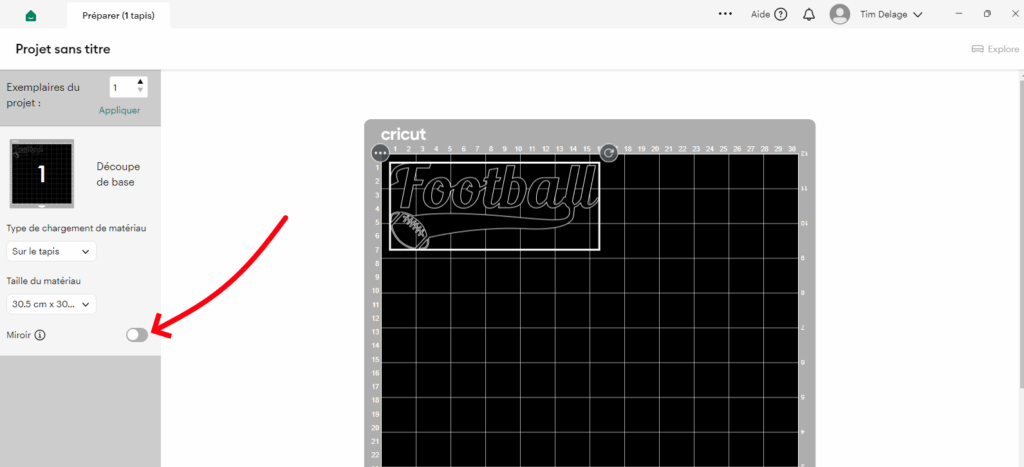
Trattandosi di flex termoadesivo, devi assicurarti che la tua immagine sia in modalità specchio. Infatti, il flex termoadesivo deve sempre essere tagliato in modalità specchio affinché il motivo appaia nel verso giusto al momento dell'applicazione sul tessuto.
Per mettere il tuo motivo in modalità specchio, clicca sul pulsante «Mirror» situato sul lato sinistro, sotto la miniatura del tappetino.
Quando clicchi sul cursore, il pulsante si attiva a sinistra e il tappetino mostra il motivo al contrario. 🔄
Clicca su «Continua» e ti verrà chiesto di scegliere la tua macchina. Per questo articolo, usiamo la Cricut Maker ma anche la Cricut Explore Air 2 per esempio fa un ottimo lavoro nel taglio del flex termoadesivo.
Se selezioni la Cricut Maker per tagliare il tuo flex termoadesivo, ti verrà chiesto di impostare il tuo materiale.
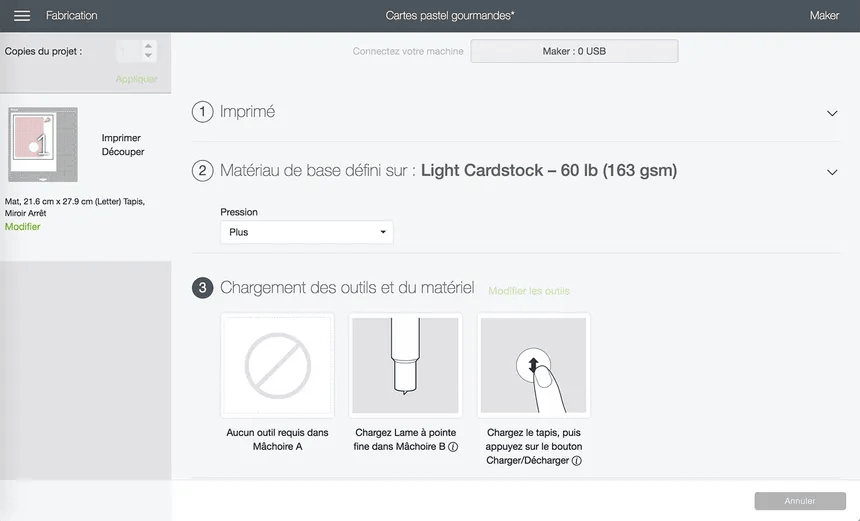
Abbiamo scelto “every day Iron ON” che è adatto al flex standard, ma esistono anche opzioni per il termoadesivo glitter, il Flex velluto e tutti gli altri tipi di flex che sono disponibili nel nostro negozio di flex termoadesivi. (Tutte le impostazioni dei nostri flex sono disponibili nella descrizione di ciascun prodotto.)
Dopo aver selezionato il materiale, la macchina ti chiederà di inserire il tappetino e il taglio comincerà.
Non dovrai fare altro che aspettare qualche minuto che il taglio sia finito e poi potrai rimuovere il tappetino.
Applicazione del flex sul tappetino Cricut
Dopo averti mostrato come tagliare il flex con la macchina Cricut, ti daremo qualche consiglio per posizionare correttamente il flex sul tappetino da taglio:
1️⃣ - Il lato lucido del flex deve sempre essere posizionato verso il basso. È importante notare che alcuni flex non hanno lo stesso colore sul fronte e sul retro e altri flex hanno gli stessi colori da entrambi i lati. Per garantire il buon funzionamento del taglio, è quindi fondamentale basarsi unicamente sulla distinzione tra lucido e non lucido, e non sul colore del flex che potrebbe trarre in inganno.
2️⃣ - Quando il flex è sul tappetino, inseriscilo nella macchina con il pulsante con la freccia che lampeggia della tua cricut. Premi poi il pulsante Cricut per avviare il taglio.
3️⃣ - Una volta terminato il taglio del tuo motivo, stacca il flex dal tuo tappetino cricut. Se stacchi il flex dal tappetino, a un certo punto rischia di arricciarsi, ma questo non influirà sui tagli.
4️⃣ - Più usi il tuo tappetino per cricut e più questo rischia di perdere le sue proprietà adesive. Una volta che il tuo flex non riesce più ad aderire al tappetino, non hai bisogno di ricomprarne un altro, puoi usare del nastro di mascheratura per far aderire il flex al tappetino.
5️⃣ - Questo è un piccolo consiglio, non aver paura di fare un taglio di prova in anticipo. Seleziona un piccolo motivo e segui il processo di taglio usando il flex termoadesivo. Questo ti permette di evitare errori di taglio e sprechi se non sei del tutto sicuro delle impostazioni giuste da usare.
6️⃣ - Taglia il tuo flex alla dimensione del motivo desiderata. Quando prepari i tuoi tappetini, la maggior parte dei tuoi motivi non richiede un foglio intero di flex. Puoi pre-tagliare il tuo flex termoadesivo a una dimensione vicina a quella del motivo. Usa le griglie del tappetino per determinare la dimensione necessaria e concediti un piccolo margine di manovra di 2cm.
Eliminare l'eccesso di flex termoadesivo
Una volta rimosso il flex dal tuo tappetino da taglio, il passaggio successivo si chiama «scarto» o «weeding». Si tratta semplicemente di togliere il flex in eccesso attorno al tuo motivo che non vuoi trasferire sul tuo prodotto finale.
Come evitare di sprecare flex durante il weeding?
Se il motivo che hai tagliato è molto più piccolo del pezzo di flex su cui è stato tagliato, ti consigliamo di tagliare il flex in eccesso prima di procedere al weeding.
Puoi semplicemente usare un paio di forbici per tagliare attorno al tuo motivo. Questo ti permette di usare il resto del tuo pezzo di flex per un altro progetto.
Per togliere l'eccesso di flex termoadesivo, avrai bisogno di un uncino per scarto.
Il trasferimento sul tessuto
Ora siamo pronti a trasferire il nostro motivo tagliato e scartato sulla nostra t-shirt! 👕
Per trasferire correttamente il flex termoadesivo sul tessuto, hai bisogno di due cose: calore e pressione, e per farlo puoi usare un ferro da stiro o una pressa a caldo.
Come applicare il flex sul tessuto?
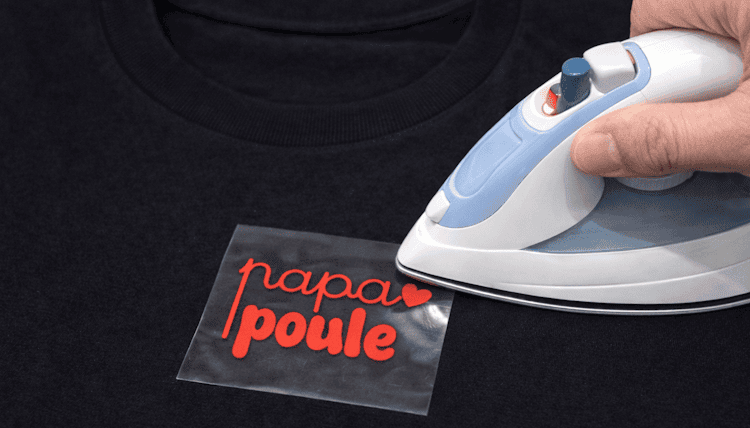
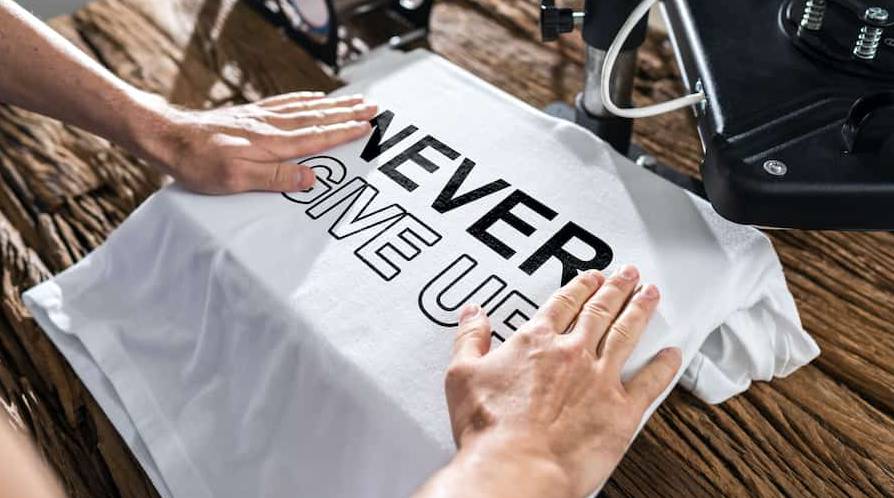
Comincia col collegare il tuo ferro da stiro o la tua pressa a caldo e imposta la temperatura a 150 gradi. Poi, posiziona il tuo motivo sul tessuto con il foglio di supporto in plastica trasparente sopra, in modo che il motivo sia poggiato sul lato giusto.
Premi il tuo ferro da stiro ed esercita una pressione su ogni parte del motivo per circa 10 a 20 secondi. Alcuni tipi di flex richiedono più o meno pressione, quindi verifica le istruzioni per il materiale che stai usando.
Se usi un ferro da stiro, fai attenzione a spostarlo mentre premi per assicurarti che ogni parte del motivo riceva calore e pressione.
Una volta che ogni parte del motivo è stata ben pressata, puoi cominciare a staccare lentamente il foglio di supporto. Se il flex non si è attaccato al tessuto, devi ripetere il processo.
NOTA: alcuni tipi di flex sono «a stacco a freddo», il che significa che devi lasciare raffreddare completamente il flex prima di rimuovere il foglio di plastica trasparente.
Una volta che il flex termoadesivo è stato applicato correttamente, è pronto per essere indossato. Lascia che il flock si fissi al tessuto per almeno 24 ore prima di lavarlo. Per risultati migliori, lava la t-shirt al rovescio.
E questo è tutto ciò che devi sapere per realizzare il tuo primo progetto in flock!
Sappiamo che imparare a usare una nuova macchina e un nuovo programma a volte può essere un po' difficile, per fortuna Cricut è riuscita a creare una macchina e un software tra i più semplici da usare sul mercato del flock. Se hai domande, non esitare a inviarci una mail a contact@papier-transfert.fr.
Se vuoi realizzare progetti divertenti in flock con le macchine Cricut Maker, Cricut Explore air o Cricut Joy, dai un'occhiata al nostro negozio di flex termoadesivi! Le possibilità creative sono infinite con questo materiale! 🤩