
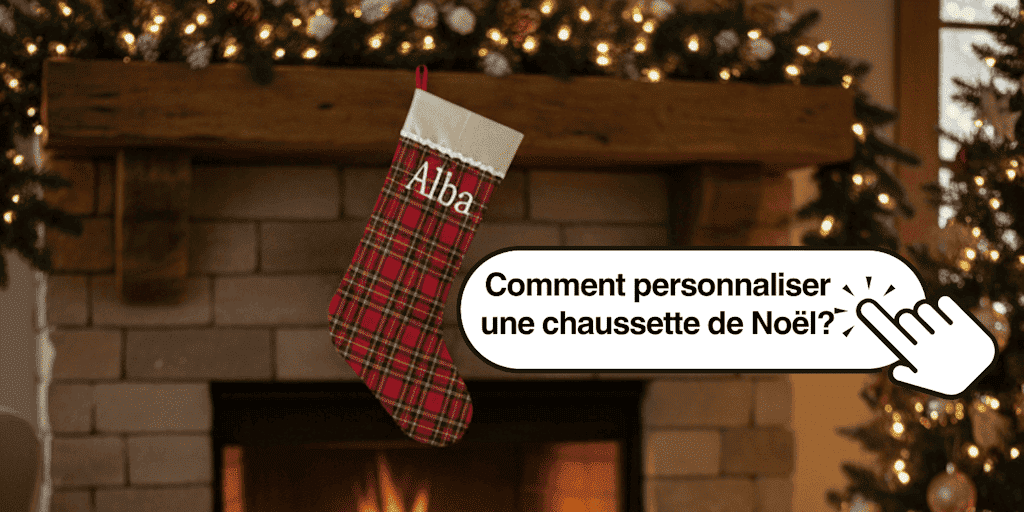
There's the smell of cinnamon drifting through the house, the tree lights gently twinkling, and a hot chocolate steaming on the table.
Christmas is almost here. And like every year, you get out the decorations, straighten the garlands, and make sure everything is just right. And yet, one little detail is missing: the one that makes your decor unique, cozy, and truly you.
I remember one Christmas when I was little: Santa had mixed up my stocking with my brother's. I opened his, and he opened mine... total confusion! I was a little disappointed, and so was he. If our stockings had had our names on them, this little mix-up would never have happened. And from that day on, I understood how important it is to personalize even the smallest details.
What if this year you decided to personalize a Christmas stocking?
Not just any stocking: one with the name of your child, your better half, or even the family dog 🐾. One you'll bring out every winter with the same smile, because it will remind you of a cozy, creative moment... and maybe even a funny story to tell.
Personalizing a Christmas stocking is so much more than just a DIY project. It's a way to add a little bit of you to the magic of the holidays, and to turn an ordinary object into a treasured keepsake. And trust me, when you see the reaction of the person you give it to, you'll know the time you spent making it was totally worth it.
1. Why Personalize a Christmas Stocking?
You know, that little mix-up from my childhood stuck with me more than I ever expected. A swapped stocking, a missing name... and suddenly, something that seemed so ordinary lost its magic. From that day on, I realized there's something special about taking the time to personalize a Christmas stocking.
Above all, it's about emotion. A stocking with a name, a carefully chosen design, or a little detail that means something to the person you're giving it to turns a simple object into a treasured keepsake. Every year, when you bring it out, you won't just see a decoration: you'll see a moment of closeness, laughter, and shared memories.
And it's not just for kids. Whether it's for your partner, a friend, or even your pet, when you personalize a Christmas stocking, you add a unique touch to every home. A color, a design, a name... and just like that, the ordinary becomes extraordinary.
And finally, there's that quiet sense of satisfaction: making something with your own hands, seeing the result, and knowing no one else will have one just like it. It's a small gesture, but it makes all the difference under the tree.
2. The Supplies You Need to Personalize a Christmas Stocking
Before you get started, take a moment to gather everything you'll need.
Don't worry, you don't have to be a skilled crafter: with a few basic supplies, you can easily personalize a Christmas stocking and get a result worthy of a holiday store window.
Here's what you'll need:
-
A blank stocking: felt, velvet, or knit, depending on the style you're going for. Choose a thick material that's soft to the touch and easy to decorate.
-
Heat transfer vinyl: perfect for adding a name, a phrase, or a design.
-
A cutting machine (like the Cricut, the Silhouette Cameo 5, or even a ScanNCut). If you don't have one, a pair of scissors and a little patience will do the job just fine.
-
A heat press (or an iron if you don't have one) to apply your design.
👉
Pro tip: always choose colors that contrast with the stocking so your design really stands out. For example, gold on red, or white on green.
When you personalize a Christmas stocking, every detail counts. The materials, the colors, and even the little finishing touches all bring your idea to life. And the best part is that you can adjust the difficulty level to suit your mood: quick and simple, or more elaborate and detailed.
3. Steps to Personalize a Christmas Stocking
Now that all your supplies are ready, it's time for the most fun part: creating ✨
Here's how to personalize a Christmas stocking step by step, even if you're a beginner.
Step 1: Choose the Perfect Stocking
This is the foundation of your project. Choose a good-quality Christmas stocking with a texture you love: felt for a traditional style, velvet for a touch of elegance, or knit for a cozy look.
Think about how the colors will go with the rest of your decor: red and gold for a classic Christmas, white and silver for a Nordic vibe, or evergreen for a natural touch.
Step 2: Create Your Design
This is where the magic happens.
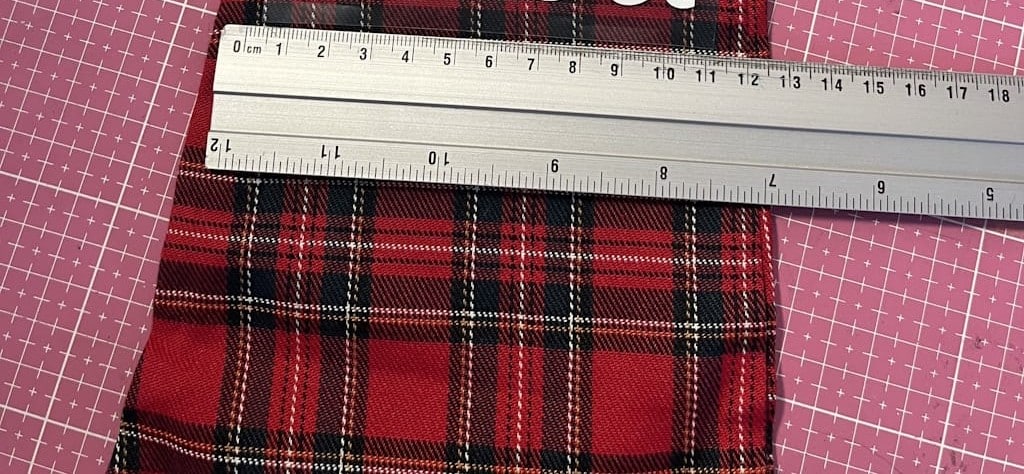
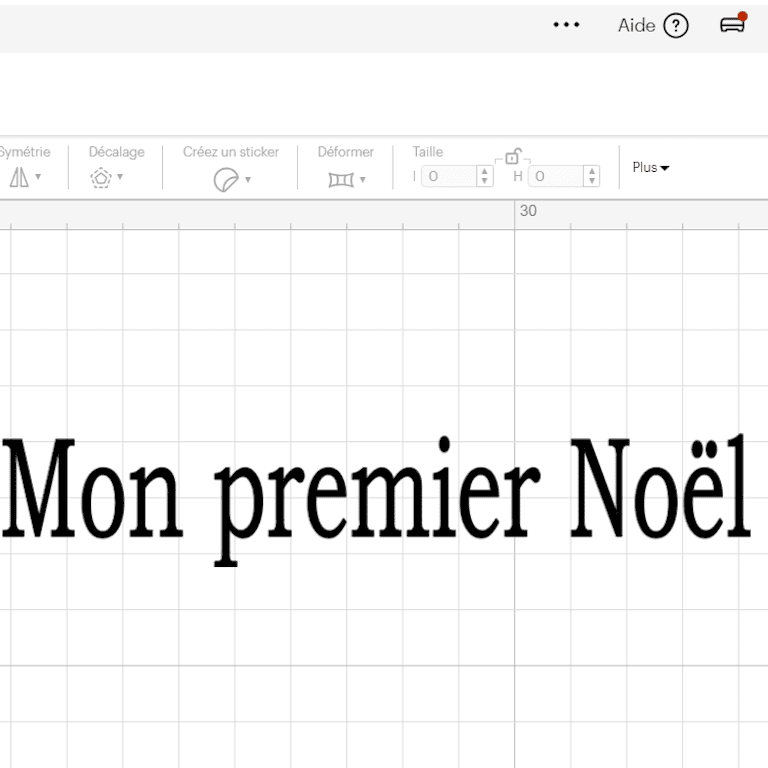
Think about the name, word, or design you want to add. "My First Christmas", "The Dupont Family", or even a funny little quote.
If you're using a Cricut machine, prepare your design in Design Space (or Silhouette Studio for the Silhouette Cameo 5). If you're cutting by hand, print your design to use as a template.
The secret to personalizing a Christmas stocking beautifully is balance: not too busy, not too empty.
Step 3: Apply the Design
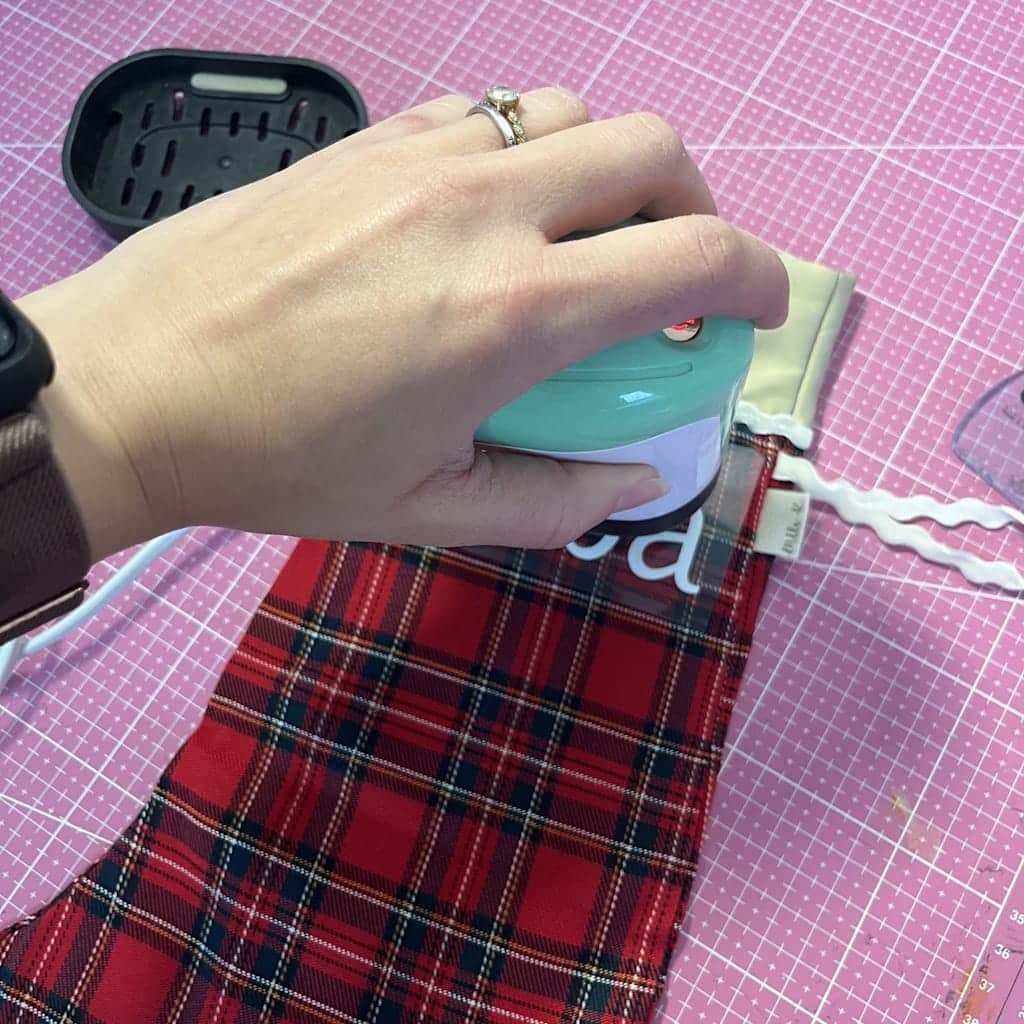
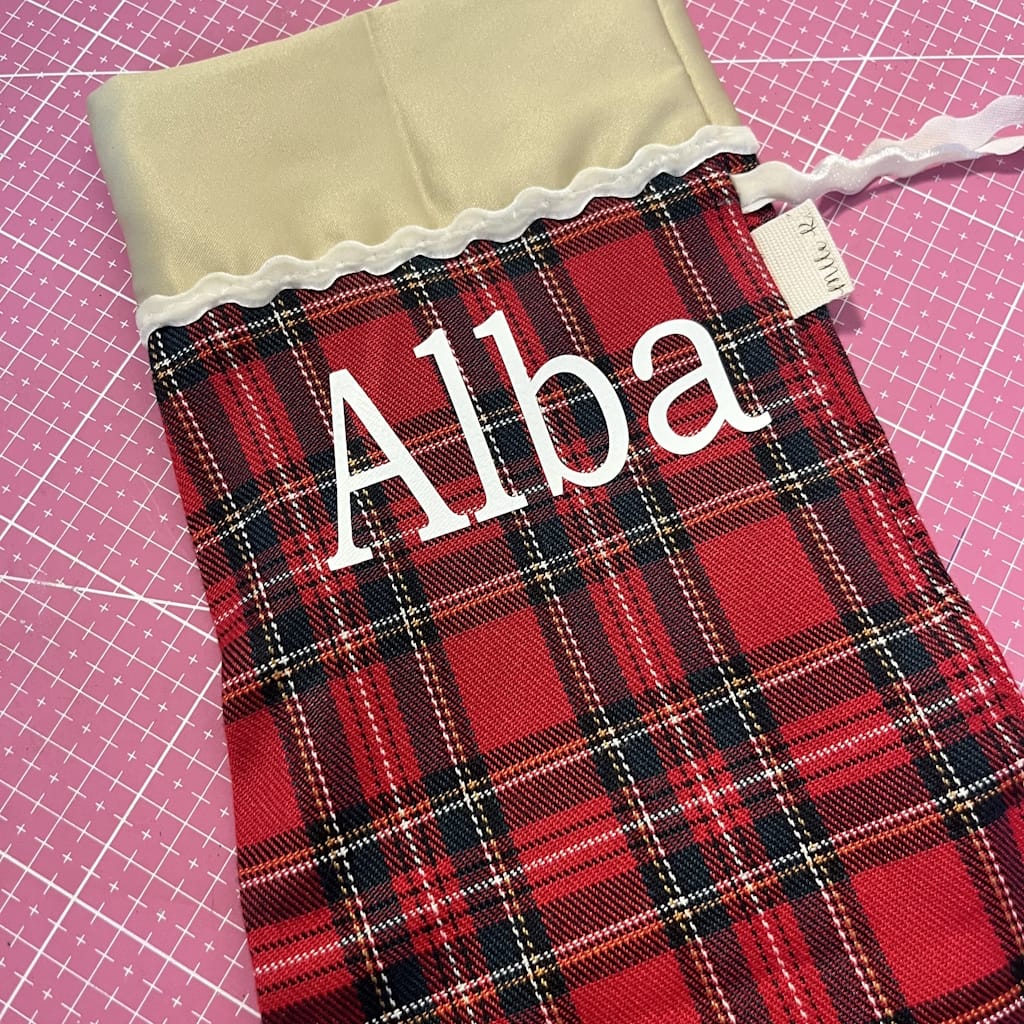
Cut out your heat transfer vinyl, then place it where you want it on the stocking.
Use your heat press (or your iron with the steam off), following the instructions for your material. Press firmly, then let it cool before peeling off the carrier sheet.
And now for the moment of truth: your design comes to life right before your eyes. Trust me, that little rush of pride says it all.
Step 4: The Finishing Touches That Make All the Difference
Now's the time to add your personal touch: a ribbon, a little jingle bell, a small bow, a strip of lace trim, or a personalized tag.
You can also sew on a sturdy loop to hang your stocking from the mantel or the tree.
And there you have it: you've just personalized a Christmas stocking that's truly you.
4. Creative Ideas to Personalize a Christmas Stocking
This is where your imagination takes over ✨
There's no single right way to personalize a Christmas stocking; there's your way. Your style, your world, your story. Get inspired by these ideas to create a decoration that's truly you.
1. The Classic, Timeless Look
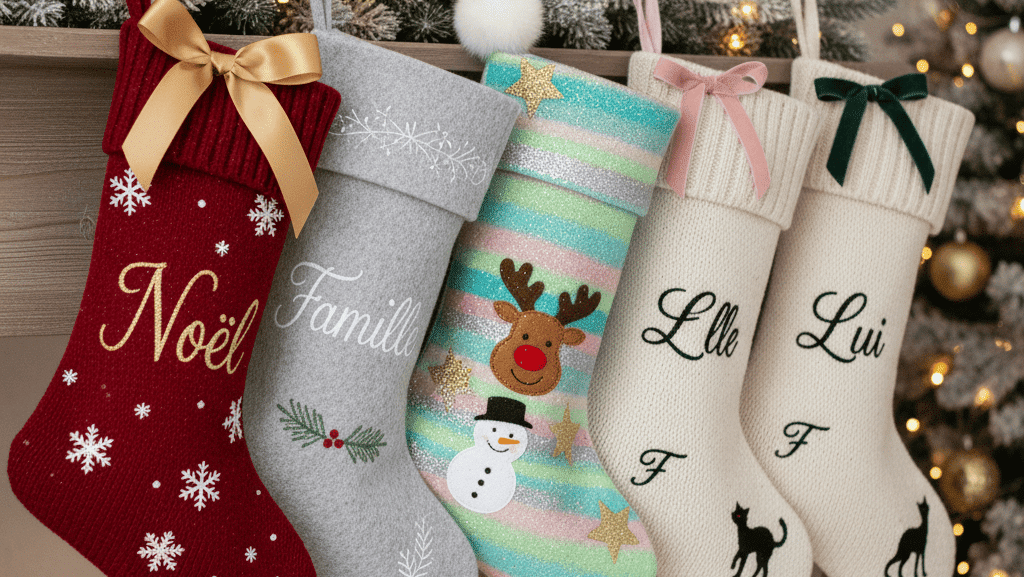
Red, white, gold... the kind of stocking you picture hanging by the fireplace in Christmas movies.
Just add the name in gold lettering, a few snowflakes in white vinyl, and a matching ribbon.
It's a sure thing: elegant, festive, and always full of charm.
2. The Nordic, Minimalist Vibe
For a home with clean, simple decor, go for a gray or beige felt stocking with delicate white lettering.
You can personalize your Christmas stocking with a script font, a small embroidered pine branch, or even a raised initial.
Simple, but incredibly refined.
3. The Colorful, Kid-Friendly Version
Anything goes here! Glitter, reindeer, snowmen, sparkly stars...
You can personalize a Christmas stocking with your child's name, a funny drawing, or their favorite character.
And why not let the kids help? It's a creative family moment they won't forget.
4. A Stocking for Your Four-Legged Friend
Yes, even your dog or cat deserves one 😺
A mini stocking with a paw print, an initial, or an animal silhouette... adorable and full of fun.
It's often the one that makes everyone smile on the morning of December 25!
5. Matching Stockings for Couples or Friends
Make two coordinating stockings: "Papa Claus / Mama Claus", "His & Hers", "Christmas BFF"...
You can play with colors, mirrored designs, or a single word split across both.
It's a simple idea with so much meaning, and perfect as a gift.
Whether you're more of a traditionalist or love breaking the rules, personalizing a Christmas stocking lets you express your creativity through something that's both decorative and sentimental. And once they're all hung together, these stockings tell a beautiful story: the story of your family, your home, and your Christmas.
5. Giving a Personalized Christmas Stocking: A Gift That Hits the Mark
Some gifts get forgotten... and others are treasured year after year.
When you choose to personalize a Christmas stocking for someone, you're giving them much more than just an object: you're giving them a memory.
Just picture it: they find their stocking hanging on the wall, see their name carefully lettered on it, and notice the little detail you added just for them... And their face lights up. That smile is worth all the wrapping paper in the world.
That's what I love about giving a personalized Christmas stocking: it touches the heart without a single word.
It's a unique, personal gift that tells a story.
A stocking for a baby's first Christmas, another to celebrate a new home, one for your partner, a friend, or even your pet: each one becomes a symbol of connection and love.
And if you want to take it even further, you can tuck a little note, a chocolate, a piece of jewelry, or a personalized treat inside.
It's the kind of surprise that makes the moment even more magical ✨
So yes, personalizing a Christmas stocking isn't just a creative activity: it's a way to give joy.
A small gesture, a big emotion.
6. Sometimes the Magic of Christmas Is Found in a Simple Stocking Personalized with Love
When you get right down to it, personalizing a Christmas stocking is so much more than a craft project.
It's a moment just for you, or one to share with the people you love. It's the pride of making something with your own hands, putting a little of yourself into it, and knowing it will last for years to come.
Every Christmas, you'll bring it out, hold it, smile, and the memories will come rushing back.
That's where the real magic lies: in the little things done from the heart ❤️
So this year, why not give it a try?
Get out your supplies, make yourself a hot chocolate, and let your creativity take over. You'll see: personalizing your Christmas stocking will quickly become a tradition you can't do without.
And if you'd like even more creative ideas, come check out my other projects and inspiration at Mlle K Boutique, where every creation has a story 🎁
🎅 FAQ: Personalizing a Christmas Stocking
1. Why Personalize a Christmas Stocking Instead of Buying a Ready-Made One?
Because it's so much more personal! When you're personalizing a Christmas stocking, you add your own touch, your style, and your emotions.
It's a unique, handmade piece that means something, not just a generic decoration pulled off a store shelf.
2. What Supplies Do You Need to Personalize a Christmas Stocking?
You can use:
-
a blank stocking (felt, knit, velvet),
-
heat transfer vinyl,
-
a Cricut machine (or scissors and a template),
-
an iron or a heat press,
-
and a few decorative touches (ribbons, pom-poms, jingle bells...).
The idea is to have fun with no pressure, using whatever you have on hand.
3. How Long Does It Take to Personalize a Christmas Stocking?
It all depends on how detailed you want it to be.
On average, plan on 30 to 45 minutes for a simple version with a name and a design.
But be warned: when you're having fun creating, time flies ⏳😉
4. Can You Personalize a Christmas Stocking Without a Cricut Machine?
Absolutely! You can personalize your Christmas stocking by hand: cutting with scissors, fabric paint, embroidery, or glue.
The only limit is your imagination.
5. How Do You Care for a Personalized Christmas Stocking?
If it's made of fabric, avoid machine washing it.
Gently dust it off, store it in a fabric bag after the holidays, and it will stay beautiful year after year.
It's a keepsake to cherish, not a disposable accessory 💫



Comments
No comments yet. Be the first to share your experience.
Leave a comment