
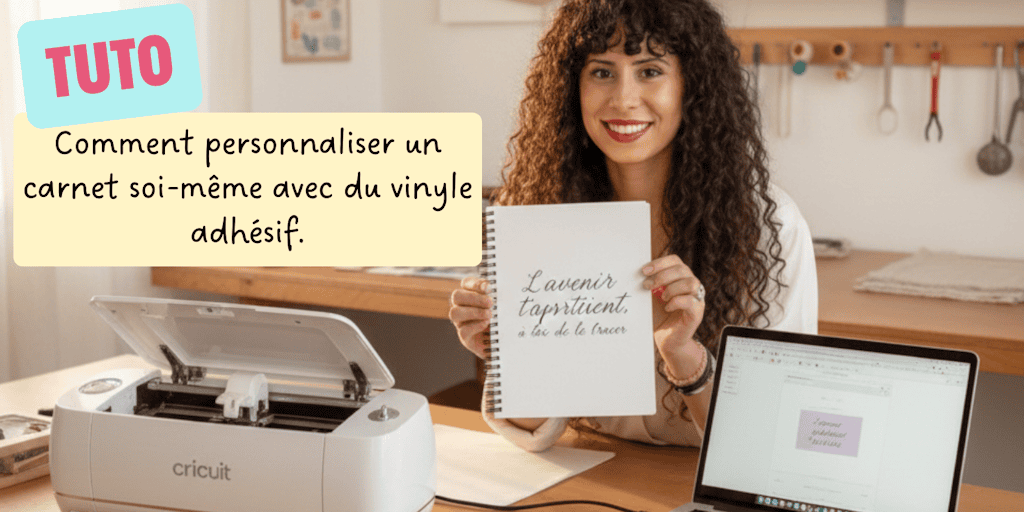
I spend a big chunk of my day in front of a computer. Screen on, fingers on the keyboard, notifications popping up one after another... digital tech is clearly a huge part of my life. And yet, in spite of all that, I'm a notebook lover (and always will be).
I have notebooks all over the place. One for jotting down ideas that come out of nowhere so I can sort them out later. Another for organizing my day-to-day life. One for doodling, testing, crossing out, and starting over. I even have a few I bought just because they're SOOOO pretty on the inside (yes, that's a perfectly good reason to treat yourself to a notebook!). Each notebook has its own purpose, its own role, almost its own personality. I love paper, the act of writing, and slowing down for a few seconds to focus on what I'm doing.
But after using so many of them, one thing finally jumped out at me: these notebooks all look the same. Practical, sure. Pretty, sometimes. But not really me. They're basically the same notebooks everybody else has. And for a die-hard DIY fan like me, that's a big NO!
So I had a very simple thought: if I'm going to use a notebook every day, I might as well make it unique. I might as well personalize a notebook so it truly reflects who I am, starting with the cover. And if you use notebooks every day too (whether you're a creative type, an organizer, an entrepreneur, or just a paper lover), you know it makes all the difference in the world.
No complicated equipment, no need to be a DIY expert: I found a simple, creative solution in adhesive vinyl. It's an easy technique that turns an ordinary notebook into something personal, motivating, and unique.
And that's exactly what I'm going to show you in this article: how to personalize a notebook yourself, easily and super quickly. Alright, let's get started! 😀
1. A Notebook Is Never Just a Notebook
On the surface, a notebook seems simple. A few blank pages, some lined ones, maybe a few drawings... plus a cover that's more or less pretty and a practical size. But in reality, it's so much more than that.
For me, a notebook is a safe haven. A place to capture my ideas before they vanish. Where I can write without a filter. It's with me every day, and if you use notebooks too, you know exactly what I'm talking about.
A personalized notebook makes you want to write. It makes you want to stick with it. It's recognizable at a glance. And best of all, it's like no other.
Whether you're into lists, journaling, note-taking, or brainstorming, personalizing a notebook turns a simple pad of paper into a truly personal tool. Something that goes everywhere with you, keeps you motivated, and reflects who you are.
That's exactly why I wanted to take things further... and find a simple, accessible, creative way to personalize my notebooks without any hassle.
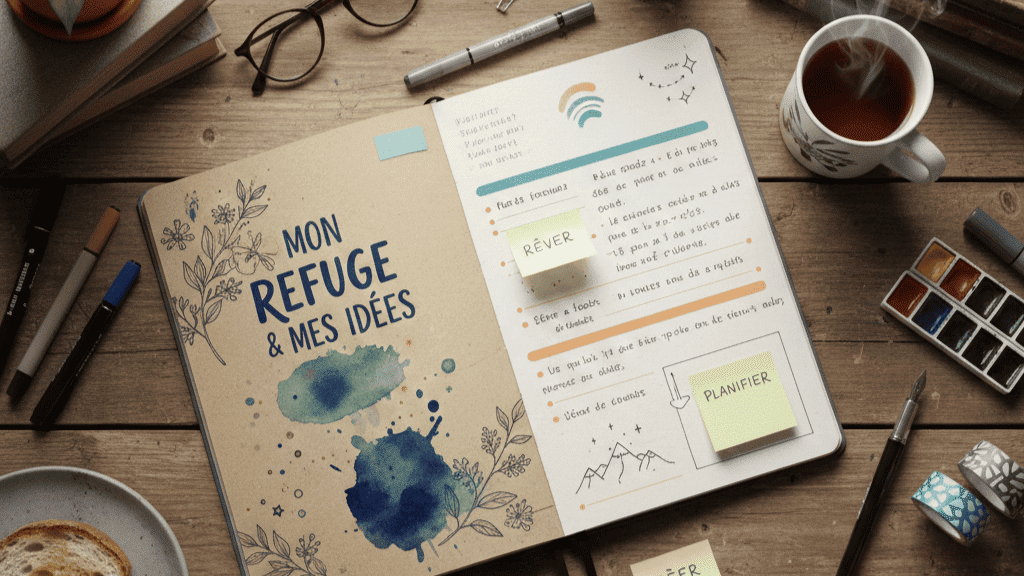
2. Why Adhesive Vinyl Is Ideal for Personalizing a Notebook
When I decided to personalize a notebook, I wanted something simple. Not a complicated technique, not a so-so result, and definitely not a project that would end up at the bottom of a drawer because I ran out of time or patience.
Adhesive vinyl was the obvious choice. Simple, practical, and effective, it's the best option for this DIY project.
First of all, it's easy to use. You don't need to be a crafting expert to pull it off. Whether you're a beginner or already comfortable with DIY, adhesive vinyl lets you personalize a notebook quickly and stress-free, with a clean finish.
It also gives you complete creative freedom. A name, an inspiring word, a quote, a symbol, a graphic design... anything goes. You choose exactly what you want on your notebook's cover. And that changes everything. Your notebook becomes recognizable, unique, and personal.
Another big plus: it lasts. Once it's properly applied, adhesive vinyl holds up to everyday handling. You can carry your notebook around, open it, close it, and slip it into a bag without damaging the design. And if you ever get tired of that design, just peel it all off and start over (we promise we won't judge, haha)!
And let's be honest: personalizing a notebook with adhesive vinyl is also incredibly satisfying. There's that exact moment when you peel off the transfer tape and the design appears, perfectly in place. That little moment of pride makes all the difference.
Those are exactly the reasons I chose this technique. It lets you personalize a notebook easily, with professional-looking results, and it's accessible to everyone.
And the good news is that you need very few supplies to get started. Don't believe me? I'll show you everything in the next step!
3. The Supplies You Need to Personalize a Notebook Yourself
This is usually when the doubts start creeping in. You picture an endless list of supplies, complicated tools, or needing some ridiculously expensive machine. Spoiler alert: that's not the case.
To personalize a notebook with adhesive vinyl, I deliberately chose a method that's simple, accessible, and above all realistic for everyday life (we don't do headaches around here).
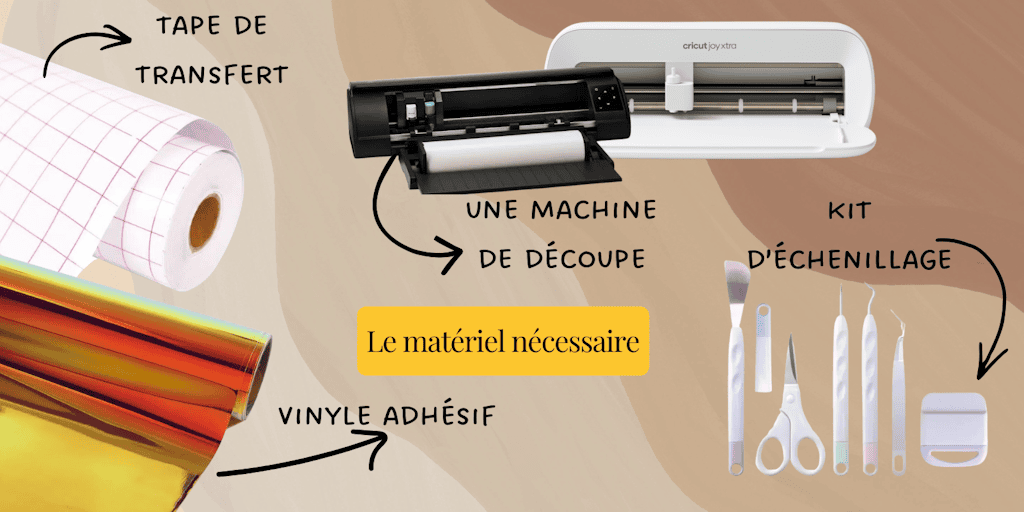
Here's what you actually need:
-
A notebook
Hardcover or softcover, brand-new or already used, it doesn't matter. What matters is a clean, smooth cover so the vinyl sticks properly. -
Adhesive vinyl
Solid, colorful, glitter, or matte: pick whatever suits your style. This is what will give your notebook all its personality. -
A cutting tool
A cutting machine like a Cricut, a Silhouette Cameo 5, or any other brand if you have one, but it's definitely not required. Some simple designs can also be cut out by hand. -
Transfer tape (also called transfer film)
Essential for placing your design correctly on the notebook's cover. -
A squeegee or a stiff card
To smooth down the vinyl and prevent air bubbles.
And that's it.
No workshop, no expertise, and no need to spend hours on it. The goal is to show you that you can absolutely personalize a notebook yourself, even with very few supplies.
Once you've got everything together, all that's left is to move on to the most satisfying step: the personalization itself.
Psst: not sure where to find designs to download? I'm giving you 50 of them for free right here! No need to thank me, it's my pleasure! So, what do you think of these 50 free designs?
4. Steps to Personalize a Notebook with Adhesive Vinyl
This is where it all comes together. Where a simple idea becomes a one-of-a-kind notebook designed just for you. And you'll see: personalizing a notebook with adhesive vinyl is much easier than it looks.
Step One: Prepare the Notebook
Before anything else, I take a few seconds to clean the cover. A dry cloth is usually all it takes to wipe away any dust. This step is quick but essential if you want the vinyl to stick properly.
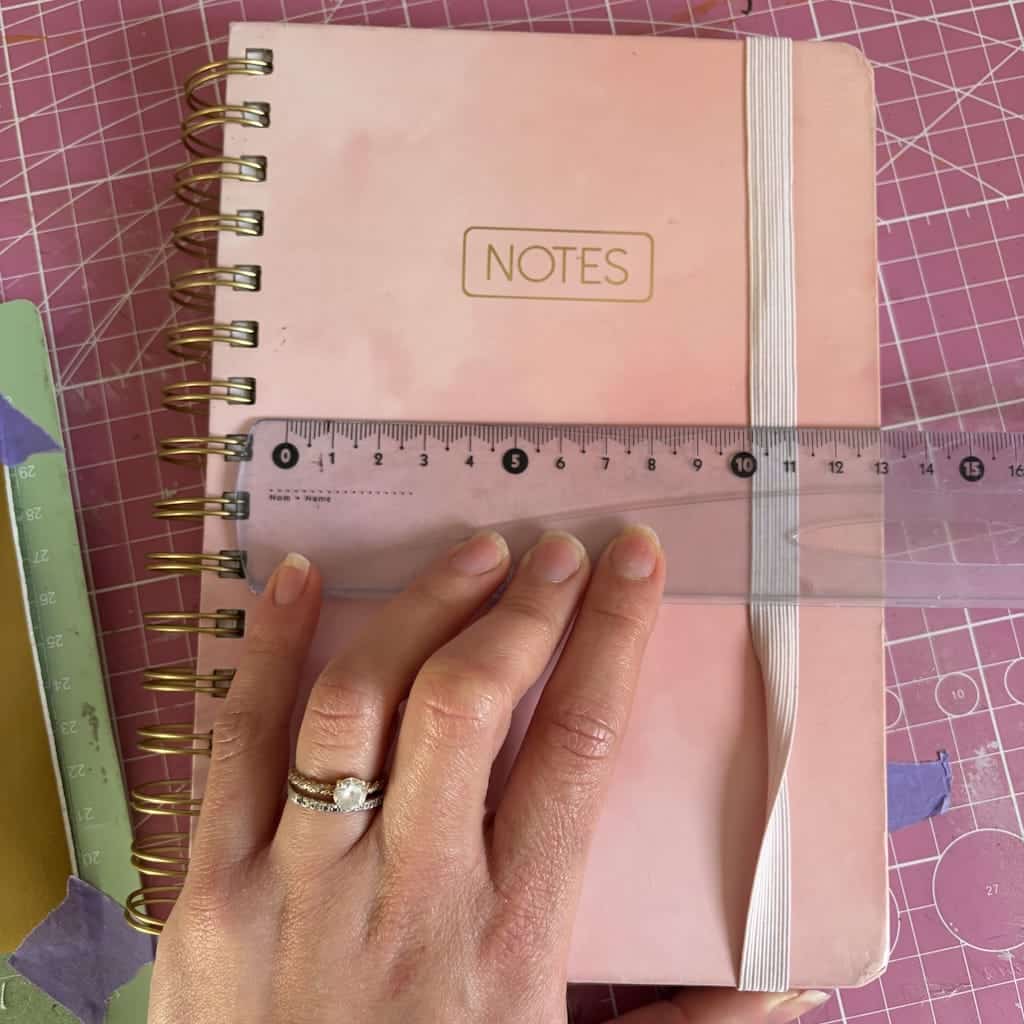
I also measure my notebook to make sure the text and/or design won't be too big.
Step Two: Choose and Cut the Design
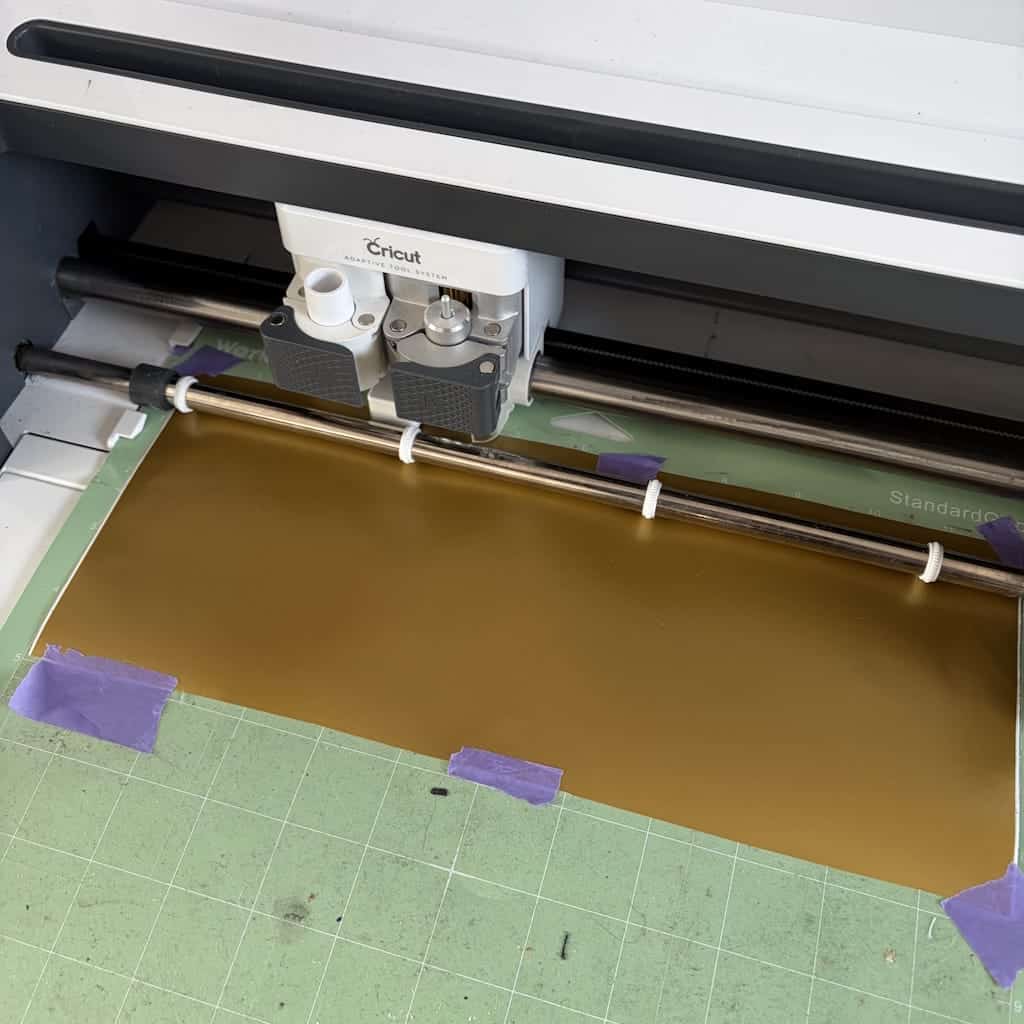
This is probably the most creative part, and the one we enjoy most in this DIY (or maybe it's the second part). I usually already have an idea of what I want to make, so I just hop onto Design Space (you know, the software you use with your Cricut) and pick my design. Once everything is set up and, MOST IMPORTANTLY, the right size, I move on to cutting my adhesive vinyl.
I chose a gold adhesive vinyl with a matte finish. I'm totally in love with this color! As for the design, a simple motivational message does the trick. After all, it's an idea notebook, so what could be better?
Step Three: Apply the Vinyl Stress-Free
Once the design is positioned just right, I gently stick the vinyl down using transfer tape. Then, with a squeegee or a stiff card, I gradually smooth it out from the center toward the edges. There's no need to rush: taking your time is the key to a successful DIY project.
Step Four: Reveal Your Design
This is my favorite part. I carefully peel off the transfer tape, and the design appears, perfectly in place. At that point, the notebook isn't just an ordinary object anymore: it's personal, unique, and totally me.
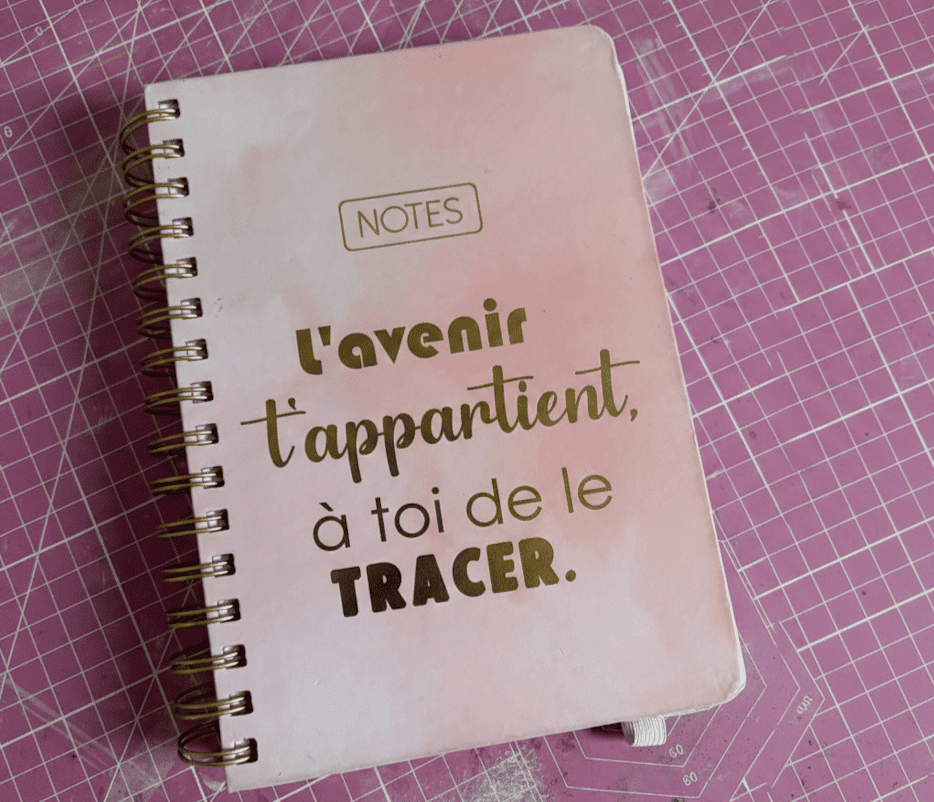
And there you have it. In just a few minutes, I was able to personalize a notebook without any trouble, with a clean, long-lasting result. It's a simple technique, but it completely changes the way you use and see your notebook every day. See? It was easier than it looked!
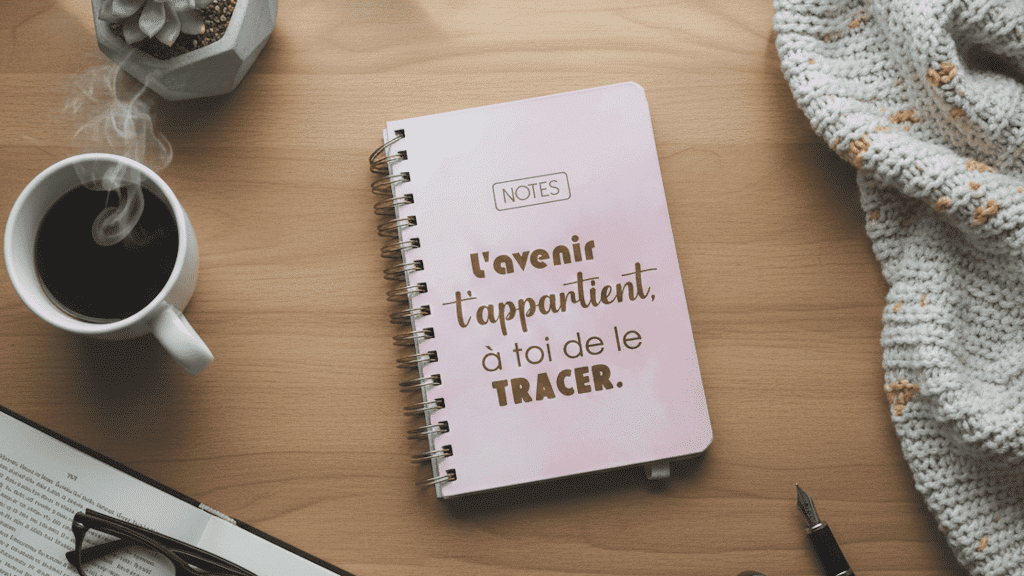
What If Your Notebook Finally Reflected Who You Are?
Personalizing a notebook isn't just about adding a name or a pretty phrase to a cover. It's about turning an everyday object into something personal, motivating, and unique.
For me, this approach made my notebooks feel valuable again. It helped me tell them apart, use them better, and, most of all, want to open them even more every day. Thanks to adhesive vinyl, I found a simple, accessible, creative way to personalize a notebook without any complications.
Whether you're a creative type, an organizer, an entrepreneur, or just a paper lover, personalizing a notebook yourself is both satisfying and inspiring. And the best part? Once you get started, you'll want to personalize a lot more than just notebooks (I'm living proof of that, by the way 🙄)! And if you want to show us your creations.
FAQ: Everything You Need to Know About Personalizing a Notebook
Can You Personalize Any Notebook?
Yes, as long as the cover is smooth and clean. Hardcovers work especially well, but some softcover notebooks can also be personalized with adhesive vinyl.
What Type of Vinyl Should You Use to Personalize a Notebook?
Permanent adhesive vinyl is ideal. It holds up well over time and stands up to daily handling.
Does Adhesive Vinyl Last?
Yes, as long as it's applied properly. A clean surface and careful smoothing ensure a long-lasting design.
Do You Need a Cutting Machine to Personalize a Notebook?
No, it's not required. A machine makes some projects easier, but simple designs can absolutely be cut out by hand.
Can You Remove the Vinyl Without Damaging the Notebook?
In most cases, yes. If you peel the vinyl off gently, especially on a good-quality notebook, the cover will stay intact.



Comments
No comments yet. Be the first to share your experience.
Leave a comment