
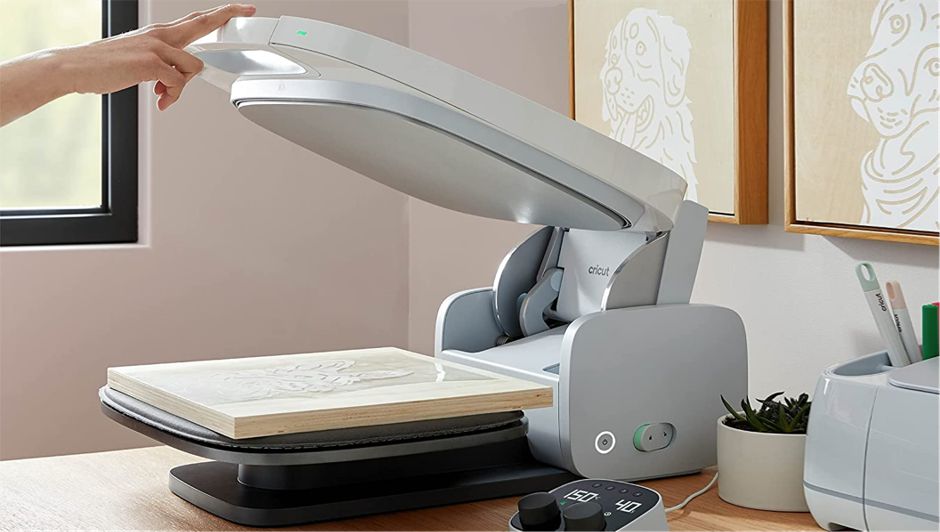
As crafters, we're always on the lookout for the best tools to help us do our best work 👨🏻🎨. Whether you run a small, medium, or large business, you should always be looking for the best tool available, the one that will save you time and money in the long run.
Investing in quality tools is essential if you want to make quality products for your customers. Weighing the pros and cons of an investment is something we all have to do.
So in this blog post, we're going to tell you everything you need to know about the Cricut Auto Press so you can decide whether it's right for you! 😉
What Is a Cricut Auto Press Machine?
The Cricut Auto Press is the crafting machine Cricut recently put in the spotlight, part of its flagship line of heat presses. It's designed to be just as functional for commercial use as it is for home and personal use.
Its many new features help you get more done in less time, and they're much more user-friendly. ✅
What Are the Key Parts of the Cricut Auto Press and Their Basic Features?
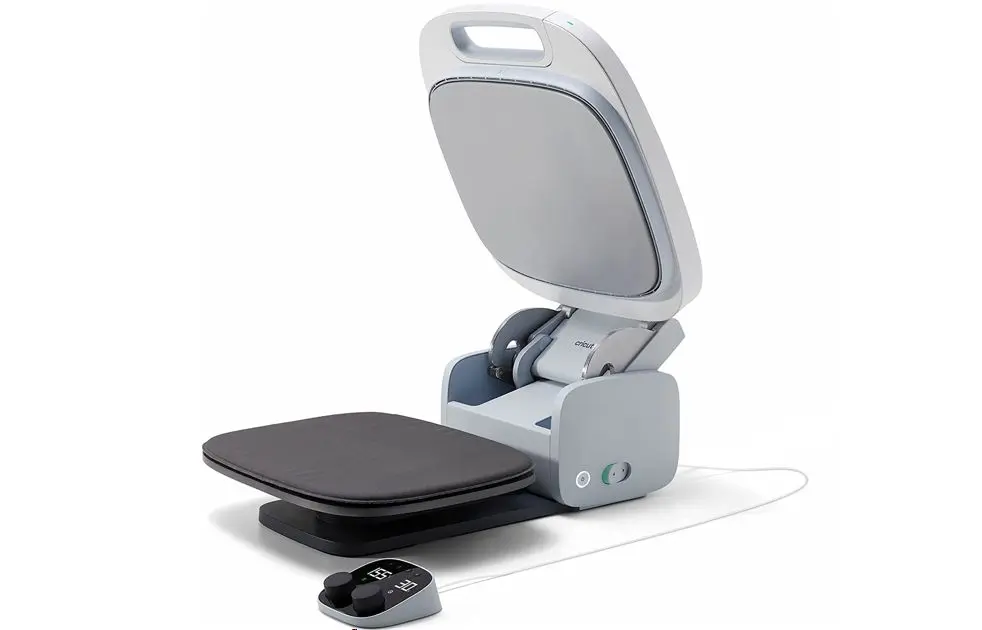
The Cricut Auto Press machine doesn't just look good. It's also fully equipped for professional use, with a body made up of many parts that each have a specific function and are designed to make your work easier:
The Power Switch
It's located on the bottom right of the machine, next to the lock button. It lets you turn the Auto Press on or off.
The Heat Plate
It serves as the upper platen, measures 38 cm x 30 cm, and has a nonstick ceramic coating that ensures even heat distribution 🌡️. It's the only part of the Auto Press that gives off heat when you transfer your design.
The Platen
The platen is the firm lower plate. It doesn't heat up, but it can get warm during repeated transfers.
The Removable Mat
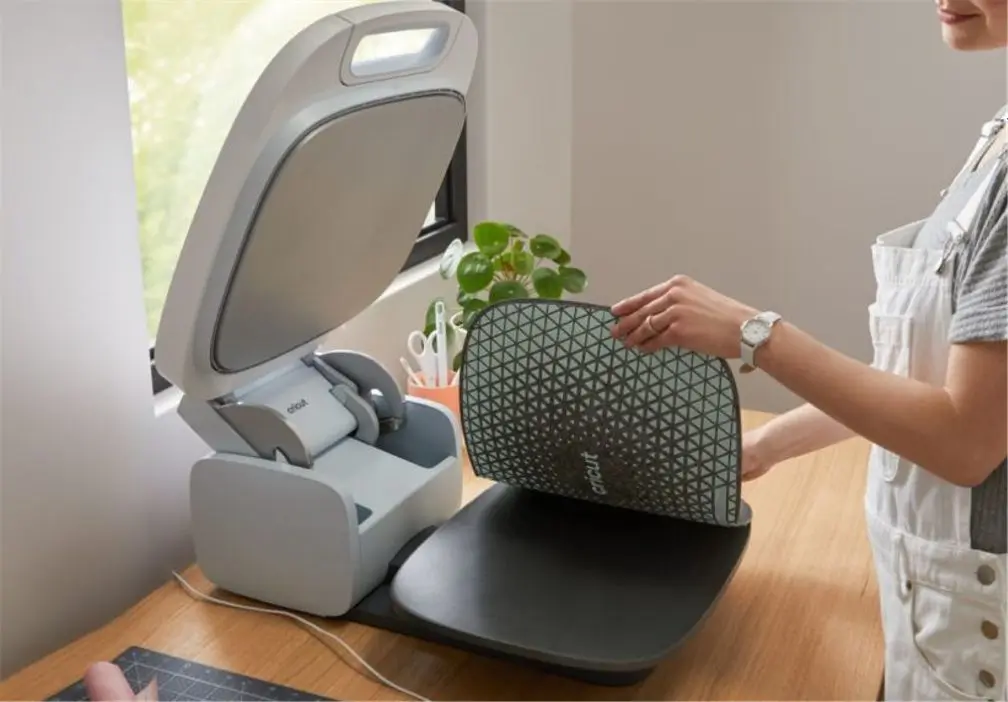
A removable nonslip silicone mat comes with the Cricut press, and it goes on the lower platen of the Cricut Auto Press.
This mat is designed to eliminate the need for a heat press pillow and helps your project line up properly with the upper platen of the machine.
The Fan
The fan keeps the entire press at the right temperature while the plate heats up 💨. It's essential during long pressing sessions.
The Cricut Auto Press Control Pod
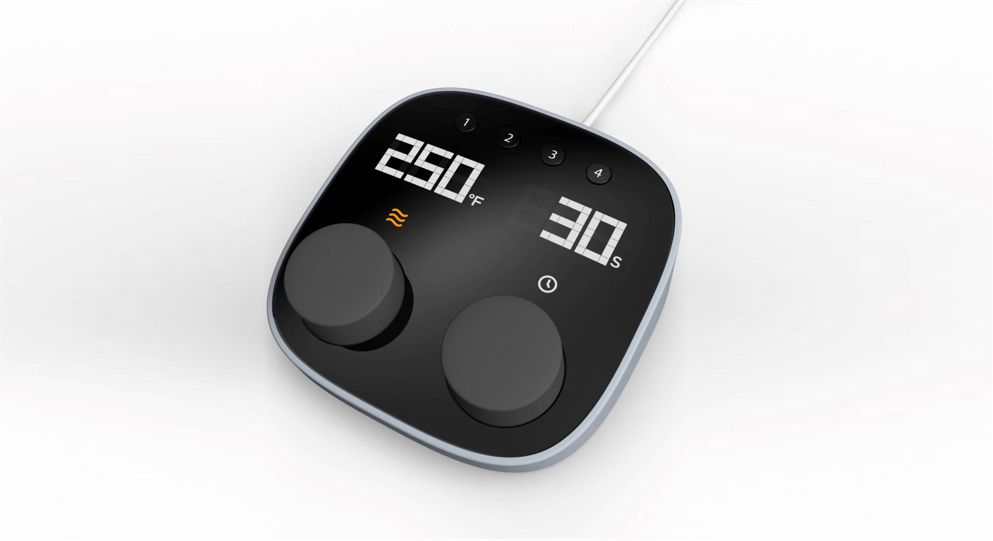
This is the control unit, and it gives you easy access to preprogrammed time and temperature settings. These settings are designed for the most commonly used materials. Using the preset buttons, you can choose any of the built-in options. You can also adjust the settings manually with the control dials located below the time and temperature display.
The Handles
They have two functions. First, the front handle is used to pull down and close the main lid. The rear handle is used to carry the machine when you need to move it somewhere else or simply put it away.
How Is the Auto Press Different from Other Heat Presses?
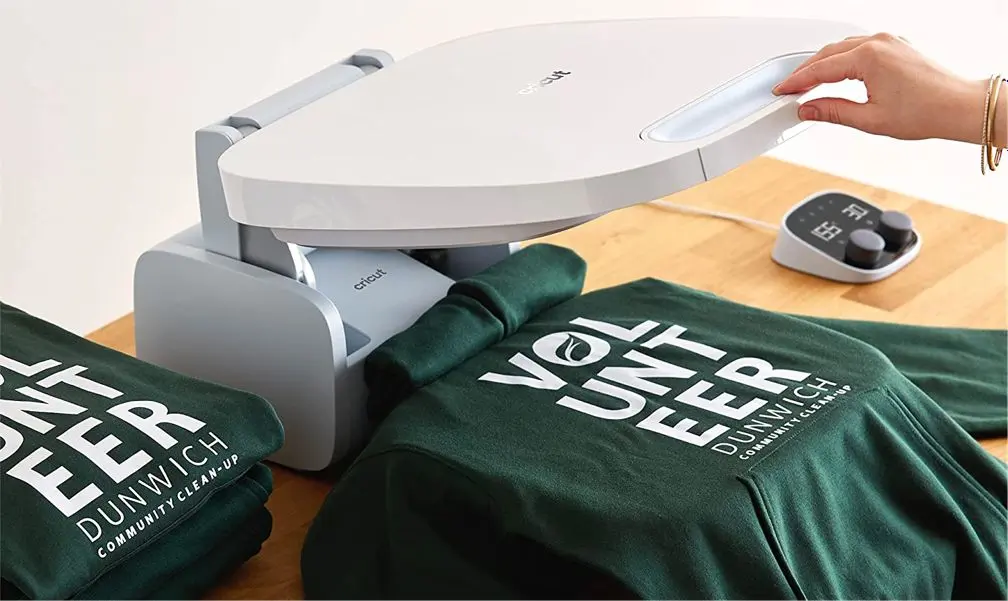
Although the Cricut Auto Press does the same basic job as other heat presses (applying a design to fabric), Cricut has truly rethought the entire heat pressing process.
Here are a few of the features that set it apart from other heat presses on the market:
1️⃣ - Overall Look and Feel
The first thing you'll notice is that instead of making a big hunk of metal, Cricut designed the Cricut Auto Press to be sleek and elegant. It fits right in with the design style of all Cricut products.
The look of the machine may not be a real advantage for many crafters, but it's a nice little bonus!
2️⃣ - Pressure
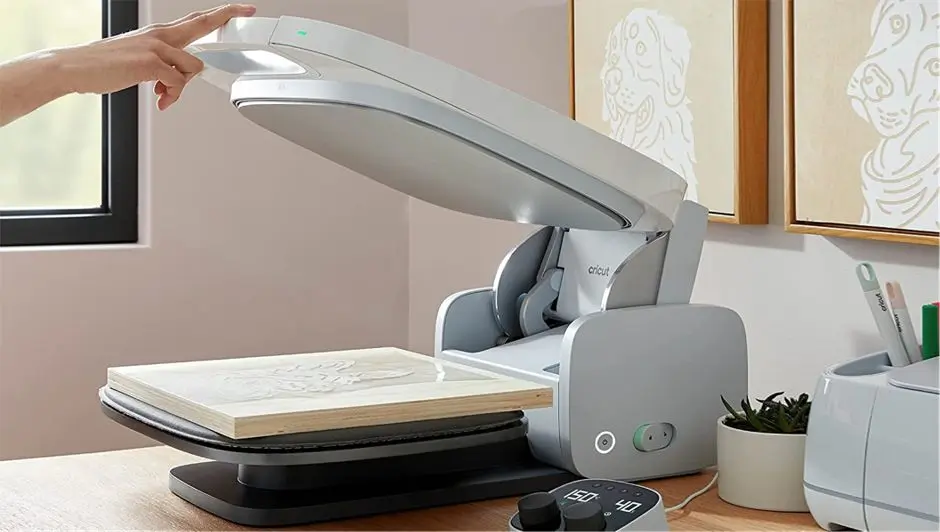
There are three variables when using a heat press: time, temperature, and pressure. When these three variables work together correctly, you get a perfect press on the fabric.
Pressure is often the most overlooked or the most poorly applied of the three. On traditional heat presses, pressure is usually set with a pressure knob on top of the machine. You can "test" the pressure by placing a piece of paper between the two plates and turning the knob until you can no longer pull the paper out. That's supposed to be "medium" pressure.
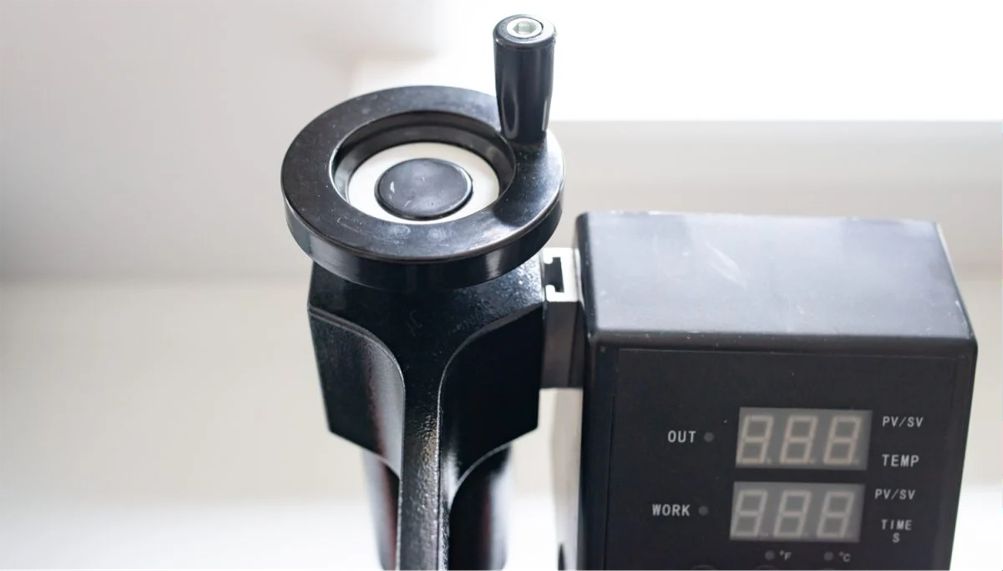
The problem is that this pressure is hard to set, and whenever you change the pressure on the press for any reason, you have to test it all over again, which is tedious.
So Cricut decided to get rid of manual pressure adjustment entirely. Instead, the Cricut Auto Press automatically adjusts the pressure for materials up to 5 cm thick!
Once you've pushed the press down to close it, you'll hear it adjusting the pressure between the upper plate and the lower platen. It's really clever, and it's one of the best features of the Auto Press. 👍
3️⃣ - Four-Point Hinge
Another innovative feature of the Cricut Auto Press is the type of hinge it uses. There are two types of heat presses on the market: swing-away presses and clamshell presses. Each has its pros and cons.
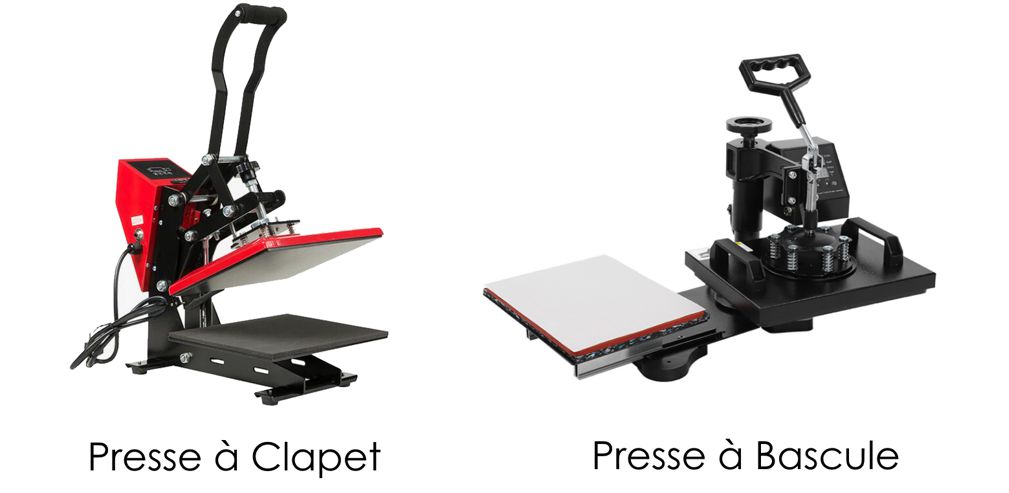
The advantage of a swing-away heat press is that the platen comes down completely vertically onto your project, so it adapts more easily to thicker projects. But it needs a lot of space to operate, and the swing arm may start to wobble after repeated use.
The advantage of a clamshell heat press is that it's faster to open and close, and some models open automatically when the pressing time is up. But you're more exposed to the heat plate, and thicker projects can be trickier to press (they tend to get pushed out of shape when you close the press).
Cricut looked at these designs and thought, "Why not do both?" When you lower the press plate, it first closes like a clamshell, and once the plate is about 5 cm above the lower plate, it comes down vertically, like a swing-away press.
The Cricut Auto Press gives you the convenience and speed of a clamshell press, plus the ability to handle thicker projects like a swing-away press.
4️⃣ - Minimal Effort
If you've ever used another heat press, you know it takes a certain amount of force on the handle to close and open the plate. There's a reason so many people screw their heat press down to a table: it can spring back up when it opens, especially on high-pressure projects.
With the Cricut Auto Press, on the other hand, you don't need to put all your weight on the press! To close it, just lower the handle and press lightly with only 2 fingers. It locks, and the pressure mechanism kicks in automatically. When the time is up, it opens automatically too. 🤩
This is a great feature for people whose strength is limited by age, a disability, or other factors.
5️⃣ - Safety Features
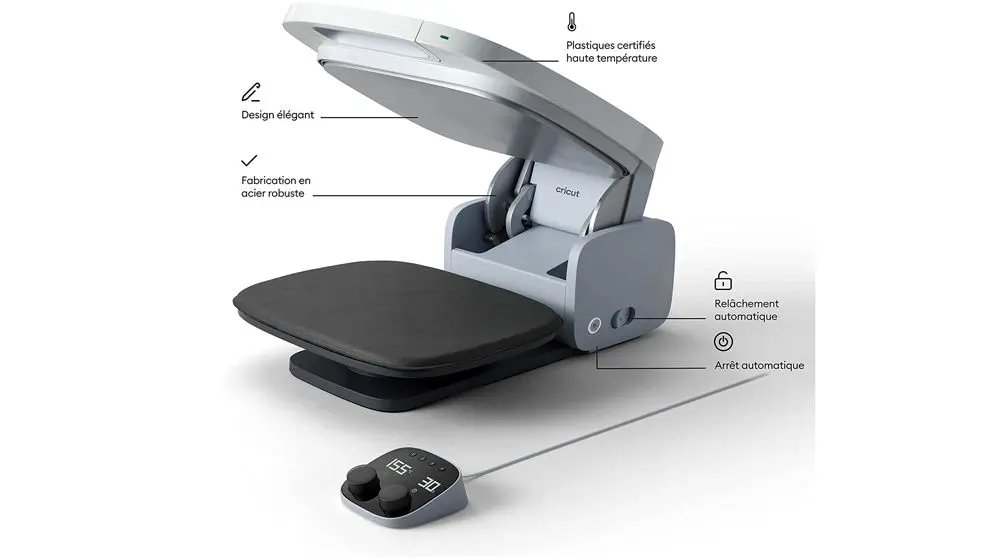
With this heat press, Cricut really thought about user safety. The top of the press is cooled by a ventilation system, which keeps the outside from getting too hot. That's not the case with other heat presses, which will burn you if you touch them by accident. This is an important point, especially if you have children!
The press also tilts back at a steeper angle than other clamshell presses, which keeps you as far away from the heat plate as possible.
Finally, the automatic opening feature once the timer is up is really handy and helps you avoid scorching the fabric you're pressing.
6️⃣ - Storage
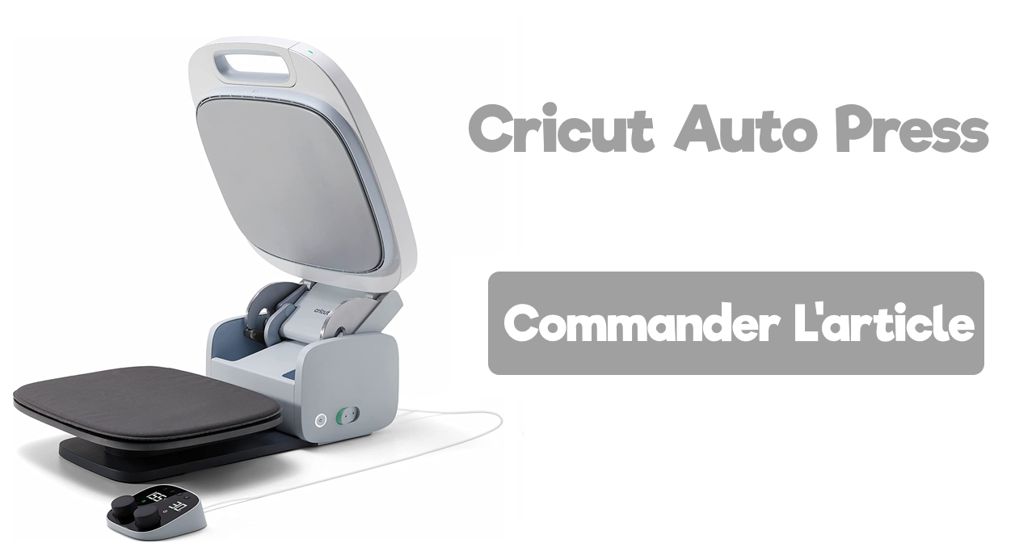
The Cricut Auto Press is very easy to store. Unplug the power cord and close the press. You can then stand it upright. Even though it's a decent size, it slides easily into small spaces. That's ideal if you don't need your press all the time and want to free up table space for other projects. 😊
What Is the Maximum Temperature of the Cricut Auto Press?
The heat plate heats up to 200°C, which makes it compatible with heat transfer vinyl and sublimation products like Infusible Ink.
How Long Does the Cricut Auto Press Take to Heat Up?
On average, the Cricut Auto Press takes about 8 minutes to fully heat up to 200°C. So we recommend turning on your Cricut press right at the start and preparing your designs while it heats up.
What Is the Cricut Auto Press Control Pod?
The Cricut Control Pod comes with the machine and lets you control the temperature and pressing time for every project you press with the Cricut Auto Press. It connects to the press with a cable. 🔌
The Control Pod has 4 presets programmed for the most commonly used materials and bases. If needed, you can change the presets to better suit your specific needs.
Preset 1: SportFlex/Polyester, 155°C/25 seconds
Preset 2: Everyday Iron-On/Cotton, 155°C/30 seconds
Preset 3: Glitter Iron-On/Cotton, 165°C/25 seconds
Preset 4: Infusible Ink™/Polyester, 195°C/30 seconds
Why Is the Cricut Auto Press So Expensive?
The Auto Press wasn't designed as just another heat press. It's a fully functional professional heat press built to outperform every competitor on the market in its price range.
This machine isn't for every maker. It was designed for people who love Cricut tools, make custom items in large quantities, and want professional-quality results while saving time. ✅
Even though it's designed for professionals, that doesn't mean it's hard to use. Quite the opposite: the Cricut heat press is easy to use thanks to automated features that take the guesswork out of pressing.
Setting Up the Cricut Auto Press
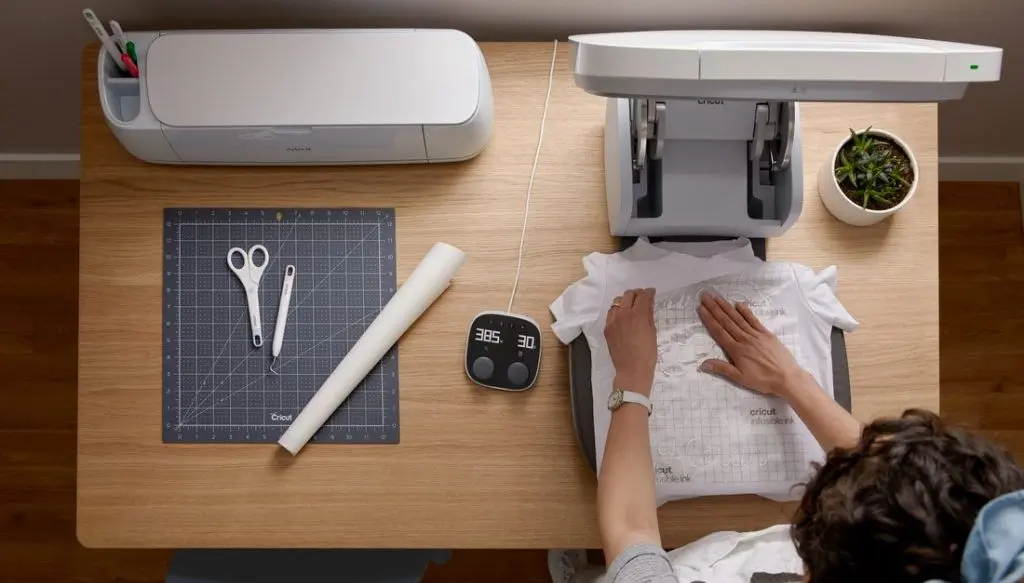
Setting up the Cricut Auto Press is simple. Just unbox the machine by removing the black handles from the box so you can separate its two halves. Use the included USB cable to connect the Auto Press control module to your computer. Go to Cricut Setup and follow the on-screen instructions to set up your press. You can also set it up in the Cricut Design Space software by going to the menu at the top left and selecting New Product Setup.
Mac users: if you have a newer computer without a standard USB port, you'll need a USB to USB-C adapter.
Using the Cricut Auto Press
Start by creating your project in Cricut Design Space, then cut it out with your Cricut.
While your machine is cutting your project, unlock the Cricut Auto Press and turn it on. Then set the control unit to the right time and temperature, based on the Cricut guide provided, to preheat your press.
You'll also find other instructions there that are specific to what you've cut, so read them carefully.
Place your T-shirt or fabric item on the base of the Cricut Auto Press, as flat as possible. 👕
Then close the Auto Press and press down on the handle until it clicks into place. The preheat countdown starts automatically, and when it hits zero, the press opens (it beeps before opening).
Let the fabric cool down. Place the iron-on design on the fabric. You can also use heat-resistant tape to make sure the design stays in place.
Set the control unit back to 45 seconds and press down on the handle until you hear a click. Once again, the countdown will start, and the press will open when the timer hits zero. ⏳
Let your fabric cool, then peel off the carrier sheet!
We hope this article helped you learn more about the new Cricut Auto Press machine.
If you're in the mood to make some custom apparel projects, take a look at the heat transfer vinyl we carry in our shop!



Comments
No comments yet. Be the first to share your experience.
Leave a comment