Sai, ogni anno faccio la stessa riflessione davanti al mio albero: « Perché provo così tanta magia quando una decorazione è fatta in casa? »
Forse perché racconta sempre una storia. Una serata al calduccio, una risata, un momento rubato tra due impegni... e all'improvviso, un semplice pezzo di legno, un nastro o un po' di pasta autoindurente diventa più di un oggetto. Diventa un ricordo.
La prima volta che ho creato una decorazione per l'albero di Natale fai da te, ero convinta che mi avrebbe portato via ore. Ma in realtà è tutto il contrario: pochi minuti, un pizzico d'ispirazione, e l'albero comincia già a trasformarsi. Ed è qui che diventa potente: non si fa solo una decorazione, si crea la propria atmosfera di Natale.
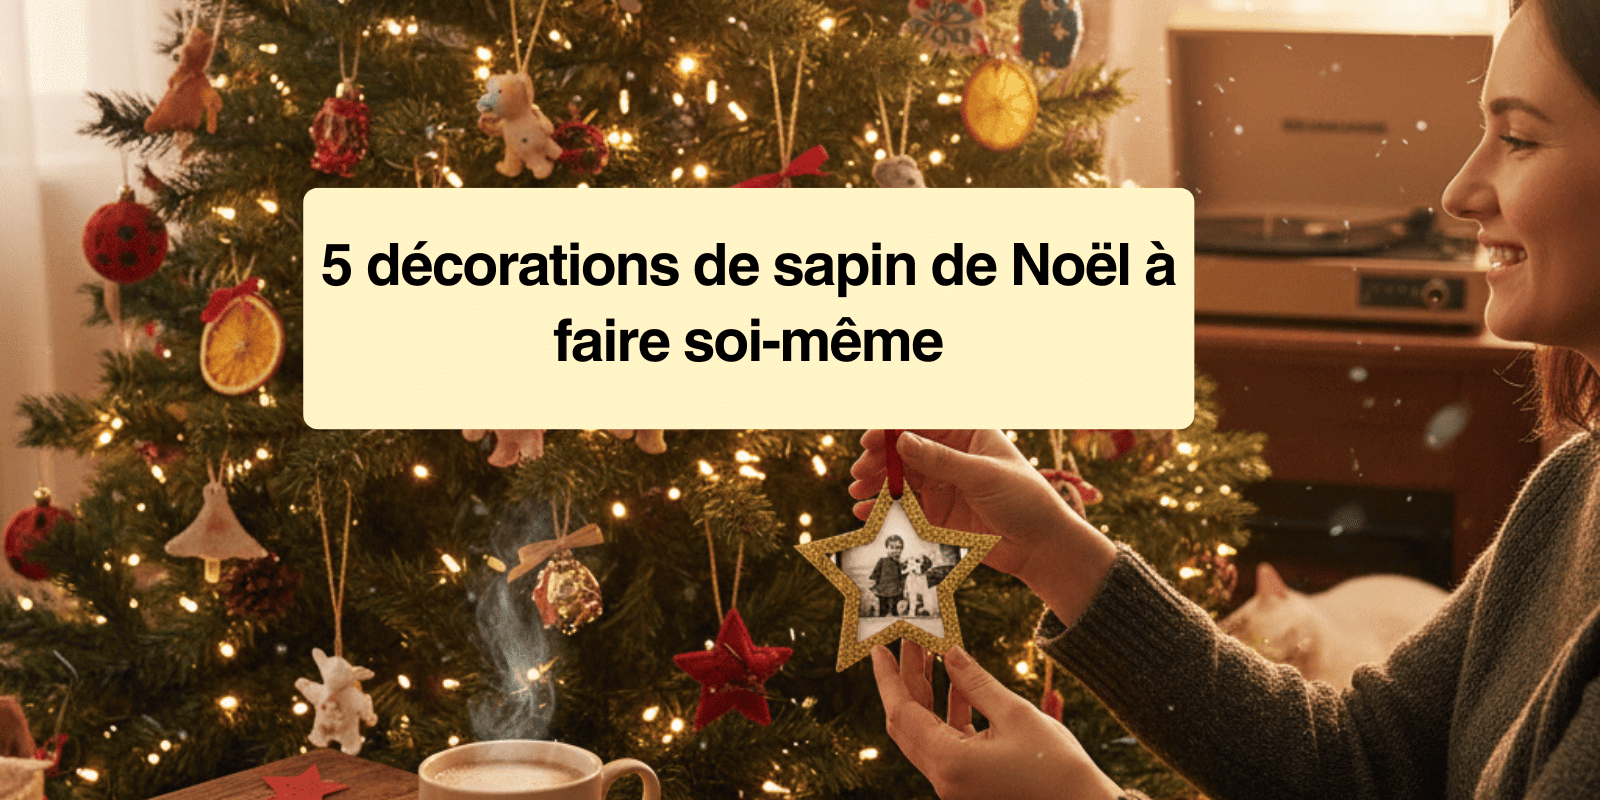
In questo articolo ho raccolto 5 idee di decorazioni per l'albero di Natale fai da te, veloci, accessibili e piene di fascino anche se non sei un asso del bricolage. Che tu voglia personalizzare il tuo albero di Natale, tenere occupati i bambini, o semplicemente aggiungere un tocco più autentico alla tua decorazione, qui troverai esattamente ciò che ti serve.
Dai, mettiamo un po' di musica di Natale, prepariamo una cioccolata calda...
E cominciamo la magia
✨
.
🎄
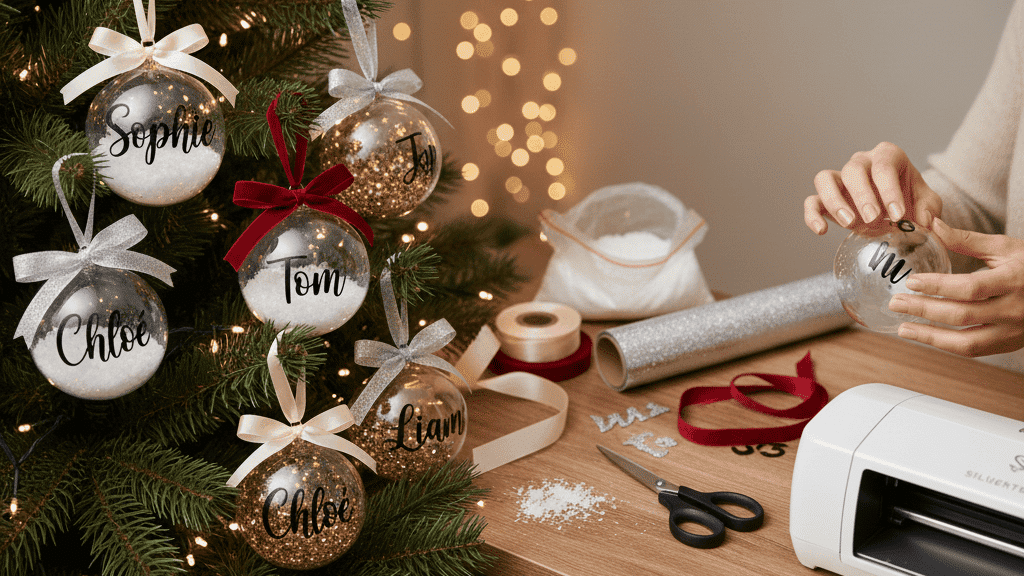
- Le palline personalizzate con i nomi
Ricordo ancora la prima volta che ho scritto il nome di qualcuno su una pallina di Natale. Era una sera di dicembre, le luci dell'albero lampeggiavano dolcemente, e avevo questa voglia di aggiungere un dettaglio più personale, più caloroso. Quando ho appeso questa creazione di Natale, ho sentito che il mio albero prendeva vita in modo diverso: diventava il nostro albero, non solo una decorazione comprata in negozio.
Il materiale
-
Palline trasparenti in plastica o in vetro
-
Piccoli elementi da inserire nella pallina: coriandoli, finta neve, mini stelle, brillantini...
I passaggi
-
Ritaglia il nome che vuoi mettere in evidenza con la tua Silhouette Caméo 5 ( o una Cricut ).
-
Incollalo delicatamente sulla pallina.
-
Aggiungi all'interno quello che vuoi: un po' di finta neve, brillantini, un messaggio...
-
Annoda un bel nastro per completare la decorazione.
In pochi minuti, ottieni una decorazione per l'albero di Natale completamente fatta a mano, allo stesso tempo semplice e piena di emozione. Ciò che amo di più di queste palline è che diventano quasi dei piccoli tesori di famiglia: ogni anno le tiriamo fuori con lo stesso sorriso.
Consiglio
Per un risultato ancora più raffinato, scegli un nastro in raso o in velluto: dona un lato elegante che trasforma immediatamente la decorazione, anche senza sforzo aggiuntivo.
🌲
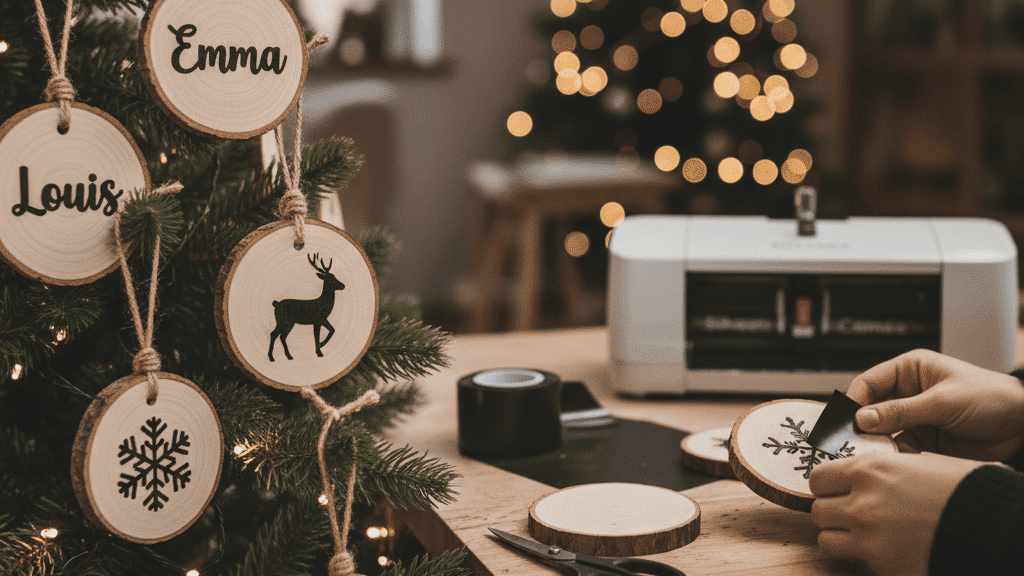
2. Gli addobbi in legno inciso
C'è qualcosa di intramontabile nel legno. Appena lo maneggio, ho questa sensazione rilassante di tornare all'essenziale: l'odore dolce, la texture naturale, il piccolo piacere di creare qualcosa di duraturo. La prima volta che ho personalizzato un addobbo in legno, non avevo previsto che un oggetto così piccolo sarebbe stato anche così piacevole da fare in casa, ma soprattutto così bello sul mio albero di Natale!
Ciò che amo di questa idea è che mescola semplicità e autenticità. Si parte da un addobbo in legno tutto semplice, poi a poco a poco si trasforma in una decorazione calorosamente rustica, pronta a trovare il suo posto nel nostro bell'albero.
Il materiale
-
Flex termoadesivo
-
Spago o corda sottile
-
Vernice (opzionale)
I passaggi
-
Scegli un motivo: nome, stella, albero, sagoma...
-
Ritaglia il tuo design con la tua macchina da taglio.
-
Se vuoi prolungare la durata della tua decorazione, aggiungi un sottile strato di vernice.
-
Fai passare uno spago nel foro dell'addobbo per poterlo appendere all'albero.
In pochi minuti, ottieni una decorazione per l'albero di Natale fai da te che dona all'albero quell'atmosfera calorosa, quasi scandinava, che a Natale piace a tutti.
Consiglio
Per un risultato ancora più naturale, usa uno spago in juta o in cotone ritorto. E se vuoi armonizzare tutto l'albero, crea diversi addobbi in legno con motivi coordinati: un piccolo insieme che cambia tutto.
Questi addobbi in legno hanno quella magia degli oggetti semplici... ma che raccontano molto. E credimi: una volta sull'albero, non passano mai inosservati.
⭐
3. Le stelle in pasta autoindurente
Credo che le stelle siano le decorazioni più simboliche del Natale. Eppure, farle da soli, con le proprie mani, regala una magia che niente altro eguaglia. La prima volta che si usa la pasta autoindurente è abbastanza particolare nell'utilizzo: è un po' a metà tra la plastilina e la pasta di sale, ci vuole un po' di tempo prima di capire come usarla al meglio. Ma una volta presa bene la mano, ti prometto che la userai ogni anno per ricreare nuove decorazioni!
Ciò che adoro di queste stelle è che danno un risultato professionale, anche se sei alle prime armi con il fai da te.
Il materiale
-
Pasta autoindurente (bianca o effetto terracotta)
-
Stuzzicadenti (per il foro e i piccoli dettagli)
-
Spago, nastro o corda sottile
-
Vernice (opzionale)
-
Brillantini (opzionali... ma così belli!)
I passaggi
-
Stendi la tua pasta a circa 5 mm di spessore.
-
Ritaglia le tue stelle con una formina.
-
Fai un piccolo foro in cima alla stella con uno stuzzicadenti per poterla appendere.
-
Lascia asciugare 24 ore (o più a seconda della pasta).
-
Dipingi, decora, brillantini... lascia parlare la tua immaginazione.
-
Fai passare uno spago o un nastro per finalizzare.
Ed ecco: una decorazione fai da te semplice, elegante, leggera, che si integra in qualsiasi stile di albero, dal più tradizionale al più moderno.
Consiglio
Per un effetto molto "bottega artigianale", carteggia leggermente i bordi una volta che la pasta è asciutta con della carta vetrata. Il risultato è IM-PEC-CABILE, quasi degno di un mercatino di Natale professionale.
Queste piccole stelle hanno un fascino pazzesco: sono facili da fare, perfette con i bambini (li tengono occupati per qualche ora nel weekend!), e soprattutto... raccontano un piccolo pezzo della tua storia. E questo, in un albero, è il pezzo prezioso!
PS: non esitare a usare l'acqua con le dita per lisciare i bordi dopo aver usato la formina.

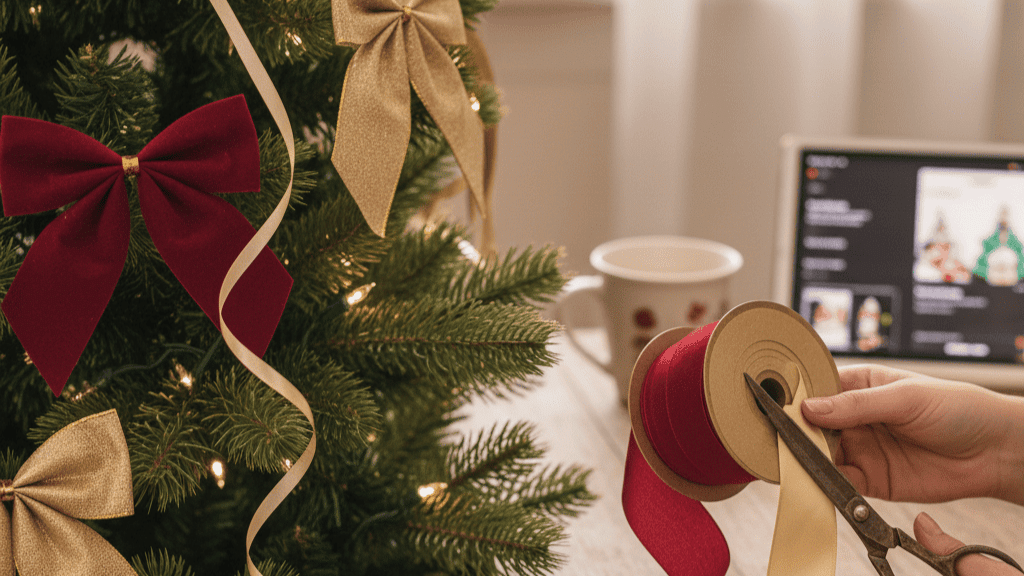
🎀 4. Le decorazioni in nastro: nodi, spirali e mini ghirlande
Sai cosa mi ha sempre sorpreso dei nastri? La loro capacità di trasformare un albero in pochi secondi. La prima volta che ho comprato un rotolo di nastro dicendomi « Dai, proverò una cosa semplice », non mi aspettavo che il risultato fosse così sorprendente!
Un semplice pezzo di nastro, un paio di forbici... e all'improvviso, l'albero assume un'aria elegante degna dei grandi centri commerciali.
Ciò che adoro di questo tutorial è che non richiede alcuna competenza. Niente. Solo la voglia di abbellire il proprio albero senza complicazioni. E il risultato è sempre sorprendente.
Il materiale
-
Nastro (raso, velluto, organza... a seconda dello stile che vuoi)
-
Forbici
-
Spago o gancio per appendere
I passaggi: versione nodo
-
Taglia un pezzo di nastro di circa 25 a 30 cm.
-
Forma un nodo singolo o doppio a seconda del volume desiderato.
-
Aggiusta le anse perché siano ben rotonde e simmetriche.
-
Fissalo direttamente su un ramo dell'albero o con un piccolo gancio o con il tuo spago.
Mini ghirlanda express
-
Prendi un nastro sottile.
-
Aggiungi dei fiocchi a farfalla ogni 8 a 10 cm.
-
Appendi la ghirlanda sui rami per un look chic e minimalista.
Queste due opzioni ti permettono di creare una ghirlanda di Natale ultra elegante, veloce, e soprattutto modulabile a seconda del tuo stile: pastello, dorato, tradizionale, moderno, scandinavo... funziona tutto!
Consiglio
Se vuoi un albero davvero armonioso, scegli due colori di nastro al massimo. Troppi colori rompono l'effetto lussuoso, mentre due tonalità ben scelte creano un'atmosfera coerente e professionale.
Il nastro è davvero il segreto degli alberi "da rivista". E la cosa bella è che puoi usarlo anche all'ultimo minuto: tre nodi ben posizionati e il tuo albero è subito elegante!
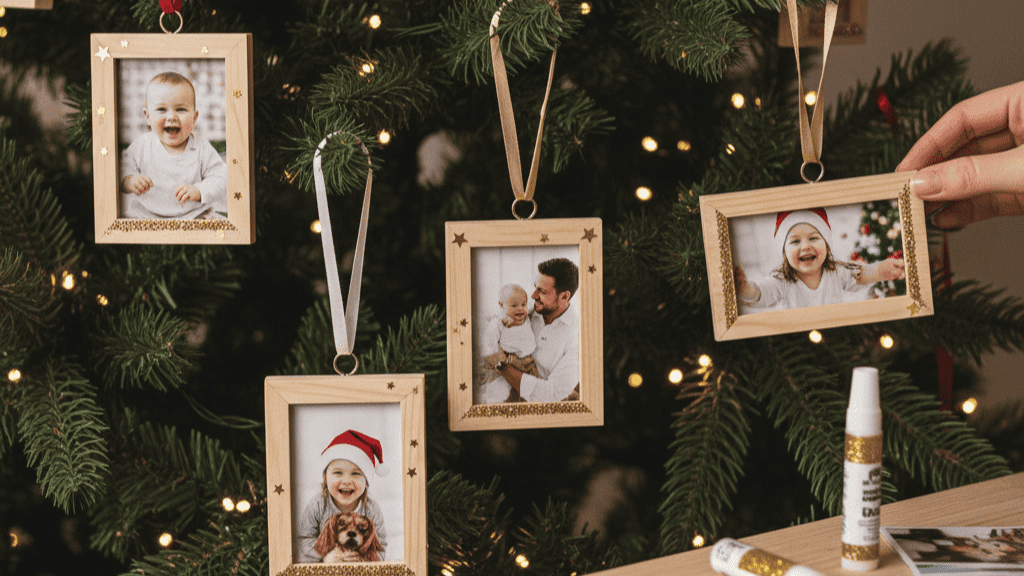
🖼️ 5. Le mini cornici fotografiche versione Natale
Ci sono decorazioni che non sono solo belle... sono sentimentali. Una bellissima foto di famiglia in una mini cornice da mettere sull'albero (o anche ai suoi piedi), crea subito quel piccolo nodo al cuore. Sai, quel misto di nostalgia e dolcezza.
Appendendo questa cornice, ho capito che alcune decorazioni di Natale fanno molto più che decorare: raccontano la nostra storia, le nostre gioie, i nostri momenti forti ma soprattutto la nostra quotidianità. E la cosa fantastica di queste mini cornici è che sono semplici, veloci, e incredibilmente toccanti!
Il materiale
-
Mini cornici in legno o in plastica (se ne trovano ovunque)
-
Piccole foto (formato quadrato o rettangolo)
-
Spago, nastro o gancio
-
Eventualmente: adesivi in vinile adesivo, brillantini, piccole decorazioni
I passaggi
-
Scegli una foto simbolica: una risata dei tuoi bambini, un momento di coppia, il tuo bebè, il tuo animale, una foto di famiglia...
-
Adatta la foto al formato della cornice.
-
Decora la cornice con mini adesivi in vinile adesivo, un tocco di vernice dorata.
-
Aggiungi uno spago o un nastro per poterla appendere.
-
Sistemala nel tuo albero, all'altezza degli occhi per il massimo impatto.
Ed ecco, hai appena creato una decorazione per l'albero di Natale fai da te che attira subito l'attenzione. Anche gli ospiti si fermano davanti. È il genere di decorazione che fa dire:
« Oh, ma è troppo carina, l'hai fatta tu? »
Consiglio
Prediligi foto con una luce dolce o colori caldi: si fondono meglio nell'atmosfera dell'albero e creano un effetto coccola irresistibile.
Queste mini cornici sono un po' come cospargere il tuo albero di piccoli ricordi felici... e credimi, cambiano tutta l'anima di una decorazione di Natale ✨.
✨ La Magia Continua...
Quando ripenso a tutti questi momenti passati a creare le decorazioni del mio albero, mi rendo conto che non sono semplici oggetti che appendo... sono istanti preziosi che mi regalo.
Qualche minuto in cui il mondo rallenta, in cui mi riconnetto all'essenziale: il calore della mia casa, la gioia di creare, i fai da te fatti con i miei bambini, la magia semplice ma profonda del Natale.
Attraverso queste 5 idee, spero di averti mostrato che non è necessario avere materiale complicato o essere un professionista del fai da te per trasformare il tuo albero in una vera opera personale. Una decorazione che ti somiglia, che racconta la tua storia, che crea ricordi, per te e per chi ti circonda.
E la cosa più bella di tutte?
Ogni decorazione fatta in casa che confezioni oggi tornerà fuori l'anno prossimo, e poi l'anno successivo... come un piccolo pezzo della tua storia che avrai piacere di ritrovare con lo stesso sorriso.
Allora, abbi fiducia in te, prova, crea, e soprattutto, divertiti!
Il tuo albero non aspetta che te per brillare di mille luci ✨.
Pronta a far durare la magia?
❓
FAQ, tutto quello che c'è da sapere sulla decorazione dell'albero di Natale fai da te
1. Posso fare una decorazione per l'albero fai da te anche se non sono manuale?
Assolutamente! Le idee proposte sono pensate per essere semplici, accessibili e veloci. Anche se non sei abituata al fai da te, puoi creare una decorazione per l'albero di Natale fatta in casa riuscita. Spesso è il fascino dell'imperfezione che rende la decorazione ancora più autentica.
2. Quanto tempo ci vuole per fare degli ornamenti per l'albero fatti a mano?
La maggior parte delle idee richiede dai 5 ai 20 minuti. L'unico tutorial che richiede un po' più di pazienza è quello con la pasta autoindurente, perché c'è un tempo di asciugatura. Per il resto, puoi creare una decorazione per l'albero di Natale originale proprio prima di addobbare il tuo albero.
3. Con quale budget posso realizzare queste decorazioni?
Molto piccolo! È questo che è fantastico. Una decorazione per l'albero di Natale fai da te può costare meno di 1€, a seconda del materiale che hai già. Nastri, dischetti di legno, vinile, pasta autoindurente... sono forniture molto accessibili, spesso già presenti in un laboratorio creativo o in casa.
4. Dove trovare il materiale per le mie decorazioni di Natale fatte in casa?
Puoi trovare tutto in:
-
i negozi di hobbistica creativa come Cultura,
-
i negozi online,
-
i negozi a prezzi bassi come Action, Stockomanie, Gifi,
-
o anche in natura (per il legno, per esempio).
Anche con poco, puoi creare una decorazione per l'albero di Natale fai da te unica.
5. Come faccio a far tenere le mie decorazioni sull'albero?
Il modo più semplice è usare:
-
dello spago,
-
dei nastri,
-
dei mini ganci,
-
o delle attacche metalliche.
Questo garantisce che la tua decorazione per l'albero di Natale fai da te resti ben al suo posto, anche se i bambini toccano l'albero... o se il tuo gatto decide di interessarsene.
6. Come armonizzare il mio albero se faccio diverse decorazioni differenti?
Scegli una palette di 2 o 3 colori al massimo: dorato, rosso, bianco, naturale...
Poi, crea le tue decorazioni per l'albero di Natale fai da te rispettando questa palette.
È il segreto perché il tuo albero appaia coerente, stiloso e anche professionale.
7. Posso usare queste idee di decorazioni per l'albero di Natale fai da te con i bambini?
Sì! E loro adorano farlo.
Le stelle in pasta, le mini cornici e i nastri sono perfetti per loro.
Un momento semplice, creativo, e pieno di magia, esattamente ciò che si ama a Natale.
8. Quante decorazioni fatte in casa servono per riempire un albero?
Dipende dalla dimensione dell'albero, ma in generale:
-
dalle 10 alle 20 decorazioni fatte in casa bastano per dargli un vero stile personalizzato.
Il resto può essere completato con palline semplici.
L'idea è che ogni decorazione per l'albero di Natale fai da te diventi un punto d'attenzione✨
.