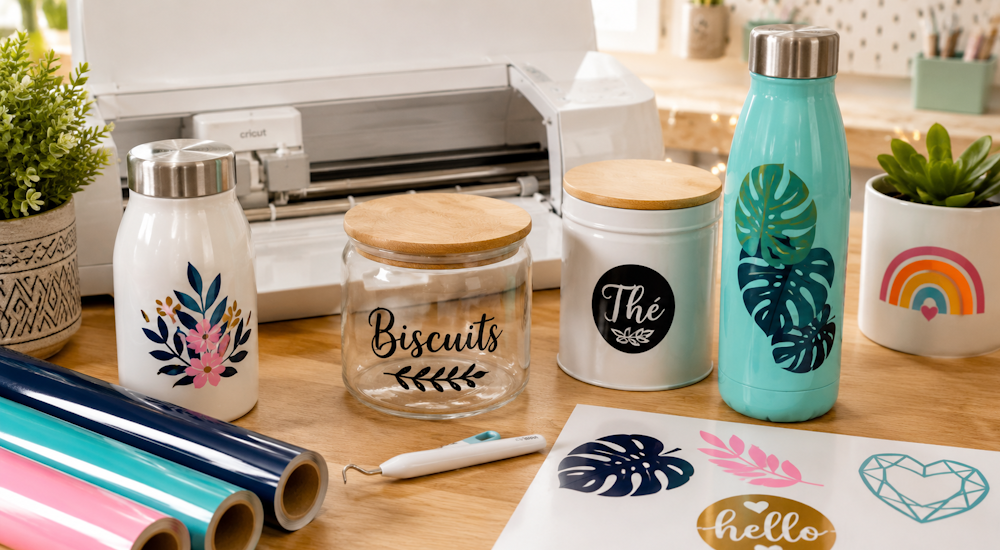
Ob für Werbezwecke oder einfach als Hobby, das Anbringen von selbstklebendem Vinyl wird auf vielen verschiedenen Arten von Objekten immer beliebter. Allerdings ist das Anbringen von selbstklebendem Vinyl nie eine Kleinigkeit, und es muss richtig gemacht werden, damit du ein Ergebnis erzielst, das sehr lange hält!
Hier sind die 5 Schritte, mit denen dir deine Vinyl-Anwendung gut gelingt.
Schritt 1: Die Auswahl des Motivs
Der erste Schritt besteht ganz einfach darin, das gewünschte Motiv auszuwählen und es in deine Schneidemaschine zu laden (zum Beispiel Silhouette Caméo oder Cricut). Was die Wahl des Motivs betrifft: Wenn du Anfänger bist, empfehlen wir dir, etwas Einfaches zu nehmen, das nicht schwer zu entgittern ist. Bei diesem Schritt ist es wichtig, sowohl die Größe des zu schneidenden Motivs als auch die Größe deines Untergrunds gut zu kontrollieren.
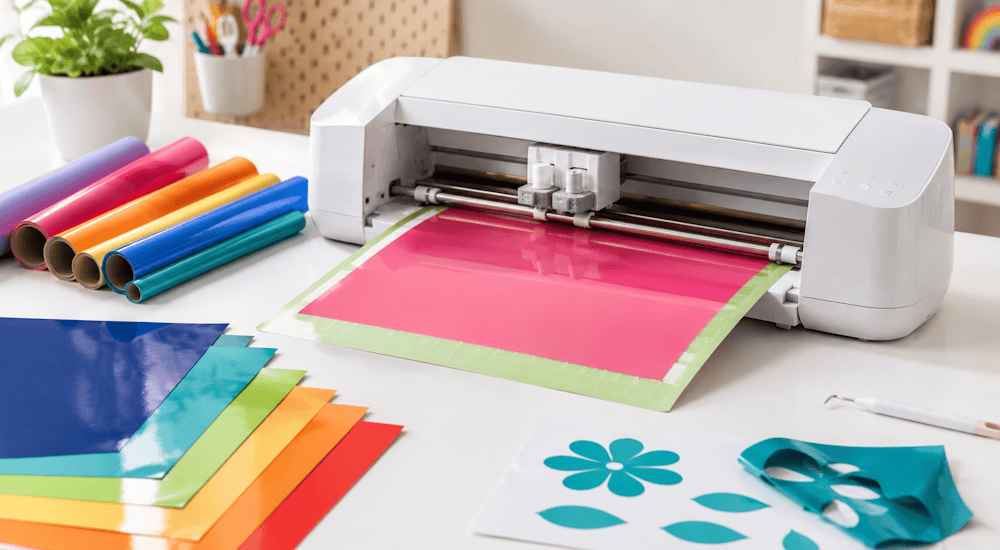
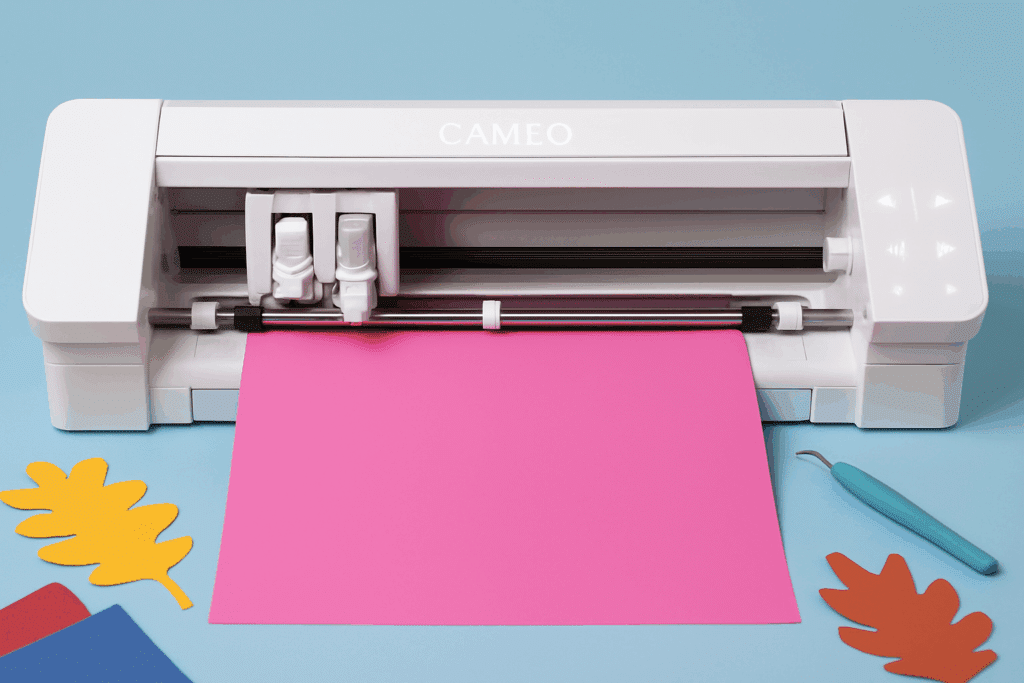
Schritt 2: Das Schneiden des Vinyls
Schneide einen Teil der Vinylrolle ab und lege ihn auf die karierte Kunststofffolie deiner Maschine, die beim Schneiden als Träger dient.
Positioniere anschließend die karierte Kunststofffolie mit deinem Stück Klebevinyl (auch selbstklebendes Vinyl genannt**)** in der Maschine und schneide dann dein Logo aus.
Die Schnitteinstellungen der Schneidemaschinen können je nach Material, das du schneidest, unterschiedlich sein. Wir empfehlen dir daher, mit einem kleinen Stück Vinyl zu testen, um zu sehen, ob die Einstellungen passen.
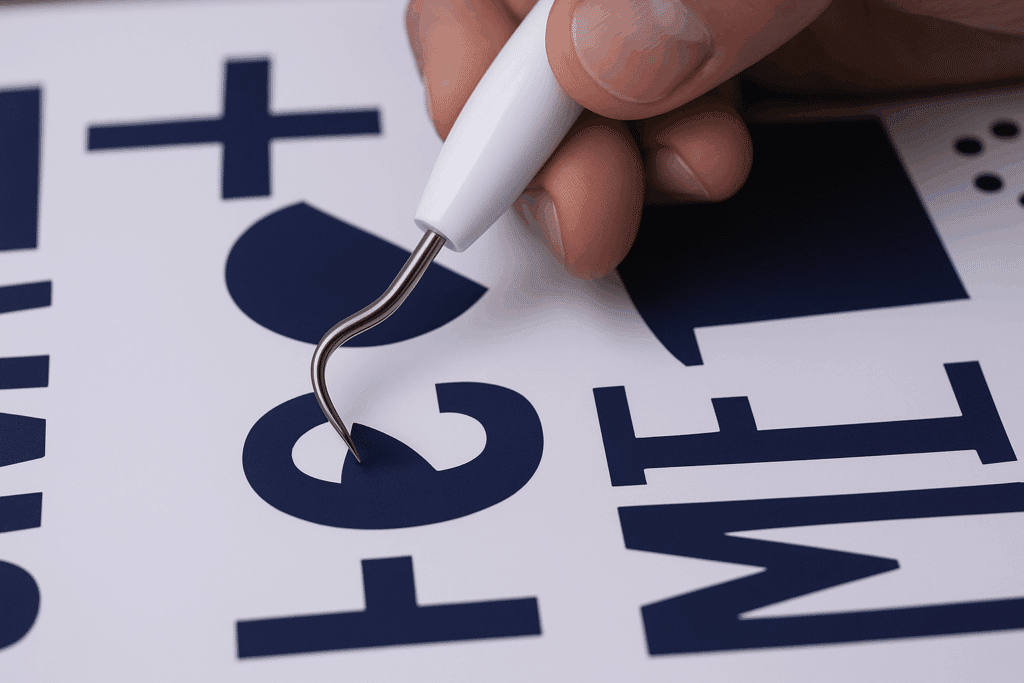
Schritt 3: Das Entgittern des Vinyls
Der Schritt des Entgitterns besteht darin, das überschüssige Vinyl nach dem Schneiden zu entfernen.
Ziehe dazu langsam und vorsichtig das überschüssige Vinyl ab (alles, was nicht zu deinem Motiv gehört)
Wenn du fertig bist, musst du mit einer Pinzette die Klebereste entfernen, die auf dem Motiv zurückgeblieben sind.
Bei diesem Schritt ist es wichtig, nicht zu schnell vorzugehen, um das Motiv nicht zu beschädigen.
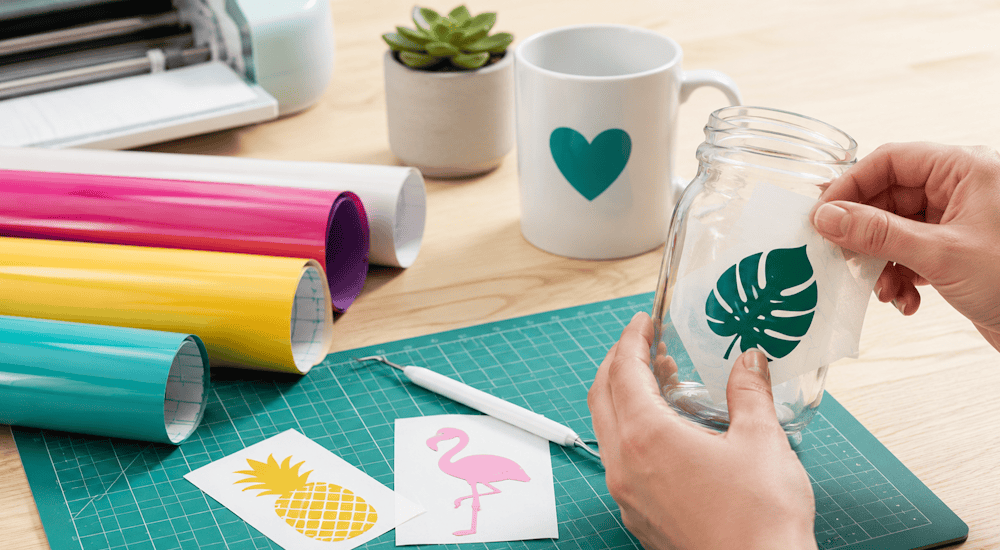
Schritt 4: Der Transfer
Nimm ein Stück Transferband in der Größe deines Logos und bringe es vollständig auf deinem Motiv an.
Das Transferband ermöglicht es, das Motiv auf das gewünschte Objekt zu übertragen.
Es ist empfehlenswert, ein kariertes Band zu verwenden, um beim Anbringen mehr Präzision zu haben.
Sobald du das Band auf das Motiv aufgebracht hast, nimm dir, bevor du es abziehst, einen Andrückspachtel und gehe damit über dein Motiv. Dieses Vorgehen sorgt dafür, dass dein Logo perfekt am Band haftet.

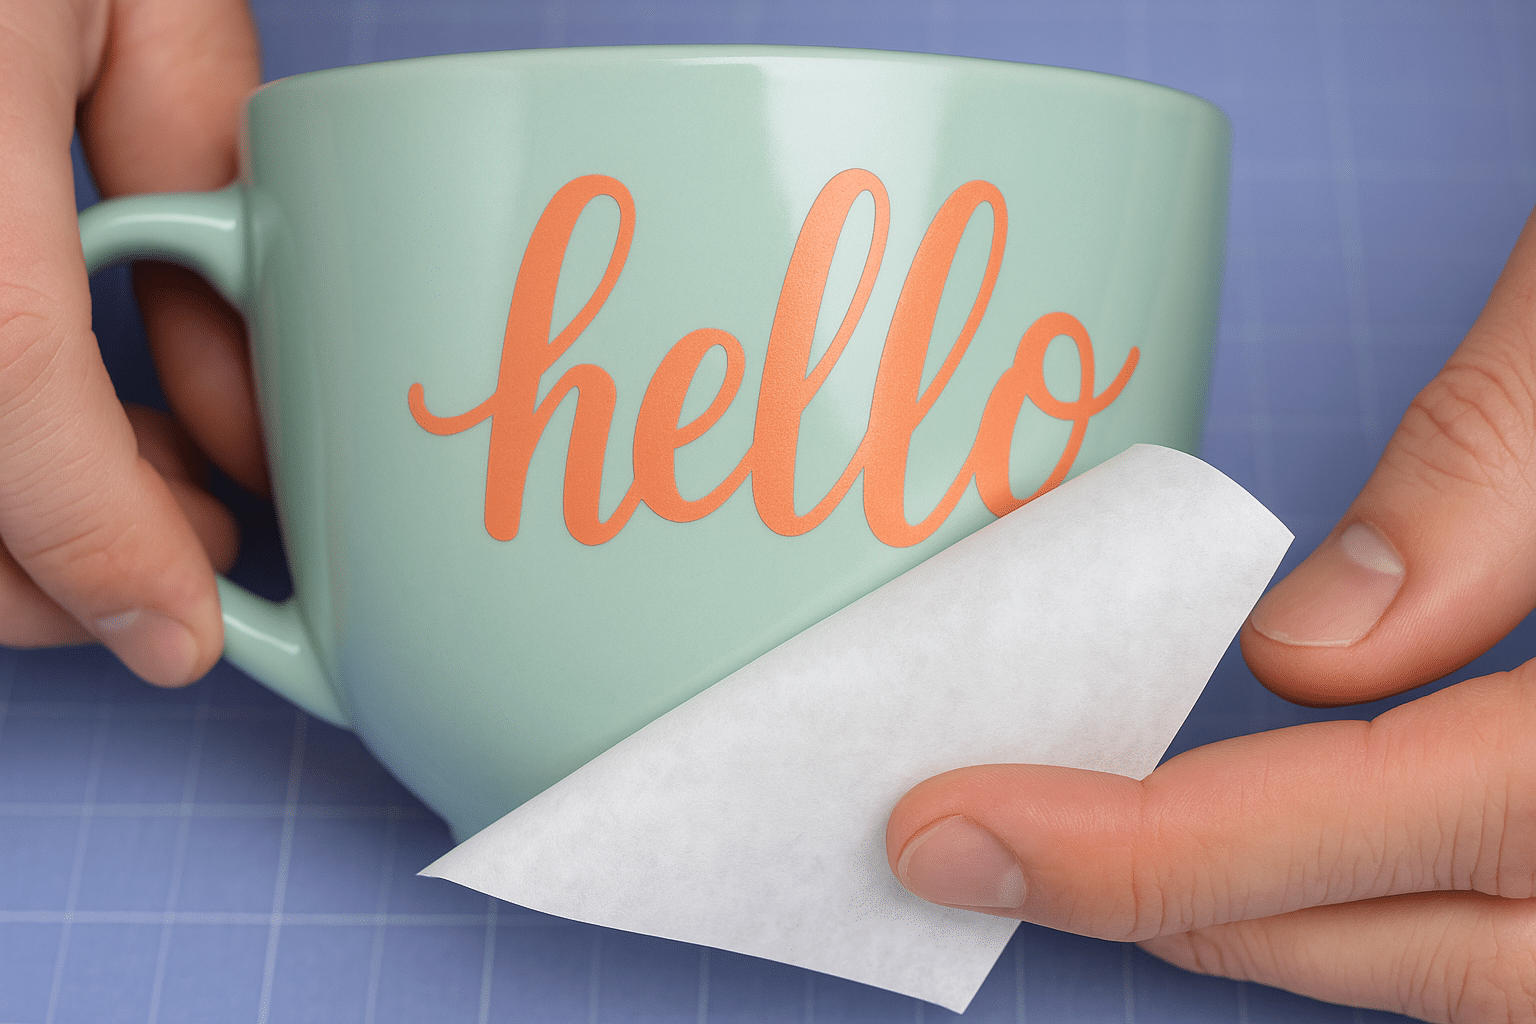
Schritt 5: Das Anbringen des Vinyls
Nimm jetzt das Objekt, auf das du das Motiv aufbringen möchtest, und lege das Band vorsichtig darauf. Jetzt musst du nur noch einmal kurz mit deinem Andrückspachtel darübergehen, und schon ist es geschafft!
Wir hoffen, dass dir diese Tipps bei deiner Vinyl-Anwendung helfen konnten. Für ein schnelles Entgittern und eine einfache Anwendung auf den Untergründen wirf einen Blick in unsere Boutique für Klebevinyle, um alle Arten von Stickern zu gestalten und zu personalisieren!