
Es gibt viele Möglichkeiten, T-Shirts und andere Kleidungsstücke zu personalisieren: vom Siebdruck über den DTG-Druck, die Stickerei, den Sublimationsdruck bis hin zu Textilmarkern sind die Möglichkeiten praktisch unbegrenzt.
Wenn du jedoch personalisierte T-Shirts gestaltest, um sie zu verkaufen, und dein Unternehmen gegründet hast, sind manche dieser Methoden vielleicht nicht rentabel. 💸
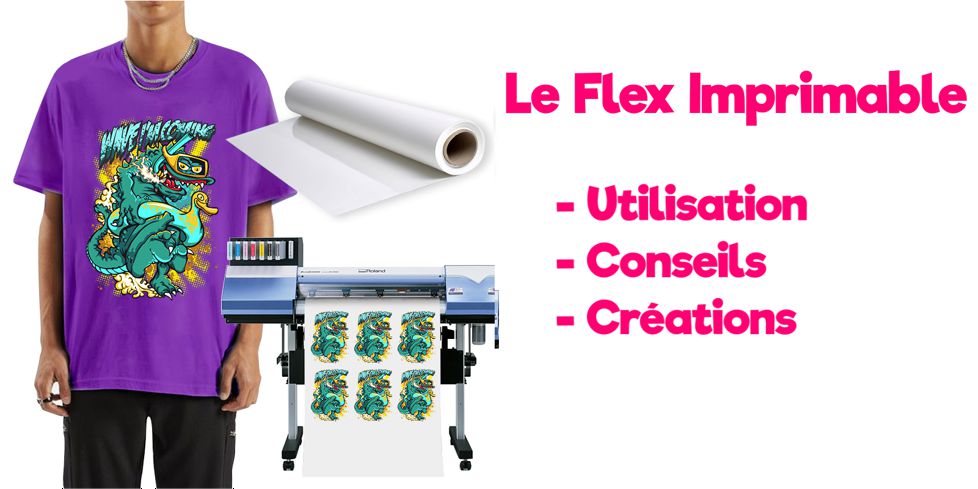
Wenn du ein bestimmtes Motiv, einen Slogan oder ein anderes Element auf ein T-Shirt bringen möchtest, ist die Verwendung von bedruckbarer Flexfolie eine einfache und erschwingliche Option, mit der du ALLE Arten von Motiven drucken kannst, die du dir wünschst. 🤩
Was ist bedruckbare Flexfolie?
Die bedruckbare Flexfolie ist eine Flockdruck-Methode, mit der du viele verschiedene Textilarten personalisieren kannst.
Sie ist der einfachste und hochwertigste Weg, um mehrfarbige Grafiken auf deiner Kleidung umzusetzen. Drucke Bilder mit einem Eco-Solvent-Tintenstrahldrucker und übertrage sie auf T-Shirts, Sweatshirts, Mauspads, Leder und andere dunkle oder helle Kleidungsstücke. 👕
Mit der bedruckbaren Flexfolie kannst du Logos, Motive und lebendige Details drucken, die mit anderen Methoden des Textildrucks nicht zu erreichen sind.
Nutze die Druckfunktionen von Schneideplottern, um farbige Motive zu drucken, und schneide sie anschließend aus, um sie aufzuflocken.
⚠️ Bedruckbare Flexfolie ≠ Sublimationspapier
Bevor wir auf die Details der bedruckbaren Flexfolie eingehen, ist es wichtig, jede Verwechslung mit Sublimationspapier auszuräumen. Das größte Missverständnis rund um die bedruckbare Flexfolie ist, dass sie mit deinem Bürodrucker funktioniert! Bedruckbare Flockfolie funktioniert nicht in einem Bürodrucker, Sublimationspapier dagegen schon.
Bedruckbare Flexfolie benötigt einen Eco-Solvent-Tintenstrahldrucker.
Es gibt also einen klaren Unterschied zwischen der bedruckbaren Folie und dem Sublimationspapier! Die bedruckbare Flexfolie ist eine echte thermoklebende Flexfolie, die mehr als 60 Maschinenwäschen übersteht, während das Sublimationspapier ... Papier ist, das nicht mehr als 2 bis 3 Maschinenwäschen hält.
Warum solltest du bedruckbare Flexfolie für deine Flockkreationen verwenden?
Du kannst die bedruckbare Flexfolie nutzen, um digital gedruckte Transfers zu erstellen.
Gedruckte Transfers sind eine hervorragende Möglichkeit, für Abwechslung zu sorgen, wenn du dein Geschäft ausbauen möchtest. 👍
Im Vergleich zur klassischen thermoklebenden Flexfolie kannst du mit der bedruckbaren thermoklebenden Flexfolie kleine Details und größere Farbspektren drucken. Außerdem musst du keine Flexfolien übereinanderlegen, um mehrfarbige Motive zu erhalten!
Die bedruckbare Flexfolie ist perfekt, um personalisierte Motive und sogar Logos mit unendlich vielen Farben zu drucken. 🎨
Insgesamt ähneln die bedruckbaren Flexfolien den einfarbigen thermoklebenden Flexfolien, sie halten genauso gut auf dem Kleidungsstück, ihre Qualität ist fast die gleiche, nur dass die bedruckbare Flexfolie in einem Eco-Solvent-Tintenstrahldrucker verwendet werden kann. So kannst du Motive mit unendlich vielen Farbverläufen aufflocken, was du mit der klassischen Flexfolie nicht hinbekommst.
Welche Ausrüstung sollte man für die bedruckbare Flexfolie verwenden?
Hier sind die unverzichtbaren Werkzeuge und Geräte, um ein Motiv aus bedruckter Flexfolie umzusetzen:
-
Ein Eco-Solvent-Tintenstrahldrucker (um das Bild auf die bedruckbare Flexfolie zu drucken)
-
Eco-Solvent-Tinte
-
Eine Schneidemaschine oder ein Schneideplotter (um dein Motiv auszuschneiden)
-
Ein Druckträger (zum Beispiel ein T-Shirt, eine Stofftasche usw.)
-
Ein Bügeleisen oder eine Transferpresse (um das Motiv auf das Textil aufzubügeln)
-
Selbstverständlich bedruckbare thermoklebende Flexfolie
-
Transfertape für bedruckbare Flexfolie (um die bedruckbare Flexfolie in der richtigen Ausrichtung zu übertragen)
Wie verwendet man bedruckbare thermoklebende Flexfolie? 🤔
Es ist wichtig, den Druckprozess gut zu verstehen, bevor du loslegst, denn auch wenn er nicht kompliziert ist, musst du etwas Übung sammeln, um ein echter Experte zu werden.
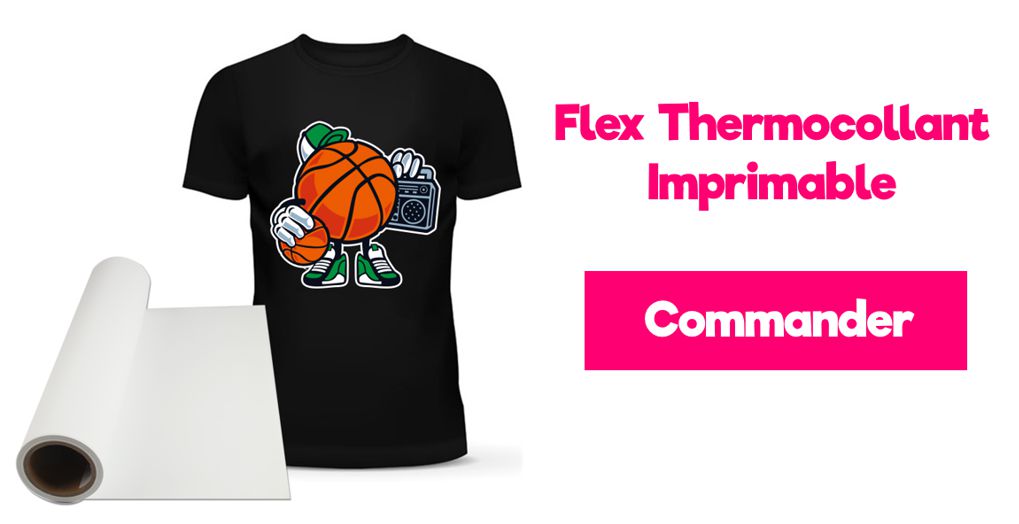
Ebenso wichtig ist es, hochwertige bedruckbare Thermotransferfolien zu wählen. Bestelle gern unsere bedruckbare Flexfolie in Premiumqualität, die mehr als 80 Wäschen übersteht.
1️⃣ - Gestalte dein Motiv
Motive können von Hand gezeichnet und auf einen Computer gescannt oder digital erstellt werden. Du kannst sogar vorgefertigte Vorlagen im Internet kaufen und herunterladen. ➡️ Hier ist ein Set mit 50 kostenlosen und lizenzfreien Motiven zum Herunterladen! 🎁
Wenn du Designs aus Google kopierst, beachte bitte die Urheberrechtsgesetze. Nur weil du etwas drucken kannst, heißt das nicht, dass du es rechtlich gesehen auf ein T-Shirt aufbringen darfst, vor allem, wenn du deine Produkte verkaufst.
2️⃣ - Drucke das Motiv
Bevor du das Motiv auf die Flexfolie druckst, denke daran, eine Kopie auf normalem Papier auszudrucken. So kannst du Größe und Qualität sehen und bei Bedarf Anpassungen vornehmen. Wenn du bereit bist, den eigentlichen Transfer zu drucken, lege die bedruckbare Flexfolie in deinen Eco-Solvent-Tintenstrahldrucker oder in deinen Schneideplotter (der auch die Drucke übernimmt) und achte darauf, dass sie in die richtige Richtung ausgerichtet ist.
Die Druckplotter der Marke ROLAND wie der VersaSTUDIO BN-20 sind eine sichere Wahl für die Arbeit mit bedruckbarer Flexfolie.
Sobald das Bild gedruckt wurde, warte mindestens 10 Minuten, damit die Tinte trocknet.
Wichtig: Du musst beim Drucken keinen Spiegeleffekt auf das Motiv anwenden.
3️⃣ - Schneide das Motiv mit deiner Schneidemaschine aus
Lege anschließend die Flexfolie mit dem darauf gedruckten Motiv in deine Schneidemaschine, um sie auszuschneiden. Danach musst du die überschüssige Flexfolie entgittern, die die Maschine ausgeschnitten hat.
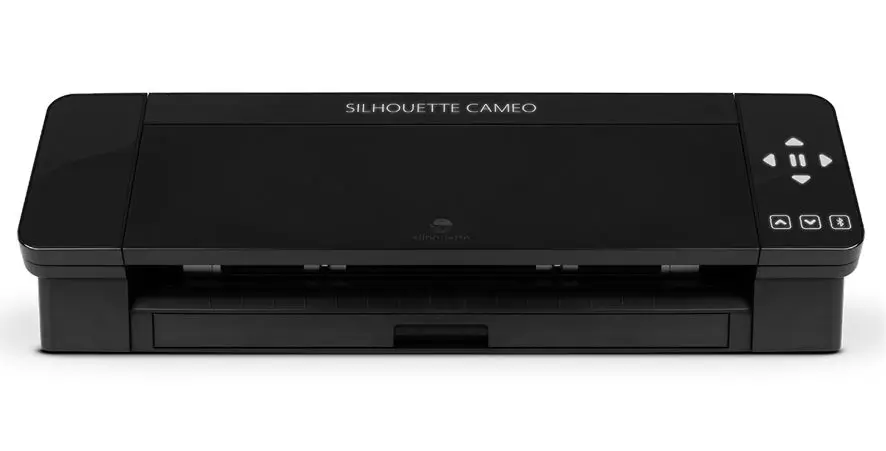
Hinweis: Wir empfehlen dir die Maschinen Silhouette Caméo 5 und Cricut Maker, wenn du ins Flockgeschäft einsteigen möchtest. (Diese 2 Maschinen sind ausschließlich Schneidemaschinen, sie fungieren also nicht als Eco-Solvent-Tintenstrahldrucker, aber sie sind deutlich günstiger und daher ideal für die anderen Arten von thermoklebenden Flexfolien.)
4️⃣ - Übertrage das Motiv
Du hast jetzt dein Motiv aus bedruckbarer Flockfolie fertig, aber bevor du es auf ein Textil pressen kannst, musst du es umdrehen.
Nimm dazu Transfertape und bringe es vorsichtig auf deinem Logo an.
Sobald das Logo gut angedrückt wurde, ziehe das Transfertape ab, und dein Logo sollte daran haften bleiben. So ist es bereit, um aufgeflockt zu werden. 😀
5️⃣ - Heize dein Bügeleisen oder deine Transferpresse auf
Schließe dein Bügeleisen oder deine Transferpresse an, schalte es ein und heize die Maschine auf 150 Grad auf. Achte darauf, deine Transferpresse bzw. dein Bügeleisen an einem sicheren Ort abzustellen.
Stelle sicher, dass kein Kabel herunterhängt, besonders wenn du Kinder oder Haustiere hast.
6️⃣ - Auftragen der bedruckbaren Flockfolie auf das T-Shirt
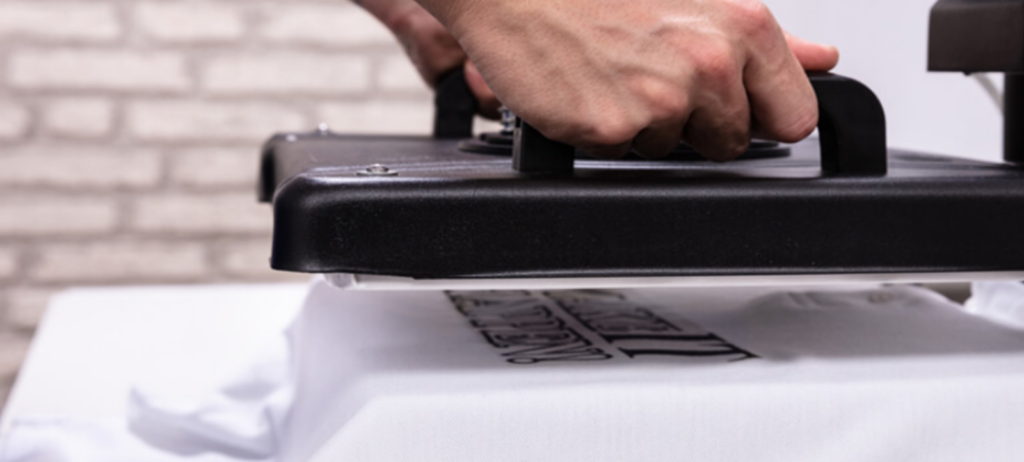
Sobald dein Bügeleisen oder deine Transferpresse die passende Temperatur erreicht hat, glätte dein T-Shirt und platziere die bedruckte Flexfolie an der gewünschten Stelle. Nimm dir Zeit, um das Bild gut zu platzieren.
Es ist schwierig, die Flexfolie nach dem Aufflocken wieder zu entfernen, deshalb solltest du es gleich beim ersten Mal richtig machen!
Schließe die Transferpresse oder verwende dein Bügeleisen, um Hitze und Druck auf das Motiv auszuüben. Das Logo aus bedruckbarer thermoklebender Flexfolie sollte bei 150 Grad für 20 Sekunden aufgetragen werden.
Wenn die Zeit abgelaufen ist, lass das Transfertape-Blatt etwas abkühlen. Hebe dann vorsichtig eine Ecke an, um sicherzustellen, dass das Vinyl am T-Shirt haften bleibt. Falls sich das Motiv ablöst, wende ein zweites Mal Hitze an und versuche es erneut. Wenn das Vinyl vollständig am Shirt haftet, bist du fertig! 😉
Welche Gestaltungsmöglichkeiten gibt es mit der bedruckbaren Flockfolie?
Die Möglichkeiten sind unendlich! ♾️
Du kannst ein Foto drucken und daraus ein T-Shirt, ein Sweatshirt oder eine personalisierte Decke machen. Anstatt Flexfolien-Schichten übereinanderzulegen, kannst du das Bild deiner Wahl (Einhorn, Meerjungfrau, Namen deiner Kinder oder deines Haustiers usw.) auf die bedruckbare Flexfolie drucken, und du musst dein Motiv nur ein einziges Mal aufbügeln!
Wir verkaufen thermoklebende Flexfolien und insbesondere bedruckbare Flexfolien für Eco-Solvent-Tinte, die sehr nützlich sind, um Kleidung zu personalisieren. Wirf gern einen Blick auf unsere bedruckbare Flexfolie und auf unsere Boutique für thermoklebende Flexfolien! ⭐


