Eine Vektorgrafik (SVG) ist eine Art von Bildformat. Anders als andere Varianten stützen sich SVG-Formate nicht auf einzelne Pixel, um die Bilder zusammenzusetzen, die du siehst. Stattdessen verwenden sie sogenannte „Vektordaten".
Wenn du das SVG-Format mit deiner Cricut-Maschine oder einer anderen Schneidemaschine nutzt, erhältst du Bilder, die sich in jeder Auflösung skalieren lassen, ohne dass das Motiv an Qualität verliert. In diesem Artikel schauen wir uns an, was eine Datei im SVG-Format ist und wie du sie mit der Software Cricut Design Space verwendest! 😉
Was ist eine Datei im SVG-Format?
![]()
Die Buchstaben SVG stehen für „scalable vector graphic". Eine SVG-Datei ist ein Vektorgrafikformat, das nichts anderes ist als eine einfache reine Textdatei, die Linien, Kurven, Formen, Farben und Text beschreibt. Eine SVG ist äußerst vielseitig, wenn es darum geht, von Programmen wie Cricut Design Space und Silhouette Studio gelesen zu werden.
Wie wir bereits gesagt haben, beruht die SVG-Datei nicht auf Pixeln wie eine Fotodatei (JPG oder PNG). Das macht sie unabhängig von der Auflösung und unendlich skalierbar. Sobald du das SVG-Format in eine Software importiert hast, kannst du die Größe des Logos also beliebig ändern, ohne seine Qualität zu beeinträchtigen. Das ist magisch ✨! Ein SVG-Bild ist klar und scharf, ganz gleich, wie groß es ist.
Ein weiterer Vorteil von SVG-Schneidedateien ist ihre geringe Größe. Sie sind also perfekt für Downloads und lassen sich leicht elektronisch speichern. 👍 All diese Faktoren machen das SVG-Dateiformat perfekt für Schneidedateien, die du auf deiner Schneidemaschine verwenden möchtest.
SVG-Dateien in Cricut Design Space hochladen
Hier sind die Schritte, die du befolgen musst, um eine SVG-Datei in die Cricut-Software hochzuladen. Es ist einfach, schnell und macht Spaß!
Du siehst außerdem, wie du das Logo auf die richtige Größe für dein Projekt bringst.
Öffne die Software Cricut Design Space.
Klicke auf „Neues Projekt".
Klicke anschließend unten links auf „Hochladen".
Sobald du im Hochladebereich bist, klicke auf „Bild hochladen".
Durchsuche den Ort, an dem du deine SVG-Bilddatei gespeichert hast.
Sobald du deine Datei gefunden hast, klicke darauf, um sie in Design Space zu öffnen.
Du musst nur noch auf „Zur Leinwand hinzufügen" klicken, um sie in deinen künftigen Kreationen zu verwenden! 🤩
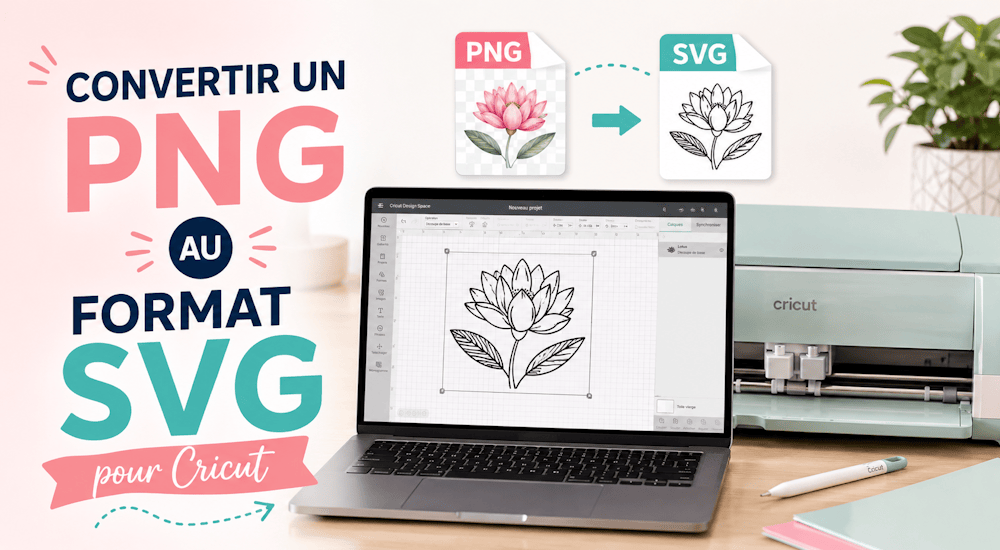
Wie wandelt man ein PNG-Bild für Cricut in eine SVG um?
Jetzt weißt du, wie du eine SVG in Cricut Design Space hochlädst.
Als Nächstes schauen wir uns an, wie du ein PNG-Bild in das SVG-Format umwandelst. Für dieses Tutorial verwenden wir die Vektorisierung in Inkscape, um das Logo von PNG in SVG zu überführen. Du kannst auch andere Programme nutzen, etwa Illustrator oder Photoshop…
Schauen wir uns also an, wie man mithilfe von Inkscape SVG-Dateien für Cricut erstellt!
Wie erstellt man in Inkscape SVG-Dateien für Cricut?
Einer der Vorteile von Inkscape ist, dass das Hauptformat dieser Software bereits der SVG-Dateityp ist! Das macht es zu einer ausgezeichneten Wahl, um Bilder in das SVG-Format umzuwandeln und mit Vektorgrafiken zu arbeiten. ✅
Für diese Aufgabe verwenden wir das Saturn-Logo, das du auf dem Bild unten sehen kannst.
Natürlich kannst du auch jedes andere Projekt nehmen, an dem du gerade arbeitest.
Schritt 1️⃣
Öffne die PNG-Datei deiner Wahl in der Software Inkscape.
Schritt 2️⃣
Jetzt musst du das Logo vektorisieren, damit auf dem Motiv kein Pixel mehr zu sehen ist. Klicke dazu auf „Pfad" ➡ „Bitmap nachzeichnen" ➡ Klicke mit der linken Maustaste auf dein Logo ➡ Klicke schließlich auf „OK".
Es erscheint ein neues Logo. Lösche das alte Logo im PNG-Format und lass das neue stehen. Du wirst sehen, dass es keine Pixel mehr enthält, weil es vektorisiert wurde.
Schritt 3️⃣
Wir speichern das Motiv nun auf unserem Computer. Klicke auf „Datei" ➡ Benenne die Datei um ➡ Wähle das SVG-Format ➡ Klicke auf „Speichern".
Jetzt hast du eine SVG-Datei, die du in Cricut Design Space importieren kannst.
Wie wandelt man mit der Software Design Space eine PNG-Datei für Cricut in eine SVG um?
Die zweite Möglichkeit, ein JPG oder PNG in eine SVG umzuwandeln, um es mit Cricut zu nutzen, ist, es direkt in der Software Cricut Design Space zu machen. Diese Software ist kostenlos, und du brauchst sie, um deine Cricut zu verwenden.
Schritt 1️⃣
Klicke in Design Space in der linken Seitenleiste auf „Hochladen". Lade dann dein JPG- oder PNG-Bild hoch. Wähle eine Bildkomplexität entsprechend den Beschreibungen, die Cricut vorgibt.
Schritt 2️⃣
Anschließend wirst du auf einen Bearbeitungsbildschirm geleitet, auf dem du drei Bearbeitungsoptionen hast: den Zauberradierer, einen Radierpinsel und ein Zuschneidewerkzeug. Verwende auf dem Bild unten den Zauberradierer und klicke dann auf den weißen Hintergrund deines Logos, um ihn zu entfernen. 🖱️
Klicke einzeln auf jeden Bereich deines Logos mit weißem Hintergrund, den du entfernen möchtest.
Schritt 3️⃣
Wenn du die Teile deines Bildes, die du nicht möchtest, entfernt hast, kannst du wählen, ob du ein Bild zum Drucken und anschließenden Schneiden oder ein Bild zum Schneiden auswählst.
Das Bild zum Drucken und anschließenden Schneiden behält die Farbe, weil du es zum Drucken und danach zum Schneiden verwendest. Zum Beispiel, wenn du mit deiner Cricut Aufkleber machst.
Aber für unser Projekt wollen wir das Bild zum Schneiden. Du musst dir keine Sorgen machen, dass die Farbe verschwindet, denn das Motiv kann in mehrere Teile aufgeteilt werden, damit die richtigen Farben an der Schneidemaschine geschnitten werden. Klicke auf die Option „Schneiden" und dann auf „Speichern"! Die neue Datei ist auf der Design-Space-Leinwand erschienen. ✔️
Die Vektorisierung ist abgeschlossen!
Fazit
Wie du siehst, gibt es viele Möglichkeiten, SVG-Dateien für Cricut zu erstellen. Diese Methoden bringen zahlreiche Vorteile mit sich, etwa das freie Skalieren der Bilder 🖼️. Außerdem werden deine Dateien dadurch besser mit Cricut Design Space kompatibel und zugleich wird der Schneideprozess des Bildes verkürzt. ✂️
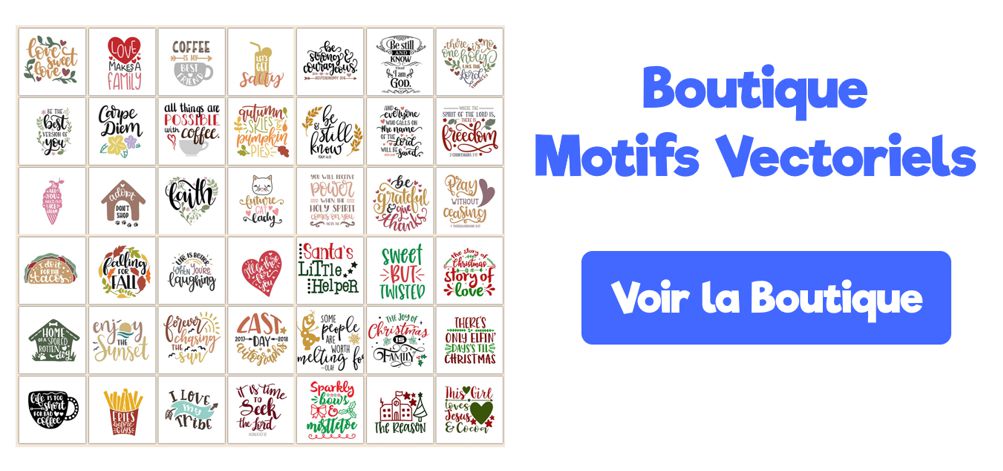
Hast du Lust, an deinem nächsten Cricut-Projekt zu arbeiten, und suchst nach SVG-Bildern für Cricut? Dann könntest du einen Blick in unseren Shop für Vektormotive werfen.
Wir bieten eine große Auswahl an Vektorgrafiken, die du zu einem sehr günstigen Preis herunterladen kannst. Probiere ruhig so viele aus, wie du möchtest! Das Tolle an diesen Grafiken ist, dass sie alle im SVG-, PNG- und DXF-Format angeboten werden (3 Formate, die mit den Maschinen Cricut und Silhouette Caméo kompatibel sind). 😀
Brauchst du neue Motive für dein nächstes DIY-Projekt oder einfach etwas Inspiration? Dann wirf einen Blick darauf! ⤵️